****Visit our "Disclosure Policy and Cookies" for details. Affiliate links appear on this page from Google Adsense, Amazon, Order Out of Chaos, Impact affiliate members, Release, Repurpose, Reorganize, and Shareasale affiliate members.****
As family managers, we all need to take care of our homes and families. As well as keeping us and our families healthy. Our 12+ year-old blog shares home organization tips, weeknight healthy recipes, and DIY home craft projects to help you and your family stay organized and eat healthy. Whether you are new to being more productive or an expert, our posts are designed to inspire you to act through streamlined processes. Please come back often to see what’s new and get inspired to get things done!
Popular Posts
Visit our most popular home organization, DIY home craft projects, and healthy quick recipes to see what everyone is discussing!
- Places To Donate Jewelry You Do Not Want
- What To Do with Old Yearbooks
- 10 Games to Help Kids Understand How to Organize
- Easy Ways to Organize Manuals and Warranties
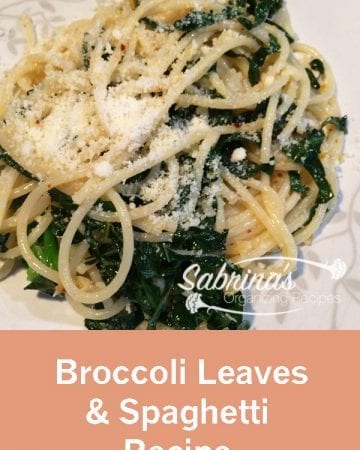
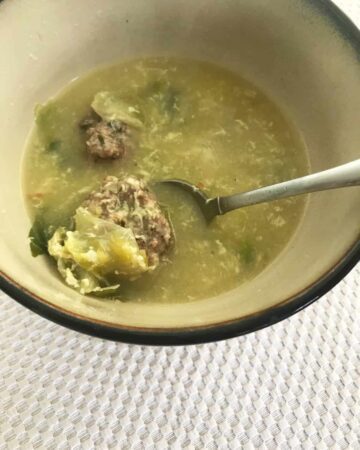
- From the Garden - Broccoli Leaves and Spaghetti Recipe
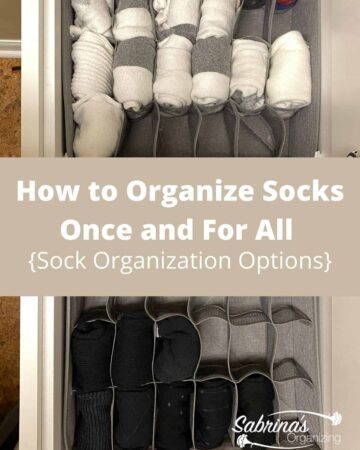
- How to Organize Socks Once and For All {Sock Organization Options}
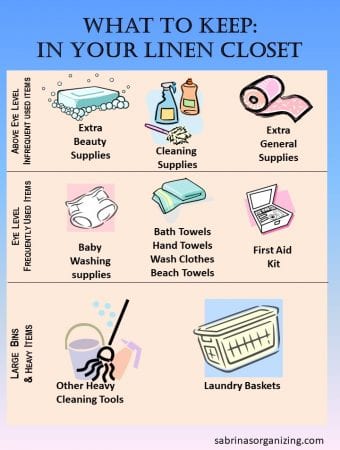
- The Most Important Things to Keep in Your Linen Closet
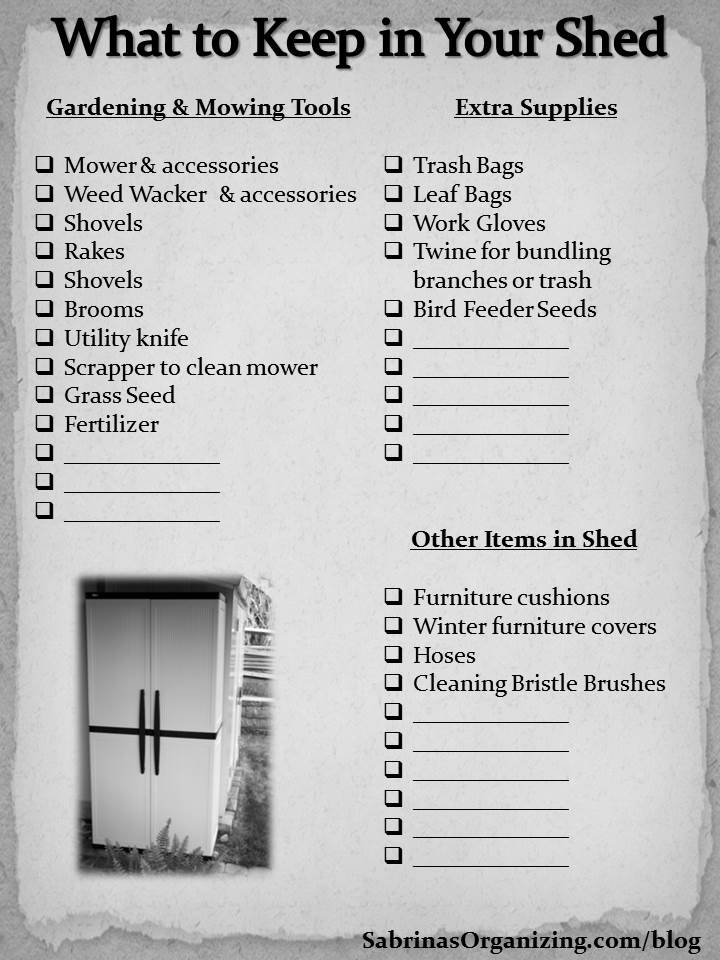
- What to Keep in Your Shed

Looking for inspiration? Write the topic and Press Search.
Jump to each section on this page to quickly get your desired information!
Jump to:
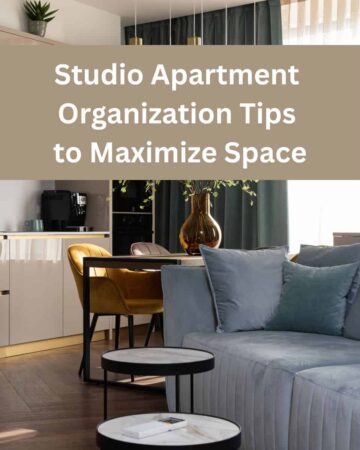
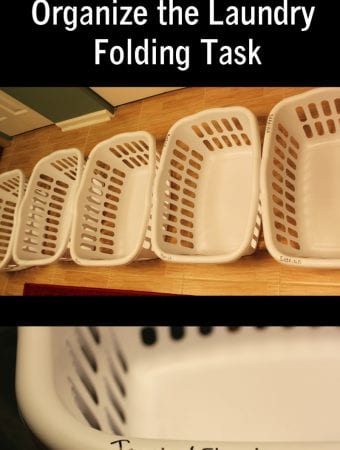
Home and Life Organization Tips
Are you looking for home organization motivation? Home Organizing (Affiliate Link) is the heart of our blog! We have over 10 years of home and life organizing inspiration! We also share easy home decor ideas. These are the most recent posts that will help you get motivated.
See more Home Organization Tips. →
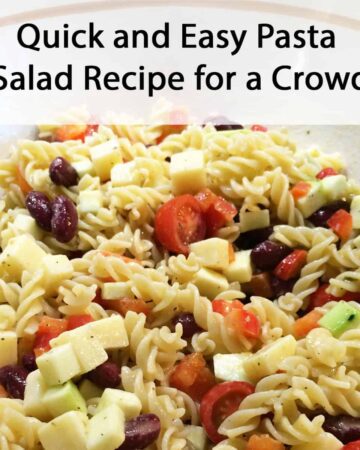
Healthy Quick Recipes
We love a great, easy weeknight recipe! Are you looking for something healthy to eat? Visit these recent recipes for inspiration. They are delicious and easy to make!
See more Weeknight and Quick Recipes. →
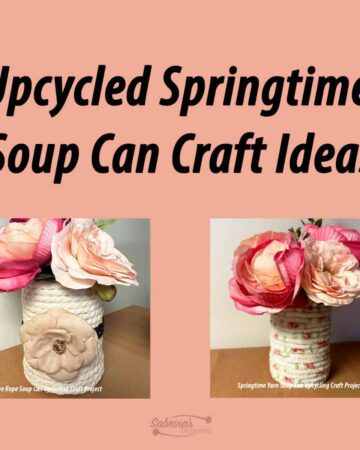
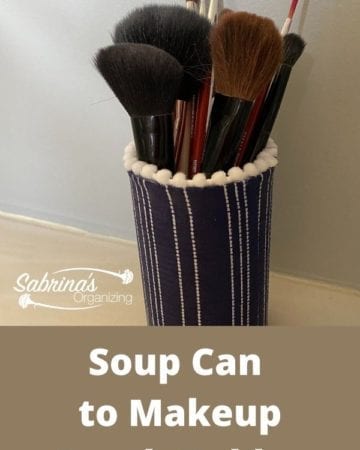
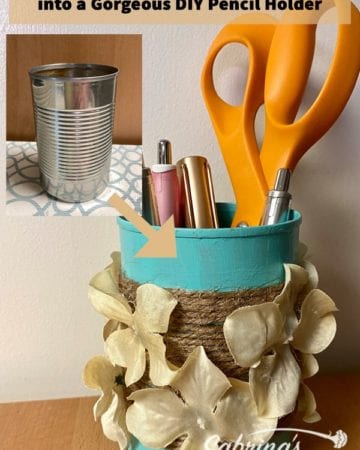
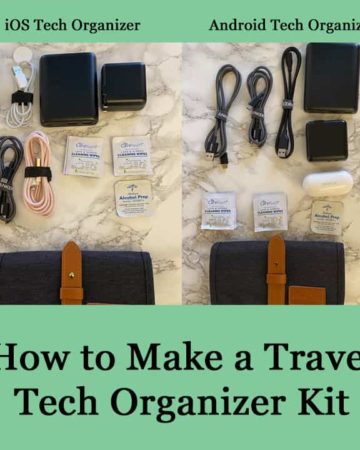
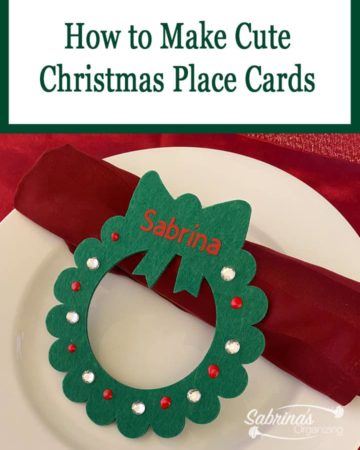
DIY Projects You Can Do Right Now
We love a good DIY project, don't we? Are you looking for DIY projects through organizing to beautify your home? Below, we share upcycling projects that help you organize and keep your home pleasant. Visit our recent posts below.
See more DIY Craft Home Organization Projects. →
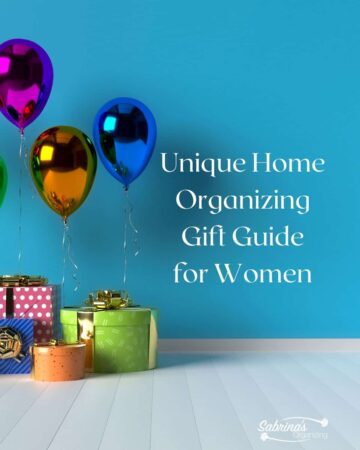
Gift Ideas To Help Improve Your Loved One's Life
Do you want to help your loved ones get organized? In this section, we share gift ideas. These organizing gift ideas provide you with products that will help you get and stay organized.


See more Gift Ideas for Home Organizing →
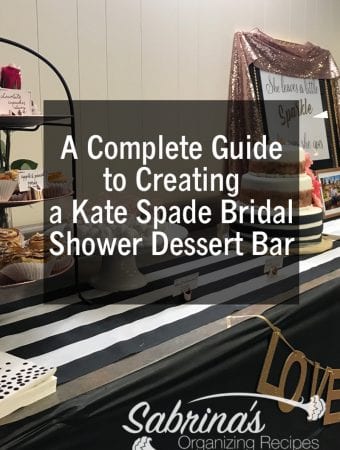
Party Planning Ideas and Organizing Tips
Are you a fan of hosting a party? So am I! Planning a party can be frustrating and overwhelming. These party planning posts will help you plan a party easily and allow you to enjoy the festivities.


See More Party Planning Posts →

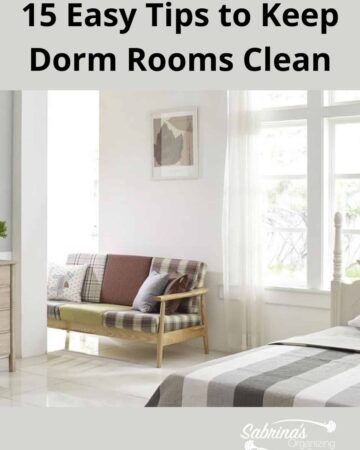
Student Success and Organizing
Are you or your children going off to college? While this doesn't have much to do with home organization, it does help parents work with their children to help them succeed. Visit these posts first before you buy anything!

See more College Student Success Posts →

About Sabrina Quairoli
I’m Sabrina! Thanks for stopping by and checking out my blog, where you can find Home Organizing (Affiliate Link), Quick Weeknight Recipes, and DIY Craft Home Organizing (Affiliate Link) Projects. Feel Free and browse around to get inspired to improve your life!
Connect with Me on Social Media!
Facebook - Instagram - Twitter - Linkedin - Pinterest
My Organizing Membership and Associations
- NAPO 2024 Business Stamp of Approval
- NAPO - 15+ Years Golden Circle and Member
- Faithful Organizers Member
- Featured on Hometalk
- Featured on FoodTalkDaily
- Featured on SimplifyDaily
- Megastar Blogger of Professional Organizers Blog Carnival
Looking for Small Business Help?
Visit our sister site at Sabrina's Admin Services. We help small businesses with organizing, online marketing, and bookkeeping.