Description
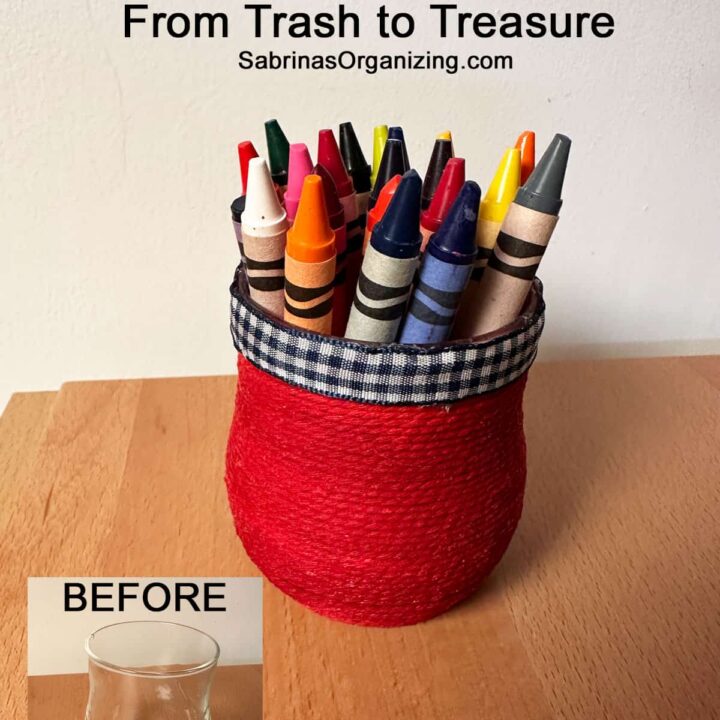
This DIY Votive Candle Makeover uses leftover colorful twine to wrap the glass, creating a stylish little bin. This method is incredibly versatile. You could use different colors for different seasons, holiday themes, or just to match your room's decor. Today, we're using bright red twine and a patterned ribbon.
Materials
Empty glass votive candle holder (cleaned of any remaining wax)
Red rope or twine (a vibrant red twine is used in this project)
Mod Podge (affiliate) - make sure it is not too watery.
Paper bowl for the glue
Decorative ribbon for the trim checker pattern
Paper towels to catch any drips
Disposable sponge brush (affiliate) or painting brush
Hot Glue Gun (affiliate) and Glue sticks or fabric glue
Instructions
First, make sure your votive candle glass is completely clean, dry, and free of old candle soot. Pour a generous amount of liquid craft glue into a small disposable dish or tray so it is easy to access.
Turn the glass jar upside down. Using your finger or a brush, spread a thick, even layer of Mod Podge (affiliate) glue around the top rim of the glass where you intend to start wrapping.
Now, take the loose end of your twine and press it firmly into the glue at the rim. Begin wrapping the rope tightly around the circumference of the glass container (affiliate). Keep your rows snug against one another so no glass peeks through.
Next, As you work your way down the body of the container, continue to spread glue ahead of your rope line and wrap tightly. Press the rows together firmly as you go to maintain a clean, uniform look
Once you reach the bottom edge of the jar, cut the twine. Press the final tail firmly into the glue. Apply an extra layer of liquid glue right over the bottom row of twine and the cut edge to seal it completely and prevent fraying. Let the entire container dry completely until the glue turns clear.
Once dry, flip the container right-side up. To give it a polished look, glue a piece of coordinating fabric ribbon around the top rim to conceal the rope's starting edge. I used a hot glue gun (affiliate) to add the ribbon. You could try fabric glue too.
- Prep Time: 15 minutes
- Category: Candle Makeover, DIY
- Method: Step-by-Step