
Don't toss out those empty glass candle holders! With a little bit of twine and Mod Podge (affiliate) glue, you can transform old votives into beautiful, functional storage containers that add warmth and texture to any space. Here is a simple step-by-step DIY Votive Candle Makeover guide to upcycling your empty glass votives into stylish organizational cups.
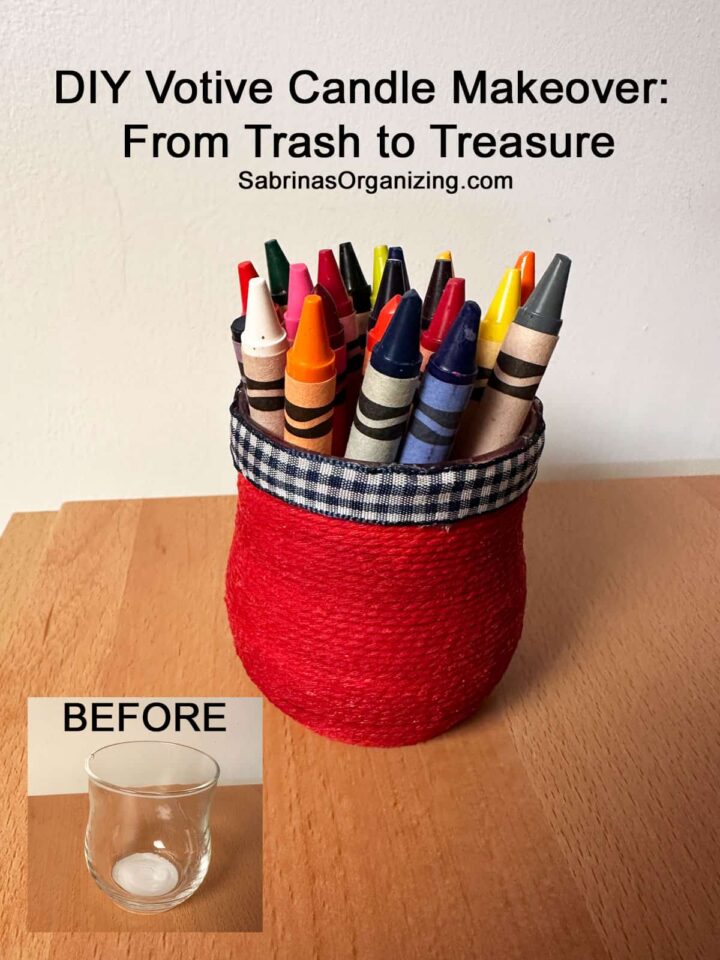
This DIY Votive Candle Makeover uses leftover colorful twine to wrap the glass, creating a stylish little bin. This method is incredibly versatile. You could use different colors for different seasons, holiday themes, or just to match your room's decor. Today, we're using bright red twine and a patterned ribbon.
Jump to:
- Key Takeaways
- Things to know before trying this project
- What inspired me to do this DIY Votive Candle Makeover?
- Materials Needed
- How much did it cost to make this Votive Candle Makeover?
- How long did it take to make a DIY Votive Candle Makeover?
- Tips on making this DIY Votive Candle Makeover
- Tips on removing wax
- Step-by-Step Instructions
- Tips for Gluing Rope to Glass
- The Big Reveal
- How to organize with this updated votive glass jar.
- FAQ for Votive Candle Makeover
- Closing:
- How to Make a DIY Candle Holder
- DIY TeaCup Candle Project
- Upcycling Candle Jar into a Cute Marker Holder
- DIY Votive Candle Makeover: From Trash to Treasure
Key Takeaways
- Transform empty glass votive holders into functional storage containers with twine and Mod Podge (affiliate) glue.
- This DIY Votive Candle Makeover is versatile; use different colors for various themes or decor.
- Follow step-by-step instructions and use affordable materials to create a stylish organizer.
- The project only costs about $3 and takes roughly 3 hours, including drying time.
- Use the finished votive jar for organizing art supplies, office items, or bathroom essentials.
Things to know before trying this project
Below are things you should know about this project.
What inspired me to do this DIY Votive Candle Makeover?
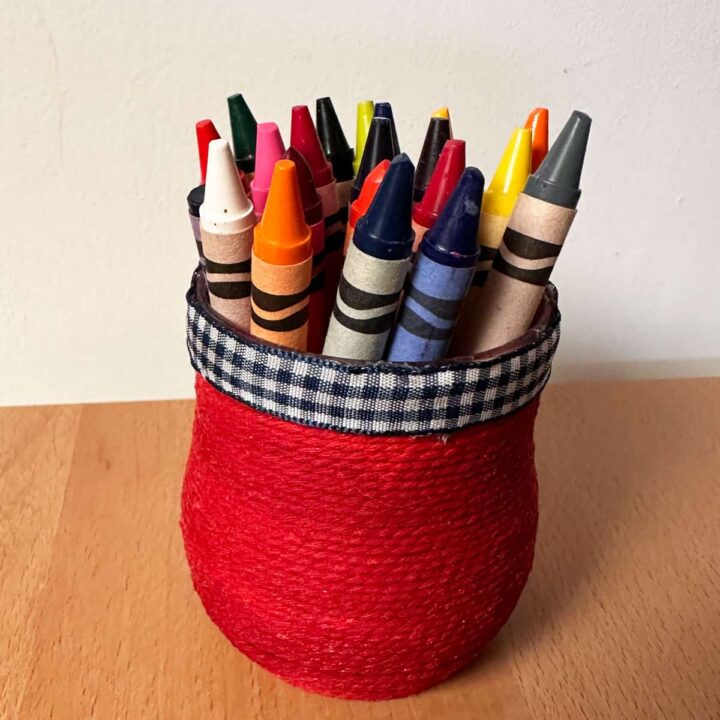
I had an old glass votive candle holder and wanted to use it for something. I didn't want it to be see-through since I wanted to add crayons to it. So I decided to cover the glass, making it more useful and less of an eyesore.
Materials Needed
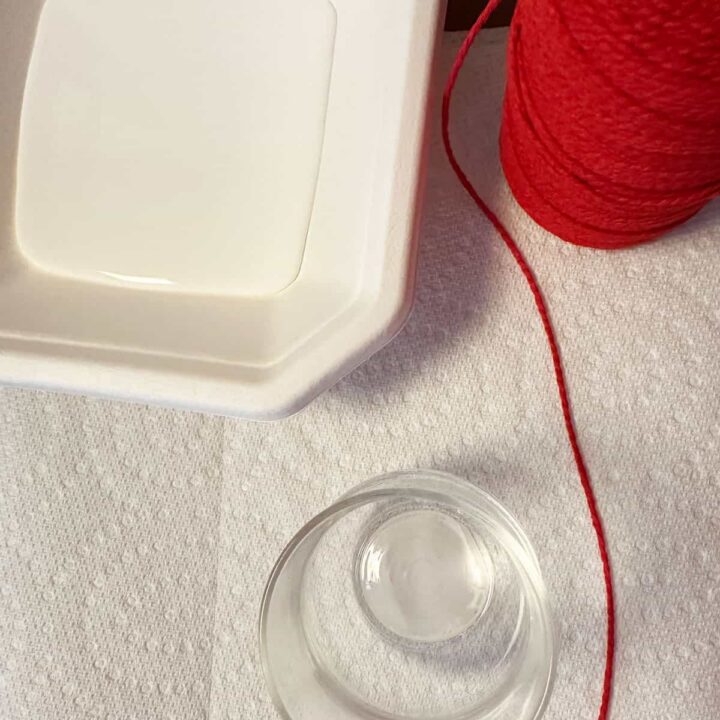
Empty glass votive candle holder (cleaned of any remaining wax)
Red rope or twine (a vibrant red twine is used in this project)
Mod Podge (affiliate) - make sure it is not too watery.
Paper bowl for the glue
Decorative ribbon for the trim checker pattern
Paper towels to catch any drips
Disposable sponge brush (affiliate) or painting brush
Hot Glue Gun (affiliate) and Glue sticks or fabric glue
Please note these are affiliate links through Amazon (affiliate), and at no additional cost to you, I will earn an affiliate commission if you decide to make a purchase.
How much did it cost to make this Votive Candle Makeover?
This project cost me only $3.00, and I still have supplies left for other projects.
How long did it take to make a DIY Votive Candle Makeover?
It took me about 3 hours, including drying time.
Tips on making this DIY Votive Candle Makeover
As you wrap the rope around the glass, be sure to make it tight with the other rope. Using your fingers, press the rope toward the other rope so the glue starts to fill in the gap.
Pro Tip: The tighter the rope is tied to the other rope, the more likely you are to hide the things stored inside.
Tips on removing wax
Getting a votive completely wax-free can seem difficult, but there are two main methods:
The Freezer Method (Our Favorite)
Place the cold votive in the freezer for 1-2 hours. The wax will contract and harden. Often, you can pop it out cleanly with your fingernail or a dull knife. Use hot, soapy water to remove any film or wick stickers. We have done this for years, and it works pretty well. Use a food scraper to help you get any stubborn pieces.
The Hot Water Method
Place the votive in the sink and fill it with very hot, but not boiling, water (let the water run a bit first so it's not a temperature shock). Let it sit. The hot water will melt the wax and lift it. Once cool, the wax will form a solid disc at the surface that you can lift out. Thoroughly scrub with dish soap to finish. (Always be careful with extreme temperature changes to avoid breaking glass).
Step-by-Step Instructions
Below are the step-by-step instructions to make this cute Votive Candle Makeover. Feel free to check them out.
Time needed: 3 hours.
These steps are pretty easy, but it is a little messy since you are working with the Mod Podge (affiliate) glue.
- Prep the Glass and Glue
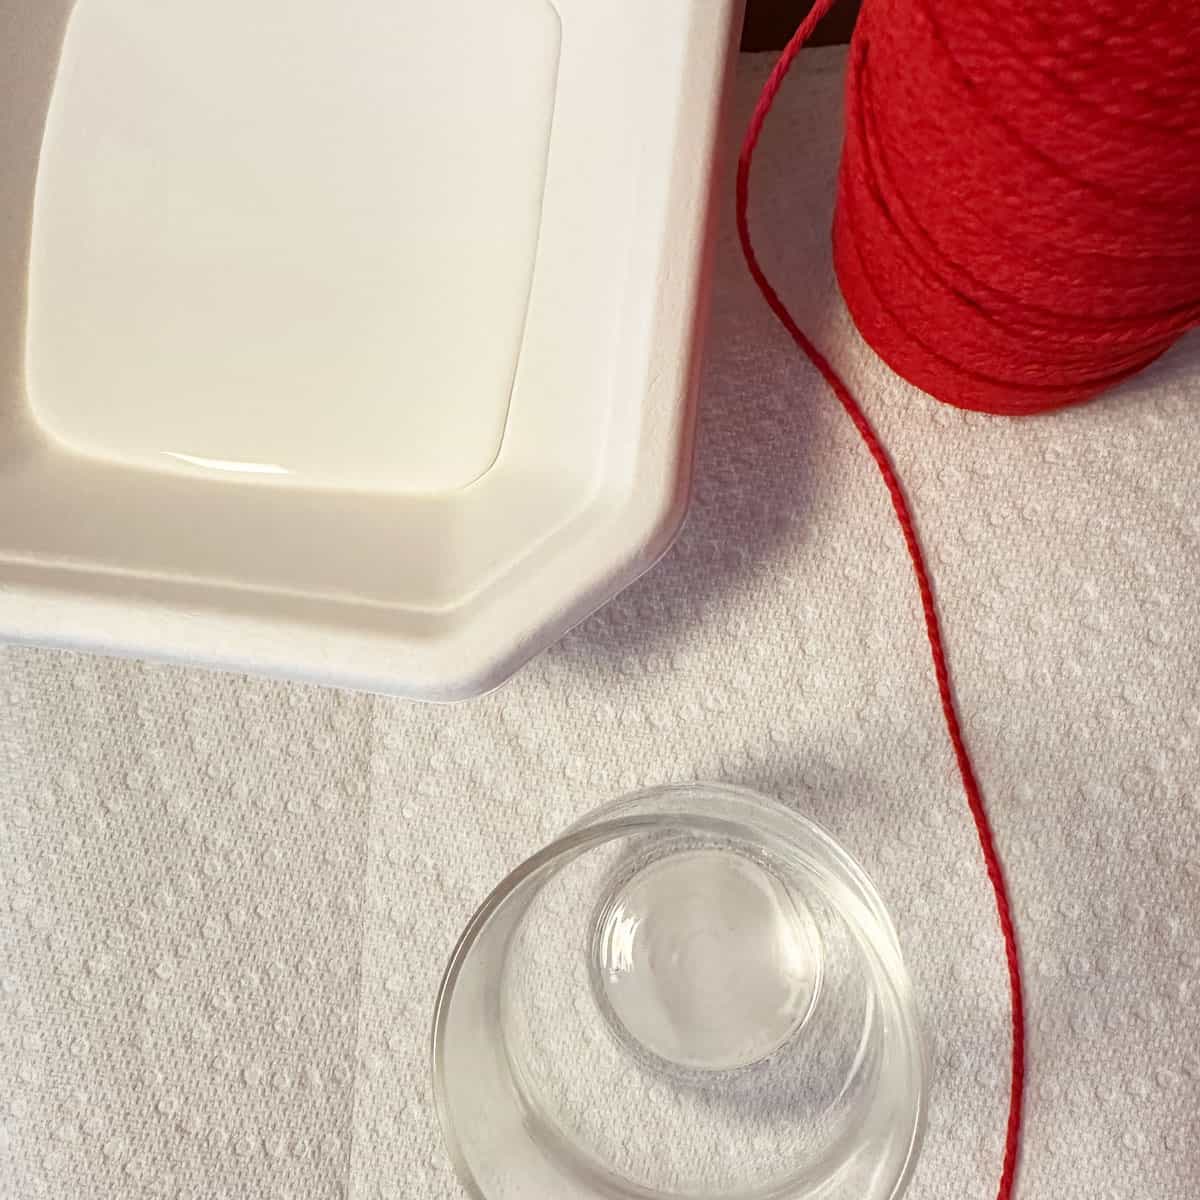
First, make sure your votive candle glass is completely clean, dry, and free of old candle soot. Pour a generous amount of liquid craft glue into a small disposable dish or tray so it is easy to access.

- Apply the First Layer of Glue.
Turn the glass jar upside down. Using your finger or a brush, spread a thick, even layer of Mod Podge (affiliate) glue around the top rim of the glass where you intend to start wrapping.
- Begin Wrapping the Rope
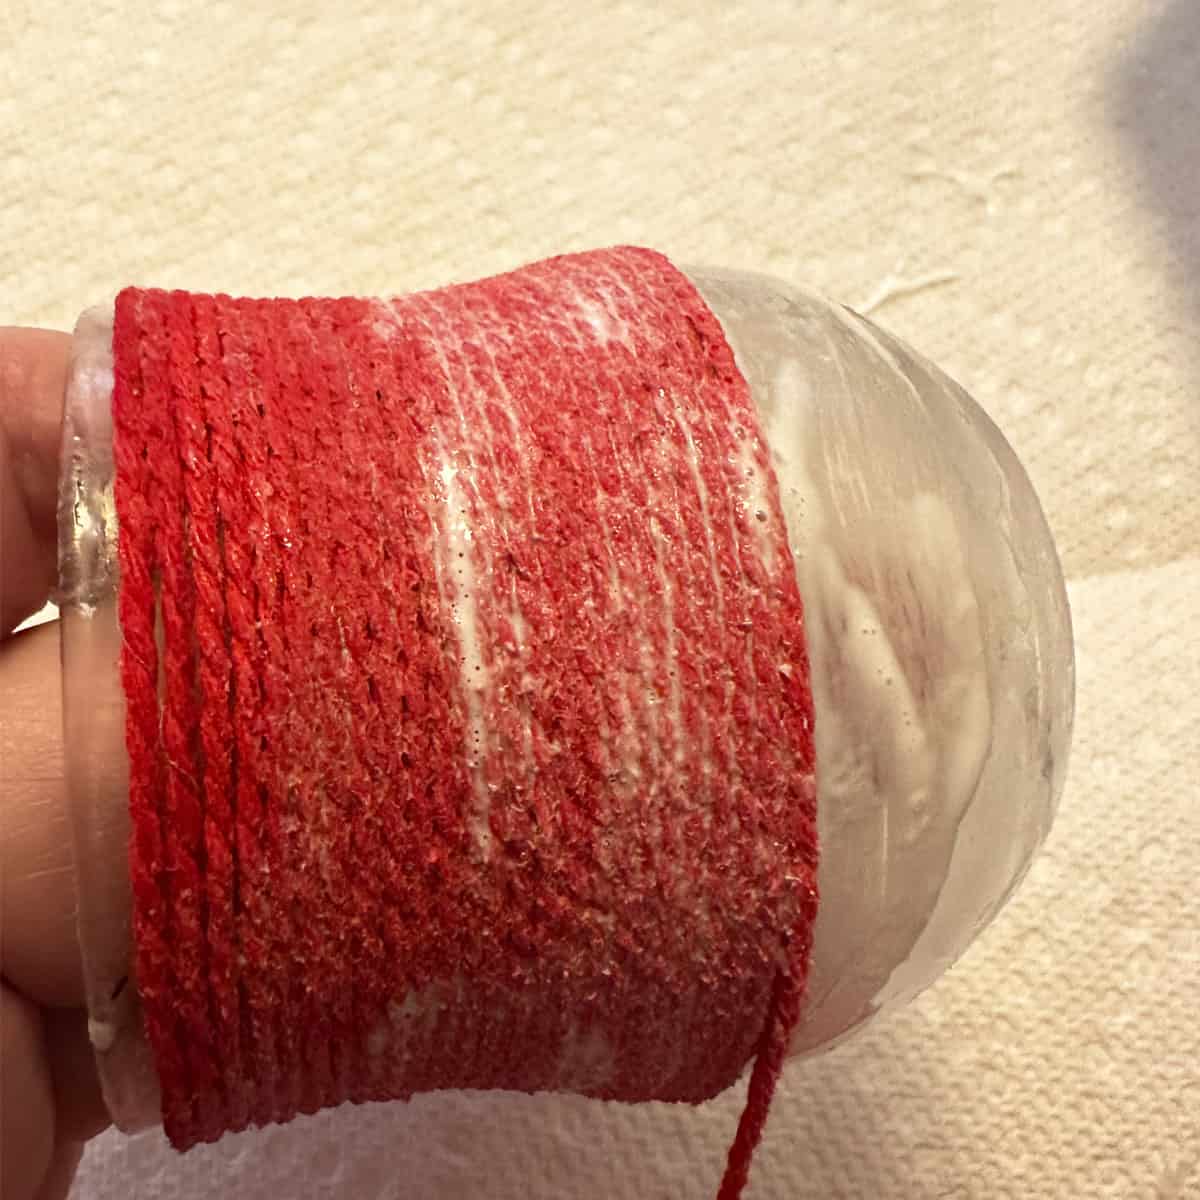
Now, take the loose end of your twine and press it firmly into the glue at the rim. Begin wrapping the rope tightly around the circumference of the glass container (affiliate). Keep your rows snug against one another so no glass peeks through.
- Continue Down the Jar
Next, As you work your way down the body of the container, continue to spread glue ahead of your rope line and wrap tightly. Press the rows together firmly as you go to maintain a clean, uniform look.
- Secure the Base
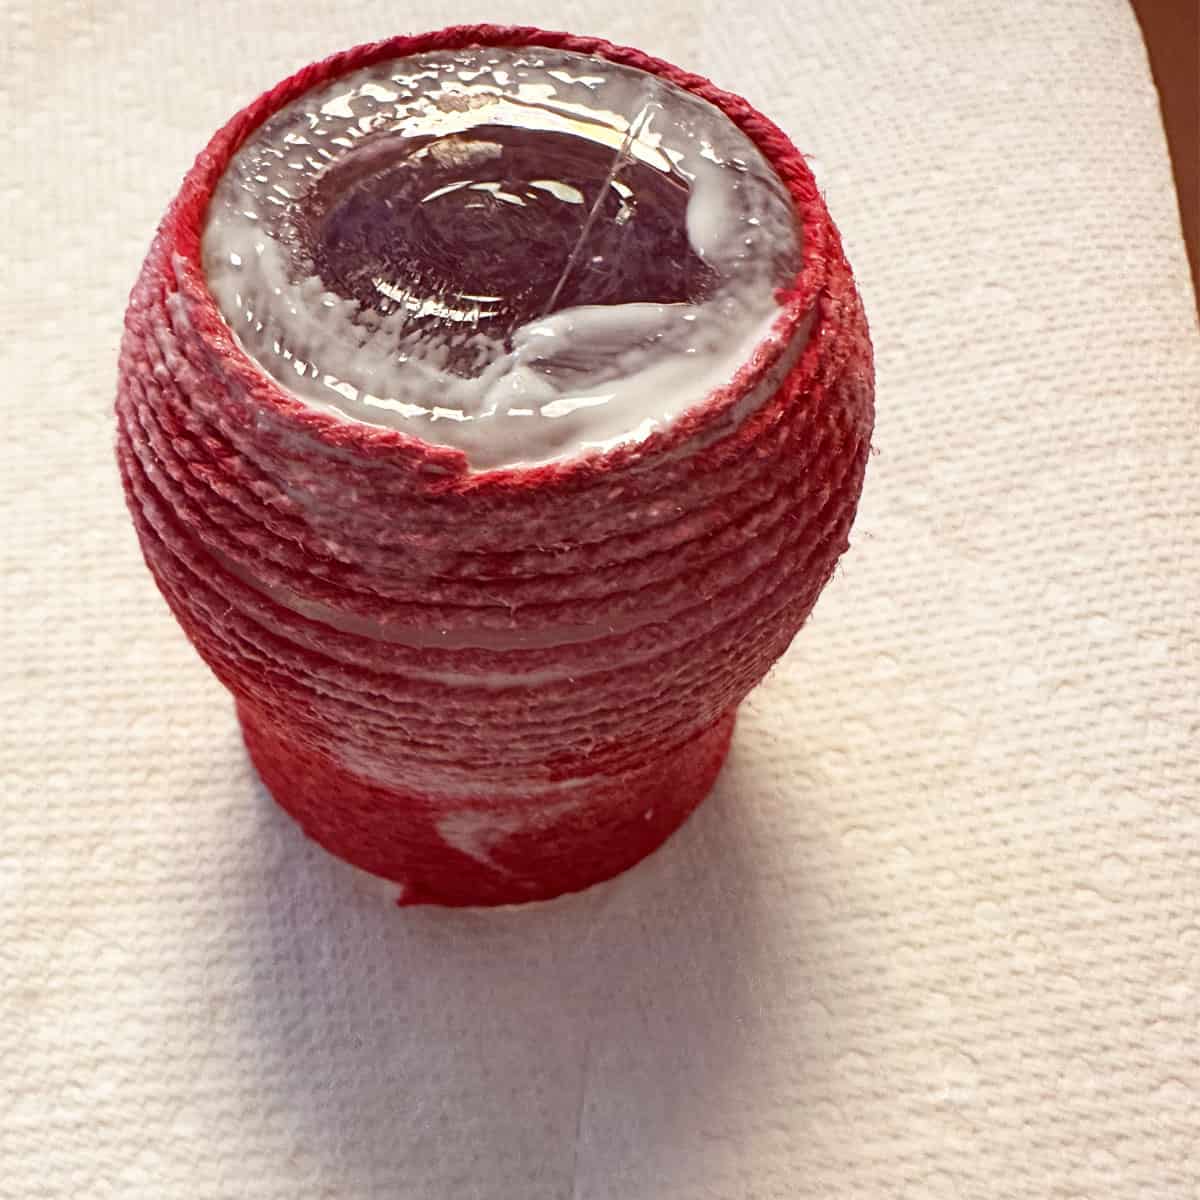
Once you reach the bottom edge of the jar, cut the twine. Press the final tail firmly into the glue. Apply an extra layer of liquid glue right over the bottom row of twine and the cut edge to seal it completely and prevent fraying. Let the entire container dry completely until the glue turns clear.
- Add the Final Details
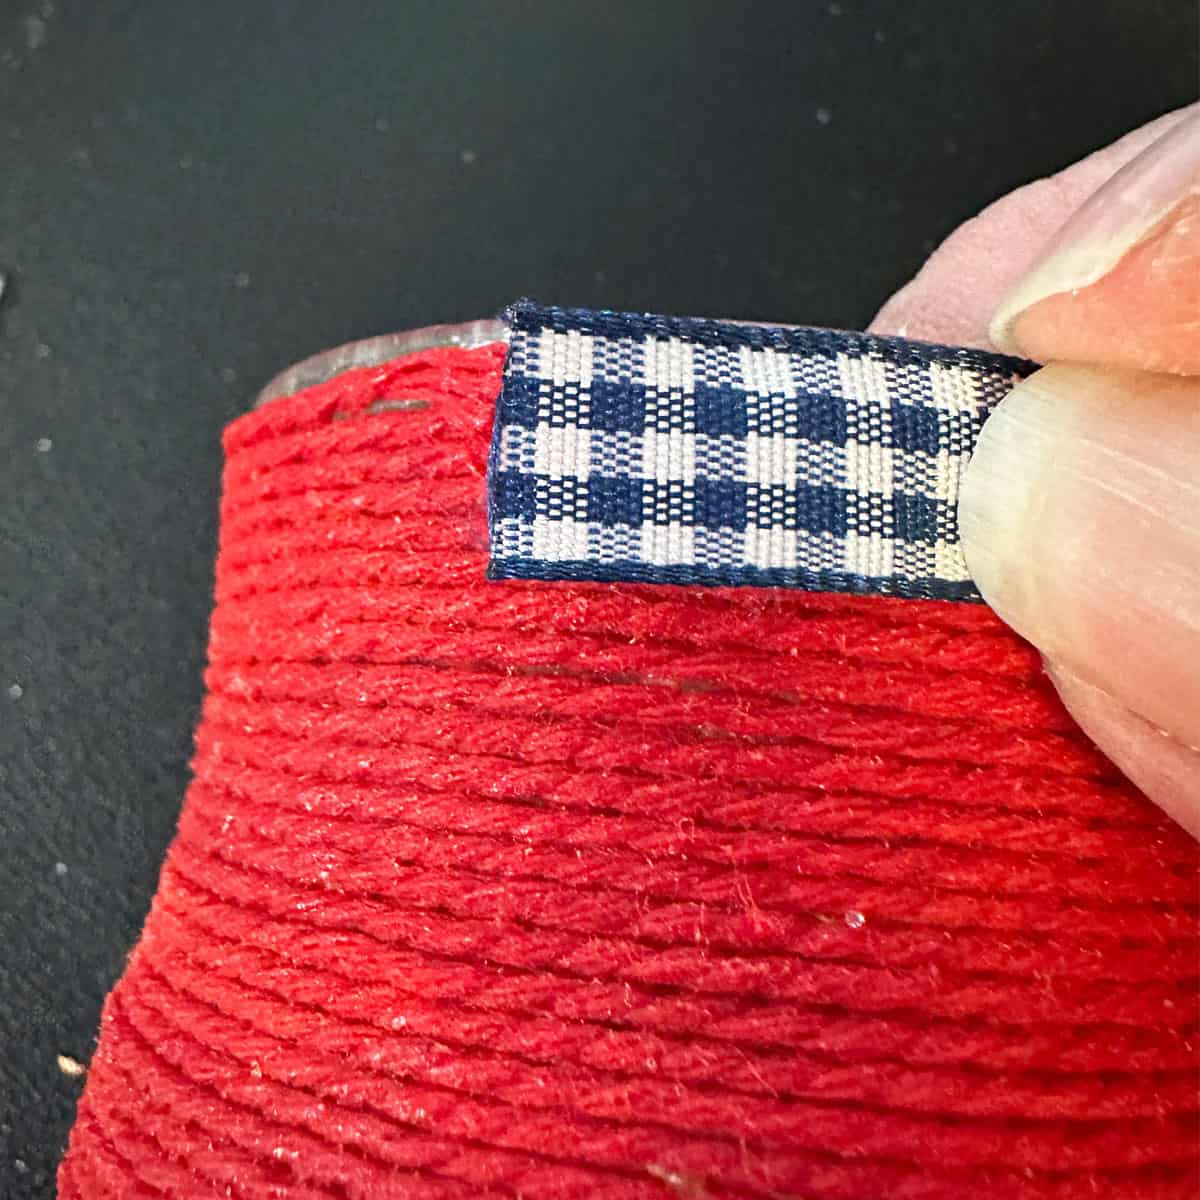
Once dry, flip the container right-side up. To give it a polished look, glue a piece of coordinating fabric ribbon around the top rim to conceal the rope's starting edge. I used a hot glue gun (affiliate) to add the ribbon. You could try fabric glue too.
Tips for Gluing Rope to Glass
Work in Sections: Don't coat the entire jar in glue at once. Liquid glue dries quickly on smooth surfaces, so apply it in 1-inch sections as you wrap to ensure maximum adhesion.
Don't Skimp on Glue: Glass is non-porous, so the rope needs plenty of glue to grab onto it. It is completely fine if the glue squishes through the twine fibers; standard craft glue or Mod Podge (affiliate) will dry completely transparent.
Keep Tension Tight: Hold the rope taut as you wrap. If the rope is loose, it will slide down the smooth contours of the curved glass.
The Big Reveal
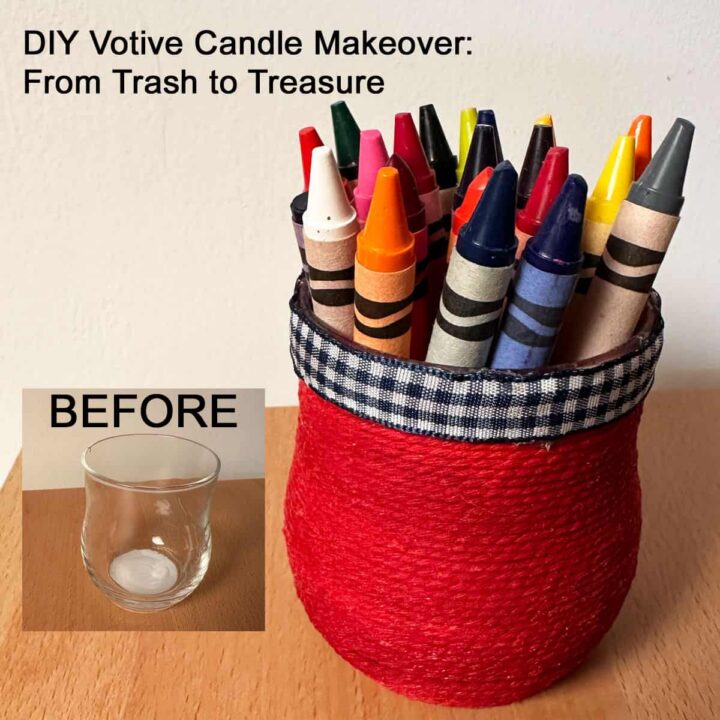
This DIY Votive Candle Makeover looks lovely. It holds a whole pack of crayons.
How to organize with this updated votive glass jar.
Once your new container is dry, it's time to put it to work! This textured jar is perfect for categorizing small household items that easily clutter surfaces:
Kids' Art Supplies: Keep it on a playroom table to neatly contain crayons, colored pencils, or markers.
Desktop Organizer: Drop in pens, highlighters (affiliate), scissors (affiliate), or letter openers to add a pop of color to your workspace.
Vanity Storage: Use it in the bathroom to hold makeup brushes, nail files, or cotton swabs.
Craft Room Sorting: Perfect for corralling paintbrushes (affiliate), rulers, or crochet hooks.
FAQ for Votive Candle Makeover
Feel free to check out these additional questions for answers. If you have more questions, please leave a comment below, and I will get back to you as soon as possible.
The easiest way is the freezer method - pop the votive in the freezer for 1-2 hours so the wax contracts and pops out cleanly, then wash with hot soapy water. If you're short on time, the hot water method works too: fill the votive with hot (not boiling) water, let the wax rise and cool into a solid disc, then lift it out.
Mod Podge or a thick liquid craft glue works best. Since glass is non-porous, you need a generous amount for the rope to grip - don't worry if it squishes through the twine fibers, since it dries completely clear.
It depends on the size of your votive, but plan for enough to wrap the entire height of the jar in tight, snug rows with no glass showing through. It's better to have extra twine on hand than to run short mid-wrap.
Yes! This rope-wrapping technique works on any small glass jar or container - mason jars, jam jars, even glass vases - as long as you adjust the amount of glue and twine to suit the size.
Plan for the glue to dry until it turns completely clear, which typically takes a few hours as part of the roughly 3-hour project time. Avoid moving or using the jar until it's fully cured so the rope doesn't shift.
It's great for crayons, colored pencils, and markers in a playroom, pens and scissors on a desk, makeup brushes and cotton swabs on a vanity, or paintbrushes and rulers in a craft room.
Closing:
I hope this inspires you to update your unused and votive candles (affiliate) to help you organize your home.
Sharing is caring! If you enjoyed my post, please share it with your friends via email or social media and use the hashtag #sabrinasorganizingDIY. Thank you!
Check out my recent DIY projects.


And check out these specific candle DIY projects!
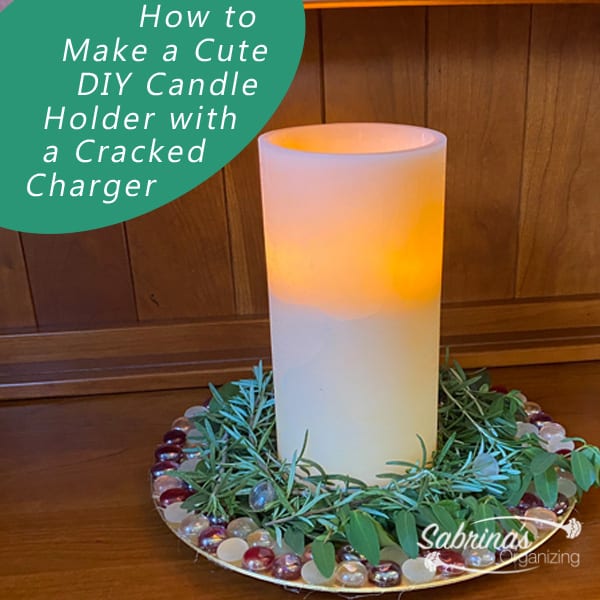
How to Make a DIY Candle Holder
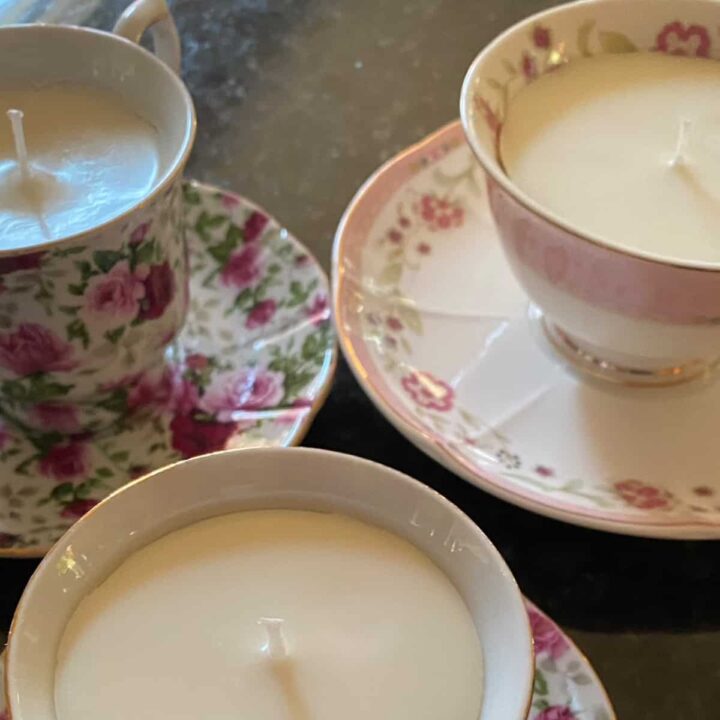
DIY TeaCup Candle Project
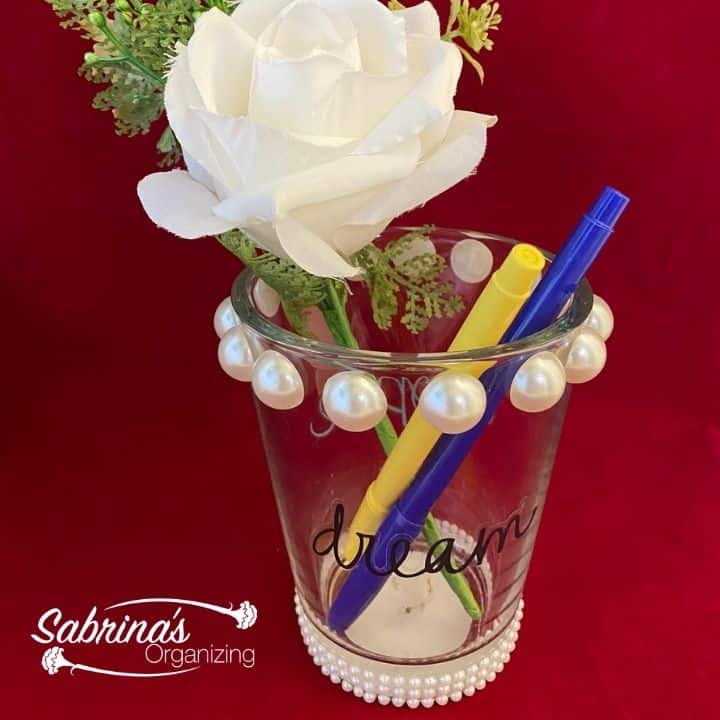
Upcycling Candle Jar into a Cute Marker Holder
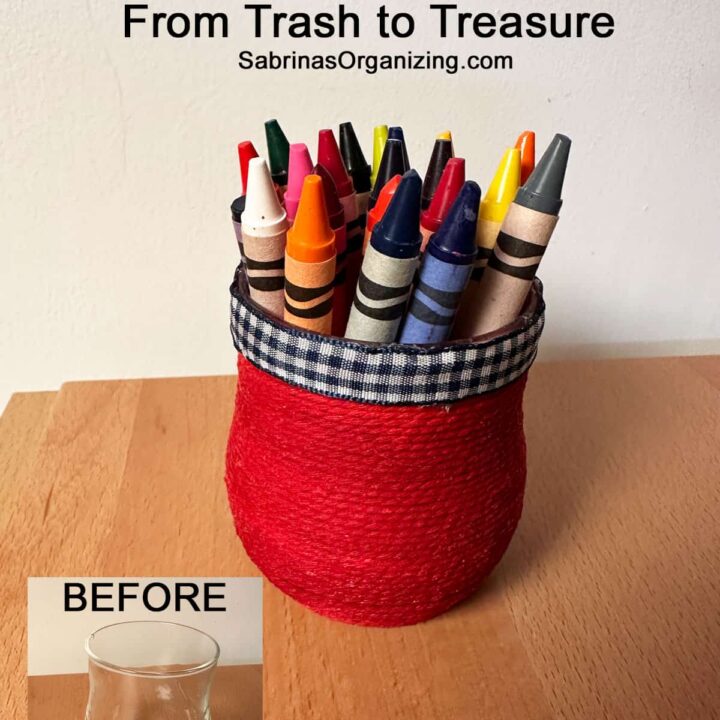
DIY Votive Candle Makeover: From Trash to Treasure
- Total Time: 1 hours 15 minutes
- Yield: 1
Description
This DIY Votive Candle Makeover uses leftover colorful twine to wrap the glass, creating a stylish little bin. This method is incredibly versatile. You could use different colors for different seasons, holiday themes, or just to match your room's decor. Today, we're using bright red twine and a patterned ribbon.
Materials
Empty glass votive candle holder (cleaned of any remaining wax)
Red rope or twine (a vibrant red twine is used in this project)
Mod Podge - make sure it is not too watery.
Paper bowl for the glue
Decorative ribbon for the trim checker pattern
Paper towels to catch any drips
Disposable sponge brush (affiliate) or painting brush
Hot Glue Gun (affiliate) and Glue sticks or fabric glue
Instructions
First, make sure your votive candle glass is completely clean, dry, and free of old candle soot. Pour a generous amount of liquid craft glue into a small disposable dish or tray so it is easy to access.
Turn the glass jar upside down. Using your finger or a brush, spread a thick, even layer of Mod Podge glue around the top rim of the glass where you intend to start wrapping.
Now, take the loose end of your twine and press it firmly into the glue at the rim. Begin wrapping the rope tightly around the circumference of the glass container (affiliate). Keep your rows snug against one another so no glass peeks through.
Next, As you work your way down the body of the container, continue to spread glue ahead of your rope line and wrap tightly. Press the rows together firmly as you go to maintain a clean, uniform look
Once you reach the bottom edge of the jar, cut the twine. Press the final tail firmly into the glue. Apply an extra layer of liquid glue right over the bottom row of twine and the cut edge to seal it completely and prevent fraying. Let the entire container dry completely until the glue turns clear.
Once dry, flip the container right-side up. To give it a polished look, glue a piece of coordinating fabric ribbon around the top rim to conceal the rope's starting edge. I used a hot glue gun (affiliate) to add the ribbon. You could try fabric glue too.
- Prep Time: 15 minutes
- Category: Candle Makeover, DIY
- Method: Step-by-Step



Sabrina Quairoli says
Fun and super easy project to make.