
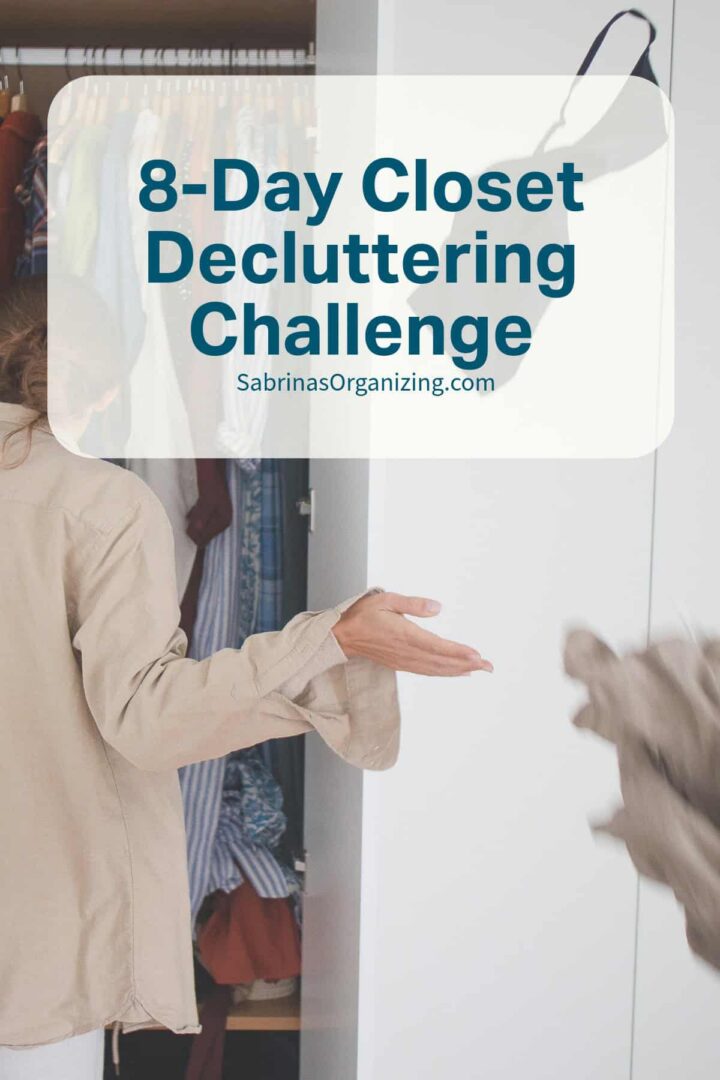
Every time I open my closet and can't find what I need, I know it's time to reset the area. Over the years of organizing my own clothing closets (and my clients' closets), I've learned that decluttering doesn't have to happen all at once. It works so much better in small, focused steps; one zone at a time.
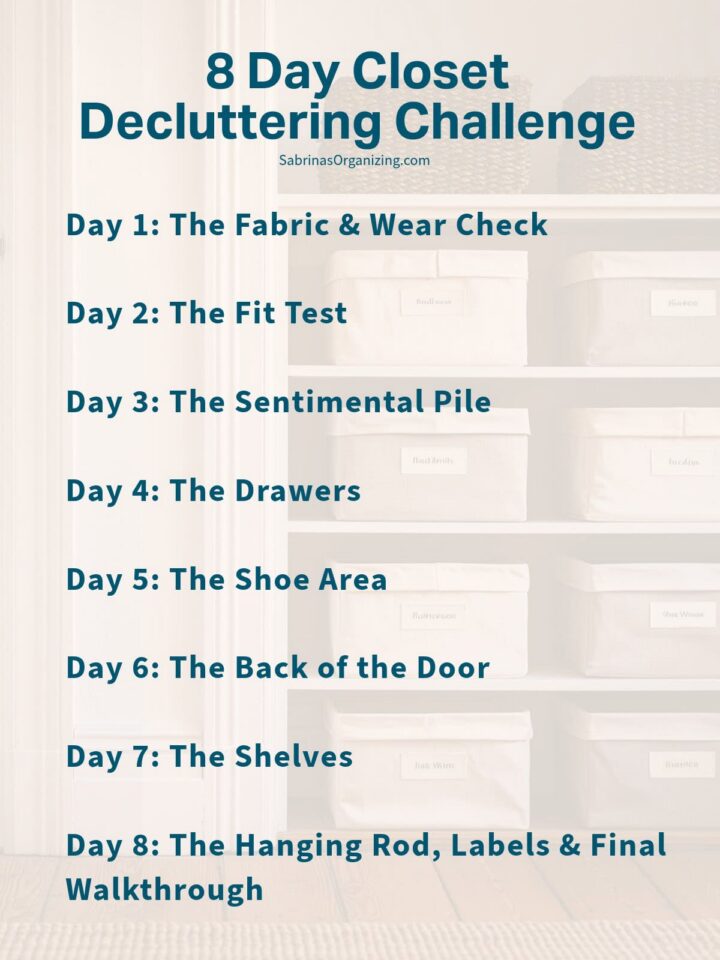
That's why I created this 8-Day Closet Decluttering Challenge. Each day, you'll tackle one specific area of your closet for just 20-30 minutes, working zone by zone: drawers, the shoe area, the back of the door, and the shelves (affiliate). By the end of the week, you'll have a closet that actually works for you - one where everything fits, everything has a home, and getting dressed in the morning feels easy again.
Grab your bags, set a timer, and let's get started!
Estimated reading time: 13 minutes
Jump to:
- Key Takeaways
- What You'll Need Before You Start
- Day 1: The Fabric & Wear Check
- Day 2: The Fit Test
- Day 3: The Sentimental Pile
- Day 4: The Drawers
- Day 5: The Shoe Area
- Day 6: The Back of the Door
- Day 7: The Shelves
- Day 8: The Hanging Rod, Labels & Final Walkthrough
- FAQs: Closet Decluttering Challenge
- More Closet Organization Help
Key Takeaways
- The Closet Decluttering Challenge is an 8-day plan to organize your clothing closet with focused tasks for 20-30 minutes each day.
- Day 1 focuses on checking the fabric and wear of your clothes, while Day 2 involves a fit test to eliminate ill-fitting items.
- Days 3-8 tackle sentimental items, drawers, shoes (affiliate), the back of the door, shelves (affiliate), and the hanging rod in a systematic manner.
- Before starting, gather bags for donations, trash, and 'maybe' items, along with a timer and good lighting.
- Label (affiliate) each zone in your closet after completing the challenge to maintain organization long-term.
What You'll Need Before You Start
Set yourself up for success before Day 1:
- 3 bags or boxes (affiliate) labeled Donate or Repurpose, Trash, and Maybe
- A timer (20-30 minutes per day is plenty)
- Good lighting and a full-length mirror
- Repurposed bins to use in the closet - read my sustainable organizing post!
- A notepad to jot down items you need to replace or buy, and measurements for any organizer you may need
Sabrina's Tip:
If you're not sure whether to keep something, it goes in the Maybe box; not back in the closet. You'll deal with it on Day 3.
Want to get started right now? Get a copy of the free checklist (affiliate) for this challenge below, and you can get access to all my other free products. Happy Organizing!
Day 1: The Fabric & Wear Check
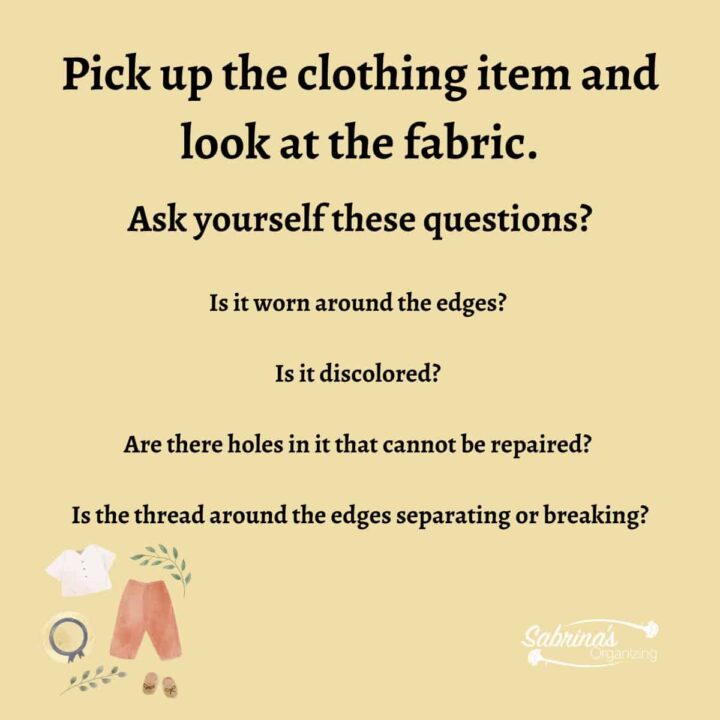
Today, pull out anything you already suspect is worn out and examine it. Hold each piece up and ask:
- Is it worn around the edges?
- Is it discolored or faded?
- Are there holes that can't be repaired?
- Is the thread separating at the seams?
If you said yes to any of these, it's out.
Gently used pieces go in the Donate box; anything too worn goes in Trash.
Sabrina's Tips:
Worn 100% cotton t-shirts don't have to go straight to the trash. Cut them up and repurpose them as cleaning rags; I do this all the time.
Before you toss anything, check if your city has a textile recycling drop-off (most municipal recycling sites added these in the last couple years) - worn-out fabric that's not rag-worthy doesn't have to go in the trash.
Day 2: The Fit Test
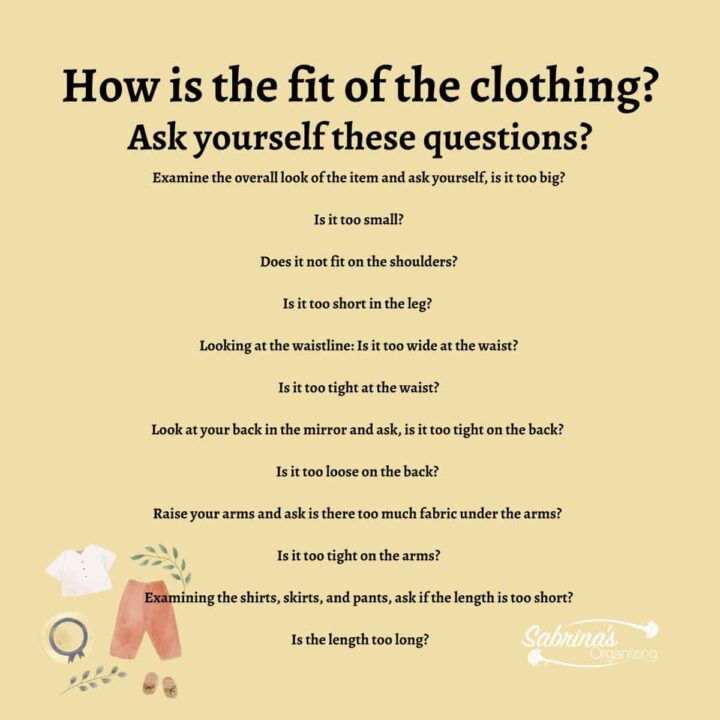
This is the day most people dread, but it's the fastest way to free up space. Try on anything you're unsure about and check:
- Is it too big or too small anywhere?
- Does it pull at the shoulders, waist, or arms?
- Is the length off too short or too long?
Anything that doesn't fit right today goes in the Donate box. Don't keep clothes for the body you used to have or hope to have; keep clothes for the body you have right now.
Sabrina's Tip:
Formal dresses and suits in great condition are worth taking to a consignment shop instead of donating. You can recoup some of what you spent. Or if you want to donate them, check out my charitable donations page for an updated 2026 list of where to donate clothing.
Visit my post that talks about Questions to Ask Yourself While Purging Your Closet for more questions.
Day 3: The Sentimental Pile
By now you'll have a small pile of clothes that survived Days 1 and 2 on technicalities; they fit, they're in good shape, but you never actually wear them. This is usually where sentimental attachment or "just in case" thinking takes over.
For each item, ask yourself:
- Have I worn this in the last year?
- Am I keeping this for a specific future event, or just in case?
- If I saw (affiliate) this in a store today, would I buy it?
Items you truly can't part with yet: box them up, label (affiliate) the box with today's date, and store it out of sight. If you haven't gone looking for it in 6 months, donate the box unopened.
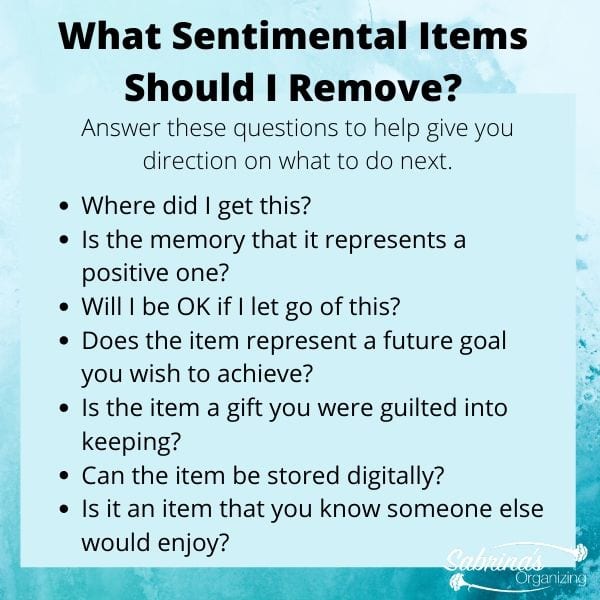
The image below shares more questions to ask about any sentimental item.
Sabrina's Tips:
Make a quick note of what you didn't like about the clothes you're letting go, like fit, fabric, too long, too short, and color. Bring that list shopping as a reminder so you don't repeat the same mistakes.
Purging done! Now let's find a home for everything that's left, one zone at a time.
Day 4: The Drawers
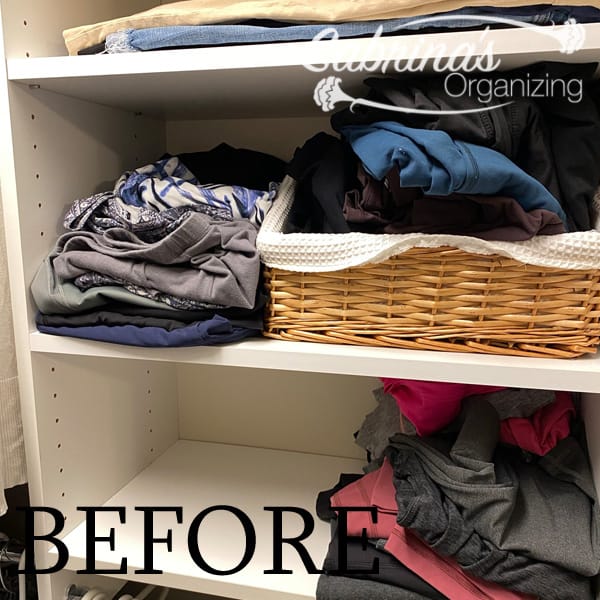
Drawers hold the small stuff that's easy to let go to chaos: socks, undergarments, and jewelry (affiliate). Pull everything out and sort as you go.
Socks: Match your pairs and toss anything with holes, stretched-out bands, or shrinkage. Then pick one folding (affiliate) method and use it for every pair so they're a consistent height in the drawer:
- The Square Method - fold into a cross shape, tuck all four sides in
- The Roll Method - layer and roll from top to bottom
- The KonMari Method - fold into thirds, then stand upright
Visit my extensive how to organize socks once and for all post for more details and more methods.
Undergarments: Keep only what actually fits and looks good on you. A drawer divider (affiliate) keeps bras, underwear, and shapewear from turning into one big pile.
Jewelry (affiliate): If you keep everyday jewelry (affiliate) in a drawer, a shallow divided tray works best so you can see every piece at a glance instead of digging. If you want to donate jewelry (affiliate) or repurpose jewelry (affiliate), check out my Places to Donate Unwanted Jewelry post.
Sabrina's Tips:
Measure your drawer organizer (affiliate)'s height before you fold your socks. Fold to match the height of the drawer so nothing overlaps or blocks another section. It took me four minutes a week once I did this.
Snap one photo of your finished drawer layout. It's the fastest way to reset the system in 30 seconds if it gets messy mid-season; no guessing where everything goes.
Dividers for socks

Drawer Dividers Organizer 5 Pack, Adjustable Separators 4" High Expandable from 11-17"
Buy Now →
Drawer Dividers Organizers, Bamboo , Expandable Drawer (White)
Buy Now →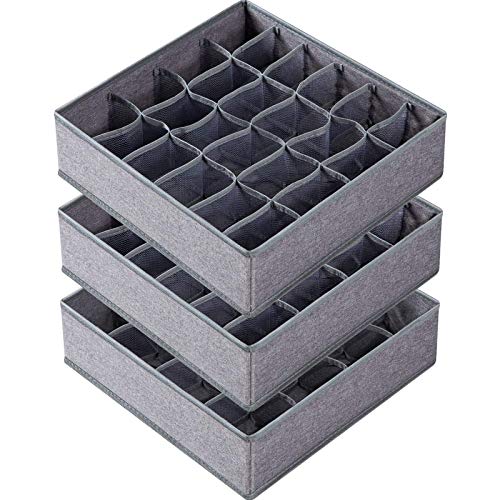 Buy Now →
 (affiliate)
Day 5: The Shoe Area
Shoes take up more room than people expect; the average woman owns 19-20 pairs, so a family of four can easily have 70-80 pairs in one house. Today, pull every shoe out and decide what stays. Match them up.
Ask yourself these questions for each pair:
- Have I worn these in the last year?
- Are they still in good repair, or worn down at the heel?
- Do I have a duplicate pair I like better?
For what's left, here's how to fit more in less space:
- Nest pairs toe-to-toe (one shoe facing in, one facing out); this saves about 2 inches per pair on a shelf.
- Store boots upright in tall boxes (affiliate) or boot holders so they keep their shape instead of flopping over.
- Stack shoe boxes (affiliate) with a photo taped to the front, or use clear boxes (affiliate), so you're not opening five boxes (affiliate) to find one pair.
Sabrina's Tips:
If you're short on shelf space, an over-the-door (affiliate) or stackable shoe organizer (affiliate) frees up your shelves (affiliate) for sweaters (affiliate) and bins instead.
Keep a small tin of shoe wipes and a spare set of felt protector pads in your shoe zone. Cleaning shoes (affiliate) before they go back on the shelf keeps the whole area looking newer, longer.
shoe organizers

Rotating Shoe Rack Tower, Spinning Shoe Display Lazy Susan
Buy Now →
Shoe Boxes by EOENVIVS 12 Pk Plastic
Buy Now →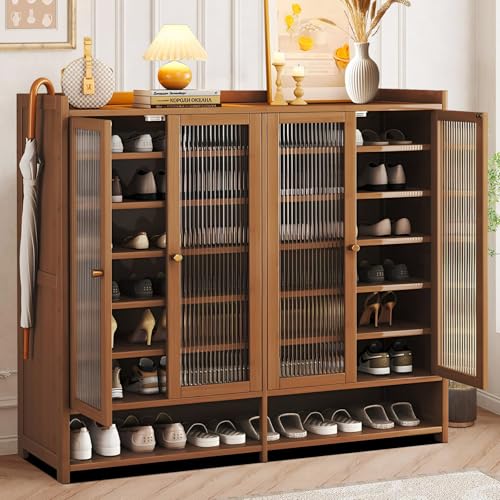
Shoe Cabinet with Doors, 8-Tier Shoe Storage Cabinet Bamboo
Buy Now → Buy Now →
 (affiliate)
Day 6: The Back of the Door
The back of the door is one of the most underused spaces in any closet and one of my favorite places to find "extra" storage without buying a bigger closet.
Here's what works well hung on the back of the door:
- An over-the-door (affiliate) shoe or bin organizer for socks, folded accessories, or smaller shoes; clear pockets make it easy to see what's inside.
- A row of hooks for tomorrow's outfit, robes, workout gear, or bags you grab daily.
- Belt or scarf racks so these items aren't tangled in a drawer.
Take a look at your door right now and ask: is this space empty, or is it doing a job? If it's empty, it's the easiest zone in your whole closet to add storage to today.
Over-the-door organizer options

Hat Organizer CapRack | Over-The-Door Hat Rack and Organizer | Baseball Cap Rack
Buy Now →
Over the Door Hanging Basket, 3-Tier Woven Cotton Wall-Mounted Storage Hanging Baskets
Buy Now → Buy Now →
 (affiliate)
Sabrina's Tips:
A clear over-the-door (affiliate) organizer is especially great in small apartments or small homes where every inch of closet space needs to multitask.
3M Command-strip hook organizers have gotten a lot sturdier - no drilling, and they hold up well for bags, robes, and belts (affiliate) if you're renting or don't want to damage the door.
Command hook options
 Buy Now →
Command Hooks Large Satin Brass Double Hooks, 2 Hooks and 2 Command Strips
Buy Now →
Command Hooks Medium Decorative Hooks, Brushed Nickel, 2-Hooks
Buy Now →(affiliate)
Day 7: The Shelves
Shelves (affiliate) get cluttered fast because they hold so many different categories at once. Work through these one at a time:
- Sweaters (affiliate) & knits: Stack no more than 3-4 high so piles don't topple. A shelf divider keeps stacks in place.
- Graphic Tees and Underclothing T-shirts (affiliate): Fold flat or use a folding (affiliate) board so you can see every shirt at a glance instead of digging through a pile.
- Bags: Nest smaller bags inside larger ones, largest to smallest, or use clear bags so you can see which one you need.
- Hats (affiliate): Stack from smallest to largest in a hat box to keep them from getting crushed.
- Memorabilia: Store in a closed, dust-free bin so it's protected but out of the way.
- Workout gear: A low-front basket on the shelf works well; stand items upright inside so you can see everything at once. Check out how I organized my sportswear on a shelf.
Sabrina's Tips:
Anything you keep on an open shelf should live in a labeled bin or box with a lid. It keeps dust down and keeps the shelf looking tidy even on a busy week.
Label (affiliate) bins with a QR code that links to a simple note (in your Notes app or Google Doc) listing what's inside. Great for memorabilia or seasonal bins you're not opening every week.

Label Maker - P-touch CUBE Plus Bluetooth, white uses an APP
Buy Now →
Label Maker By Brother P-Touch, PTM95,
Buy Now →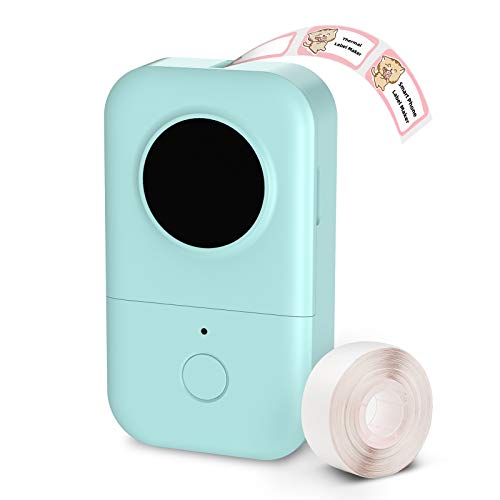
Label Maker Machine with Tape by Phomemo
Buy Now →(affiliate)
Day 8: The Hanging Rod, Labels & Final Walkthrough
Last day! Walk your hanging rod from one end to the other and ask of each item: does this earn its spot? While you're at it, make sure you're using the right hanger for the job:
- Dresses & blouses: padded or non-slip hangers (affiliate) so items don't slide off
- Suits: wider hangers (affiliate) that hold the jacket and pants together
- Pants: clip hangers (affiliate) if you don't wear them often, to avoid crease lines
- Coats & jackets: sturdier wood hangers (affiliate) that support the shoulders
Sabrina's Tips:
Measure your longest hanging item and adjust the rod height so nothing drags on the floor or another rod below it.
Many dry cleaners and retailers now take back plastic and wire hangers (affiliate) for recycling - swap yours out for a matching set of slim velvet hangers (affiliate) as you go, and drop the odd ones off instead of tossing them.
Now, walk through your whole closet: drawers, shoe area, back of the door, shelves (affiliate), and hanging rod, and label (affiliate) every zone. Labels (affiliate) remove the guesswork and keep the system working long after the 'decluttering challenge' week ends.
Take a "before and after" photo if you took one on Day 1; you earned it!
Sabrina's Tip:
If anyone else uses this closet, walk them through where things go before you call it done. A great system only works if everyone in the house knows how to use it.
FAQs: Closet Decluttering Challenge
Most days take 20-30 minutes if you set a timer and stick to the day's specific focus. Day 2 (the fit test) and Day 7 (shelves) tend to run a little longer since there's more to sort through.
No problem, just pick up where you left off. This isn't a race. The order matters more than the timing, so complete the days in sequence even if it takes you two weeks instead of one.
Ask yourself how often you use it and whether you need to see it at a glance. Daily items (socks, jewelry, tomorrow's outfit) belong in drawers or on hooks by the door. Bulkier or seasonal items belong on shelves. Shoes almost always do better off the closet floor, in their own dedicated area.
No. Start with what you have. Once you've decluttered and sorted by zone, you'll know exactly what you actually need; whether that's sock dividers, an over-the-door organizer, or shoe boxes instead of guessing and overbuying. Check out our sustainable organizing post for more tips.
Label it with today's date and store it out of sight for 3-6 months. If you never went looking for anything in it, donate the whole box without reopening it.
Absolutely. Just adjust the pace: some closets, like an older adult's closet, benefit from extra time and accessibility considerations, such as keeping frequently worn items at an easy-reaching height. Others, like a child's closet, may only take a day or two total.
More Closet Organization Help
Want to go deeper on any of these days? Here's where to look:
Purging & deciding what to keep
- Questions to Ask Yourself While Purging Your Clothes
- What to Keep in Your Organized Closet
- 20 Signs A Closet Needs to Be Purged
- The Best Way to Organize Clothing During the Fall Months
Drawers
Shoe area
Back of the door & small spaces
Shelves & overall layout
Special situations
- Closet Organization Tips for Older Adults
- Quick Wins: 30+ Areas You Can Declutter in Just 15-30 Minutes
Did the challenge help you clear out your closet? I'd love to hear how it went. Leave a comment and let me know which zone was the hardest for you!
Clothing Organization Posts

Julie Bestry says
Oooh, I do love a good organizing challenge! Your advice is apt, and they way you break the process down means that people will be able to follow it easily, without stress. I love each of the resources you suggest/discuss, but especially over-the-door pocket organizers and 3M Command-brand hooks, which make everything more orderly.
I've never even heard of your "square" method for crossing socks and folding inward, only folding or rolling. For those with the space, I prefer hanging t-shirts to folding them, but whether you DIY or use a flip-n-fold, the key is definitely to make all your folded t-shirts the same size!
I'll admit, my biggest problem is that my closet is so big! I know, that sounds like a humblebrag, but it's a walk-in closet, there's only one of me, and I almost never buy clothing, so there are few catalysts for me to downsize because it's already got empty areas with nothing to fill it. And yes, even as a professional organizer, I do get itchy when I see a huge, gaping, unfilled storage space. 😉
Sabrina Quairoli says
Lol, I understand. Thanks for stopping by and commenting, Janet. When I did the sock organization post, I found out a lot more. It is amazing. Disorganization in the sock drawer area is so common, but the solutions aren't talked about very often.
Jonda Beattie says
Great ideas! I like that you break it down into manageable parts that you can work on without having the whole closet torn up. Also, the questions to ask yourself about if it should be kept are very useful.
Thanks for putting this together.
Sabrina Quairoli says
Thanks, Jonda, for stopping by and commenting. I really appreciate it.
Janet Barclay says
Lots of great tips here, but the one that stood out for me was to keep shoe care supplies near the shoe rack. You're more likely to clean your shoes before you put them away, and even if you don't for some reason, it will be that much less hassle to do it before you wear them the next time.
Sabrina Quairoli says
Yes, this was super helpful for us and our kids.
Diane Quintana says
These are all great tips. I love the way you have broken this down into closet segments and time spent on each one. Organizing your closet can be fun and it, certainly, not only restores order but it also frees up space so you can easily find the clothes you want to wear. An added benefit is that after completing the challenge you'll have confidence that the things you're keeping fit nicely.
Sabrina Quairoli says
I totally agree, Diane. Thanks for stopping by and commenting. I really appreciate it.