
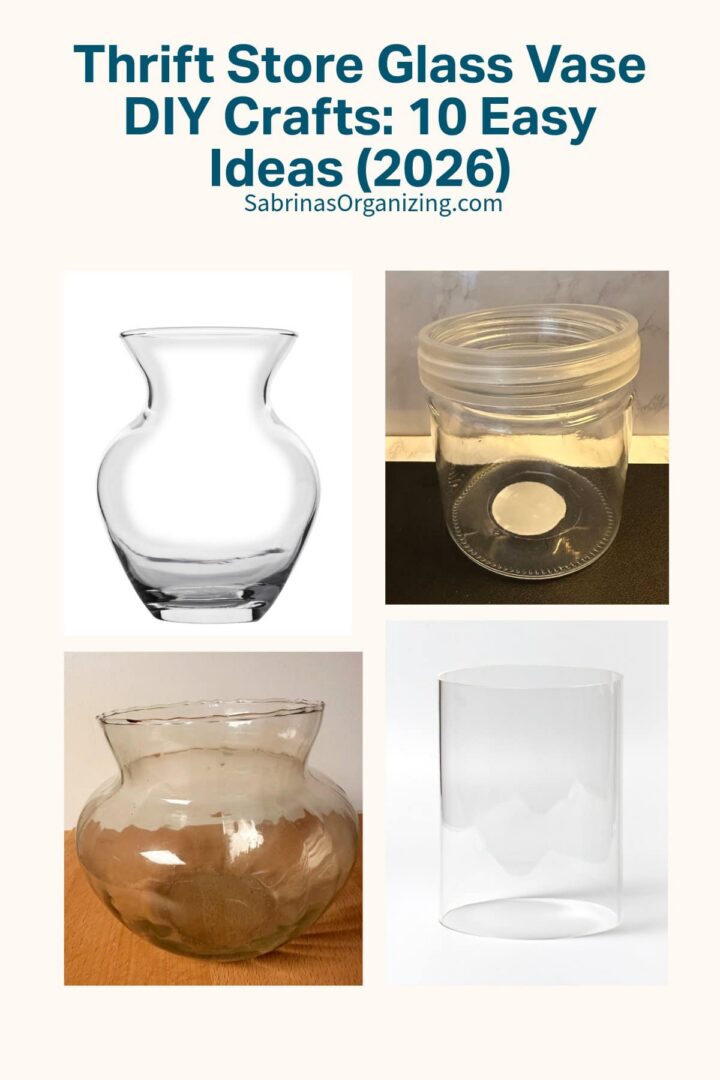
What can you make with a thrift store glass vase? A plain glass vase can become a mosaic organizer, a gold (affiliate) foil desk caddy (affiliate), a cork-wrapped pencil holder, a vintage crochet vase, a gem (affiliate)-covered holiday canister, or a wall-mounted planter. Most of these projects cost $0 to $21, take 15 minutes to a few hours (including drying), and need only basic supplies like hot glue, Mod Podge (affiliate), ribbon, or specialty adhesive. Below are 10 of my thrift store glass vase DIY favorites, grouped by technique, with tips, a quick comparison chart, and FAQs. Feel free to try them all or pick your favorite.
Estimated reading time: 14 minutes
Key Takeaways
- A $1 thrift store, dollar store (affiliate), or gifted glass vase is the perfect blank canvas for a budget-friendly DIY.
- My 10 projects are grouped by technique: shine and sparkle, fabric and fiber wraps, and flowers and planters.
- Most cost $5 or less. The priciest (the wall planter) was $21.
- Several double as organizers for pens, brushes, makeup equipment, and craft supplies.
- Always clean the glass first. Rubbing alcohol (affiliate) helps glue and adhesive grip.
- Decorated vases are for decor and dry storage. Use a glass jar insert or silk flowers if you want flowers.
Jump to:
- Key Takeaways
- Why Upcycle Glass Vases?
- Where to Find Glass Vases (Thrift Stores and Beyond)
- Shine, Sparkle & Metallic Vase Makeovers
- DIY Upcycled Wide-Top Glass Mosaic Vase: A Step-by-Step Tutorial
- Flat Red Gem Craft with Glass Cylinder DIY Project
- DIY Liquor Bottle Craft Project
- DIY Upcycled Gold Foil Vase: Elevate Your Home Decor and Organization
- Fabric, Fiber & Cork Wrap Makeovers
- How to Make a Cork Fabric Glass Cylinder DIY Project
- Glass Vase and Repurpose Vintage Crochet DIY Project
- DIY Votive Candle Makeover: From Trash to Treasure
- Flower Vases & Planters
- How to Make a Springtime Flower Vase
- How to Make an Easy Fall Flower Arrangement
- DIY Beautiful Wall Planter: easy and affordable
- Quick Comparison: Cost, Time & Best Use
- Tips for Upcycling Glass Vases
- Updated Tips and Hacks for 2026
- What to Store in Your Upcycled Vases
- Frequently Asked Questions
- Closing
Why Upcycle Glass Vases?
Do you have a cabinet full of glass vases from old bouquets, bridal showers, and "I'll use this someday" thrift runs? I do too. Plain glass is one of my favorite things to craft with. It's smooth, sturdy, and cheap (or free), and it gives you a clean base for just about any technique: glue on tiles, wrap it in lace, cover it in gold leaf, or hide it behind cork.
Here's my favorite part as an organizer: almost every vase can double as storage. A wide-top vase corrals pens, brushes, and makeup tools (affiliate). A tall cylinder holds paintbrushes (affiliate) or silk flowers. So you get pretty decor and a clutter solution in one project. Here are all my glass vase makeovers in one place.
Where to Find Glass Vases (Thrift Stores and Beyond)
You don't have to hunt only at the thrift store. Here's where my vases have come from:
- Thrift stores and yard sales. Look for smooth sides, thick glass, and no chips.
- The dollar store (affiliate). I bought three colorful vases there for my wall planter project, and they were just $3.00.
- Flower bouquets. My gold (affiliate) foil vase and cork cylinder both came from flowers someone gave me.
- Your own cabinets and kids' rooms. I found my mosaic vase while decluttering my daughter's room.
- IKEA. A simple water carafe became my springtime flower vase.
- Gifts and special bottles. My liquor bottle project started with a bourbon bottle my husband got for Christmas.
Shine, Sparkle & Metallic Vase Makeovers
These four projects add texture and glitz. They look high-end, but they're simple.
1. DIY Upcycled Wide-Top Glass Mosaic Vase
Read the full tutorial: DIY Upcycled Wide-Top Glass Mosaic Vase
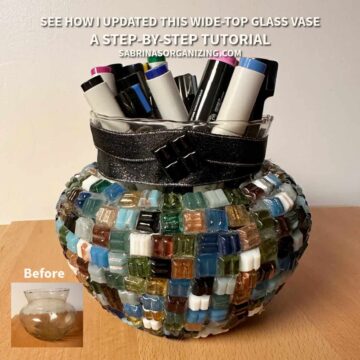
I found a wide-top vase with a ruffled lip while decluttering my daughter's room, and it became the perfect test piece for mosaic tiles. Glue square glass tiles on with a hot glue gun, working from the bottom up with the vase turned upside down. Finish it with a glitter ribbon collar. The tiles cost me about $10, and the whole project took 2 hours and 15 minutes. It's a pretty catch-all for keys and desk supplies.
Tip: Hot glue cools fast on glass, so add only about three tiles at a time.
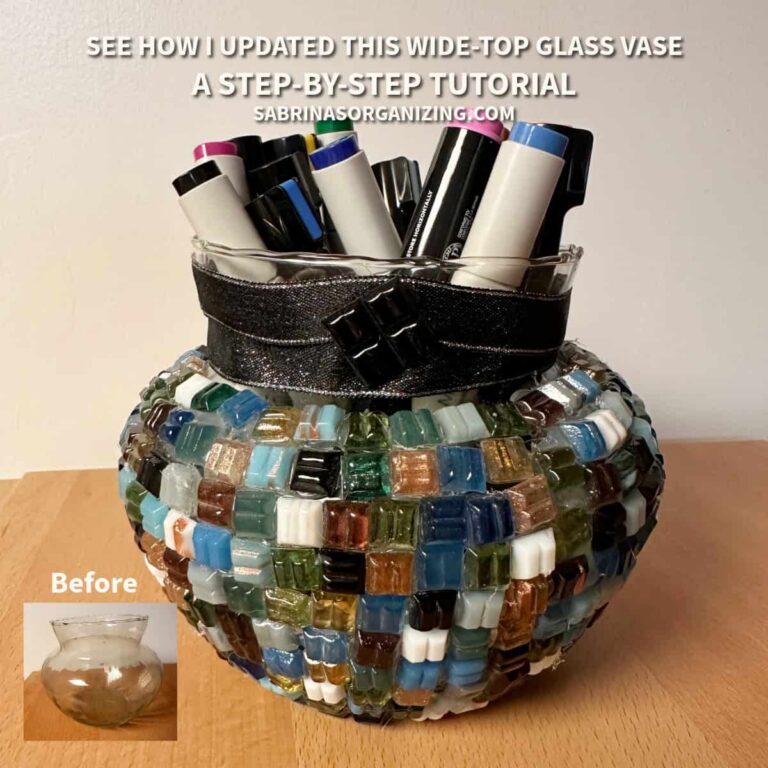
DIY Upcycled Wide-Top Glass Mosaic Vase: A Step-by-Step Tutorial
Transforming a plain glass vase into a colorful, textured mosaic bowl is an easy project that adds character and practical storage to any room. Start at the base and build upward, creating straight, stable rows of tiles that wrap seamlessly around the vessel's curved body.
2. Flat Red Gem Craft with Glass Cylinder
Read the full tutorial: Flat Red Gem Craft with Glass Cylinder DIY Project
Flat red gems glued row by row turn a plain cylinder into a holiday canister. I used a clear-grip contact adhesive and laid the cylinder on its side so the gems stayed put. It cost about $10 and took about three hours of gluing, plus overnight before I could stand it upright. Fill it with silk poinsettias or use it for storage.
Tip: A watery glue lets gems slide. Choose an adhesive that grabs within seconds.

Flat Red Gem Craft with Glass Cylinder DIY Project
Home decor can easily be made instead of bought. Flat Red Gems are perfect for upcycling a variety of glass jars. This project shows how to upcycle Red Gem Craft with a Glass Cylinder.
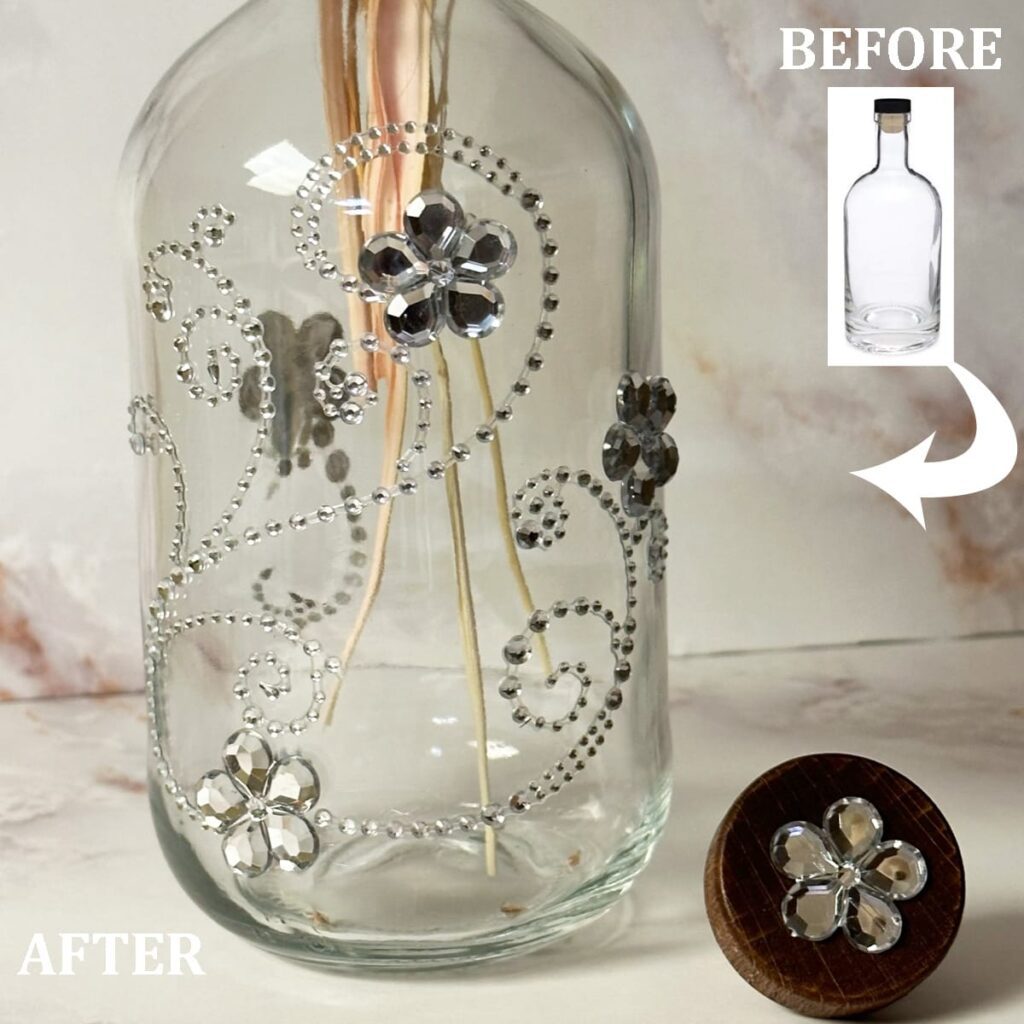
3. DIY Liquor Bottle Craft Project
Read the full tutorial: DIY Liquor Bottle Craft Project
Don't toss that pretty bottle. This bourbon bottle with a wooden lid got scrapbook (affiliate) bling stickers, a pearl ribbon, and a few dried flowers. It cost about $11 and took about 30 minutes. My post also lists other bottles you can use (wine, whiskey, champagne, tequila) and more ways to reuse them.
Tip: Check your bottle opening before buying dried flowers to make sure the stems fit.
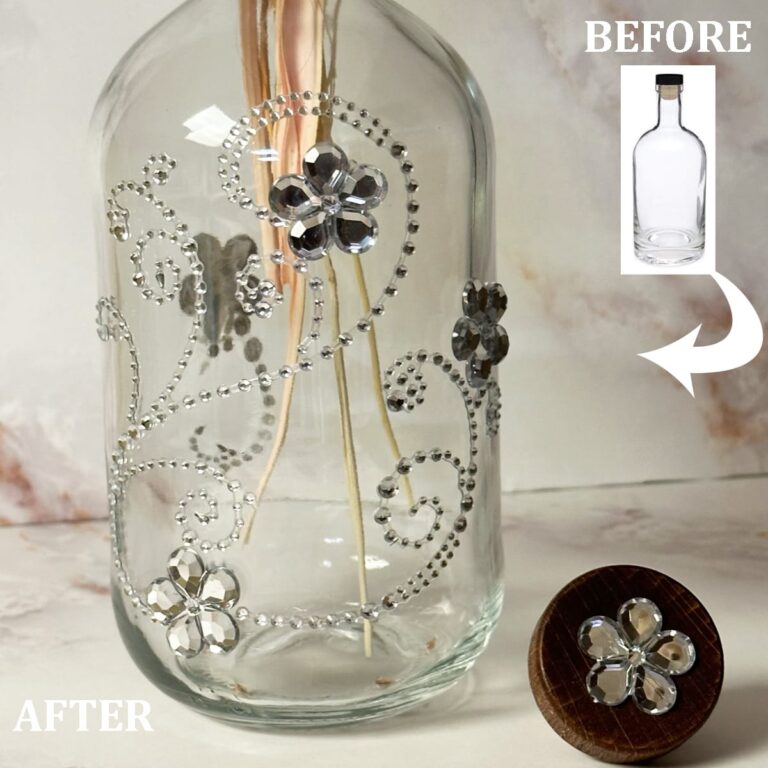
DIY Liquor Bottle Craft Project
Liquor bottles are unique and can easily be reused. All you need to do is remove the label. That's what I did with this liquor bottle craft project. And turned it into this really cute vase. Check out the steps to do this project below.
4. DIY Upcycled Gold Foil Vase
Read the full tutorial: DIY Upcycled Gold Foil Vase: Elevate Your Home Decor and Organization
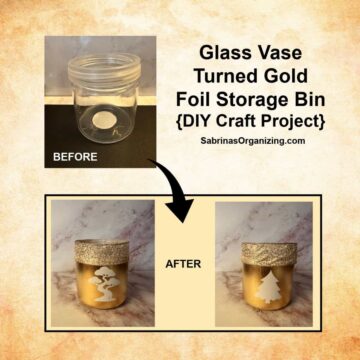
I wanted to see how smooth gold (affiliate) foil could look on glass, and the answer is very smooth. Brush on metal leaf adhesive, wait about an hour for it to turn clear and tacky, then lay the foil on with cotton gloves. I topped mine with a ribbon-covered band and added felt pads to the bottom. It cost about $5 and took about 2 hours, mostly drying time. Swap a vinyl decal (a pine tree or bonsai) to change the look for the season.
Tip: Never apply foil while the adhesive is wet or milky. Patience pays off here.
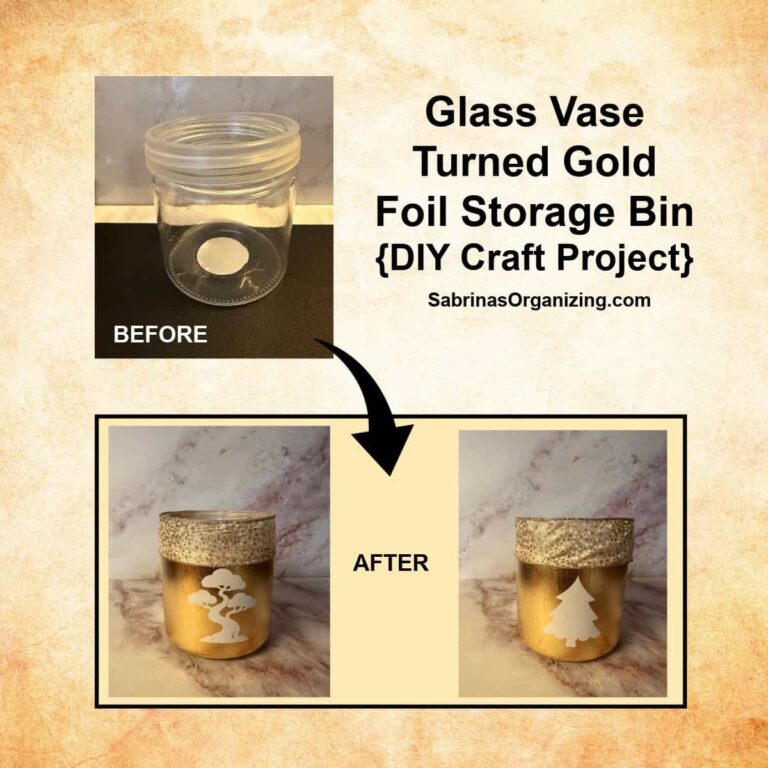
DIY Upcycled Gold Foil Vase: Elevate Your Home Decor and Organization
We all have those plain glass jars or vases hidden away in our cabinets just waiting for a second life. Today, I'm showing you a simple, elegant way to transform a basic glass vase jar into a stunning, multifunctional gold-foil vase, perfect for both home decor and keeping your spaces beautifully organized.
Fabric, Fiber & Cork Wrap Makeovers
Not a fan of clear glass? Cover it up. These three projects use wraps to hide the glass and add texture.
5. Cork Fabric Glass Cylinder
Read the full tutorial: How to Make a Cork Fabric Glass Cylinder DIY Project
I had a plain cylinder from a bouquet and didn't love how it looked. Natural cork fabric, a strong clear adhesive, and a black (affiliate) ribbon bow changed everything, and you can't even tell it's glass. It cost about $5 and took about 15 minutes. It also works as a paintbrush (affiliate) holder, since it hides the contents. Check out my soup can version with natural cork fabric, too.

How to Make a Cork Fabric Glass Cylinder DIY Project
Sometimes we have a glass cylinder that we don't want to part with. It hangs around in our home looking blah, but I think it helps organize things. I'm here to show you another cork fabric upcycling project I recently completed to help address this dilemma.
6. Glass Vase and Repurposed Vintage Crochet
Read the full tutorial: Glass Vase and Repurpose Vintage Crochet DIY Project
A vintage crochet placemat wrapped around a glass cylinder is such a sweet way to display handmade pieces. It cost about $5 and took about 4 hours, but only half an hour of that was hands-on. The rest was drying.
Tip: Put the Mod Podge (affiliate) on the glass, not on the lace. It can darken the crochet (my beige one turned brown). And cut the crochet about ¼ inch longer than the glass so the vase sits level.
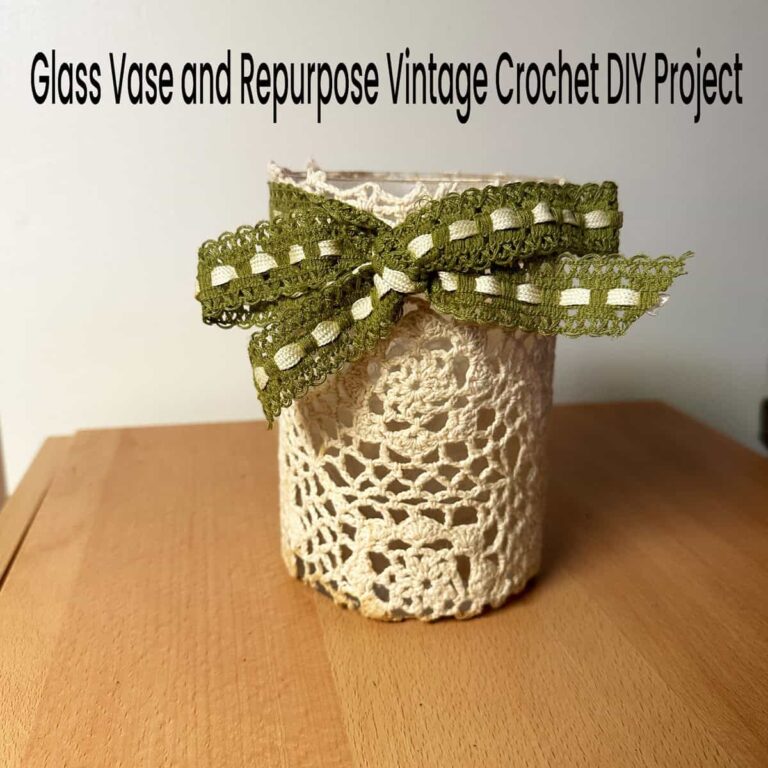
Glass Vase and Repurpose Vintage Crochet DIY Project
Glass cylinder vases come in a variety of sizes. From small to large, and from wide to narrow, these vases are incredibly versatile for real and faux flowers.
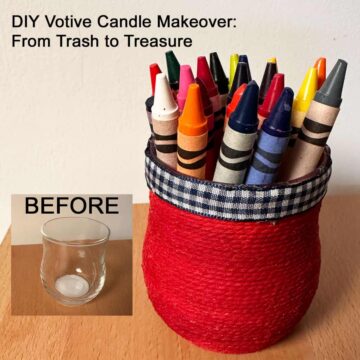
7. DIY Votive Candle Makeover
Read the full tutorial: DIY Votive Candle Makeover: From Trash to Treasure
An empty votive holder becomes a twine-wrapped storage cup with Mod Podge (affiliate) and a ribbon trim. It cost about $3 and took about 3 hours, including drying. Mine holds a whole pack of crayons (affiliate). The post includes my favorite wax-removal trick (the freezer method).

DIY Votive Candle Makeover: From Trash to Treasure
This DIY Votive Candle Makeover uses leftover colorful twine to wrap the glass, creating a stylish little bin. This method is incredibly versatile. You could use different colors for different seasons, holiday themes, or just to match your room's decor. Today, we're using bright red twine and a patterned ribbon.
Flower Vases & Planters
If you want your glass vase to actually hold flowers, these three projects are for you.
8. How to Make a Springtime Flower Vase
Read the full tutorial: How to Make a Springtime Flower Vase
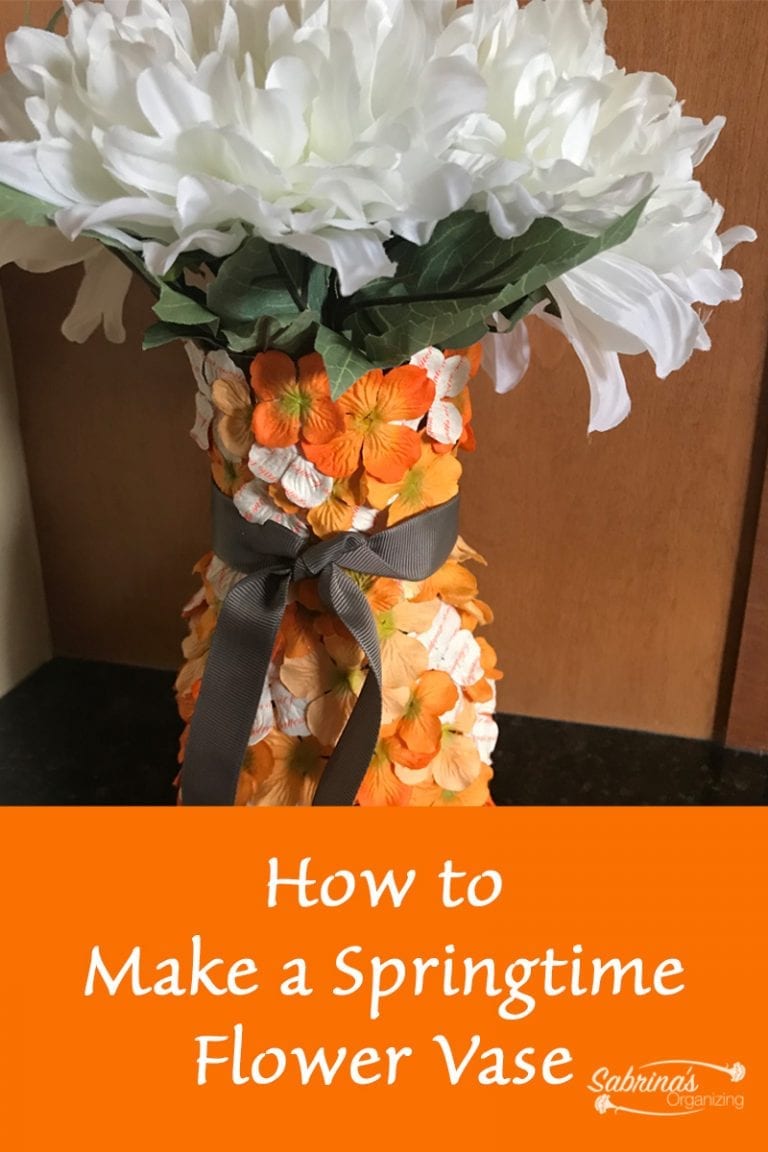
I made this one for my daughter's high school graduation. Hot-glue flat silk flower petals around a glass carafe, overlapping them by half, then finish with a ribbon and silk stems. It took about an hour and cost me nothing, since I used supplies I already had.
How to Make a Springtime Flower Vase
This DIY craft project will definitely brighten up any room this spring. I made it for my daughter's graduation, which will be this summer. OMG! Time flies! You could also make them for other parties, give them as holiday gifts, or use them yourself to brighten your organized home.
9. How to Make an Easy Fall Flower Arrangement
Read the full tutorial: How to Make an Easy Fall Flower Arrangement
This one uses a smooth glass jar instead of a vase. Zig-zag ribbon is glued around the jar and lid, mirror glass pieces go in the bottom, and silk fall flowers get pressed in. The flowers cost $5, and the whole thing took about half an hour.

How to Make an Easy Fall Flower Arrangement
Each fall, I like to make a simple DIY Fall Flower Arrangement. There are so many fall flower arrangements that are just beautiful but cost a fortune for a few months of pleasure in your home.
10. DIY Beautiful Wall Planter
Read the full tutorial: DIY Beautiful Wall Planter Easy and Affordable
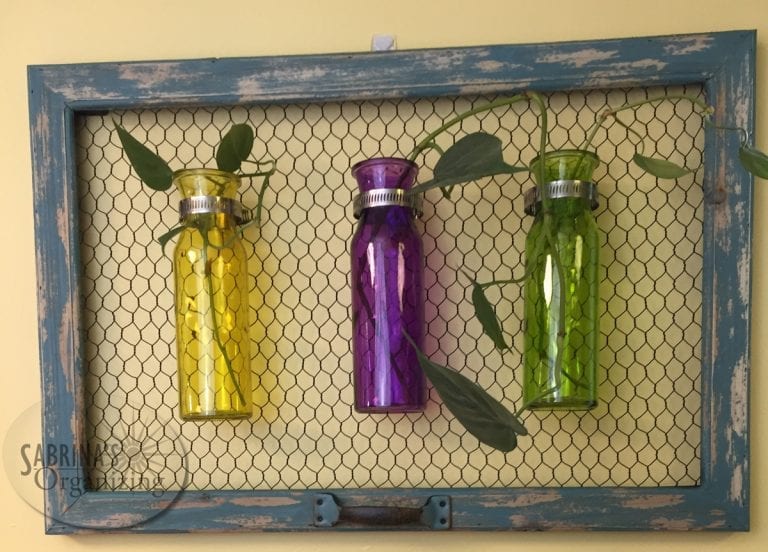
And my last DIY project: three colorful dollar store (affiliate) glass vases are held onto a chicken wire frame with adjustable plumbing rings. Add water and ivy cuttings (or any flowers), and you have a propagation wall planter that's perfect for small homes. The total was $21 and took about 30 minutes. This is the one project where the glass stays plain and holds water.
DIY Beautiful Wall Planter: easy and affordable
Wall planters are very popular these days. The other day, we went to the farm for our annual tradition, and they had several different vertical planters. They were so pretty but can cost a pretty penny, so I prefer to make one myself. There are lots of ways to do this. Here is one way
Quick Comparison: Cost, Time & Best Use
Below is my quick glance at how much each DIY project costs, how long it takes, and what it is best for in your home.
| Project | Cost | Time | Best For |
|---|---|---|---|
| Mosaic Vase | ~$10 | 2 hrs 15 min | Desk, entryway, or craft storage |
| Red Gem Cylinder | ~$10 | ~3 hrs + overnight | Holiday decor |
| Liquor Bottle Vase | ~$11 | ~30 min | Dried flowers, gifts |
| Gold Foil Vase | ~$5 | ~2 hrs | Office, vanity, kitchen tools (affiliate) |
| Cork Fabric Cylinder | ~$5 | ~15 min | Paintbrushes (affiliate), silk flowers |
| Vintage Crochet Vase | ~$5 | ~4 hrs (mostly drying) | Heirloom display |
| Votive Makeover | ~$3 | ~3 hrs | Crayons (affiliate), pens, brushes |
| Springtime Vase | $0 (used supplies on hand) | ~1 hr | Parties, gifts |
| Fall Arrangement | ~$5 | ~30 min | Seasonal centerpiece |
| Wall Planter | ~$21 | ~30 min | Small spaces, plant cuttings |
Short on time? Start with the cork cylinder (15 minutes), the liquor bottle, the fall arrangement, or the wall planter (about 30 minutes each).
Tips for Upcycling Glass Vases
Now let's talk about tips to help you with these thrift store glass vase DIYs.
Choosing Your Vase
- Pick smooth sides and sturdy glass. Smooth glass is much easier to glue, wrap, or foil. I used a smooth jar for my fall arrangement for this reason.
- Check for chips and cracks. Run your finger around the rim and base in the store. A chipped vase is hard to craft with, and it can cut you.
- Think about the opening. Wide tops are best for storage. Narrow necks limit what fits, so match dried or silk flowers to the opening.
- Match the vase to the technique. Cylinders are ideal for wraps (fabric, cork, crochet, twine). Wide-top vases are great for mosaic tiles. Curved necks hang easily with a ring, like my wall planter.
Prep Work
- Clean it well. Wash the glass inside and out and let it dry completely. For my mosaic vase, I also wiped it with rubbing alcohol (affiliate) with a microfiber cloth to remove grease and fingerprints.
- Remove stickers and labels (affiliate). Soak in warm, soapy water, then lift sticky residue with baking soda and oil or an adhesive remover.
- Get wax out safely. For candle (affiliate) jars, use the freezer method: pop the jar in the freezer for 1 to 2 hours and the wax pops right out. Avoid sudden temperature swings that could crack the glass.
Gluing and Sealing
- Match the adhesive to the project. Hot glue worked for my mosaic tiles and bling stickers. A clear, strong contact adhesive worked better for gems and cork. Mod Podge (affiliate) works for crochet and twine. Metal leaf needs its own adhesive.
- Work in small sections. Glue sets quickly on smooth glass, so work a few tiles or one inch of twine at a time.
- Lay it down for heavy embellishments. For gems, I laid the cylinder on its side and let each row set before the next.
- Protect your hands. Wear gloves with hot glue. Wear cotton gloves with gold (affiliate) foil so skin oils don't dull it.
- Add felt pads. Self-adhesive felt pads on the bottom protect your furniture from scratches.
Use and Care
- Treat decorated vases as decor and dry storage. Glue, paint, and Mod Podge (affiliate) finishes are not meant to hold water or food.
- Want real or silk flowers inside? Use silk stems, or tuck a small glass jar inside to hold the water.
- Keep them out of direct sun and humid spots. Heat and moisture can loosen stickers and adhesives over time.
Updated Tips and Hacks for 2026
A few new ideas you can try and I will try too:
- Change the look with removable vinyl. On my gold (affiliate) foil vase, I created a pine tree look for the holidays and a bonsai look for everyday. Swap the decal, not the whole vase.
- Make a mini set. Gather three vases in different heights from one thrift run and use the same technique on all of them for a matching, store-quality trio.
- Shop your own craft cabinet first. Almost every project here used leftover tiles, foil, ribbon, or glue from another DIY. Keep your craft supplies together so you can see what you already have. Here's how I set up my craft zone cabinet.
- Plan for drying time. Several projects here took 3 to 4 hours or overnight to dry, so start them in the evening and finish the next day.
- Make gifts. A decorated vase filled with silk flowers or small treats makes a thoughtful, budget-friendly hostess or holiday gift (affiliate). Mason Jars (affiliate) are a wonderful and affordable option to decorate for gifts.
- Give each vase a job. Before you start, decide what it will hold. That way your craft doesn't turn into more clutter.
What to Store in Your Upcycled Vases
Because I'm an organizer, every vase gets a job:
- Desk and office: pens, markers, scissors (affiliate), sticky notes (affiliate), paper clips, binder (affiliate) clips
- Craft room: paintbrushes (affiliate), ribbon spools, glue sticks (affiliate), buttons, rulers
- Vanity and bathroom: makeup brushes (affiliate), cotton swabs, hair ties, combs
- Kitchen: short wooden spoons (affiliate), tasting spoons, spatulas (by the stove, in a gold (affiliate) foil or wrapped vase)
- Kids' room: crayons (affiliate), colored pencils, markers
- Entryway: keys, mail, sunglasses (affiliate), spare change
Frequently Asked Questions
You can turn it into a decorative storage container, a flower vase, or a wall planter. In this collection, I covered glass vases with mosaic tiles, gold foil, cork fabric, vintage crochet, gems, twine, and silk petals. Pick a vase, pick a technique, and give it a job.
It depends on the project. A hot glue gun worked well for mosaic tiles and bling stickers. A clear contact adhesive worked well for gems and cork fabric. Mod Podge worked for crochet and twine. And gold leaf needs metal leaf adhesive (sizing). Whatever you choose, make sure it is not too watery, or your embellishments will slide.
Yes. Wash it, dry it completely, and wipe it with rubbing alcohol if you want. Grease, dust, and fingerprints keep glue from gripping.
Soak it in warm, soapy water for 20 to 30 minutes, peel off what you can, and then lift the sticky residue with baking soda and oil or an adhesive remover. Let the glass dry before you craft.
Usually not directly. Glued, painted, or Mod Podge-covered vases are for decor and dry storage. Use silk flowers, or place a small glass jar inside to hold the water. The wall planter is the exception, since the glass stays plain.
The cork fabric cylinder (about 15 minutes) and the liquor bottle (about 30 minutes) are two of the easiest. Both use simple steps and few supplies.
My springtime flower vase cost nothing because I used supplies I already had. The votive makeover cost about $3, and the cork cylinder, crochet vase, gold foil vase, and fall arrangement were each about $5.
From about 15 minutes (cork cylinder) to about 4 hours (crochet vase). The longer times are mostly drying. The gem cylinder needs about 3 hours of gluing and an overnight rest.
The no-heat ones, like the twine-wrapped votive, are great for kids to help with. Hot glue projects (mosaic, gems, flowers) are better handled by an adult or with close supervision.
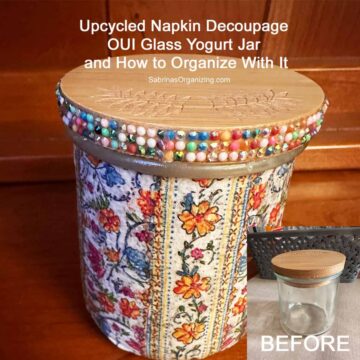
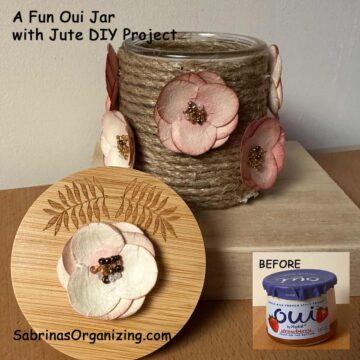
Yes, many of these techniques work on other containers. See my yogurt container projects and tin can projects for ideas.
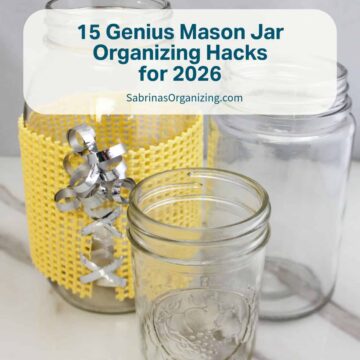
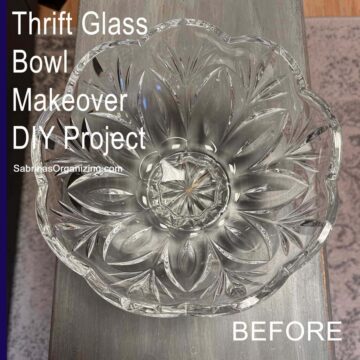
Mason jars, candle jars, wine and liquor bottles, glass bowls, and teacups all work. Visit my posts on mason jar organizing, the thrift glass bowl makeover, and the DIY teacup candle project.
Closing
I hope this collection helps you rescue a vase (or three) from the back of your cabinet or the thrift store shelf. Start with something quick, give your new piece a job, and enjoy it. Which project would you try first? Leave a comment below. I'd love to see your finished vases.
Sharing is caring! If you enjoyed this post, please share it with friends by email or social media, and use the hashtag #sabrinasorganizingDIY. Thank you!
More Upcycling Projects to Try
- DIY Yogurt Container Projects: Oui Jars and Kite Hill Tubs
- Creative Tin Can Craft Projects to Organize Your Entire Home
- Upcycling Candle Jar into a Cute Marker Holder
- Thrift Glass Bowl Makeover DIY Project
Please note that some of these are affiliate links, and at no additional cost to you, I will earn affiliate fees if you decide to make a purchase.

Leave a Reply