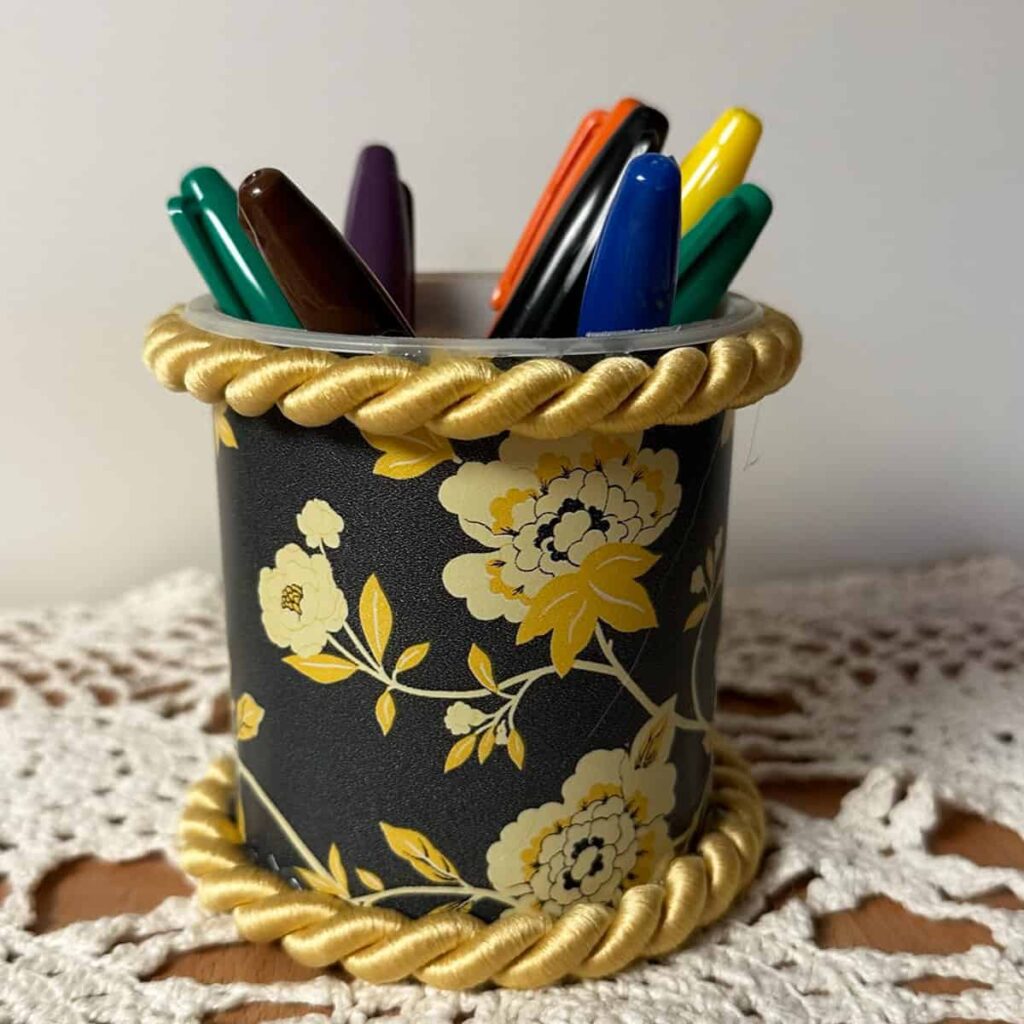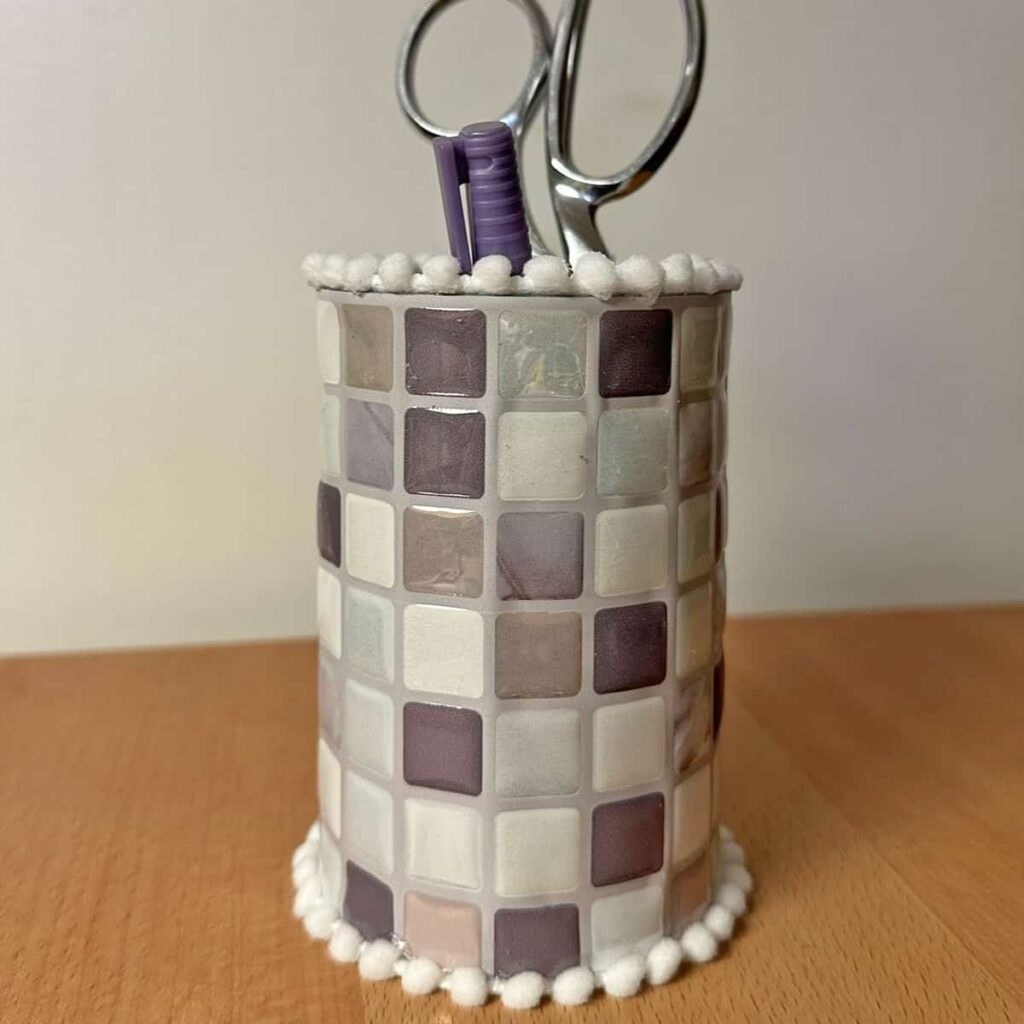
We all have those plain glass jars or vases hidden away in our cabinets just waiting for a second life. Today, I'm showing you a simple, elegant way to transform a basic glass vase jar into a stunning, multifunctional gold (affiliate)-foil vase, perfect for both home decor (affiliate) and keeping your spaces beautifully organized.
Let me share with you first the tips for making this DIY Upcycled Gold (affiliate) Foil Vase to help me organize my small things!
Jump to:
Key Takeaways
- Transform a plain glass jar into a stylish DIY Upcycled Gold (affiliate) Foil Vase for home decor (affiliate) and organization.
- Gather supplies like gold (affiliate) foil sheets, metal leaf adhesive, and cotton gloves for the project.
- Follow a step-by-step tutorial that includes applying adhesive, laying gold (affiliate) foil, and adding decorative ribbon.
- This project costs about $5 and takes approximately 2 hours, mostly for drying time.
- Customize your vase with different stencils to match your style or the season.
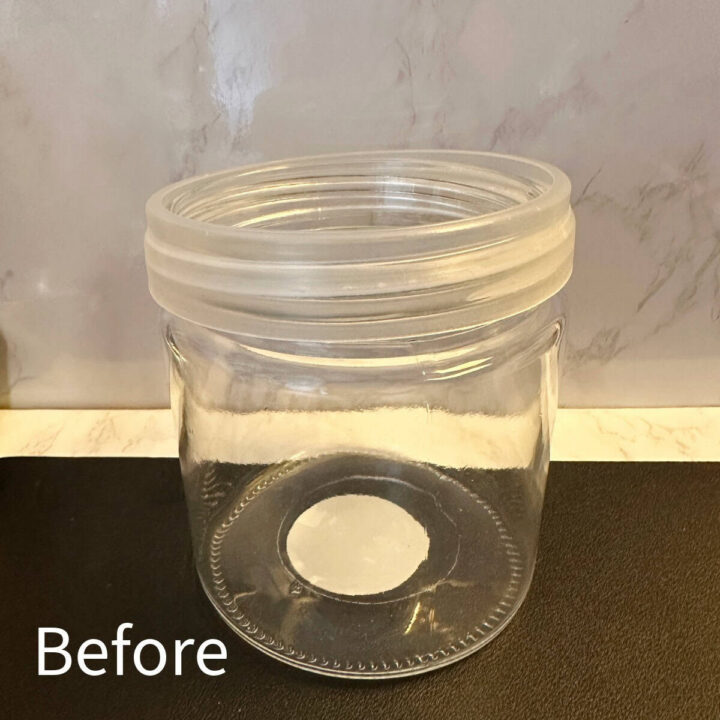
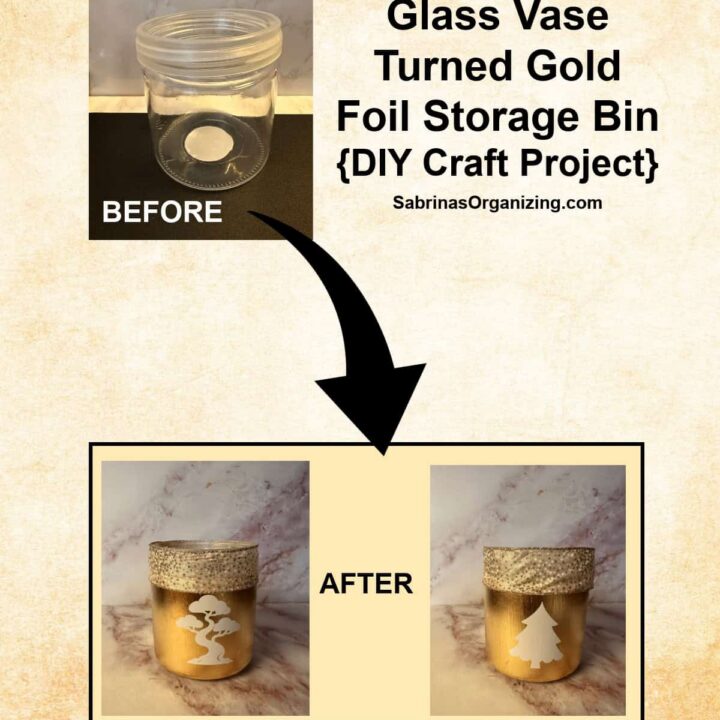
Before Gold Foil Makeover
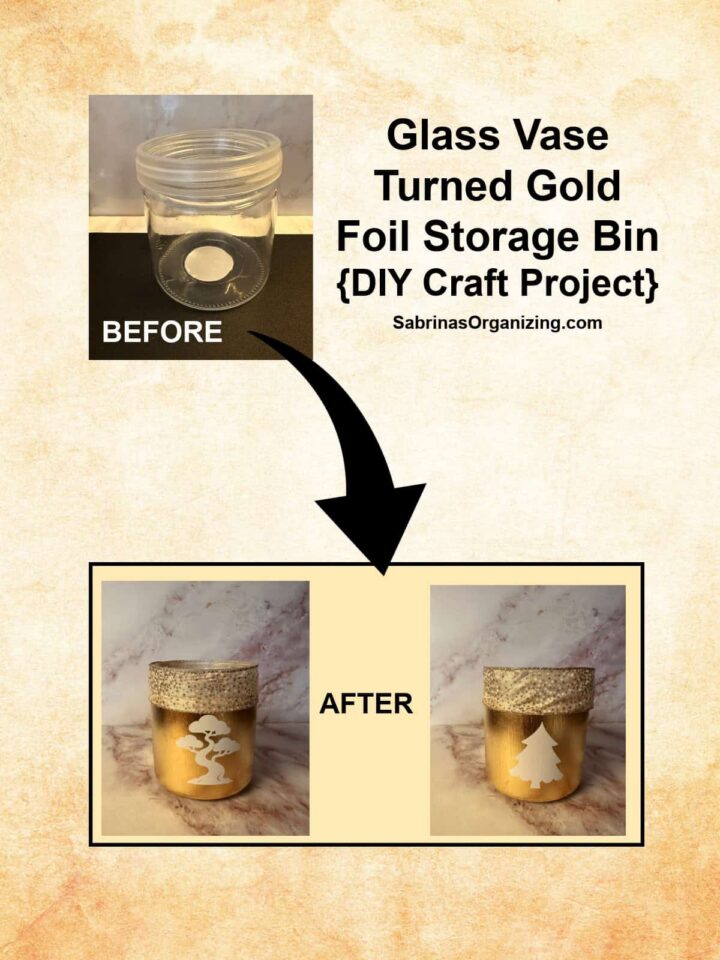
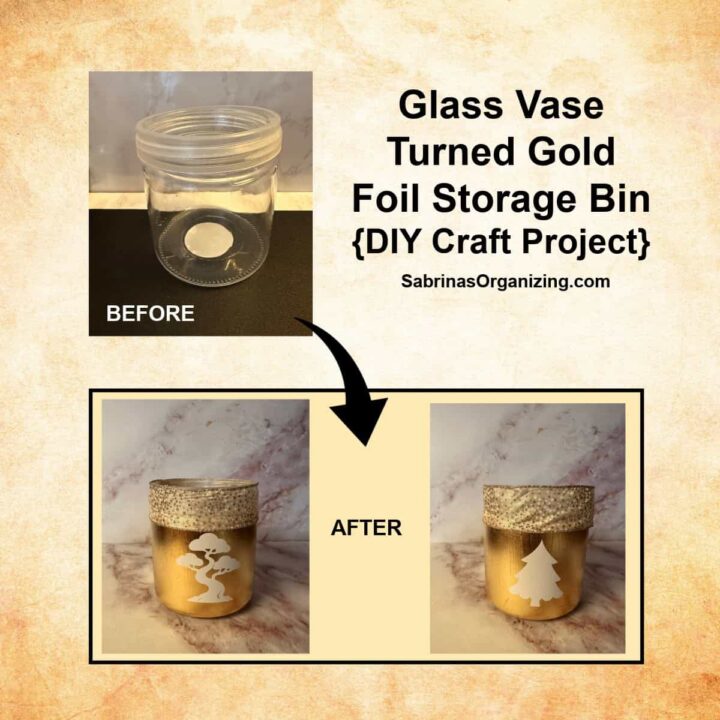
This is what the vase looked like before I modified it. It was about 5 inches in diameter and 6-7 inches tall. The plastic around the top was removable, perfect to add the ribbon after I finished the gold (affiliate) foil on the vase.
Things to know before trying this project
Below are things you should know about this project.
What inspired me to do this DIY Upcycled Gold Foil Vase?
I worked on using gold foil for the past several months and wanted to try a glass surface to see how smooth it could get. The texture of the wood changes the gold foil when applied, so I figured the gold foil would be smoother on a glass surface. So, this was my experiment.
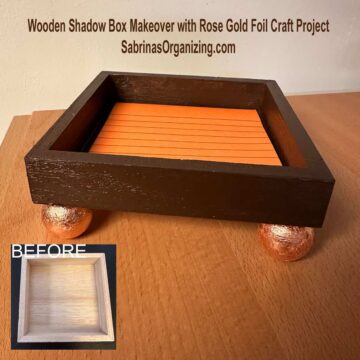
Below is one of my other gold foil projects.
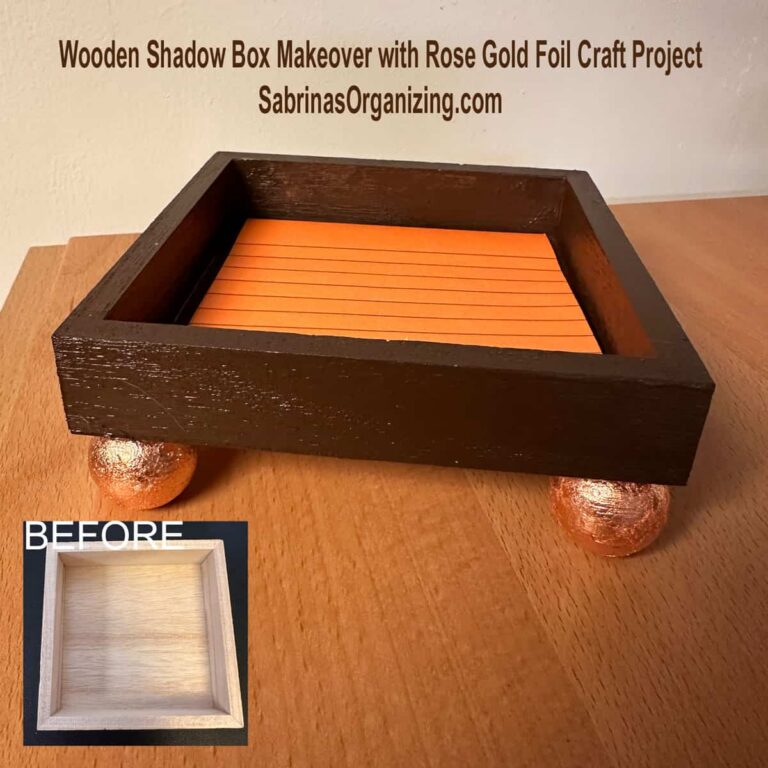
Wooden Shadow Box Makeover with Rose Gold Foil Craft Project
I've upcycled a shadow box before and have purchased several from Michaels to create cute trays to hold and organize my favorite small things. Last time, I organized my daily jewelry. This time, I am going to create a tray for my frequently used sticky notes. Follow along to see step-by-step instructions on how I made this wooden shadow box makeover.
What Supplies Did I Use to Make This DIY Upcycled Gold Foil Vase?
Plain glass jar or vase
Gold foil sheets - 4 or more
Metal leaf adhesive/sizing (and a brush to apply it) - I bought a metal leaf adhesive kit that includes all of these tools (affiliate) for gold foil
Paintbrush (affiliate) for metal leaf glue
White cotton gloves (to protect the gold leaf)
Hot glue gun (affiliate) and glue sticks
Decorative ribbon (gold-flecked or patterned)
Felt furniture pads (to protect your surfaces)
Cricut Vinyl stickers - white (optional, like a tree or holiday shape). Get these designs on my Cricut Profile Page.
Please note these are affiliate links through Amazon (affiliate), and at no additional cost to you, I will earn an affiliate commission if you decide to make a purchase.
How much did it cost to make this DIY Upcycled Gold Foil Vase?
This project cost me about $5.00 to make, since I got the vase from a bouquet my husband gave me, and the gold foil and glue were from another DIY craft project I did.
How long did it take to make the DIY Upcycled Gold Foil Vase?
It took me about 2 hours to make this vase. That includes drying time for the glue.
Tips on Making this DIY Upcycled Gold Foil Vase
Below are some tips to consider when trying this project.
- Wait for the Tacky Phase: Never try to apply the gold foil while the adhesive is wet or milky. Wait until it cures to a crystal-clear, sticky finish. It takes about an hour if you apply a thin, even coat.
- Say Yes to Gloves: Gold leaf reacts instantly to the natural oils on your fingers, which can dull the shine or cause it to tear prematurely. Cheap white cotton gloves are your best friend!
- Embrace Imperfection: Gold leafing is inherently rustic and textured. If a tiny spot doesn't take the foil, simply dab a tiny bit more adhesive, wait for it to get tacky, and patch it up with a stray flake.
- I used a table vise to help me hold the glass in place while adding the foil to the sticky glue. Turn the glass upside down and tighten lightly on the edge of the glass jar. Not too tight; it will break. This was a game changer.
Step-by-Step Tutorial
Every great project starts with a simple beginning. Here is the plain, cleared-out glass jar before the transformation. Below are the step-by-step instructions to make this cute DIY Upcycled Gold Foil Vase. Feel free to check them out.
Time needed: 2 hours
How did I make this DIY Upcycled Gold Foil Vase?
- Apply the Adhesive
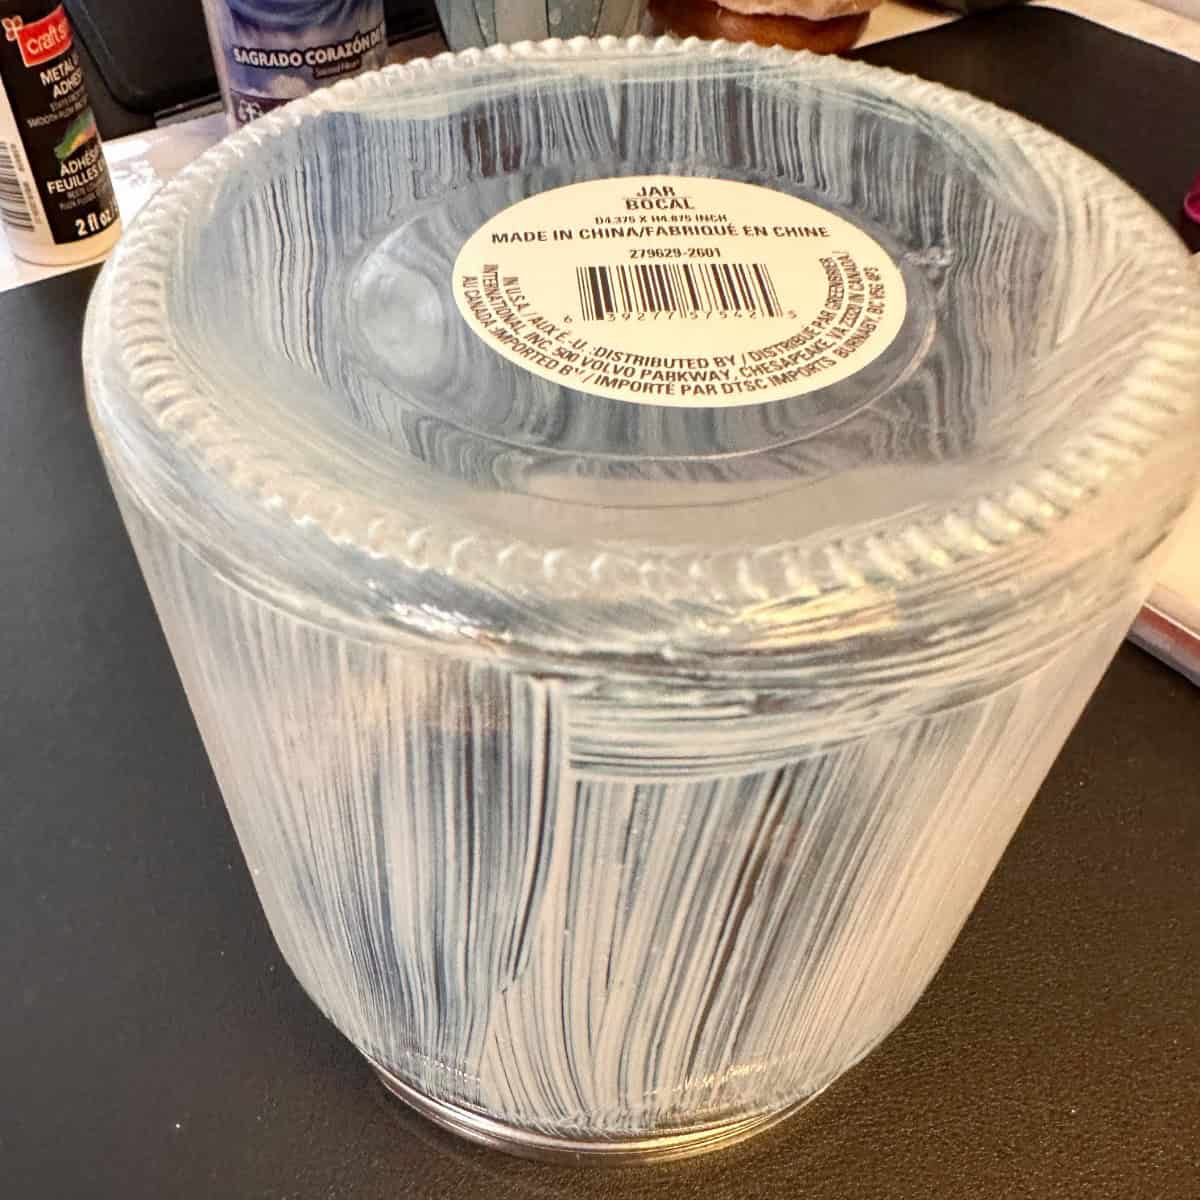
First, thoroughly clean your glass jar and dry completely. Turn the vase over and, using a paintbrush (affiliate), apply a thin, even layer of metal leaf adhesive over the areas you want to cover. Let it dry until it becomes clear and tacky to the touch. I did not add glue to the neck of the vase since the band will be on top.
- Set Up Your Workspace
If you have a small hobby vise attached to your craft table, it can be incredibly helpful to hold the jar securely by its rim while you work, keeping your hands free. This will help me keep the glass jar stable when I need to add the foil.
After about 1 hour, the vase was completely sticky, so I added it to the vise.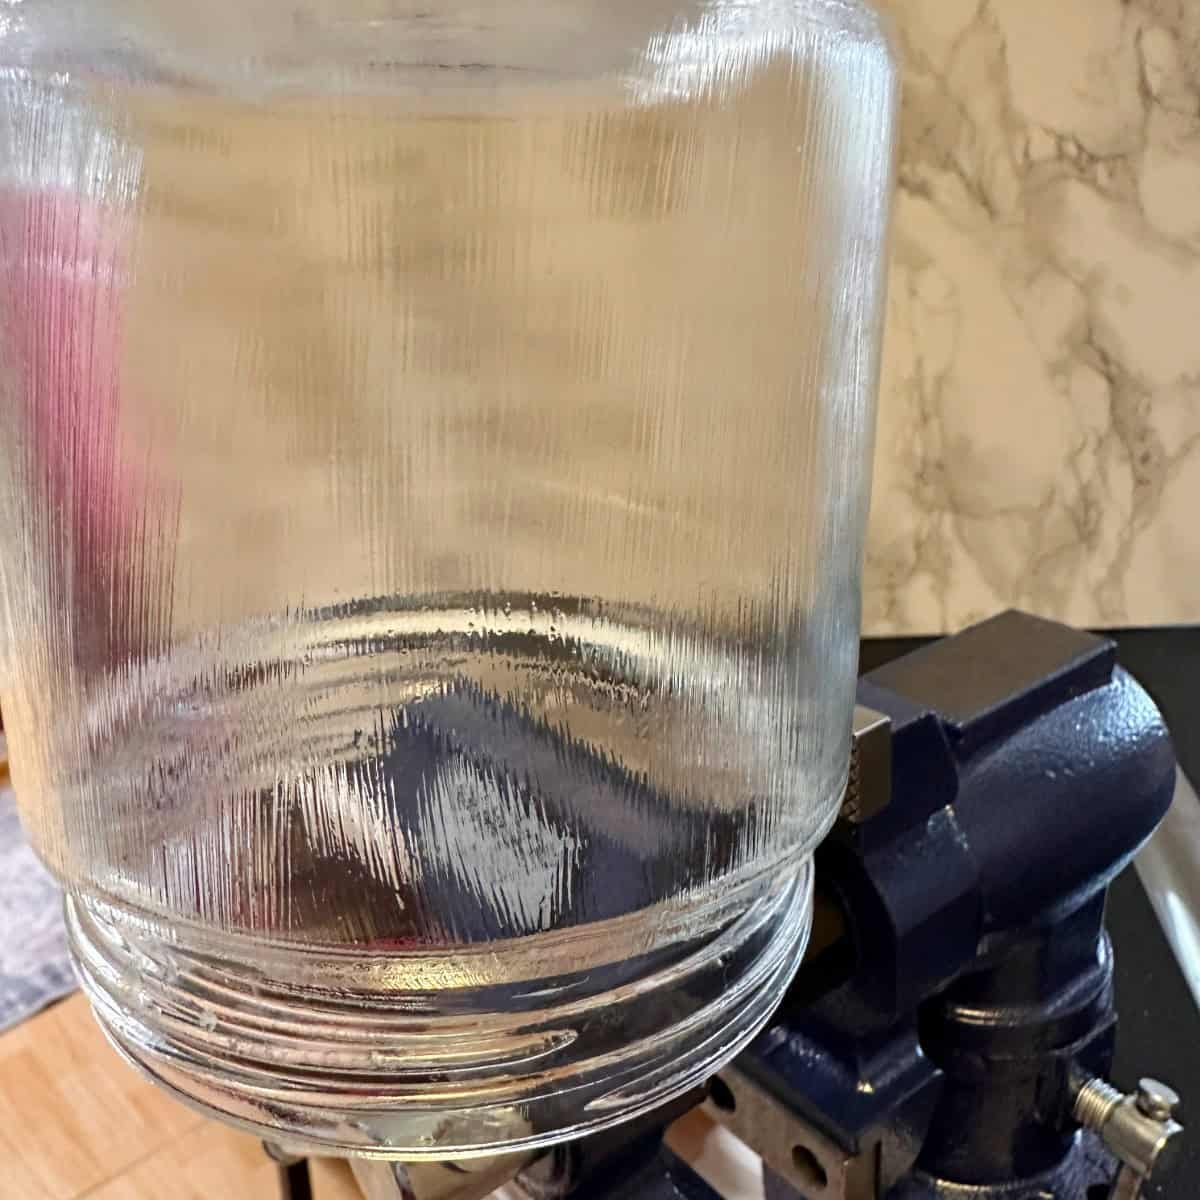
- Gently Lay the Gold Foil
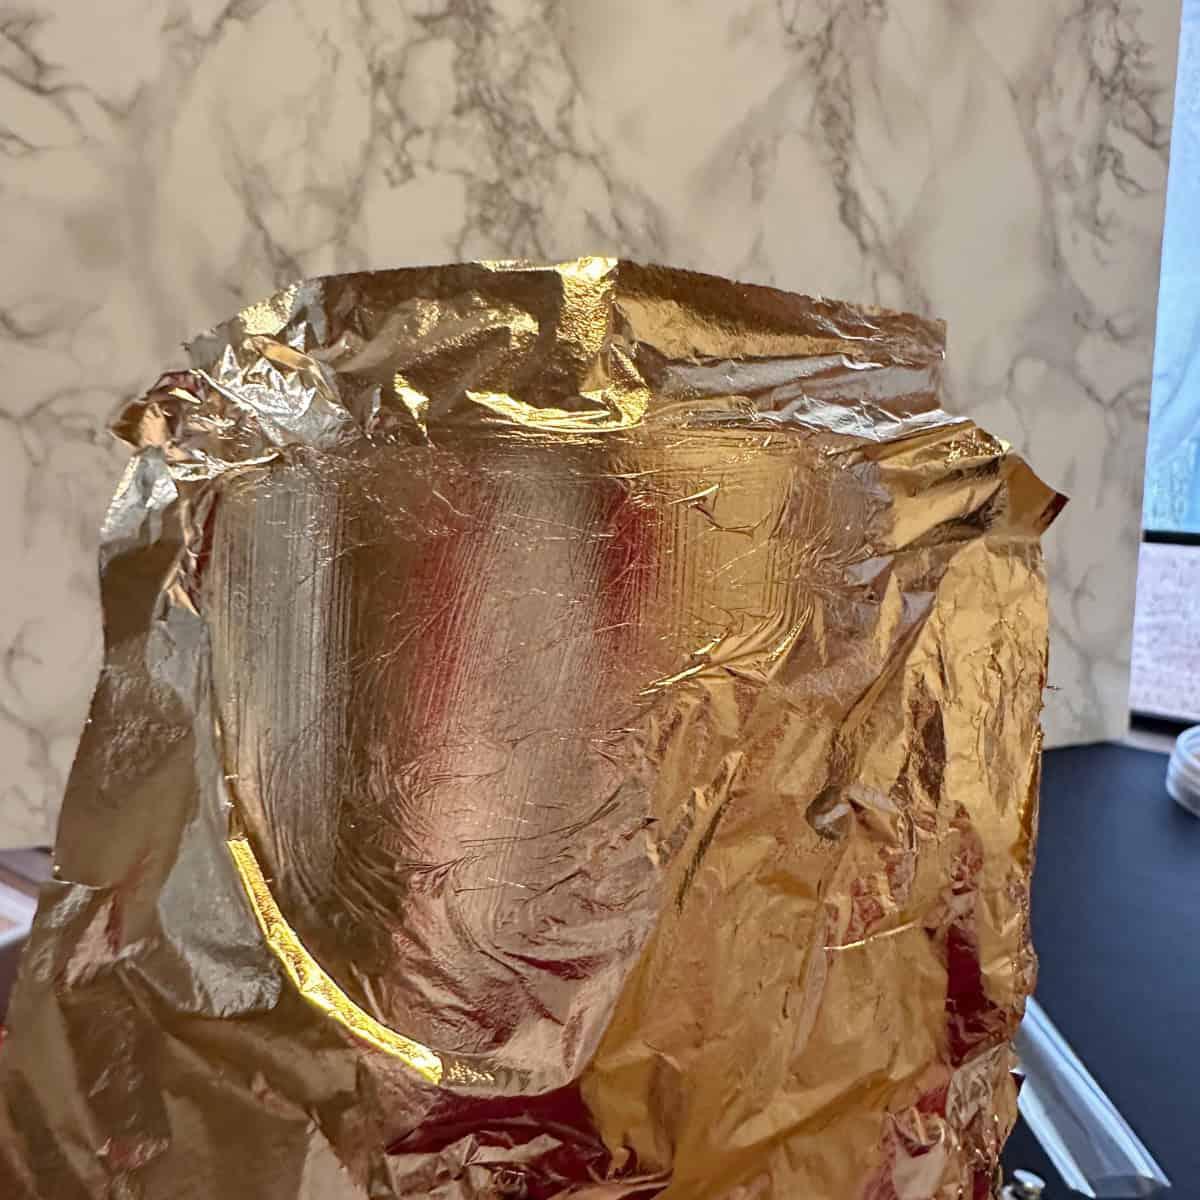
Now, carefully press a sheet of gold foil onto the tacky surface. Don't worry if it wrinkles slightly-that adds beautiful texture and character to the piece!
- Smooth and Burnish
Put on your soft cotton gloves to avoid scratching or tearing the delicate metal leaf. Gently smooth out the foil, pressing it into the adhesive, and brush away any loose excess flakes. It was a slow process. Hold your breath when applying it; it moves with the slightest of air.
Here is what it looked like after it was finished.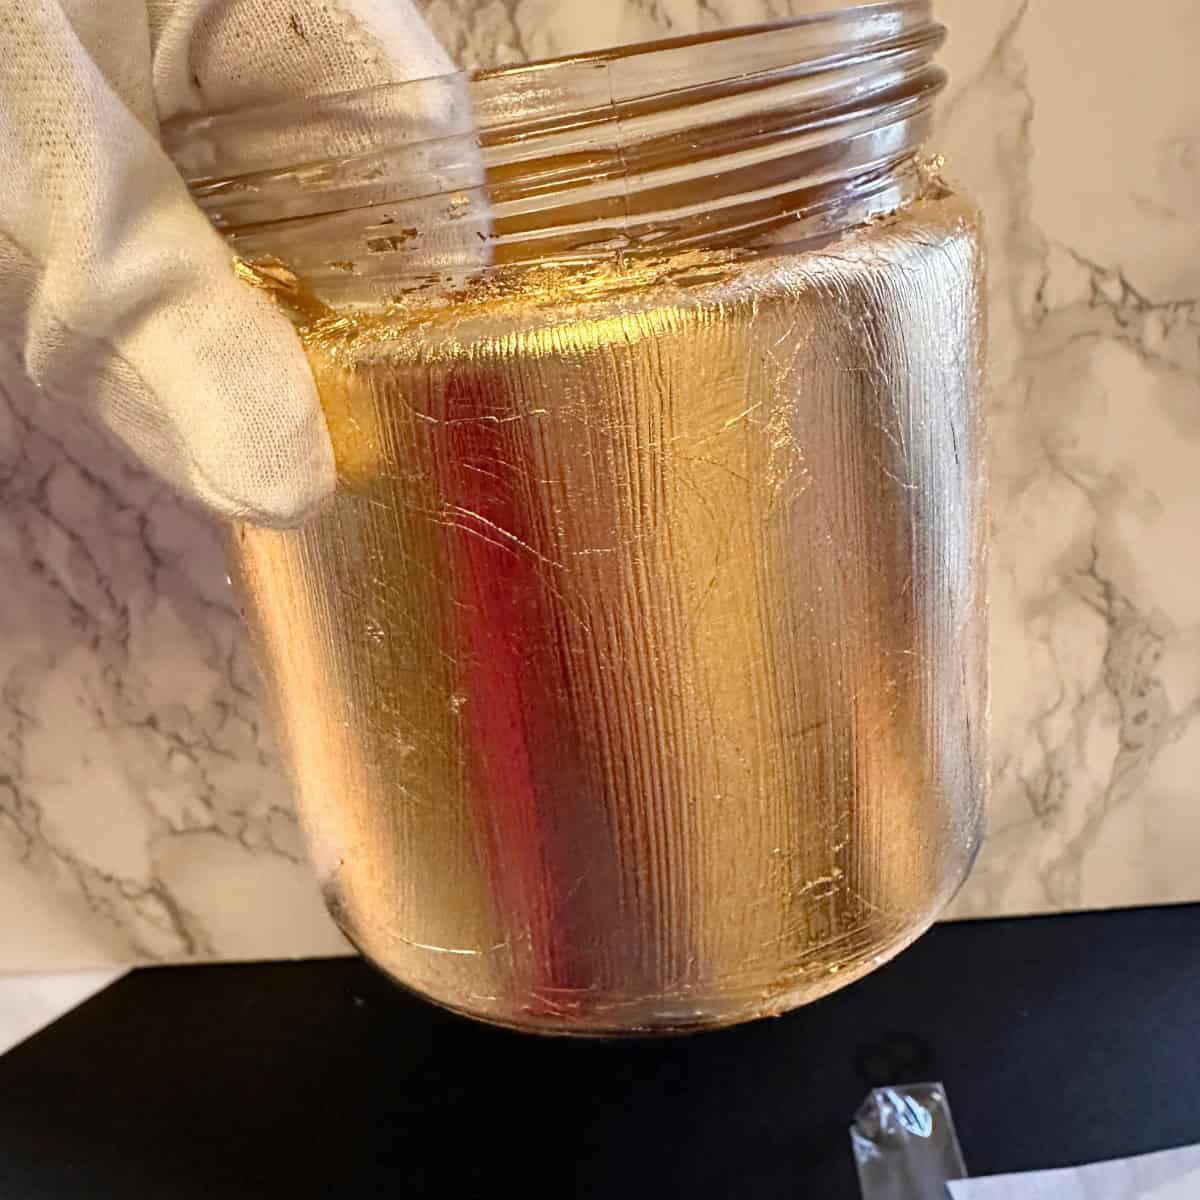
- Prep the Ribbon Trim
Measure and cut a piece of decorative ribbon to wrap around the plastic or glass rim. Get your hot glue gun (affiliate) ready.
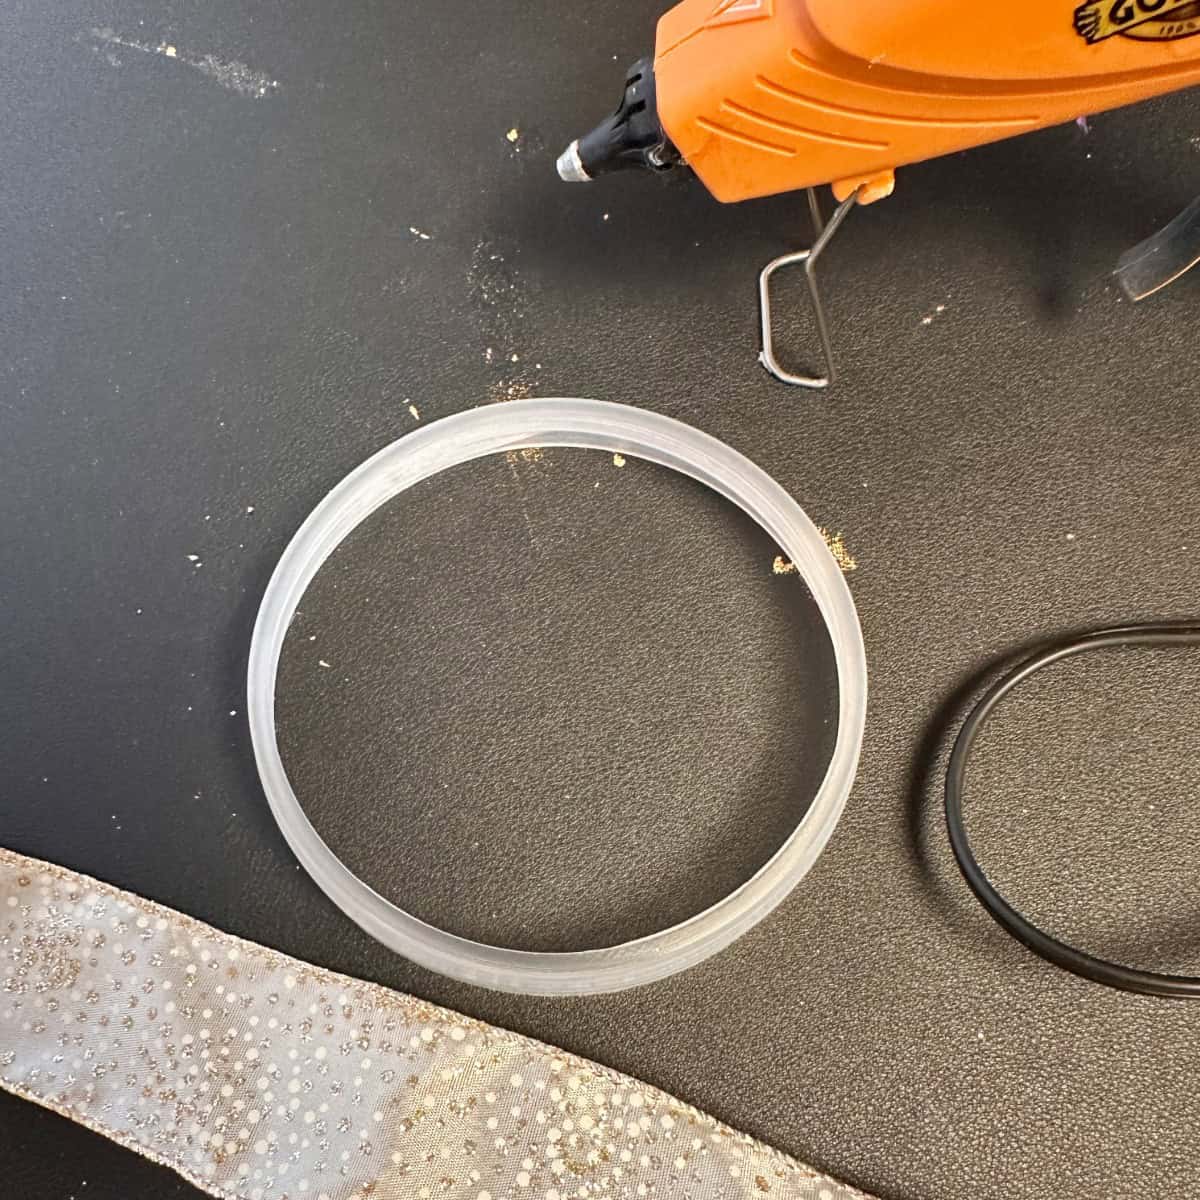
- Secure the trim around the band
I removed the band. Then, I applied a small bead of hot glue along the rim section by section, carefully pressing the ribbon into place for a clean, finished look. Make sure it is a little loose so you can easily slide it back onto the vase and over the gold-foil glass without scratching the foil.
Place it back on the top neck of the vase and straighten the ribbon's bottom over the glass vase.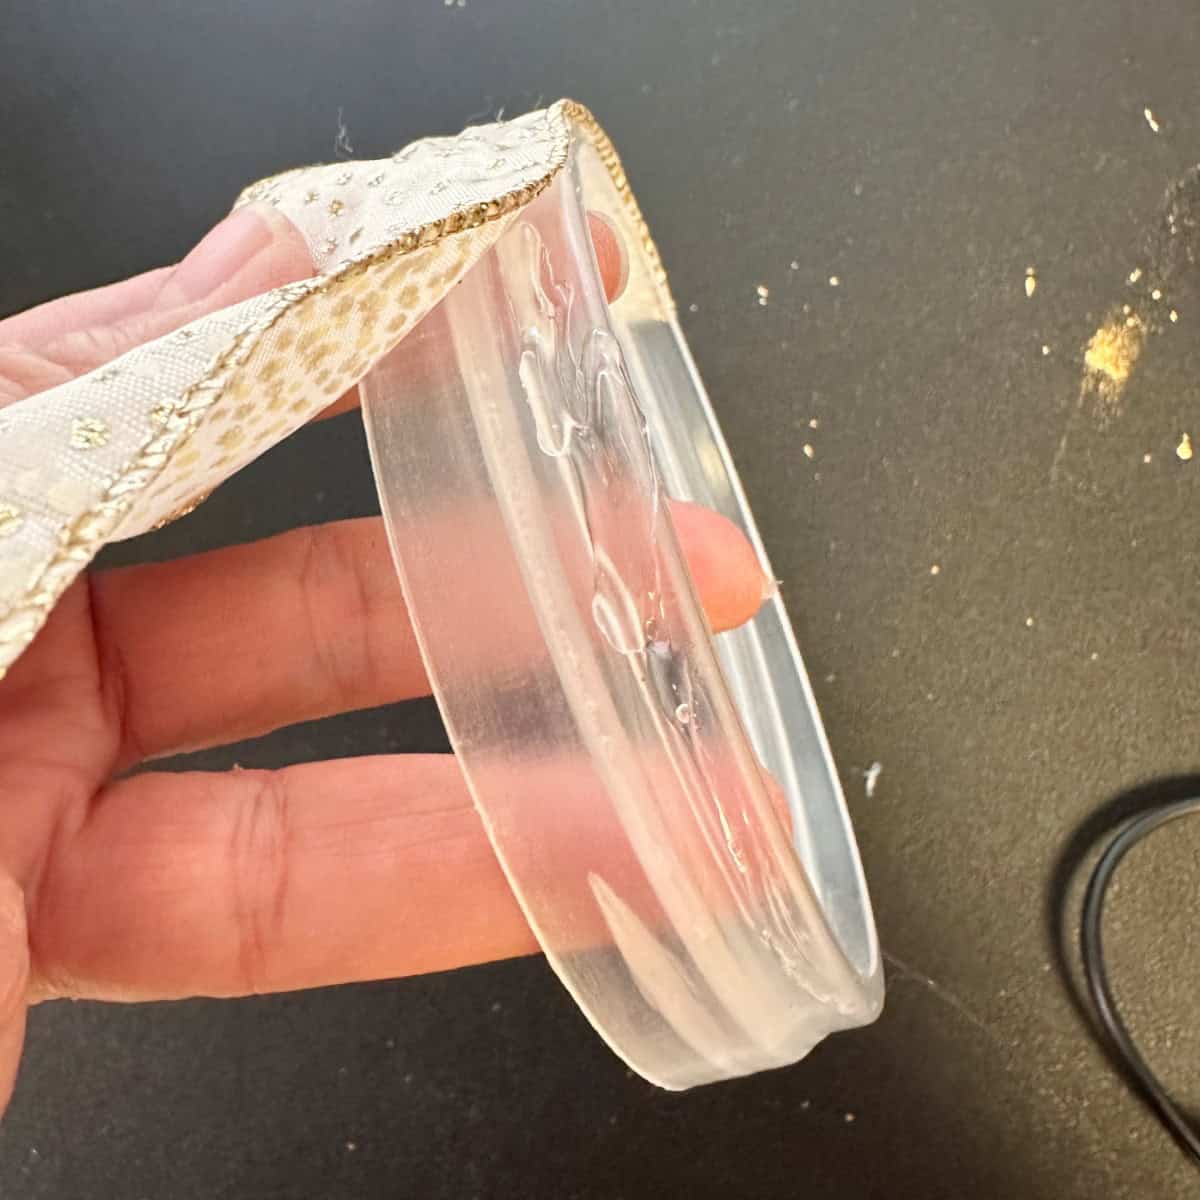
- To Protect the Surfaces
Turn the jar upside down and place self-adhesive felt pads onto the bottom. This prevents your beautiful new decor piece from scratching delicate countertops or wood tables.
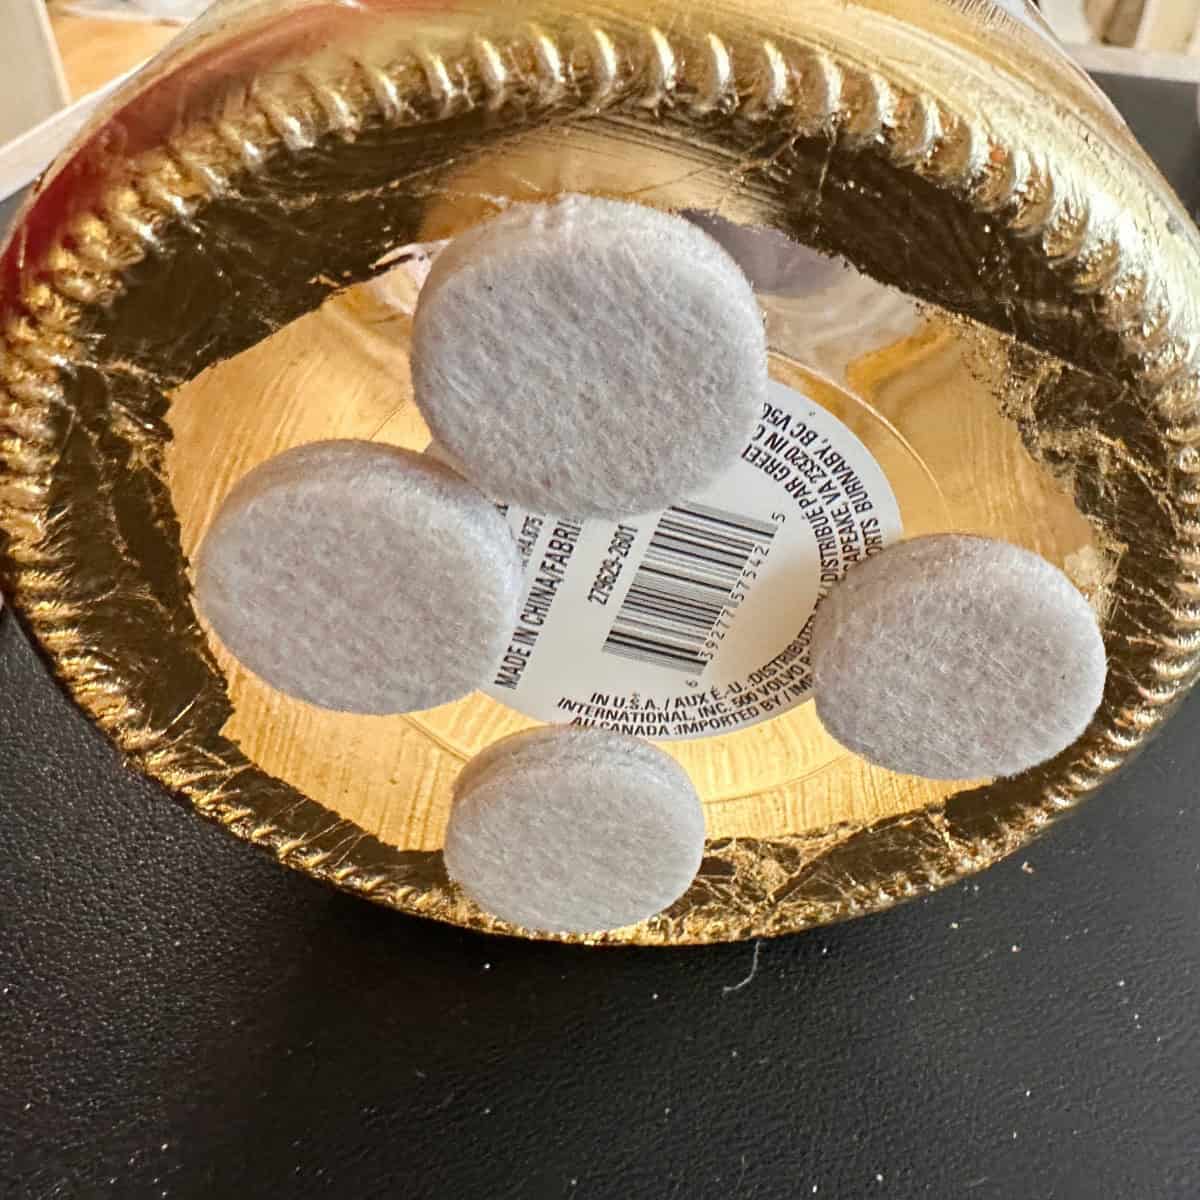
The Big Reveal
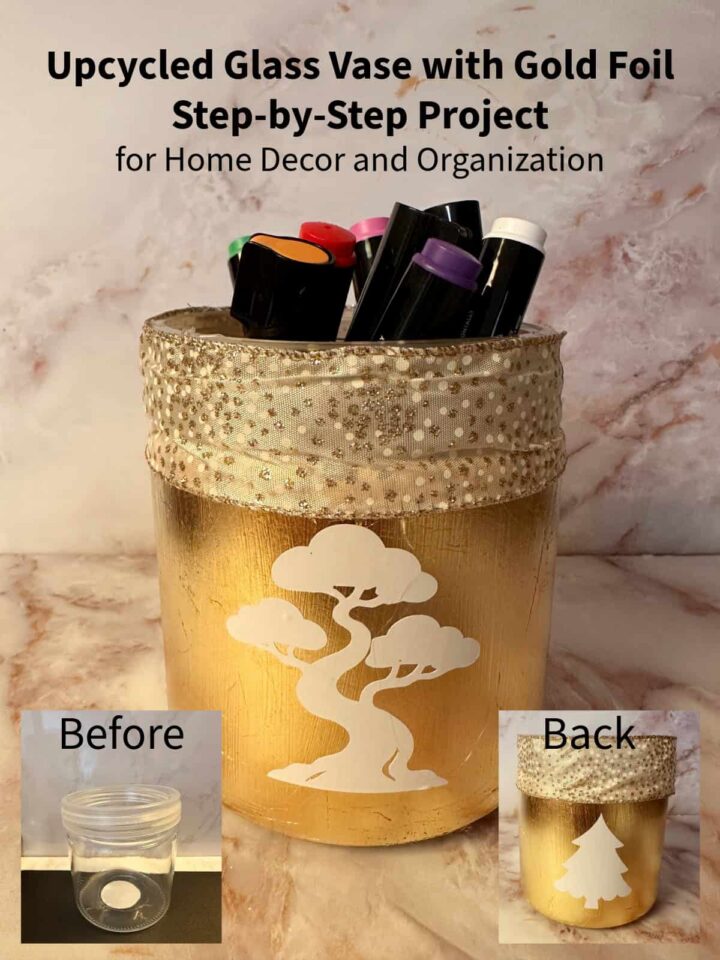
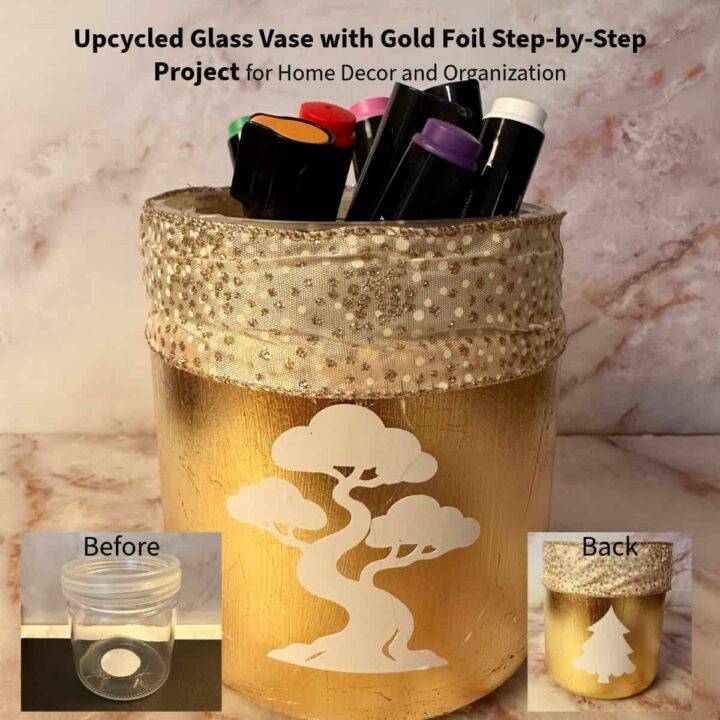
This DIY Upcycled Gold Foil Vase looks so elegant - I love it! I created two looks!
Depending on your personal style or the season, you can customize the front with different stencils or vinyl decals. Here are two ways to style the exact same vase:
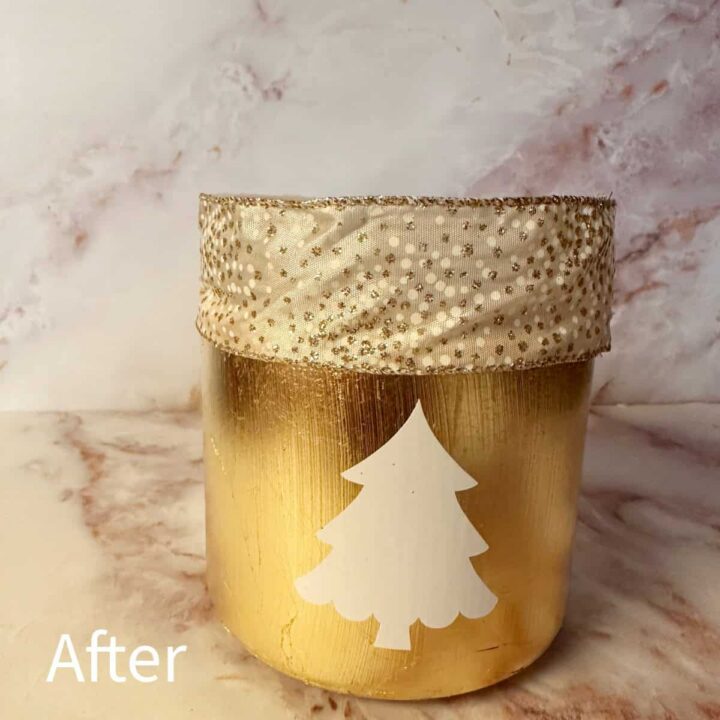
Option A: Festive Holiday
Perfect for a seasonal mantel or holiday tabletop display, featuring a clean white pine tree silhouette.
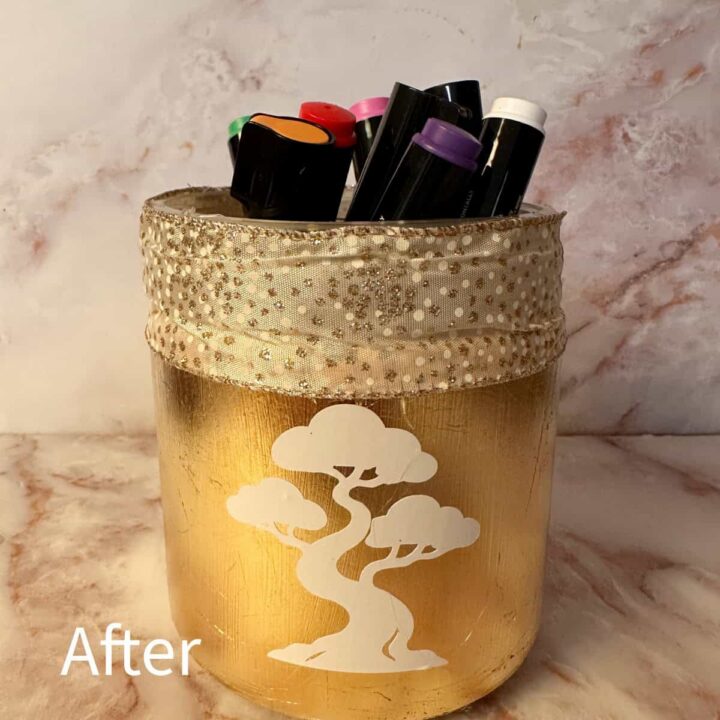
Option B: Elegant Everyday Bonsai
A gorgeous, year-round look featuring a serene bonsai tree cutout that pairs beautifully with office or vanity spaces.
Things to Organize in Your New Vase
This upcycled piece isn't just a pretty face-it's a heavy hitter for organization! Because it has a wide opening and a steady base, it's perfect for corralling small clutter around the house:
- Office & Craft Supplies: Keep thick permanent markers (affiliate), dual-tip pens, paintbrushes (affiliate), or scissors (affiliate) neatly grouped together on your desk.
- Vanity & Bathroom Essentials: Store makeup brushes, combs, or tall hair accessories within arm's reach.
- Kitchen Tool Caddy (affiliate): Pop in shorter wooden spoons, tasting spoons, or silicone spatulas next to the stove.
FAQs
Feel free to check out these additional questions for answers. If you have more questions, please leave a comment below, and I will get back to you as soon as possible.
Yes-any plain glass jar or vase works. This one was about 5" in diameter and 6-7" tall, but the technique scales to whatever you have on hand.
Yes, use a metal leaf adhesive/sizing kit, not regular craft glue. It needs to dry to a clear, tacky finish before the foil will stick properly.
Wait until it's no longer wet or milky-about an hour for a thin coat. It should look crystal-clear and feel tacky, not wet.
Oils from your fingers dull the gold leaf's shine and can tear it. Cheap white cotton gloves protect the foil while you smooth it down.
Dab a little more adhesive on the bare spot, let it get tacky, and patch it with a scrap piece of foil. Gaps and slight wrinkles are part of the look.
It's not required, but it helps a lot-holding the jar steady by the rim frees up both hands to lay and smooth the foil.
Around $5, especially if you're reusing a vase you already have along with leftover foil and adhesive from another project.
About 2 hours total, most of which is drying time for the adhesive.
Yes-swap the vinyl decal (like a pine tree or bonsai silhouette) to match the season or your space without redoing the gold foil.
Closing
I hope this post motivates you to try gold leaf applications to dress up your reused jars and vases. It is very satisfying, and if you have a smooth surface, it is very forgiving. Happy crafting and organizing.
Sharing is caring! If you enjoyed my post, please share it with your friends via email or social media and use the hashtag #sabrinasorganizingDIY. Thank you!
Check out our latest DIY projects!

DIY Upcycled Gold Foil Vase
- Total Time: 2 hours
- Yield: 1
Description
We all have those plain glass jars or vases hidden away in our cabinets just waiting for a second life. Today, I'm showing you a simple, elegant way to transform a basic glass vase jar into a stunning, multifunctional gold-foil vase, perfect for both home decor (affiliate) and keeping your spaces beautifully organized.
Materials
Plain glass jar or vase
Gold foil sheets - 4 or more
Metal leaf adhesive/sizing (and a brush to apply it) - I bought a metal leaf adhesive kit that includes all of these tools (affiliate) for gold foil
Paintbrush (affiliate) for metal leaf glue
White cotton gloves (to protect the gold leaf)
Hot glue gun (affiliate) and glue sticks
Decorative ribbon (gold-flecked or patterned)
Felt furniture pads (to protect your surfaces)
Cricut Vinyl stickers - white (optional, like a tree or holiday shape). Get these designs on my Cricut Profile Page.
Instructions
First, thoroughly clean your glass jar and dry completely. Turn the vase over and, using a paintbrush (affiliate), apply a thin, even layer of metal leaf adhesive over the areas you want to cover. Let it dry until it becomes clear and tacky to the touch. I did not add glue to the neck of the vase since the band will be on top.
If you have a small hobby vise attached to your craft table, it can be incredibly helpful to hold the jar securely by its rim while you work, keeping your hands free. This will help me keep the glass jar stable when I need to add the foil.
After about 1 hour, the vase was completely sticky, so I added it to the vise.
Now, carefully press a sheet of gold foil onto the tacky surface. Don't worry if it wrinkles slightly-that adds beautiful texture and character to the piece!
Put on your soft cotton gloves to avoid scratching or tearing the delicate metal leaf. Gently smooth out the foil, pressing it into the adhesive, and brush away any loose excess flakes. It was a slow process. Hold your breath when applying it; it moves with the slightest of air.
Measure and cut a piece of decorative ribbon to wrap around the plastic or glass rim. Get your hot glue gun (affiliate) ready.
I removed the band. Then, I applied a small bead of hot glue along the rim section by section, carefully pressing the ribbon into place for a clean, finished look. Make sure it is a little loose so you can easily slide it back onto the vase and over the gold foil glass without scratching the foil.
Place it back on the top neck of the vase and straighten the ribbon's bottom over the glass vase.
Turn the jar upside down and place self-adhesive felt pads onto the bottom. This prevents your beautiful new decor piece from scratching delicate countertops or wood tables.
- Prep Time: 15 minutes
- Category: DIY, Gold Foil Projects
- Method: Step-by-Step