We have one large bathroom in our home. In the bathroom, my daughter and I share a vanity area. Although my son and husband need some items, we also store them in our vanity, such as cotton balls and Q-tips. I recently added all her makeup to my vanity in the bathroom, which made the vanity drawer a little tight. After rearranging the vanity drawer, I realized I needed to find a place to store the cotton balls and Q-tips that no longer fit in the drawer. Here's what we did with our wall mason jar (affiliate) organizer to help address this issue.
Jump to:
First, I went to a nearby craft store and picked up three Mason jars (affiliate). I plan on using them by hanging them from the wall, so my husband and son do not need to go into the vanity drawer. I also wanted to make it decorative, looking like a piece of art on the wall.
What supplies and tools are required to create a wall-mounted mason jar organizer?
Let's gather the necessary supplies to complete this project. So, here is what I bought.
- Three colored mason jars (affiliate) with wide mouths
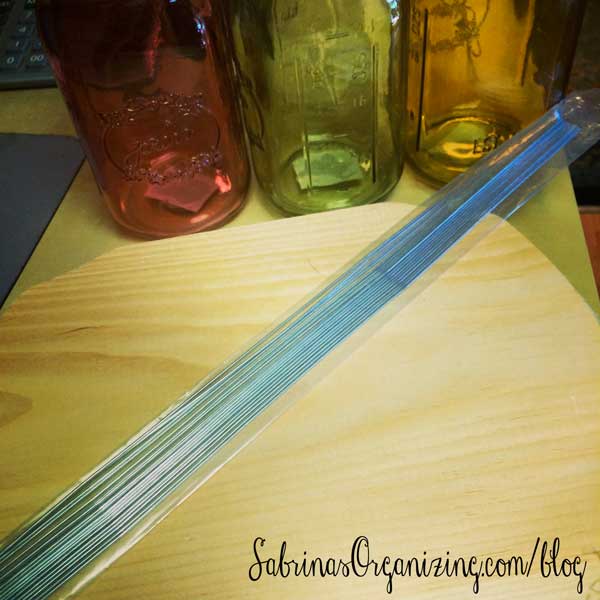
- Copper thick gauge wire 16 gauge (link is from Amazon (affiliate) Affiliate)
- Wood panel board from the craft store (link is from Amazon (affiliate) Affiliate)
- 6 Wire hook - picture frame hooks. (link is from Amazon (affiliate) Affiliate)
- Chalk
- Black stain or black chalk paint (link is from Amazon (affiliate) Affiliate)
- Stain clothes or rags
- Newspaper to put down to protect the surfaces
- Plastic gloves (link is from Amazon (affiliate) Affiliate)
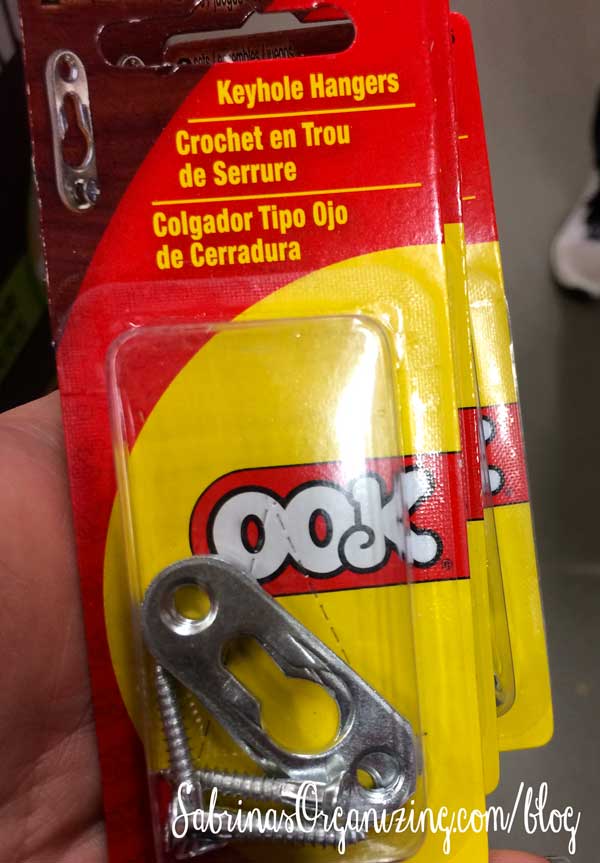
- Three keyhole hangers for the back of the wood frames.
- Three drywall screws and anchors for the wall.
How to Create a Customized Wall-Mounted Mason Jar Organizer?
First, I set up the wires and wrapped them around the jar's mouth. I tried different thicknesses of wire, and it seems that 16-gauge copper wire works the best. I started with a thick silver gauge, but it proved insufficient. Then, I went to the thicker copper gauge, and that worked.
Here is where I added the hooks first.
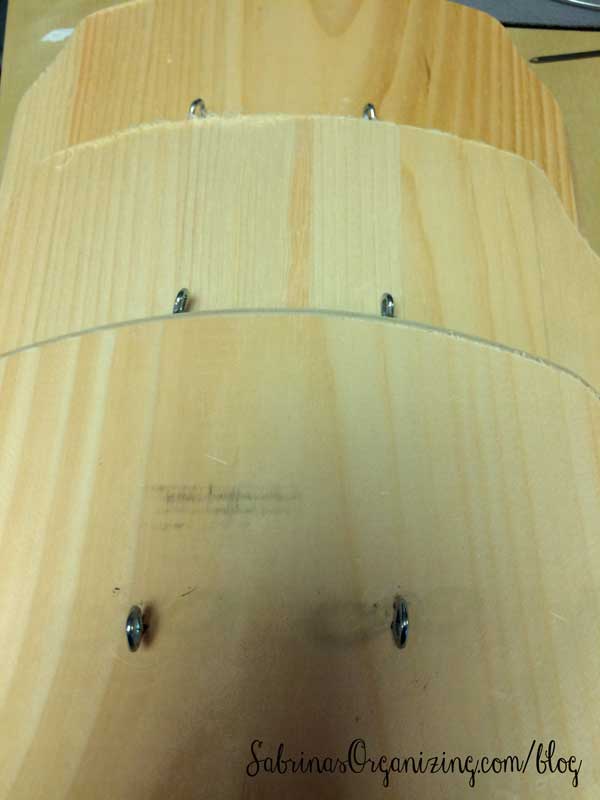
I measured 3 inches from each side of the wood ends and 2.5 inches down from the top end of the wood. This is where I screwed in the metal loops.
Stain the wood pieces.
Then, I went and stained the wood black and let it dry. You can also use chalk paint, which allows you to conceal the grain of the wood. I didn’t put a gloss on it because I wanted to have a matted look.
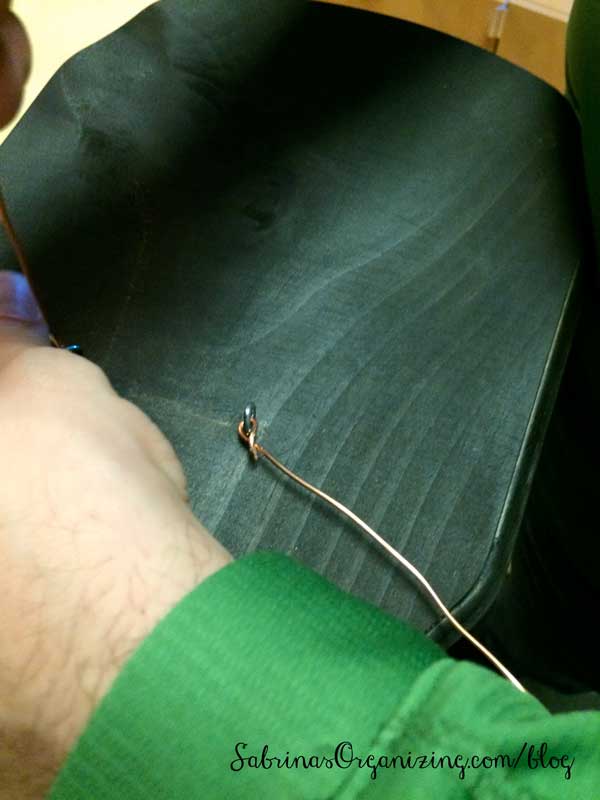
After I stained it and let it dry, I added the copper wire to the hooks.
Label the jars
I decided to label (affiliate) the jars. However, I didn't want to write on the jars themselves. So, I decided to write on the wood with chalk. I did this after the jar was attached to the copper wire.
Wrap the wire around the mason jars
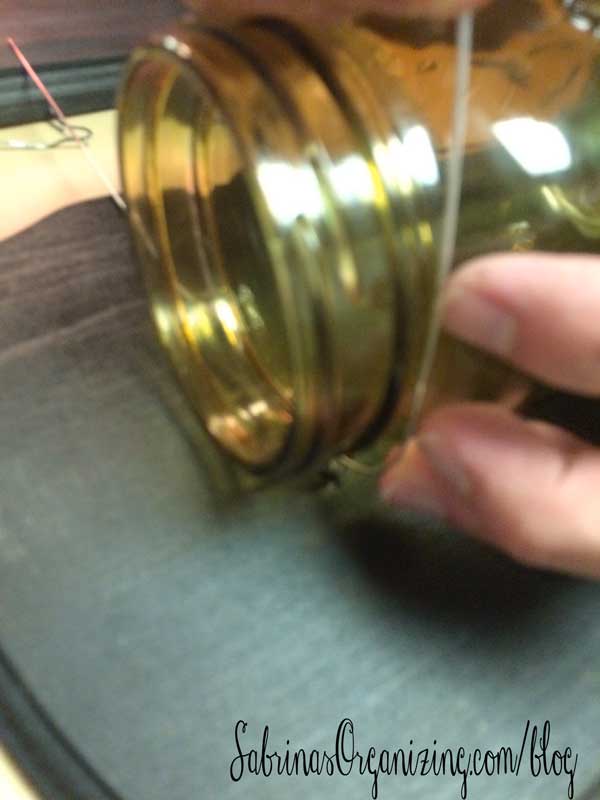
Then, I wrapped it tightly around the mason jar (affiliate).
And I added these hooks on the back to hang on the wall. I also used a router to drill (affiliate) out the hole for the screw in the back of the wood piece to lay flat on the wall. It worked great.
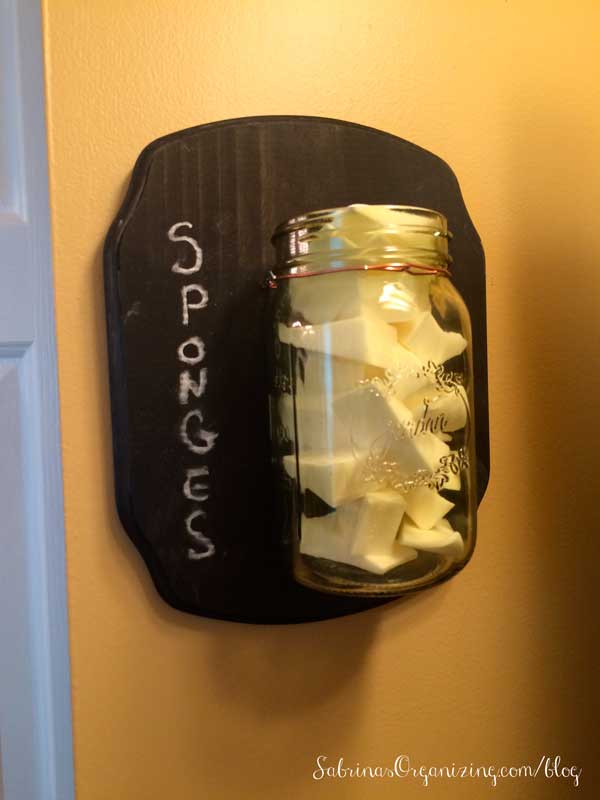
After the Wall Mason Jar Organizer
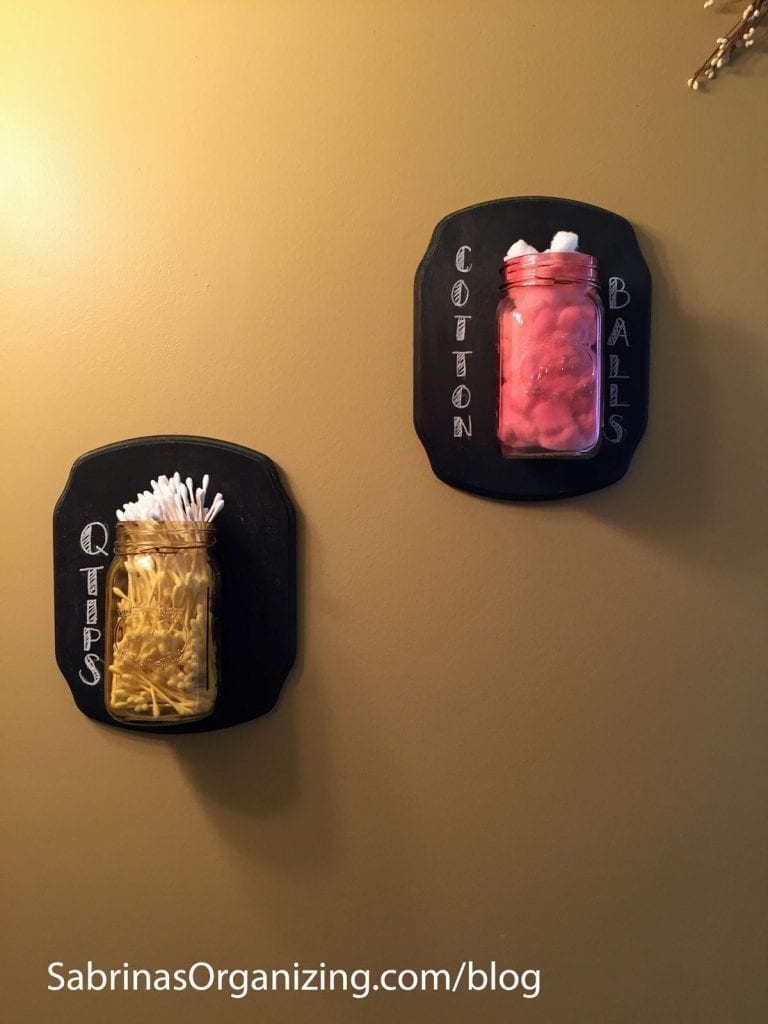
Here is the finished product, hanging in our bathroom. What do you think?
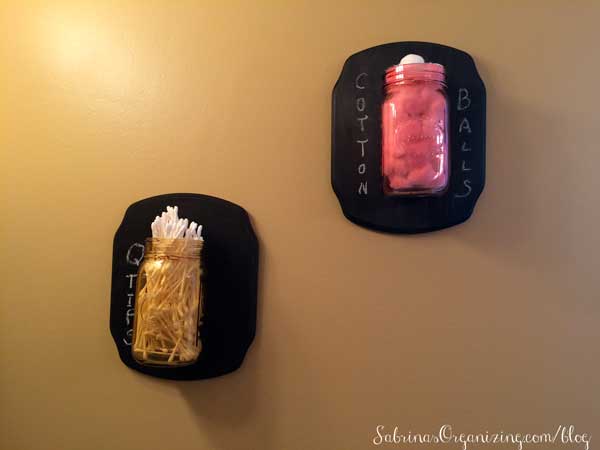
Well, there you have it. We love it! Everyone can get what they need without cluttering up the counter. YAY!
Now it is your turn: What ideas do you have for Mason jars (affiliate)? Please leave a message below.
2025 Update on the Wall Mount Mason Jar Organizer:
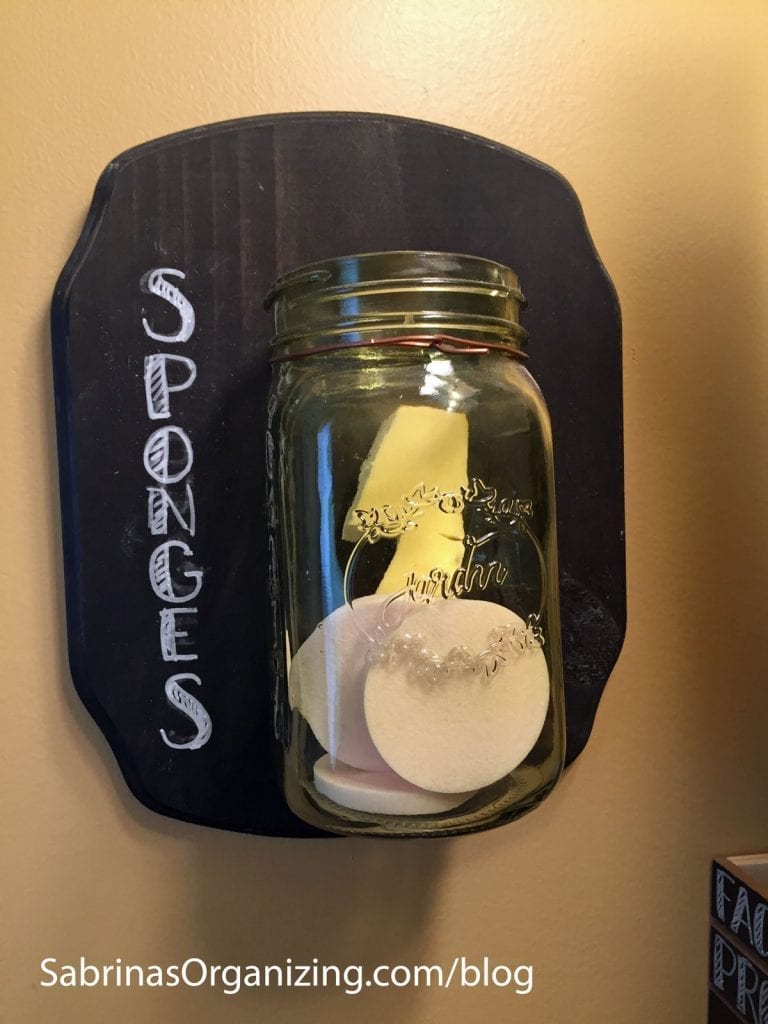
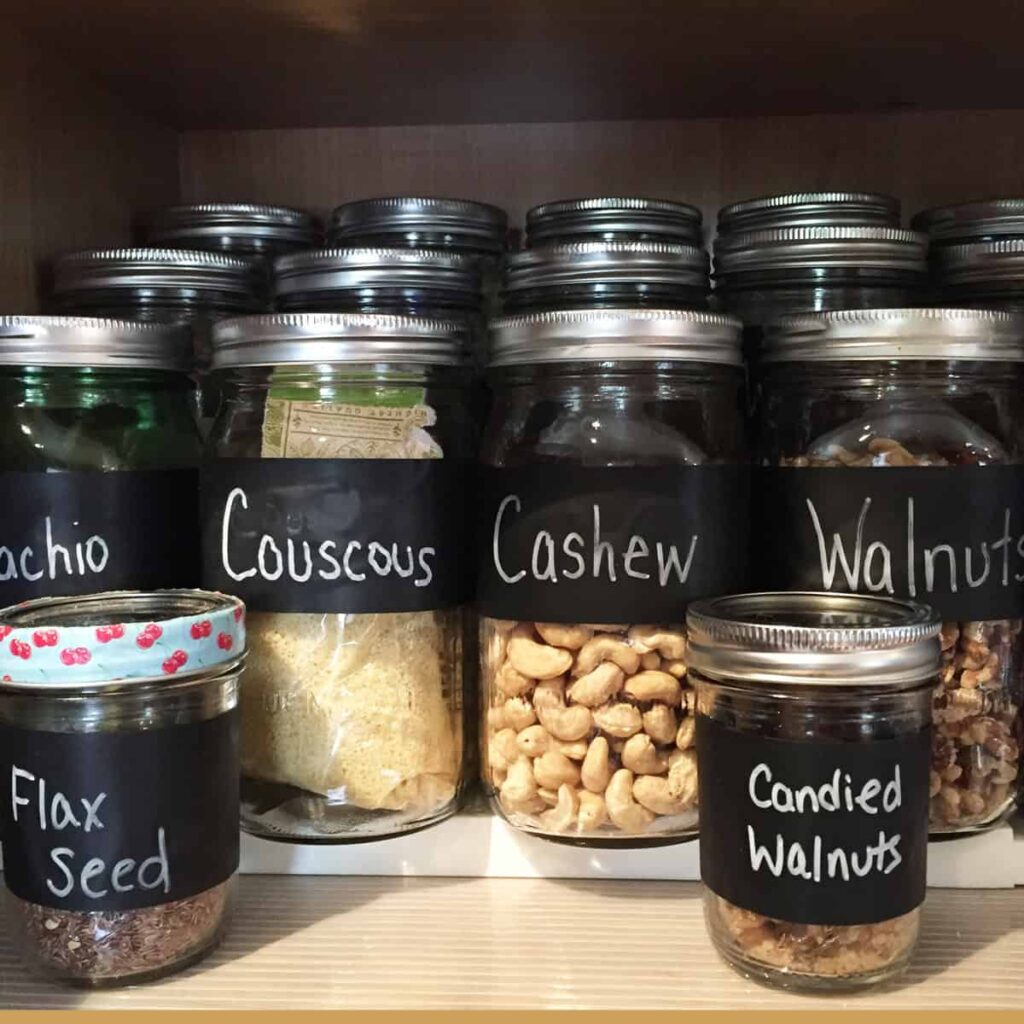
My daughter picked up the writing of fancy letters, which so many people like to do as a creative outlet. So I recruited her to update my labels (affiliate). Below are the updated images with the new labeling. Don't they look great! She did an excellent job.
Visit our other mason jar projects:
- 9 Creative Ways to Organize with Mason Jars
- The Best Way to Label Mason Jars
- DIY Old Mason Jars to Hurricane Lamps
- How to Make Sewing Mason Jar Kits
Please note these are affiliate links through Amazon and other affiliates, and at no additional cost to you, I will earn affiliate fees if you decide to make a purchase.
Visit our other wall-mount DIY Projects:





Linda says
Sabrina,
I am a "canner" and LOVE mason jars. They are useful for so many projects. I can literally hundreds of veggies and jellies throughout the year and also pressure cook my meals.
One of my favorite things to do with them is put a hole in the top and drop in a wick that touches the bottom of the jar. Then I put in a cup of so of citronella oil. With the wick an inch outside of the top of the jar we light it to keep away the bugs and mosquitoes - which are abundant right now.
Thanks for another great idea for mason jars!
Sabrina says
What a great idea! I love it. Thanks for sharing.