I created another room divider a few years ago to divide my office from my family room area. The room was long and narrow with plenty of doors and other obstacles. The only place I could create a wall was to place one in the middle of the room myself instead of building a wall, which would take a lot of time and money. This armoire room divider was created to help me keep my supplies together for blogging and organizing. Follow along and see how my husband and I created this truly special divider.
Jump to:
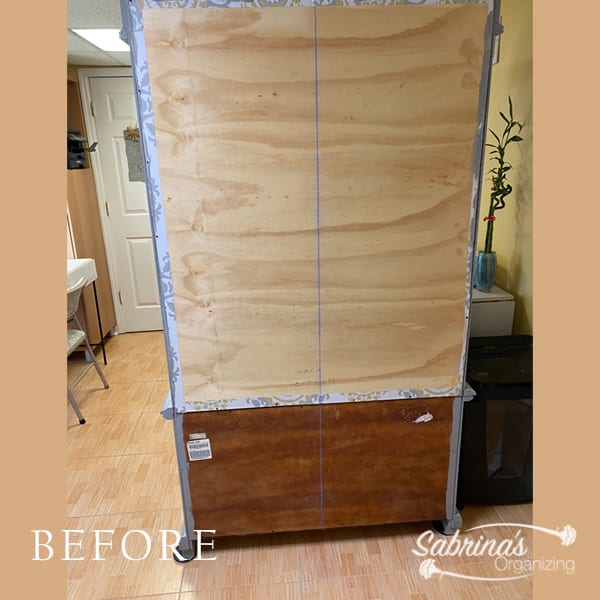
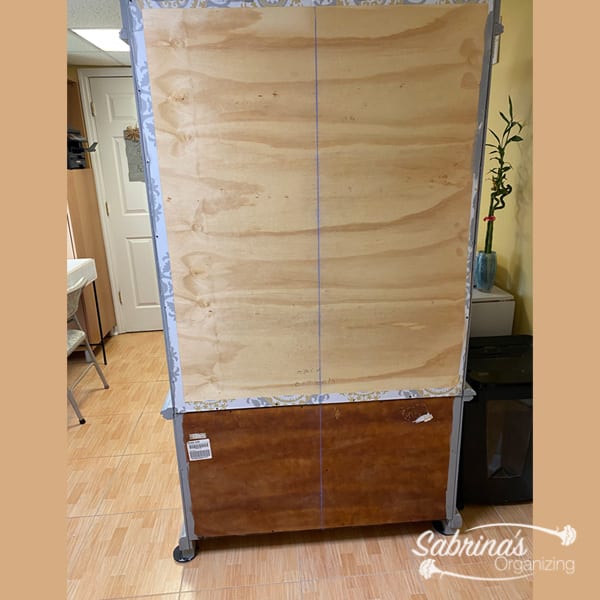
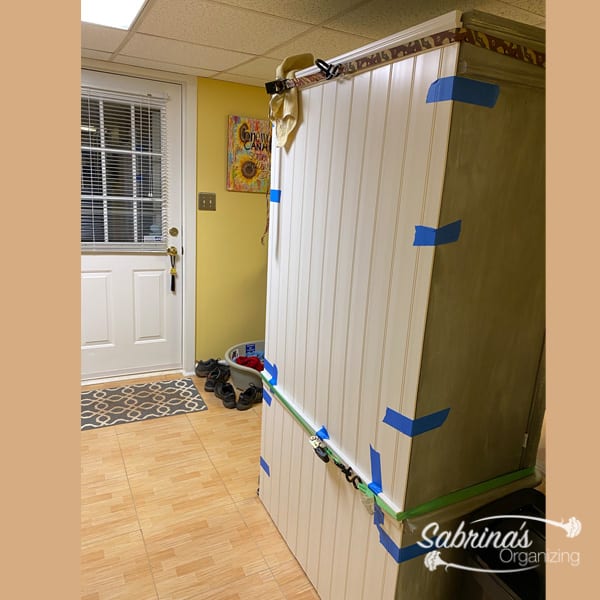
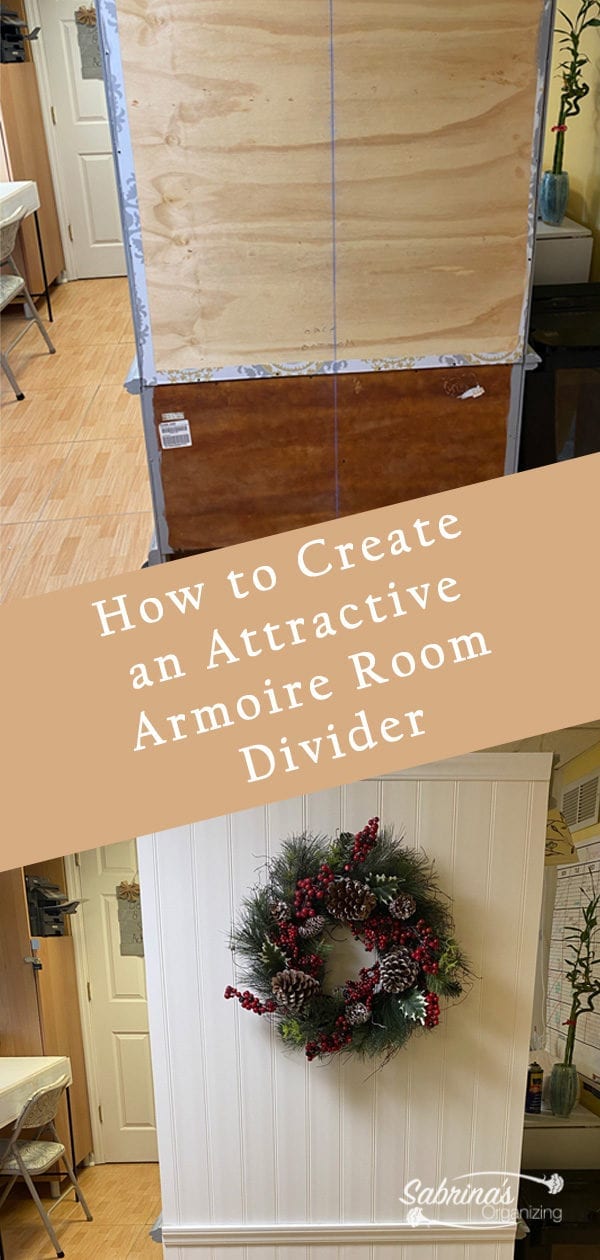
- Here’s the BEFORE picture of my armoire and where I placed it in my office space.
- Products needed and purchased from Home Depot.
- Tools needed for this armoire room divider project.
- Painted armoire back side edges
- Create a vertical line to find the center.
- Cut the panels.
- Glue the panels to the top and then the bottom.
- Add decorative moulding to cover seams.
- The Reveal
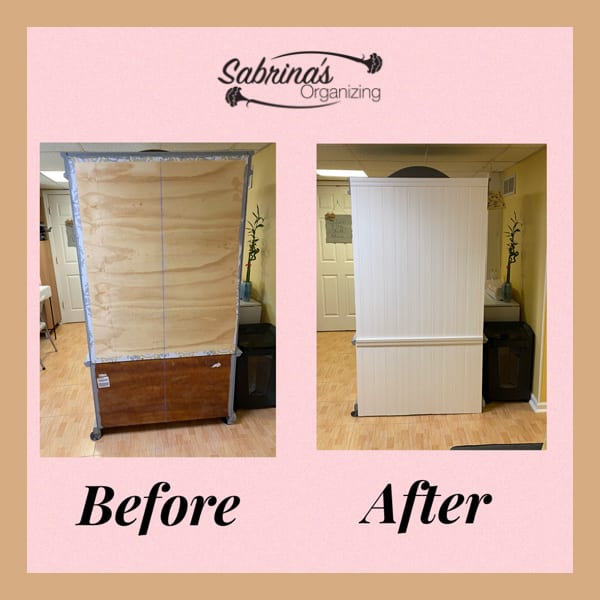
- Here’s the before and after picture of the Armoire Room Divider.
In prior years, I created a standing scrapbook (affiliate) armoire. I transformed it from my inherited armoire into a fabulous place for me to do scrapbooking. Below are the posts that I created on these DIY projects.
HOW TO MAKE A STANDING SCRAPBOOKING STATION
CHALK PAINT ARMOIRE DIY PROJECT TUTORIAL
I started doing more craft projects, so my standing scrapbook (affiliate) armoire has now become a crafting armoire where I keep all my crafting and scrapbooking supplies.
Recently, I updated my office space to include this armoire as a room divider. But to do so, I needed to make some modifications to the back of the armoire since I could lonely place the armoire in the center of the room to use as a makeshift wall between my family room and my office space. This helped me distinguish between my office from my family room and allowed me to have some privacy.
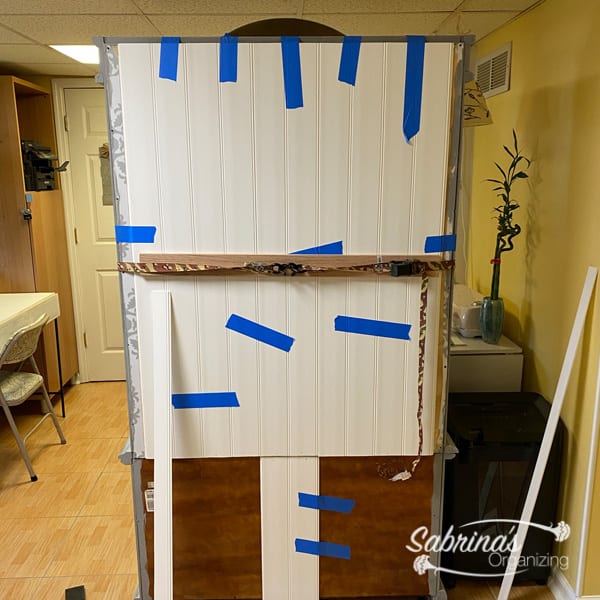
Here’s the BEFORE picture of my armoire and where I placed it in my office space.
The supplies I needed are listed below.
Products needed and purchased from Home Depot.
2- Liquid Nail Adhesive paneling glue bottles or something stronger
2- 8 ft. x 7-¼ in. x ¼ in. Vinyl Pre-finished Reversible Panel Planking Moulding (3-Piece) - we got it from Home Depot for two = $51.94
1- PVC moulding 8 feet 9/16 x2-¼x7 casing white
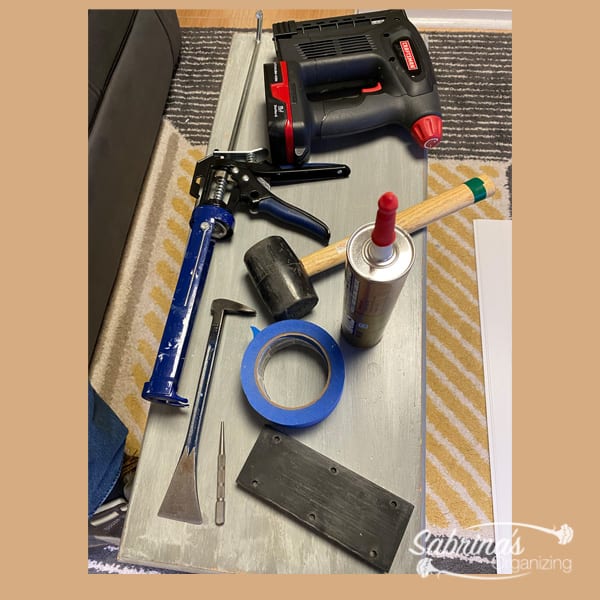
Tools needed for this armoire room divider project.
Caulk (affiliate) gun
Hand saw (affiliate)
Painters tape (affiliate)
Ratchet straps 2 sets long enough to fit around the armoire
Two - 2 x 1 3 feet pieces of scrap wood
Nailer - shortest finishing nails - This is just to tack the single panel on the top so it will hold well with the glue.
Rubber Mallet
Rubber block
Since the armoire had two pieces and was very heavy, I did not want to add any more weight to it. So, I found these vinyl pre-finished reversible panels. They have two different types of patterns on them, depending on the style you want.
Our armoire measured 39 inches wide and 6 feet long (4 feet tall for the top part and 2 feet for the bottom part). My husband and I decided to create two sections because the armoire does separate, and if we moved, it would make it easier to move the armoire when there are two pieces instead of one piece. The moulding is attached to the upper part of the armoire.
Painted armoire back side edges
First, I painted the edges with the same grey chalk paint from the armoire chalk paint project post. This is because the back was not finished. After all, it was originally up against a wall.
Create a vertical line to find the center.
We then created a center vertical line to know where the pieces would go. This also helps us determine how many pieces we need and how to lay them out.
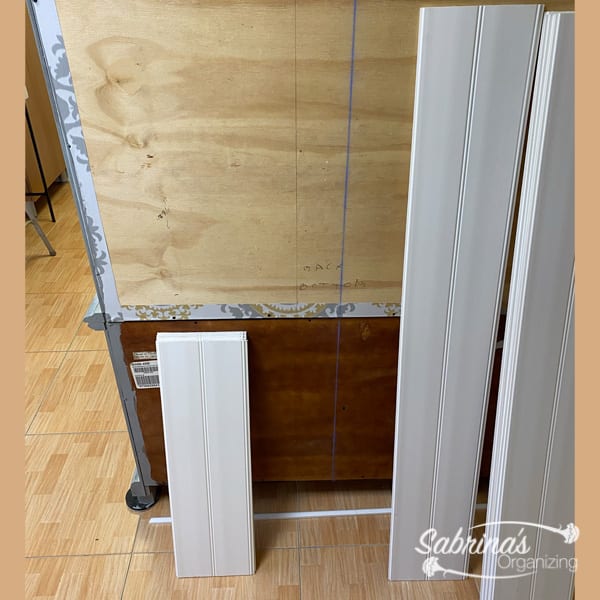
Cut the panels.
We used the hand saw (affiliate) and cut the vinyl panels into two lengths - one was 4 feet, and the other was 2 feet. It cut pretty well and did not take a lot of effort. Then, we cut all the pieces so that there was a little space evenly on either side of the back.
Glue the panels to the top and then the bottom.
Then we started gluing the vinyl panels (they were a tongue and groove style) to the top part of the armoire back. We tacked the panels to the wall with the smaller finishing nails possible at the top and bottom of the panels since the moulding would be covered. We made it flush to the top of the armoire. To keep the pieces in place until they dried, we added the painter's tape (affiliate) in various areas to temporarily keep the panels together. Then, we added the strap with the wood piece to keep the panels up against the armoire back until it was dried.
Then, we started the bottom portion. We made sure the panels were pretty close to the floor to cover the extra gap at the bottom.
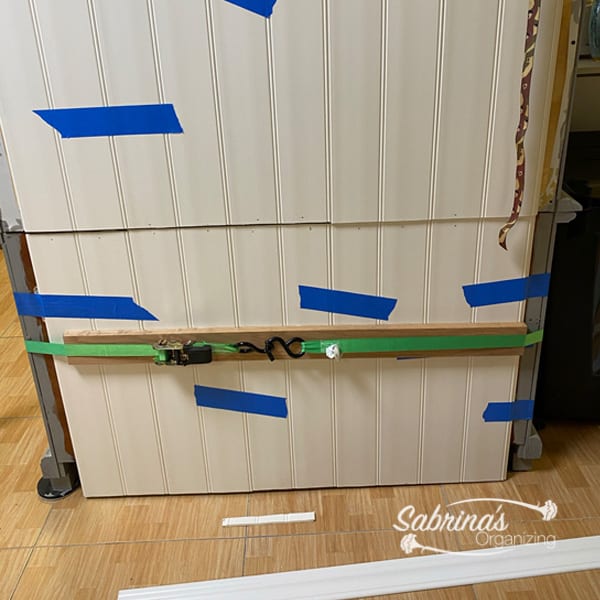
We added the straps with the wood so the vinyl panel would stay tight to the back and we left it that way until it was completely dry.
Since the ratchet strap worked so well on the top portion, we decided to add one to the bottom portion as well. To keep the bottom stable and up against the armoire, we added a piece of wood. This helped with the bottom, in particular, because at the very bottom, there was a gap making these panels float, and they needed extra support before they dried. You can do this with the top panel if you want, but we didn’t feel it was necessary. We let it dry.
The next day, we cut the two end pieces for each side panel for the top and the bottom portion and taped them.
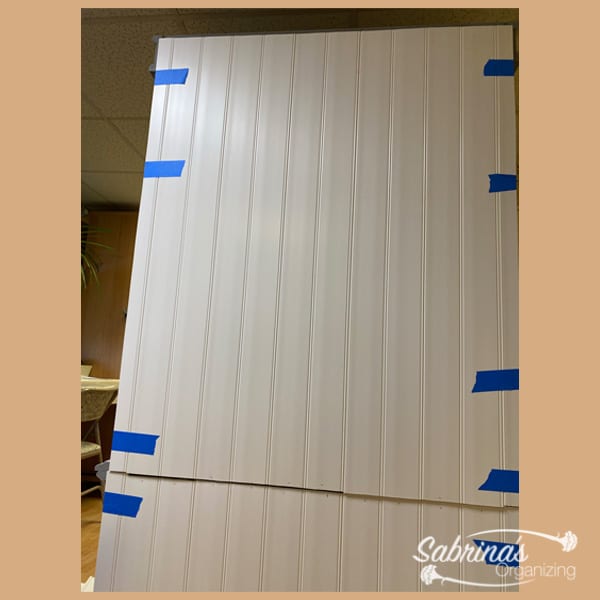
We added the straps again to hold the side pieces until it dried.
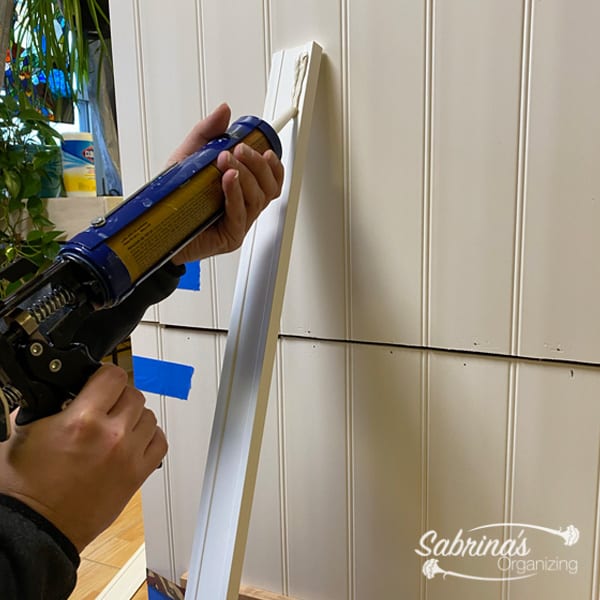
Add decorative moulding to cover seams.
After everything dried for 4-5 hours, we added the decorative PVC moulding with liquid nail glue.
Then, we ratcheted the moulding as well until it was dry. We then added the top piece of moulding and did the same thing.
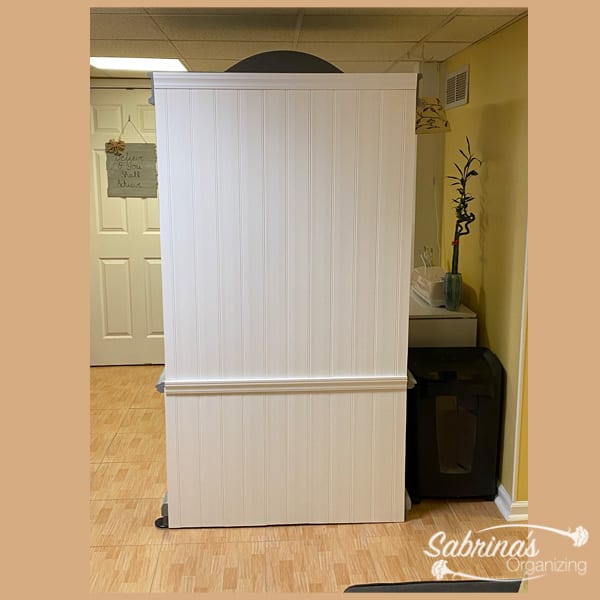
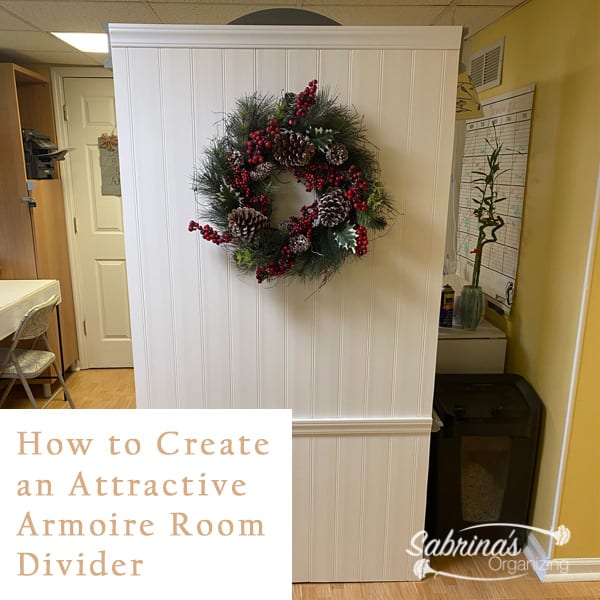
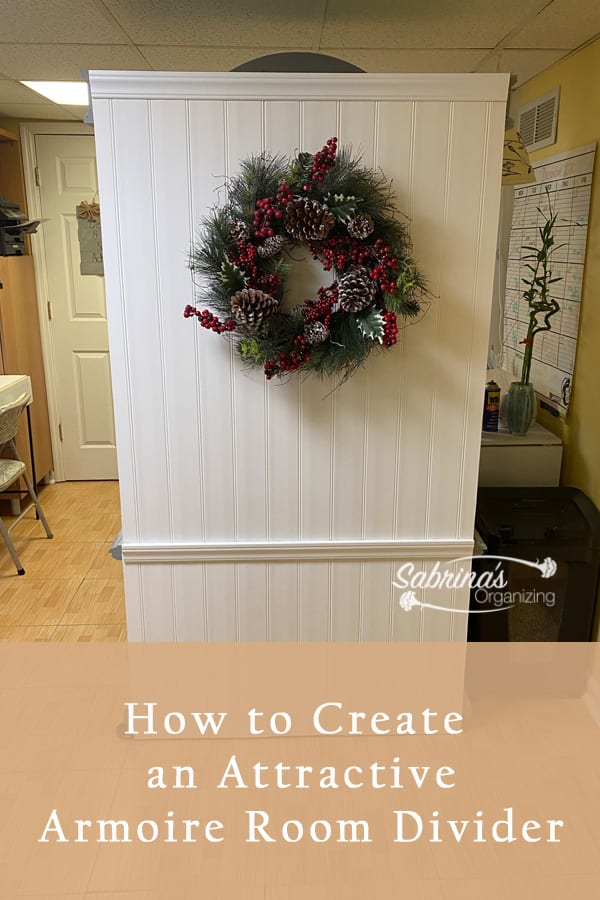
The Reveal
And, here’s the after picture. What do you think? I love it. It makes a nice place to display things as well.
Here’s the before and after picture of the Armoire Room Divider.
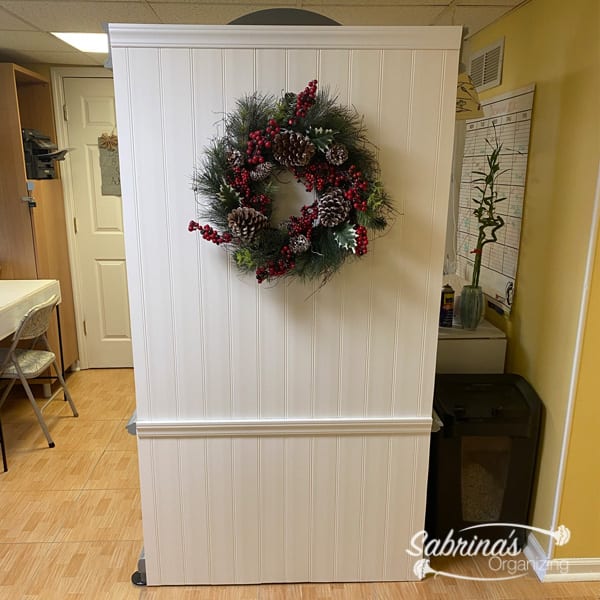
Here’s what I did during the holidays. I love the wreath on the back of the armoire! It’s so pretty.
This DIY project is great for small spaces and will help you manage your multipurpose rooms in your home. I loved it because from the family room; you do not see my office stuff and my desk. YAY.
Would you try this for your home? Please leave a comment below and share to spread the inspiration! Thank you!


Leave a Reply