The below armoire was from my father, a great Italian man who loved the world and loved people. It's a nice piece. I inherited it when he passed. But, since it was in the basement family room, it was way too dark for the room. As I mentioned in last week's post, I purchased a new sofa for the family room area, so this started my journey with chalk paint. So, instead of spending thousands of dollars to purchase a new one, I decided to transform this masculine armoire into a more feminine one using my gray chalk paint with white wax. Follow along and see the chalk paint armoire DIY steps!
Jump to:
- Supplies and tools used for Chalk Paint Armoire DIY Project
- How much did it cost to do this chalk paint armoire DIY transformation?
- Before Armoire
- How long did this project take to do?
- Painted with chalk paint.
- Starting with the doors
- Paint the inside and out of the armoire.
- Paint the bottom of the armoire.
- Add the white White Wax by ArtMinds
- Don't forget the hardware in your DIY project.
- After armoire transformation
Supplies and tools used for Chalk Paint Armoire DIY Project
Below is the list of things I used to transform this DIY armoire project.
- Armoire - this one is two pieces
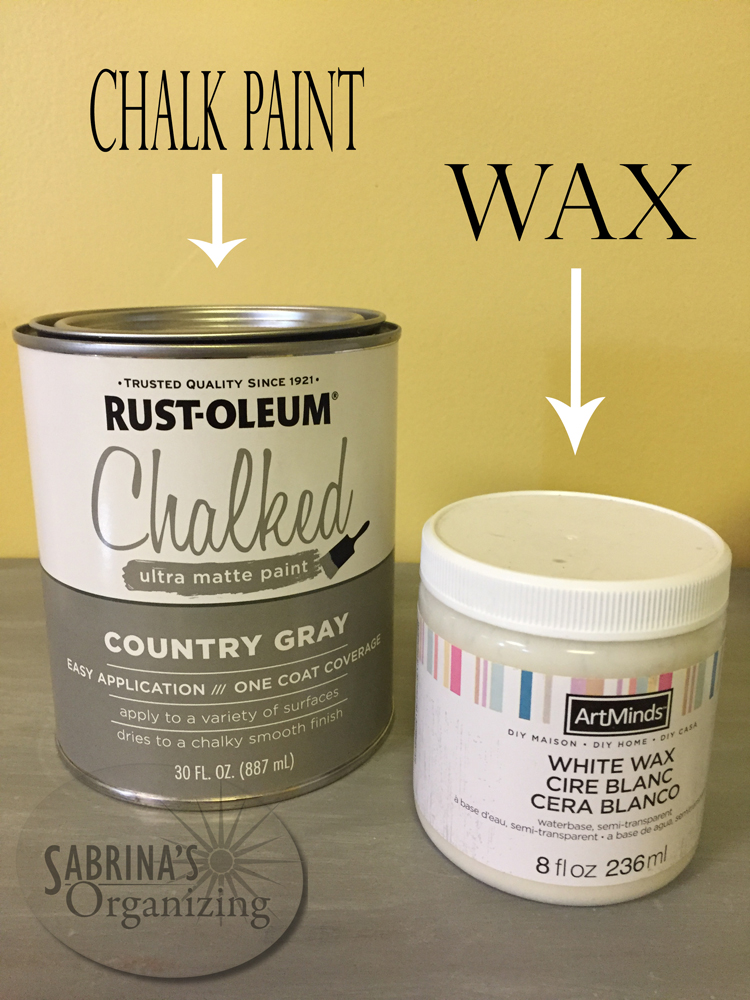
- Chalk paint Grey - Rust-oleum Country Grey (affiliate)
- White - Rust-oleum white spray paint (affiliate)
- Paintbrushes (affiliate)
- Sawhorses (affiliate)
- White Wax by ArtMinds - I got this from Michael's
- Wax or Rust-oleum Chalked Matte Clear (affiliate)
- Drop clothes (affiliate) to keep the area clean
How much did it cost to do this chalk paint armoire DIY transformation?
This project cost about $75.00, which was the cost of the paint, top coat, and brushes.
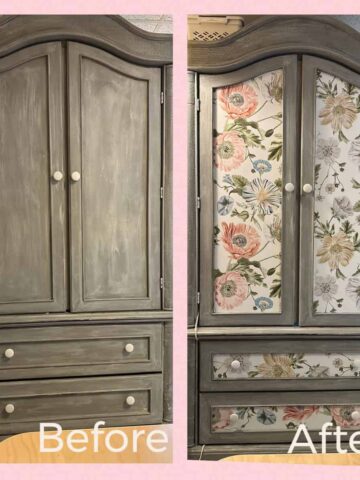
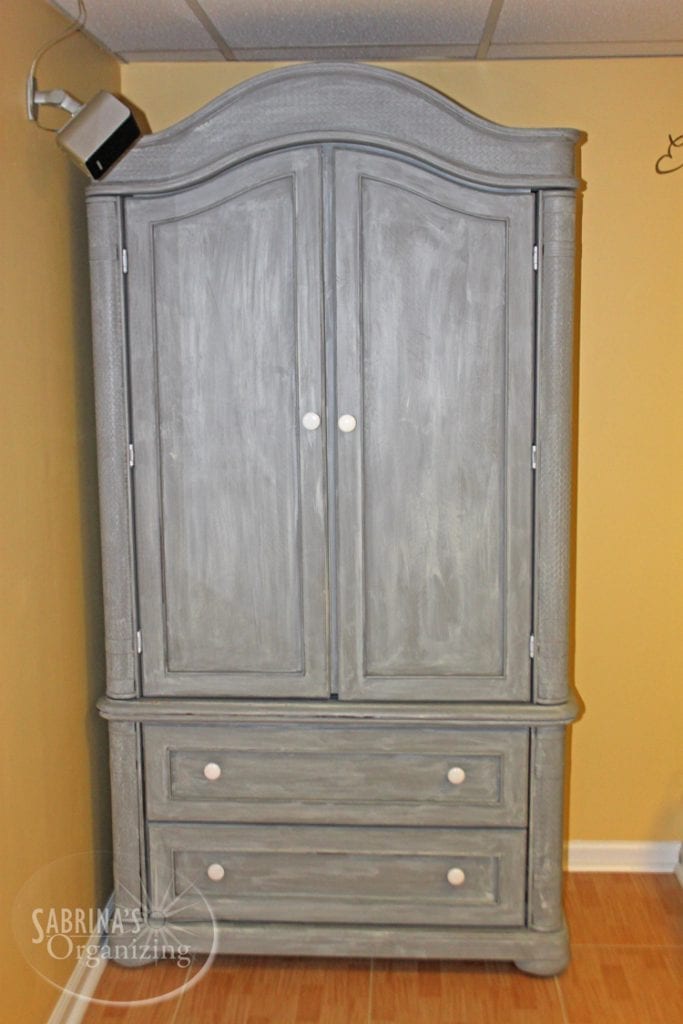
Before Armoire
Below is what the armoire looked like. It was very masculine-looking, and I wanted to change that and use it for my crafting and scrapbooking area.

This was my biggest chalk paint furniture (affiliate) project yet, so I was a little nervous. What if I mess it up? What if I don't like the way I apply the colors? There were many questions coming up for me prior to starting this process. I knew the day was coming for the delivery of the new sofa, so I had to take action and start the project.
How long did this project take to do?
This project took four days to finish. Yes, only four days. This includes the inside, but I am going to keep that for next week's surprise. I decided to use them instead for something I have wanted for years. I'll explain what I did with the inside next week. I hope you come back and see the results from inside.
Painted with chalk paint.
I added the chalk paint to the inside and outside of the cabinet. Because the cabinet doors open completely, I wanted to make sure all the dark wood wasn't showing inside. This unit was in two parts. So, that helped. I worked on the top part first. That took the longest amount of time.

Starting with the doors
I started with the doors, which were the most tedious. I originally wasn't going to remove the double-hinged part of the door, but it turned out it wasn't easy to paint the inside of this part of the door without removing the double hinges.
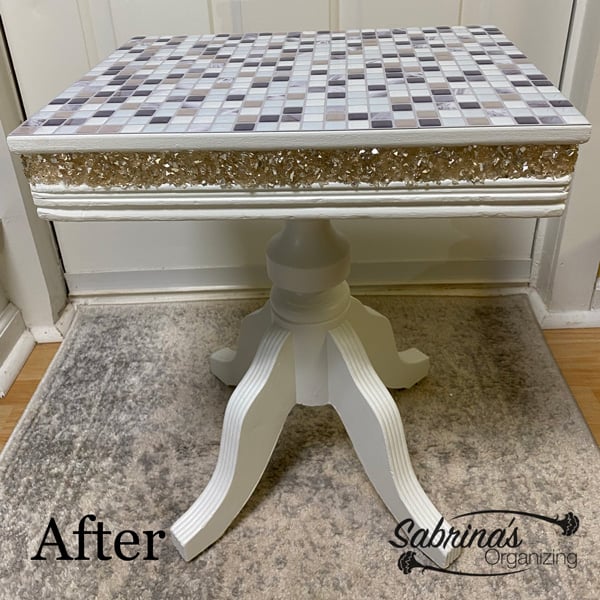
I laid all four pieces out on wooden sawhorses (affiliate) and the other end over my outside furniture (affiliate) and started painting. Little by little, I painted, let dry, then waxed like I did with the coffee table (affiliate), and this is how it looked. I decided to also put on the protective topcoat and let them dry fully before I brought them inside.

Paint the inside and out of the armoire.
Then, I painted the inside and out of the top unit. This part of the process was completed inside my home. I added a drop cloth to protect my tile floor and to allow me to paint the bottom edges and added a few pieces of wood to prop up the bottom of the upper cabinet so I could paint the edge. I added the protective topcoat. So, this part of the project was finished. Woo hoo. This was the main part of the project.
Paint the bottom of the armoire.
Next, I went and painted the bottom part of the armoire. That was fun...NOT. I thought the drawers would come out. But they didn't, so I had to paint around the drawer fronts and then around the sides and the feet. Anywhere I could see, I painted. I let it dry, did the wax coat, let it dry, and then did the protective topcoat. Now, I could put everything back together.
Add the white White Wax by ArtMinds
I then added the white wax to all the pieces and whitened them off with a rag to create the stripes. The grey paint now had depth.
Don't forget the hardware in your DIY project.
But wait, I realized I needed to spray paint the hinges because they would really stand out. I cleaned off all the pieces and used a white spray paint/primer. I not only did them but also had to do the screw tips too because you would still see the screws when you opened the cabinet doors.
Tip: Get a cardboard box (affiliate) and poke the screws into the cardboard. Take the spray paint and lightly spray the tips of the screws. This will keep them standing up, and you won't spray the area that screws into the wood.

After spray painting the hardware, I added the knobs and reassembled the doors, and placed the top unit on the bottom unit.
After armoire transformation
And, walla, here is my finished armoire. I am so happy with it. What do you think? I love it. It has been used for my scrapbooking area and now my crafting area.

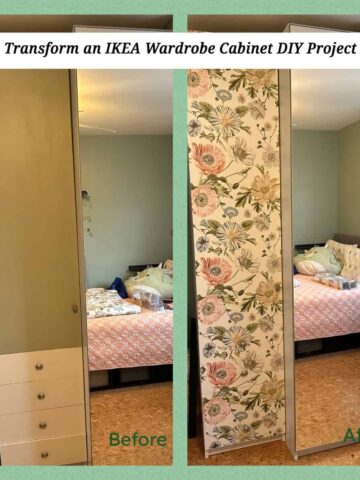
Visit my other DIY Furniture makeovers below!
Check out and get inspired with my other upcycling furniture (affiliate) makeover projects. I hope they help you enjoy your furniture (affiliate) again.
Please note these are affiliate links through Amazon (affiliate), and at no additional cost to you, I will earn affiliate fees if you decide to make a purchase.


Jeannette Paladino says
I didn't know about chalk paint and not quite sure what it is. I admire you for taking on such a bold project. If you're happy with the result that's all that counts.
Kristina says
woow, looks very stylish! Well done!
Sushmita says
Lovely Transformation Sabrina! All of your posts are of great help to one who are redecorating their homes. Thanks for sharing!
William Rusho says
This is so funny, I had read your posts about Chalk Paint, and then saw that product in my hardware store.
Not sure it was there before, and did not notice it until I read your blog? Either way thank you for introducing me to it.
Doreen Pendgracs says
You have truly been doing some amazing things with chalk paint, Sabrina. Thx for sharing, and for giving each of us encouragement to do likewise.
Marquita Herald says
It looks beautiful Sabrina! I have been looking around for a piece of furniture to experiment on using the chalk paint and now I'm even more anxious to get started. Thanks for the inspiration!
Ramona McKean says
What a wonderful transformation! You have also kept a family heirloom alive, well, serviceable and attractive for years to come.
Jeri says
I'm really liking the look of this chalk paint you've been using. I'm currently in the process of painting my rustic pine furniture white before doing a deep blue wash over it. But when it comes to the pine furniture in my living room that's next on the list, I am going to keep this in mind as a potential finish.
Phoenicia says
I have learnt something new today - masculine wardrobes!
I admit the wardrobe would look out of place in a modern bedroom. The grey paint gives a soft feel to the wardrobe. I like it!
Catarina says
What a nice idea for someone who is decorating a room in grey shades and hence want a grey armoire.
RoseMary Griffith says
Looks brand new and is very striking. Just love your chalk paint projects!
Erica says
You're a brave woman. I would be so nervous to tackle such a big project. But it turned out beautiful and very feminine. My father had an armoire like that when I was growing up. Though he must have gotten rid of it at some point along the way because he doesn't have it anymore.