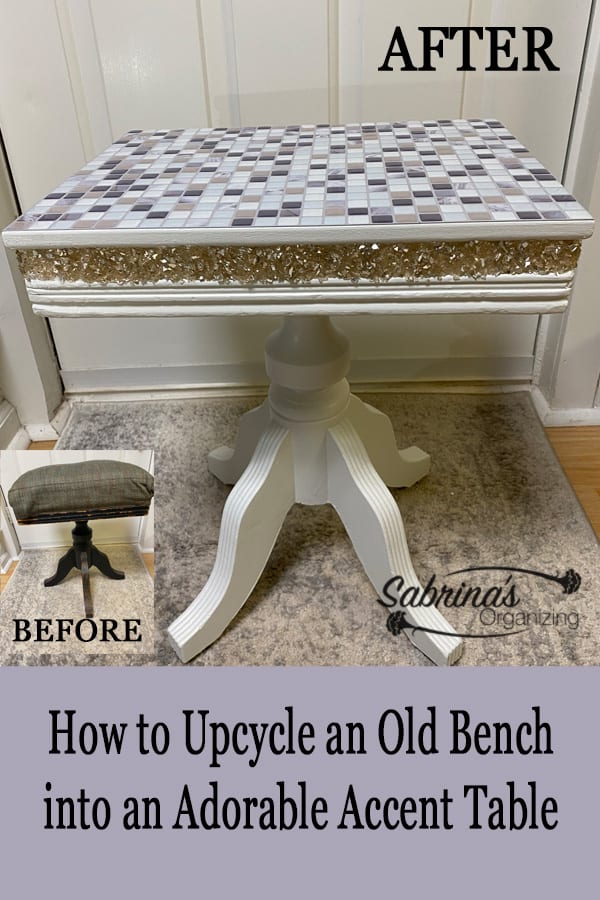
I recently acquired a bench from my mother-in-law's home when we cleared it out after her death. This particular bench was from my husband’s grandmother’s home. It was a sewing bench that she used while she sewed. It was loved, and I wanted to bring it back to life. So, today, I will show you how I transformed an old bench into an adorable accent table. Follow along and watch the transformation.
What Supplies and Tools are needed to create this Accent Table?
Some of the links below are from Amazon (affiliate). If you click through and buy something on Amazon (affiliate), I will receive a small referral commission at no additional cost to you. Happy shopping!
Sewing bench - from Amazon (affiliate).com
Decorative Crushed Mirror Filler - broken mirror pieces - from Michaels.com
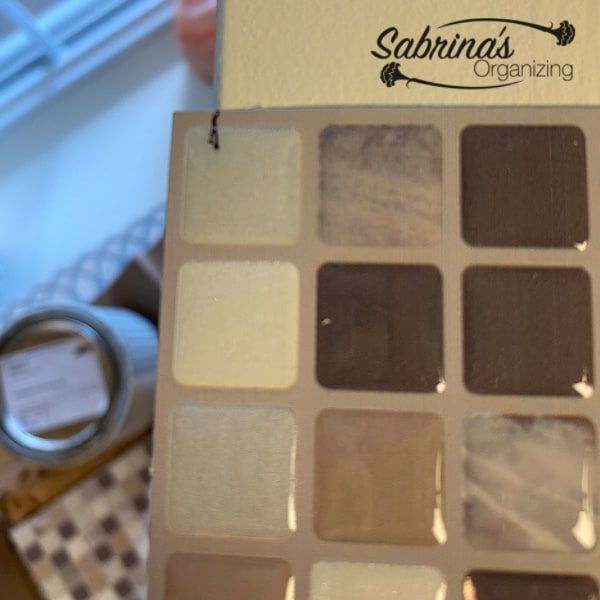
Smart Tiles - Tile made simple 1 package - from Home Depot
½ an inch high x 16 inches wide x 12 inches long finished wood piece - it had a beveled curve on one side. That side was used to face the base to create an edge for the glue. From Michaels.com
Dry Dex Spackling and Nail Hole Filler - from Lowes.com
Clear Gorilla Glue - from Amazon (affiliate).com
Shiplap Magnolia Home Satin Finish - from AceHardware.com
Tack cloth - from Amazon (affiliate).com
Rag and water for cleaning - from AceHardware.com
Fine Sandpaper - from Amazon.com
Drill and Drill bit - from Amazon.com
Screws 1 inch - four
Paintbrush and/or small roller
Plastic gloves - 2 sets
Wood stirring stick
4 rubber feet - from Amazon
Cutting board and a rotary cutter and/or scissors
T Square ruler - from Amazon
Tape measure (affiliate)
Painters Tape (affiliate)
Mask used when sanding and removing the cover
Now that you have all the supplies and tools (affiliate), you can make this accent table.
Note before making this DIY upcycling accent table project:
- Some supplies were used from other projects, like the paint was used for other projects I did on this blog.
- I did not disturb the stain besides a light sanding.
- Since I was going from dark to light, in some areas, I needed to add an additional third or even fourth coat.
- I wore a mask when removing the foam and fabric because it was very dusty.
How to Upcycle an Old Bench into an Adorable Accent Table?
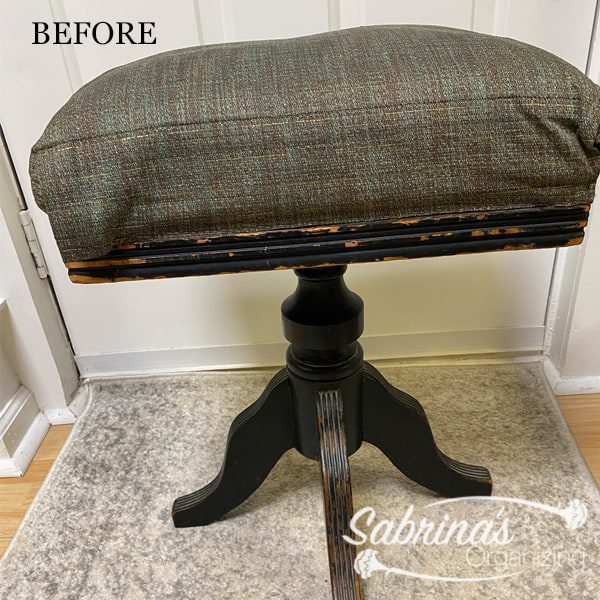
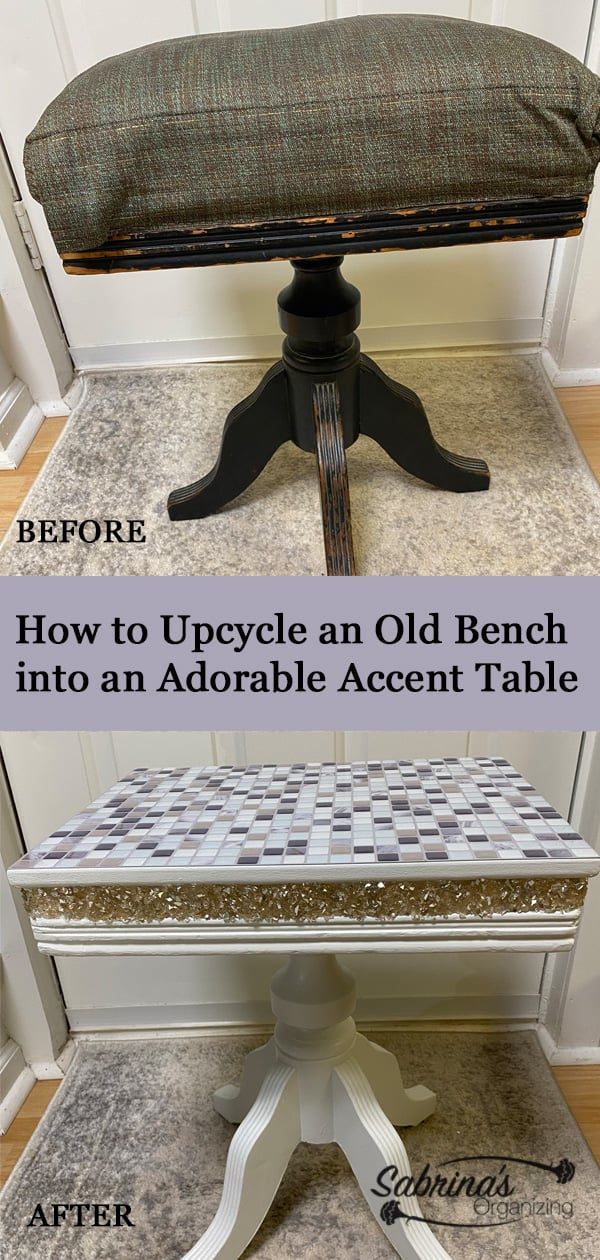
So, this is what the bench looked like before I saved it from the trash. The fabric was shabby, and the wood bevels were chipped. I didn't do much about that since I was painting it and it would be hidden when it was all one color.
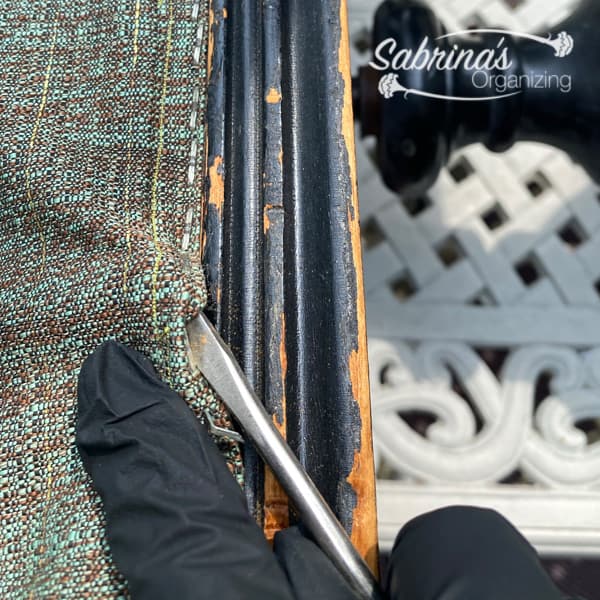
Step 1: Removed the fabric and foam.
Staples were holding the fabric in, so I could remove them fairly easily. If there were broken staples, I pulled them out when plyers.
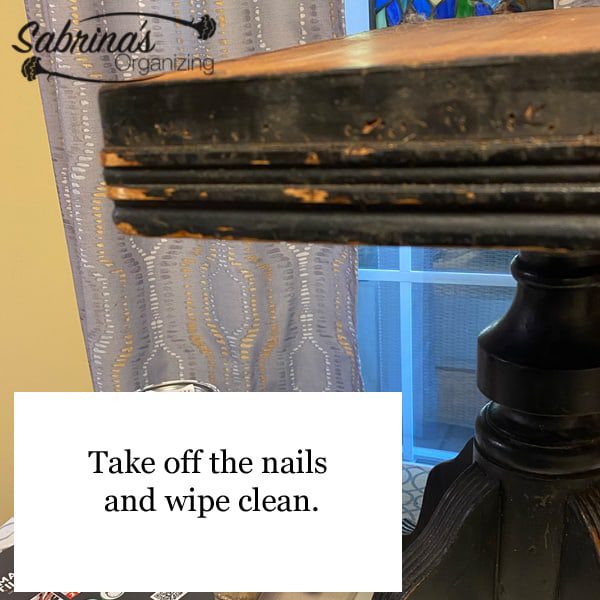
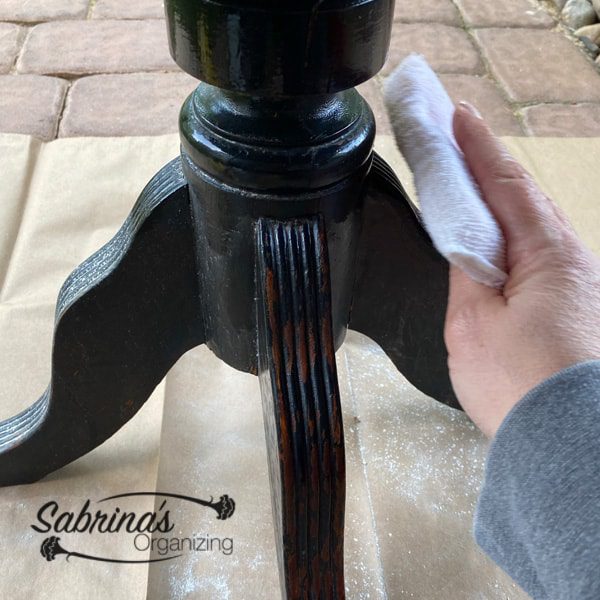
Step 2: Clean the wood with a damp rag and remove any nails or raised surfaces.
This is how it looked after I took off the top. Since the top was a complete wood top, I decided not to make it a bench and make it an accent table.
Step 3: Add the wood top.
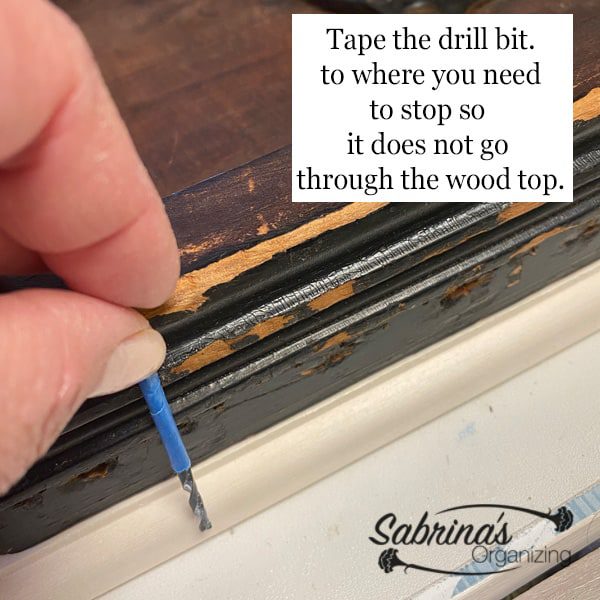
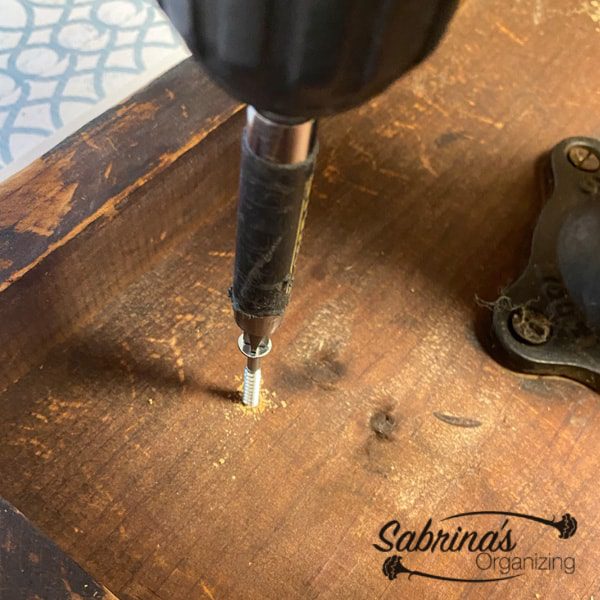
I wrapped a drill (affiliate) bit to the point with painter's tape (affiliate) where I needed to stop to go completely through the top piece. The piece of wood was the exact size of the base. It gave me an edge to use later on.
Step 4: I lightly sanded the surface and then patched the holes.
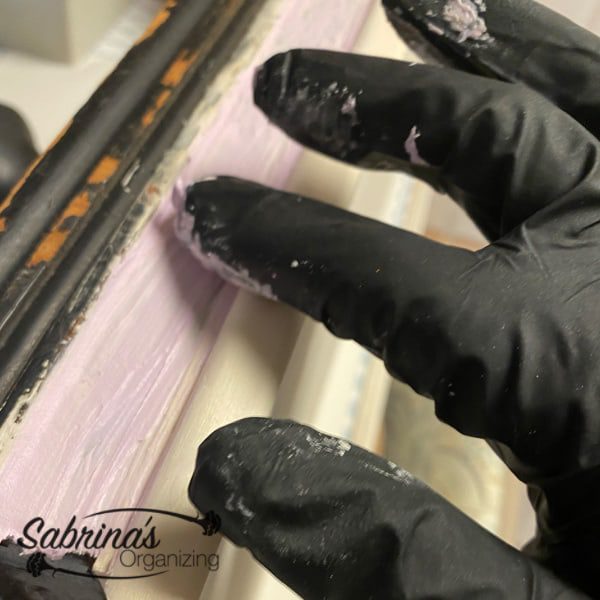
I used the wood filler to fill in the holes. I ensured it was smooth so I did not have to sand it too much when it dried. The wood filler is pink when wet, and when it dries, it turns white, which helped me figure out when it was dry.
I continued to do all four sides, which took some time. Because I didn't want it to run, I did one side at a time and then let it dry completely.
Step 5: Lightly Sand Smooth and then painted at least three times.
I then added a coat after lightly sanding and using a tack cloth (affiliate) to remove the dust. Then, I repainted it and let it dry completely. I also needed to touch up the white paint since the wood was dark.
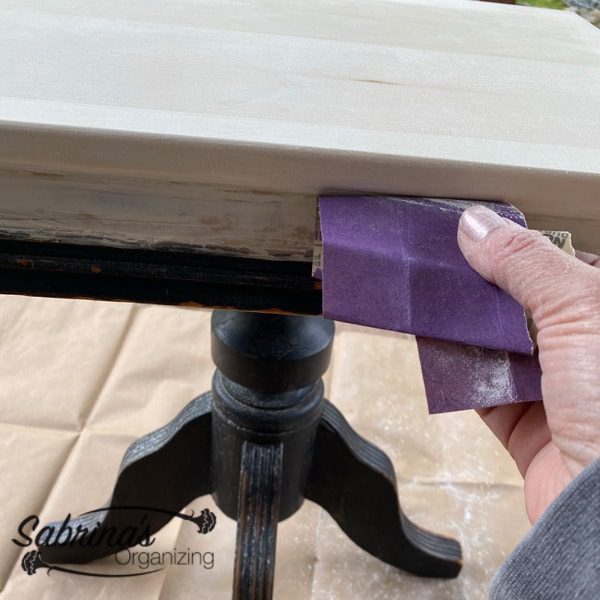
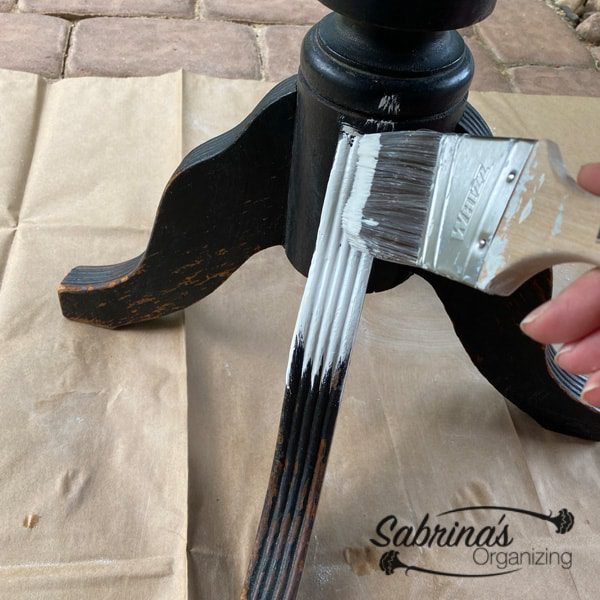
Here's the start of the second coat.
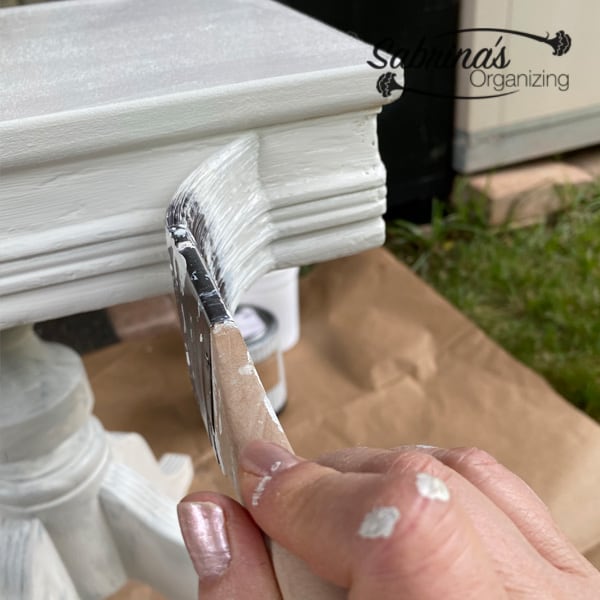
Step 6: Paint the Bottom.
Then, I painted the bottom since it was so dark from the top. I didn't paint it more than once since no one will look under it.
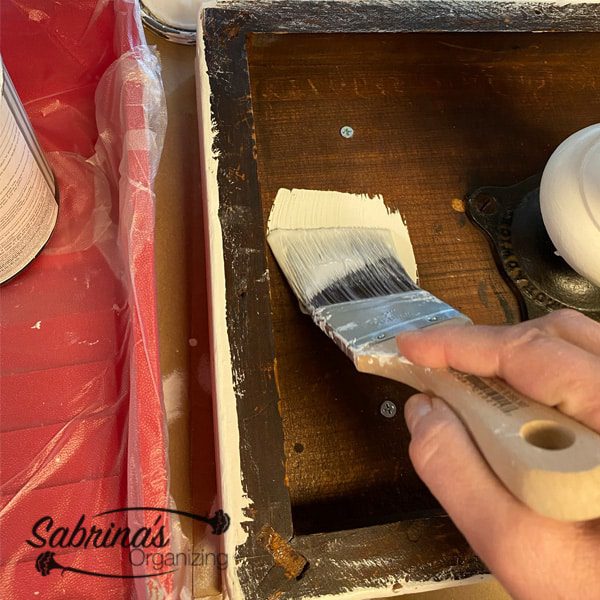
After allowing it to completely dry, I felt it needed something. So, this is what I added.
Step 7: Add Vinyl Tiles.
I added a full sheet of this Smart Tile to the top. It is plastic and has a sticky back. I pressed the edges to make sure they would adhere to the edges.
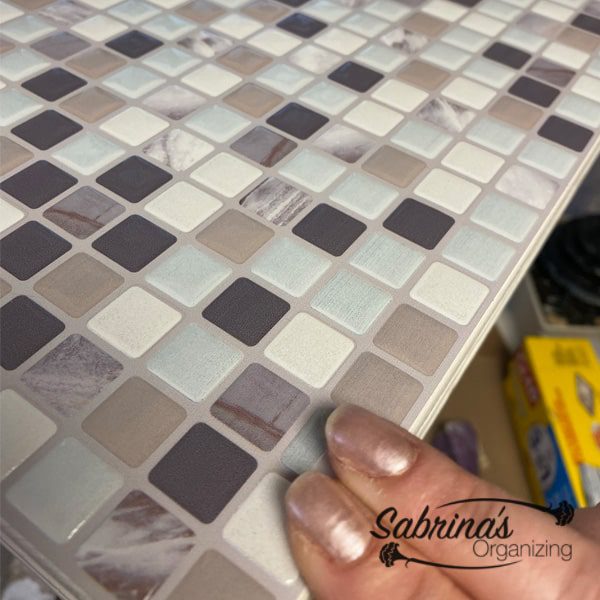
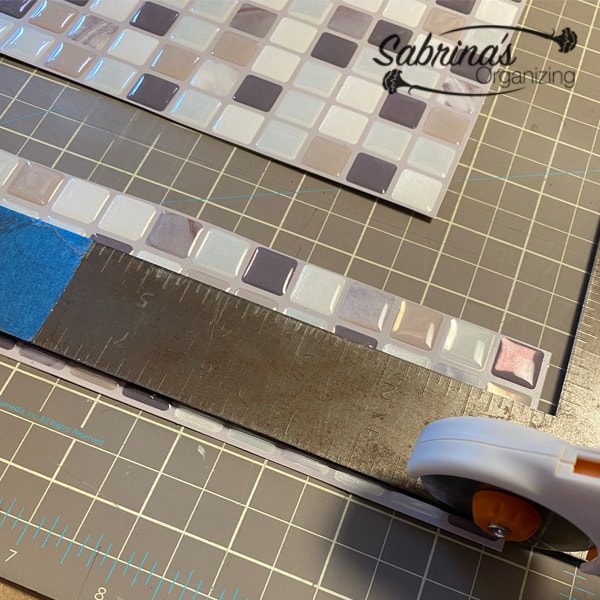
Since the accent table was larger than the tile, I had to do some patching. Then, I cut it down with scissors or a rolling cutter and marked it to see how much I was over. I then used a T-square ruler to create a line and cut it.
I used scissors to separate it if it did not go completely through.
And, I continued and added the remaining vinyl tile pieces.
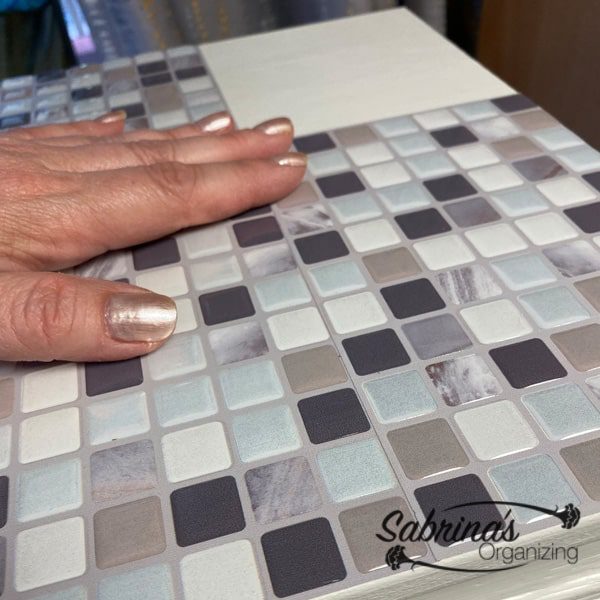
I ensured I did not have small pieces to work with to eliminate any issues with cutting.
Step 8: Add the Clear Gorilla Glue and glue decorative crushed mirror pieces.
To dress up the sides, I used glue and crushed mirror pieces. I added Gorilla Glue and a handful of the decorative mirror pieces, pressing them down to allow them to stick. I then let it dry completely. Then, I continued and did the other sides, drying completely between these tasks.
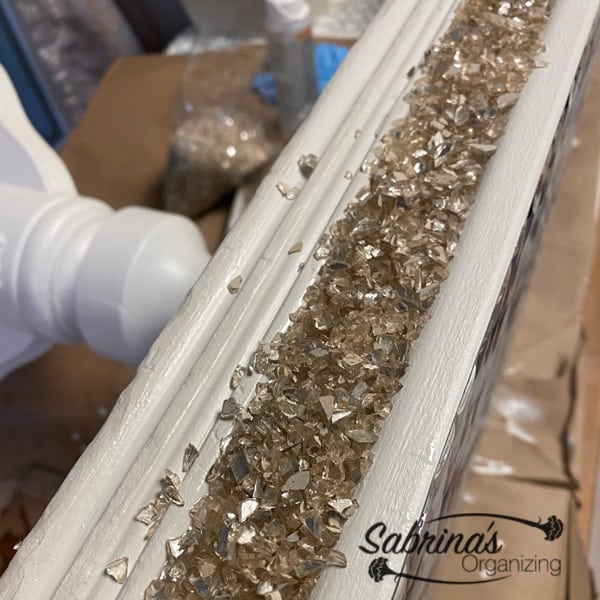
I removed any excess mirror pieces that did not stick after it dried.
Step 9: Add the feet to the bottom.
After the sides were completely dried, I added feet to the bottom.
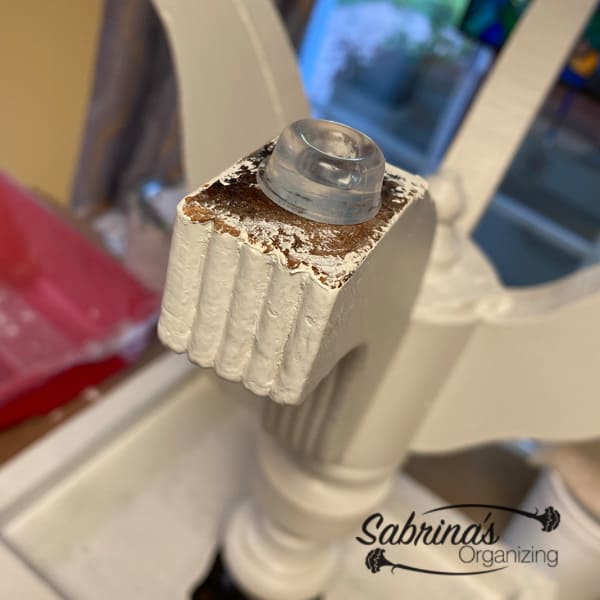
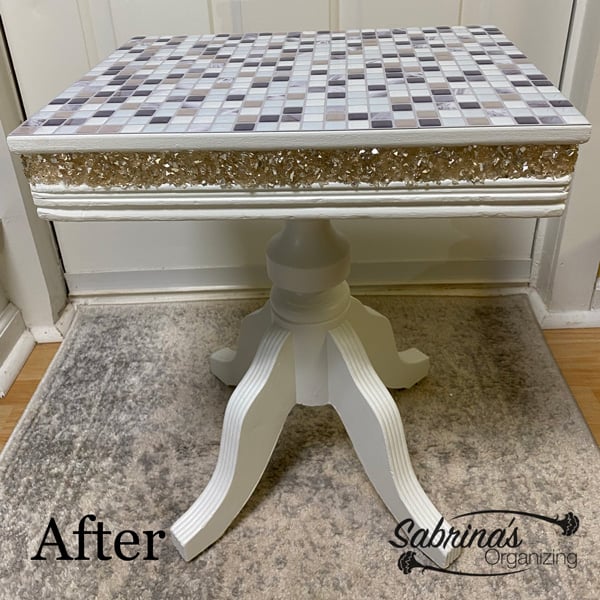
There you have it! My finished project is done! Here is what it looked like when it was finished. I love it! What do you think? Please leave a comment below. I would love to hear from you.
Feel free to check out the video and follow us on YouTube!
How long did it take to do this project?
This project took 8 hours, considering all the layers I had added; it did require some time to complete. The majority of the time was spent drying.
Visit our other DIY paint projects below for more inspiration.
HOW TO UPCYCLE DINING ROOM CHAIRS INTO FUN ACCENT CHAIRS
HOW TO TRANSFORM A WOODEN FOLDING CARD TABLE FROM BLAH TO FABULOUS
TRANSFORMING COFFEE TABLE WITH GRAY CHALK PAINT
HOW TO TRANSFORM A TABLE FROM A VANITY BACK TO A CONSOLE TABLE
If you click through and buy something on Amazon (affiliate), I will receive a small referral fee at no extra cost to you. Happy Shopping! Thank you for supporting my small business.



Leave a Reply