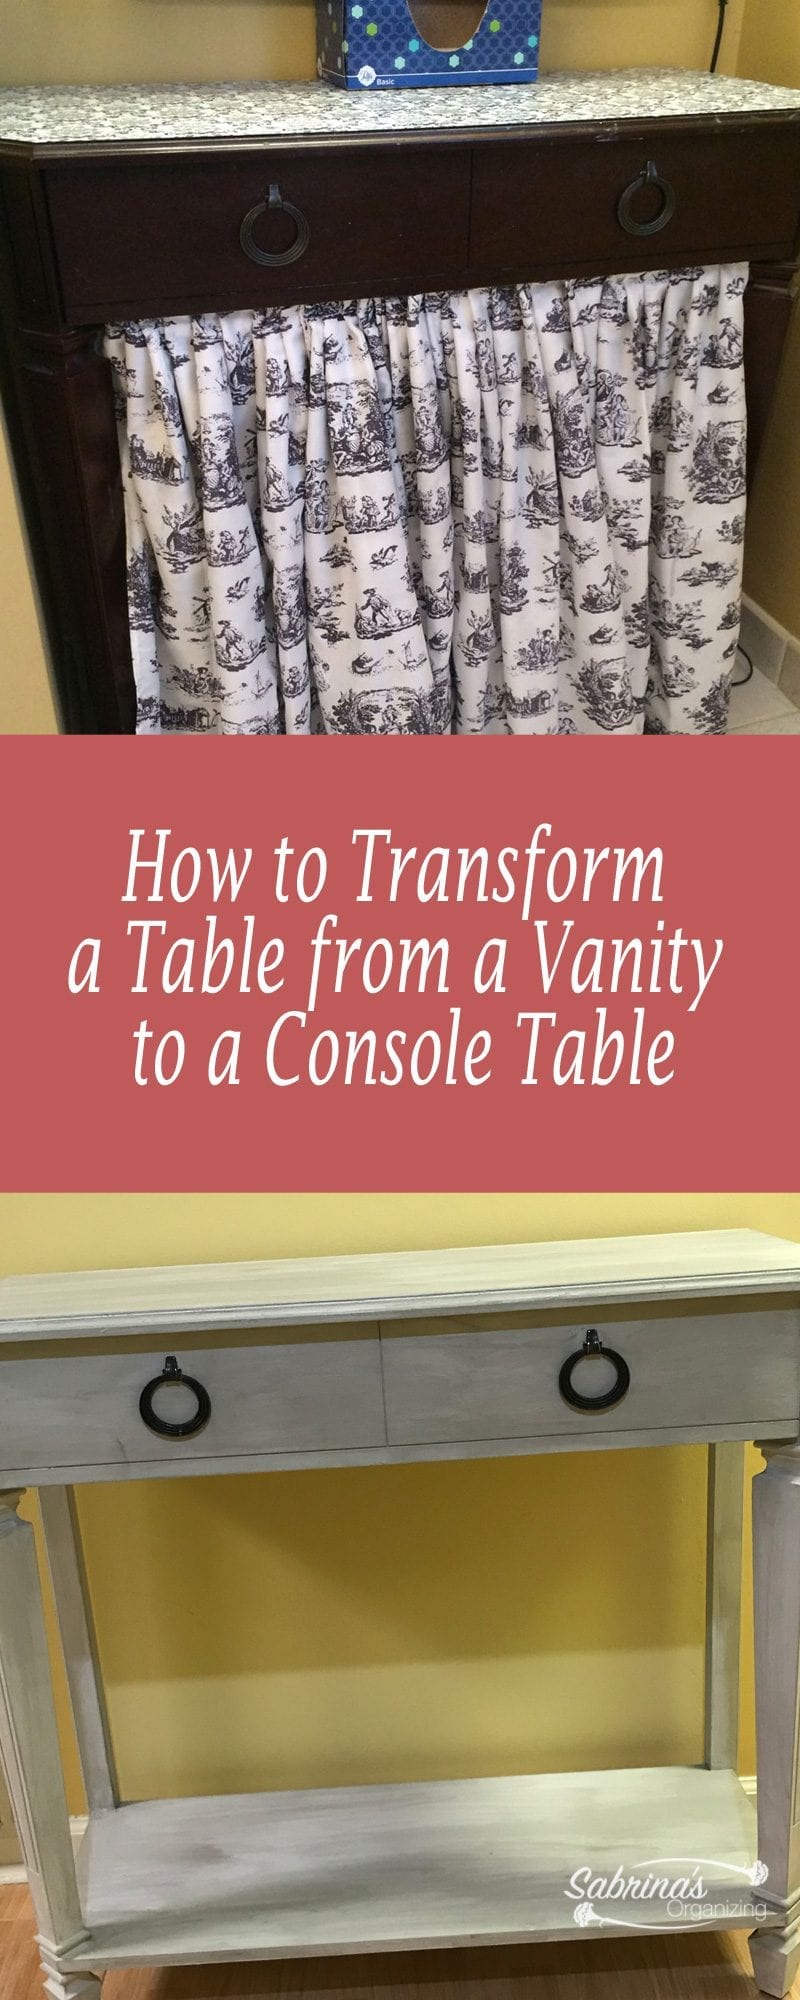
Some years ago, I created a custom vanity drawer. The console table (affiliate) was used for a small area in my bathroom so I could have a place to sit and do my makeup and hair. The table worked for a while, but recently, it started to get shabby. With all the small desks around now, I found a replacement for this table.
Jump to:
How to Upcycle a Console Table
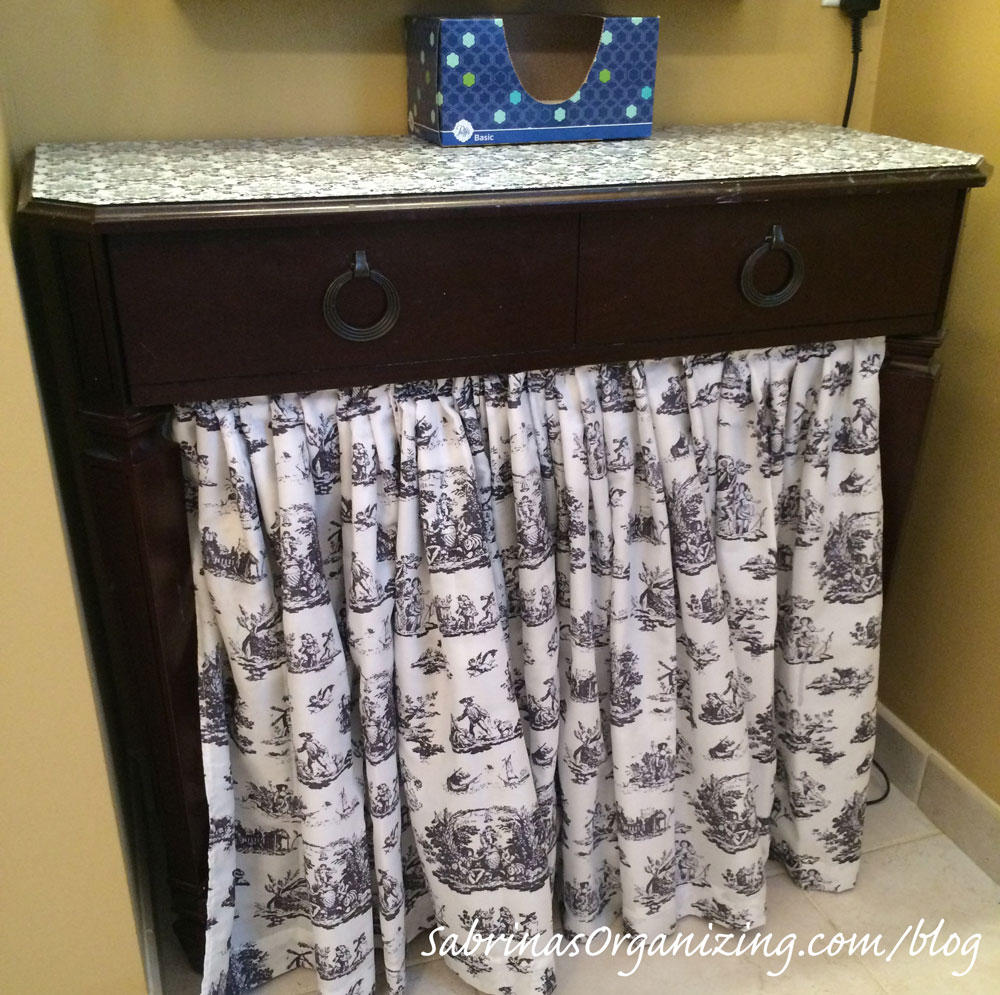
BEFORE
But this table was still useful. It just needed some TLC. So, I decided to transform it back into its original purpose, which was a console table (affiliate). Read on to see how I transformed it.
Supplies I used for this transformation
- Console table (affiliate)
- Contact Paper (affiliate) (R)
- Goo Gone (Amazon (affiliate) Affiliate)
- medium grit sandpaper (affiliate)
- Magnolia Home by Joanna Gaines(R) Chalk Style Color Yarn by Kilz
- Wedged paintbrush
- Standard paintbrush
- Dark Wax by Magnolia Home by Joanna Gains(R)
- Rag for stain
How to transform this Console Table
I first removed the curtain fabric area and the drawer from the unit. Then, I removed the drawer organizers (affiliate) that were placed in the drawer for the vanity so I could paint it later.
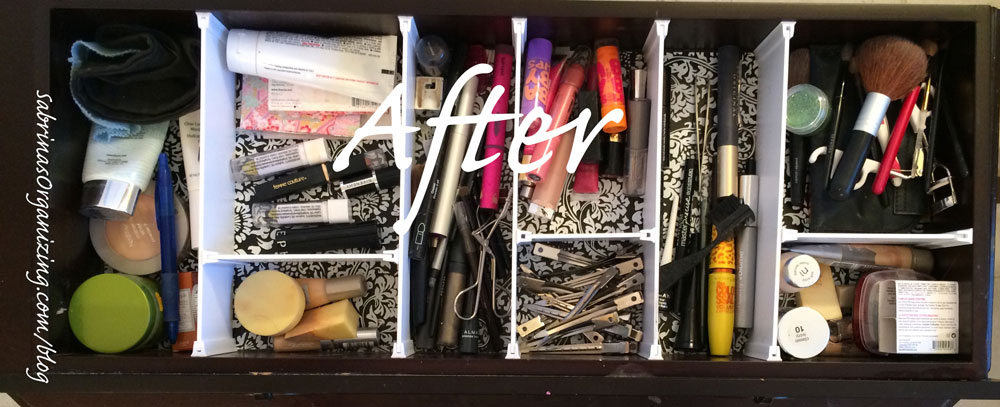
I cleared off the furniture (affiliate) piece. Removed any dust from it. I removed the Contact Paper (affiliate)(R) that was attached to the top. But when I removed it, the glue had transferred to the top of the console table (affiliate). Ugh! I had to find a way to remove the glue first.
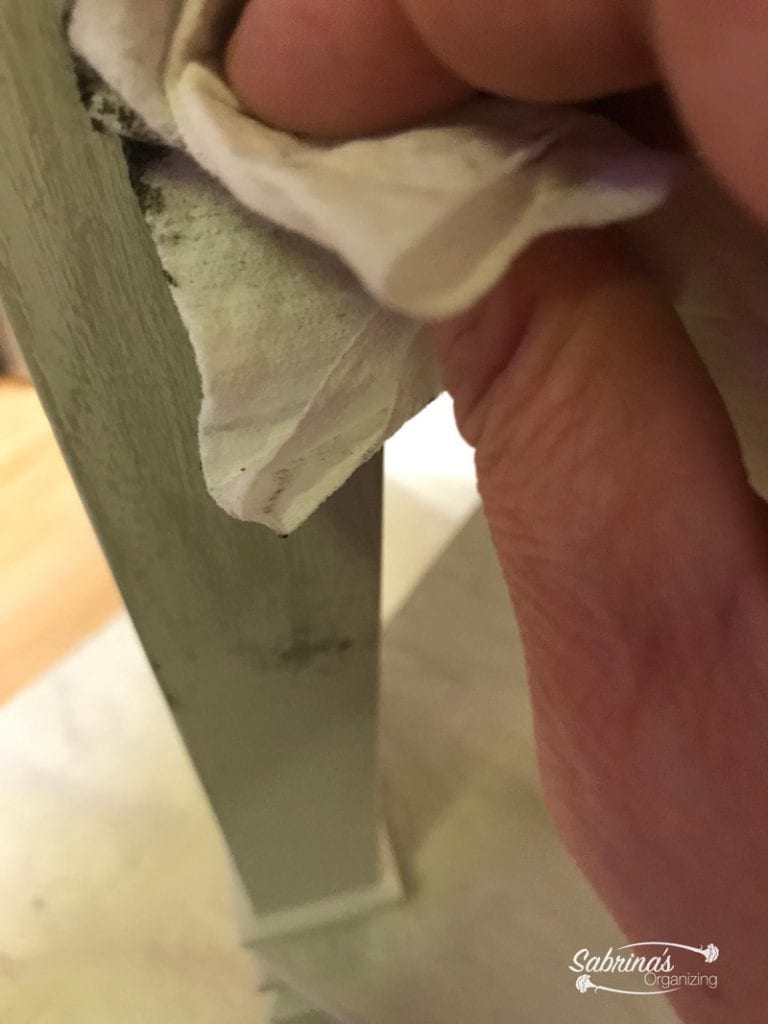
So, to remove the sticky glue, I used glue remover Goo Gone (Amazon (affiliate) Affiliate). With a rag, I applied the remover and worked my way around the surface. Eventually, I was able to remove the glue's stickiness.
Sand the furniture piece
I then, sanded the surface with a medium grit sand paper and wiped again to remove the dust.
Paint with chalk paint
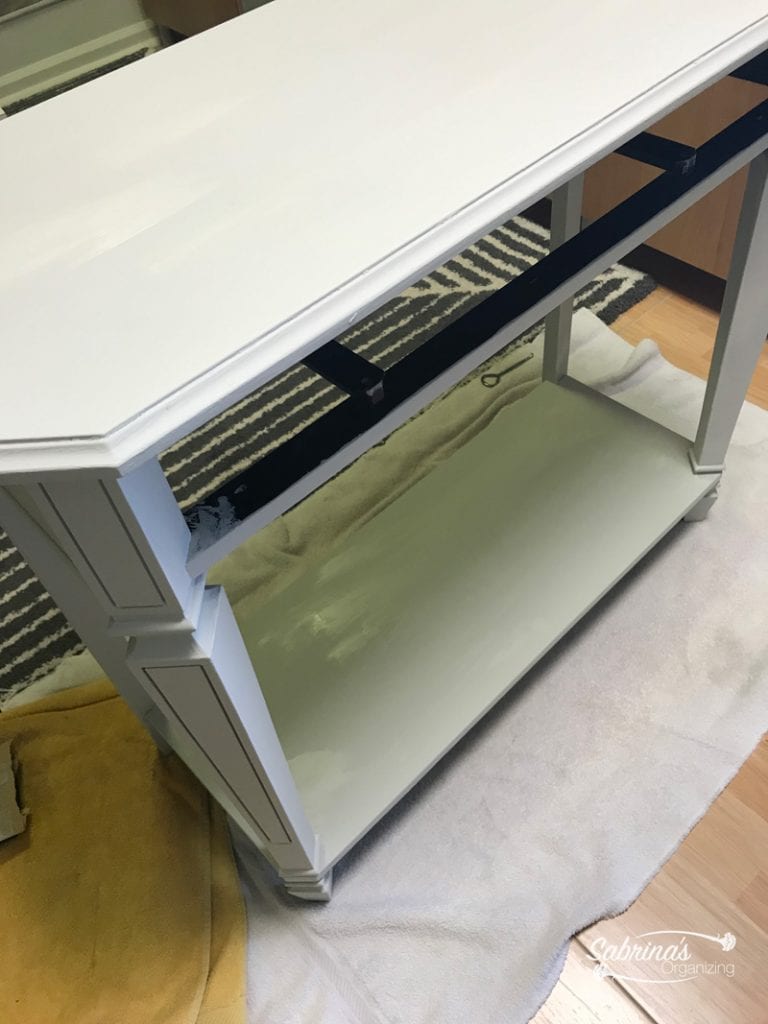
I used the same chalk paint (Magnolia Home by Joanna Gaines(R) Chalk Style Color Yarn by Kilz) I used on my prior card table project. Using the wedged paintbrush and a standard paintbrush, I worked my way around the piece. I did the bottom first, then turned it over and did the top part. Then, I waited until it was fully dried, then added a second coat. I let that dry completely. This took some time.
Add a liner to the drawer
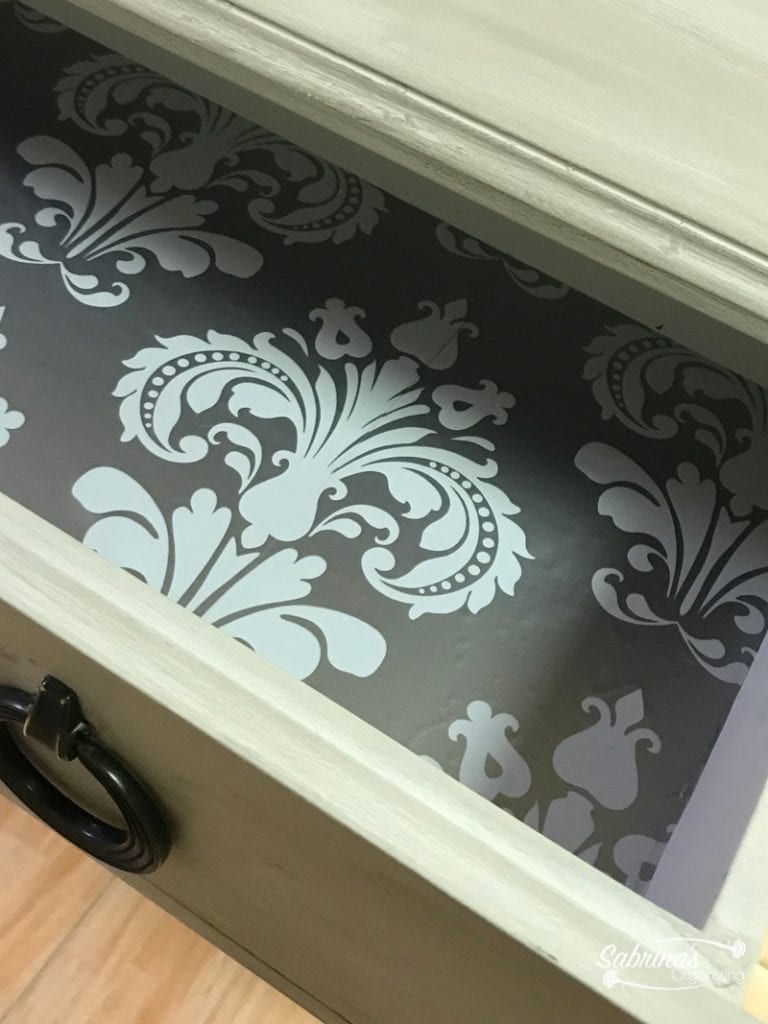
While I was waiting, I worked on the drawer. I painted the sides, outside, and bottom of the drawer. I decided to change the paper inside the drawer to replace the one that was worn from my vanity.
Add a Layer of Dark Wax
Then, I returned and used the Dark Wax by Magnolia Home by Joanna Gains(R) and applied it to the top, sides, and even the bottom of the console hall table with a rag. I used several rags because I removed a good amount of the wax. That's it.
AFTER
This is what the console table (affiliate) looks like now. I love it! What do you think?
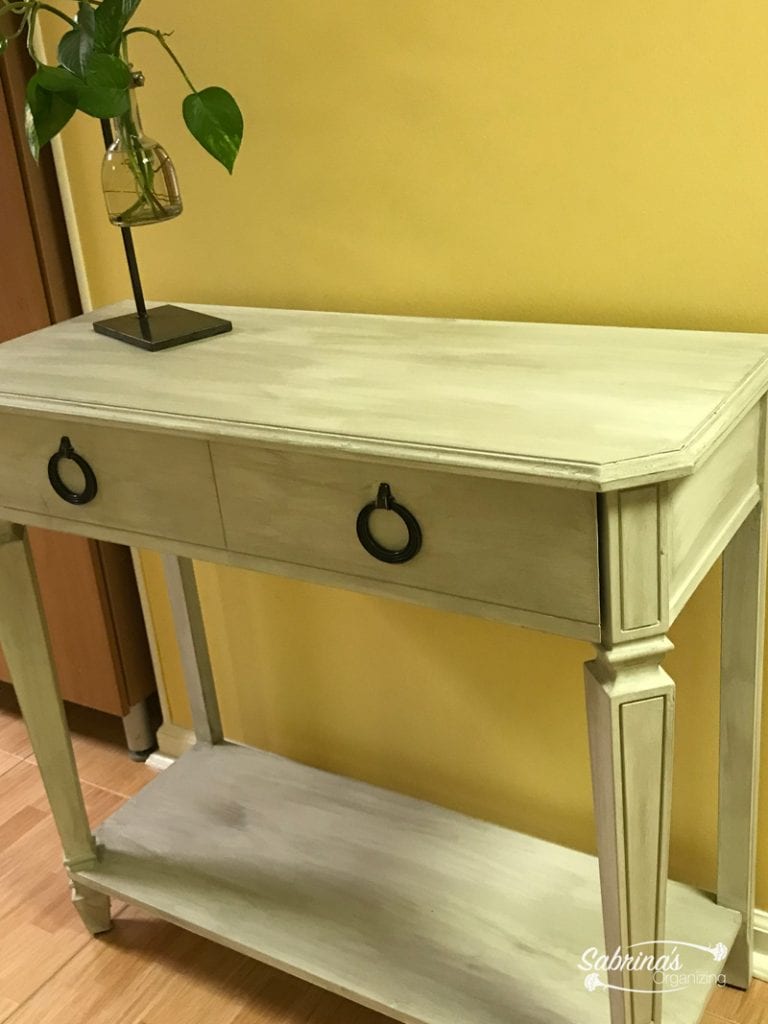
I am so glad I did this transformation. The table needed an update. The details took a little longer than expected, so if you decide to do this, allocate more time to painting the details.
2024 Updated Console Table
Yes, again, we are modifying this console table. This time, my daughter transformed it into her new home in New Mexico. It will be used at the entryway of her new place. See how she transformed it.
Before Image:
As you can see, it has a white finish on it, and while I loved the color, she wanted to make it a little warmer and darker in color.

2024 Supplies used for the Update
The supplies were fairly easy to acquire.
- Rustoleum Dak Tint Base Chalked - mixed to Cocoa Bean - She then added some yellow and red acrylic paint to make it warmer
- Painter mixing container (small)
- She also used a light green acrylic for the leaves and the lines.
- And a white and yellow acrylic for the flower.
- Tools (affiliate) used were paintbrushes (affiliate) and small brushes for the flowers and lines.
- Painter's tape (affiliate) to make the lines sharp.
- Then, a Matte Clear Rustoleum chalked paint for the final coat.
How she updated this console table project
She started by sanding and washing the console table, removing any dust and paint she didn't want to be exposed to.
Then, she added a little red and yellow to the chalked paint color of the Cocoa Bean in a mixing container and mixed to the desired color.
Next, she applied the paint to the console table, waited for it to dry, and applied another coat.
Then, she used the painter's tape (affiliate) and made lines around the edges. I also applied the light green acrylic paint with a paintbrush. She then removed the tape and let it dry completely.
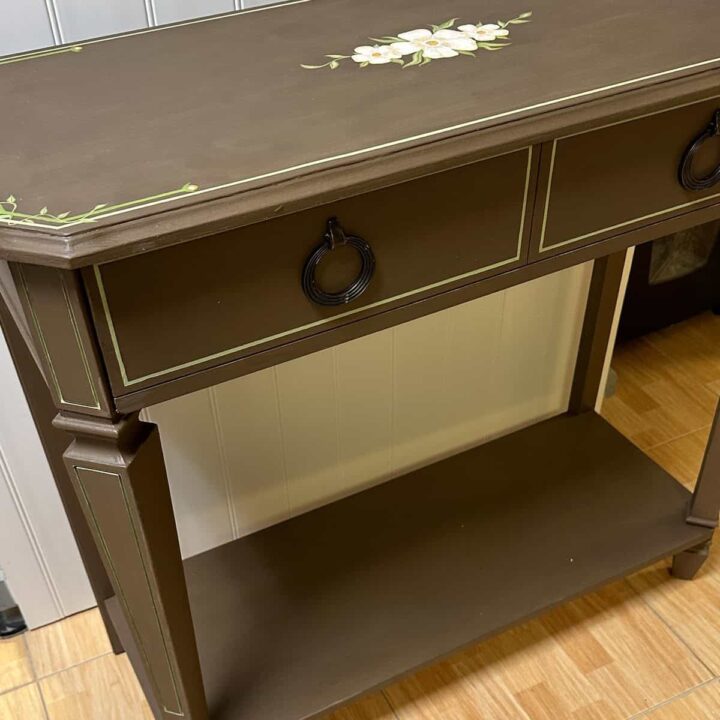
Drew the flower:
She then started working on the flower in the center of the top, which was white and light yellow with green leaves. It took some time to dry and create the different layers.
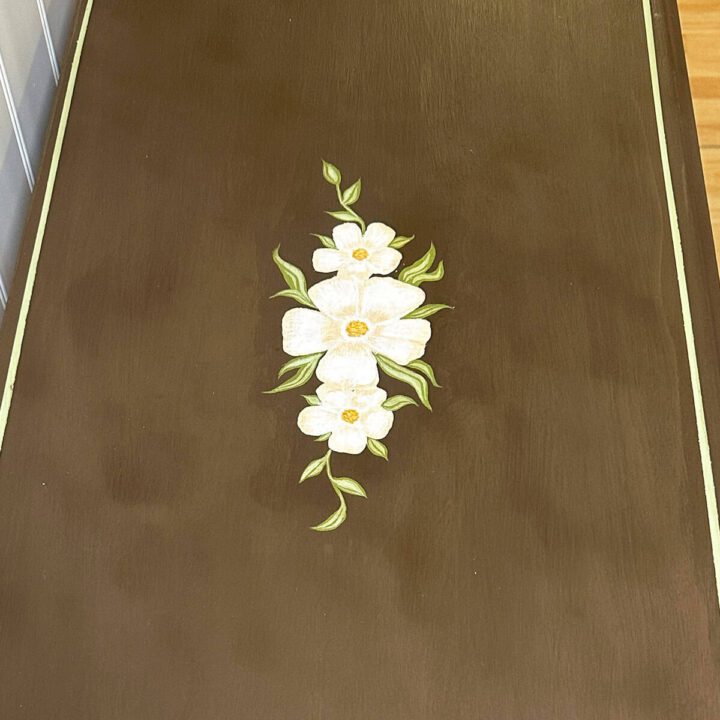
Then, she added ivies around the corners and let them dry. They must dry for at least 24 hours before applying the matte clear coat.
She then applied the clear coat the next day.
2024 Reveal
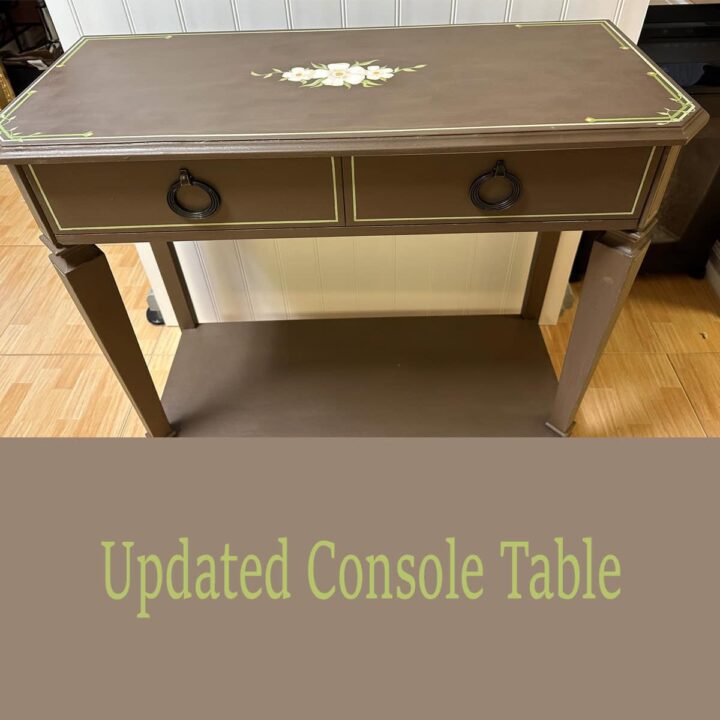
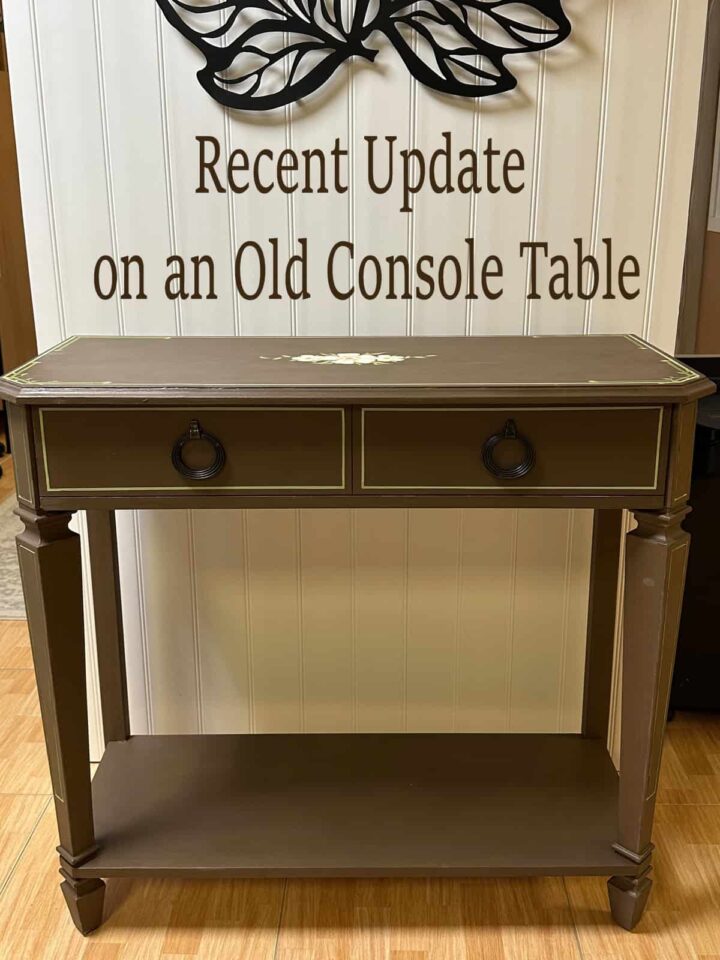
And this is how the image looks now. I think it looks amazing.




Leave a Reply