We have one main bathroom that everyone in our home uses. Although it is a larger bathroom, it receives a lot of wear. We have a half bath, which we revamped recently (see post here). We gutted the bathroom in 2007-2008, installing new faucets, a vented door to separate the spaces, new mirrors and lights, removing the floor, a new porcelain tub, and tile throughout. It has been many years, and now it is time to update our bathroom for a fresh, clean look. We still loved our cabinets, so we did some minimal cost updating. Read on to find out how we transformed our main bathroom with minimal cost for maximum effect!
Over the years, we added a door so the shower and toilet are separated from the sink and my vanity.
Jump to:
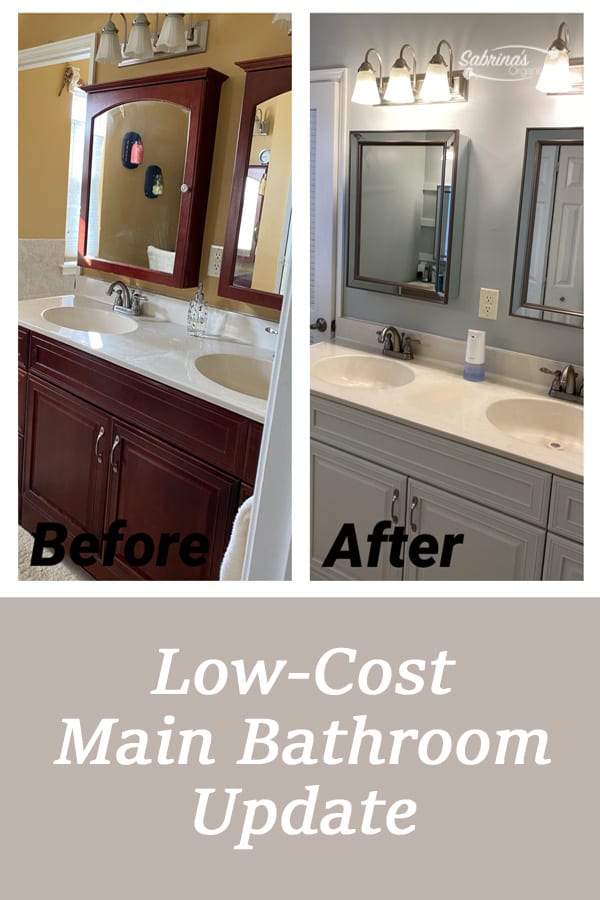
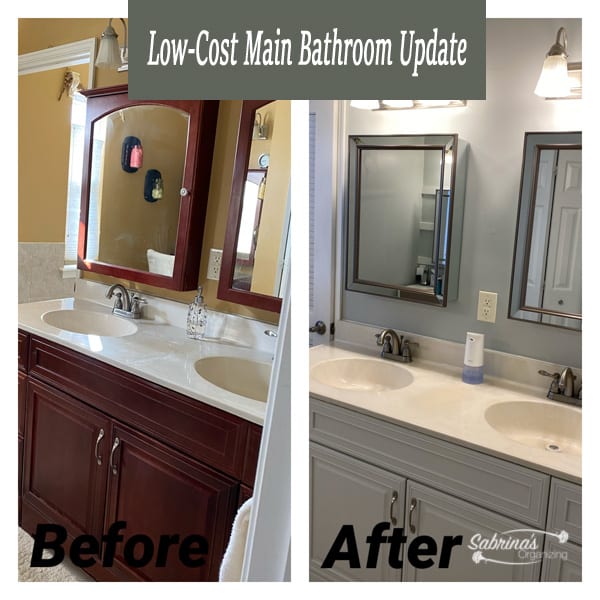
Before Main Bathroom Update:
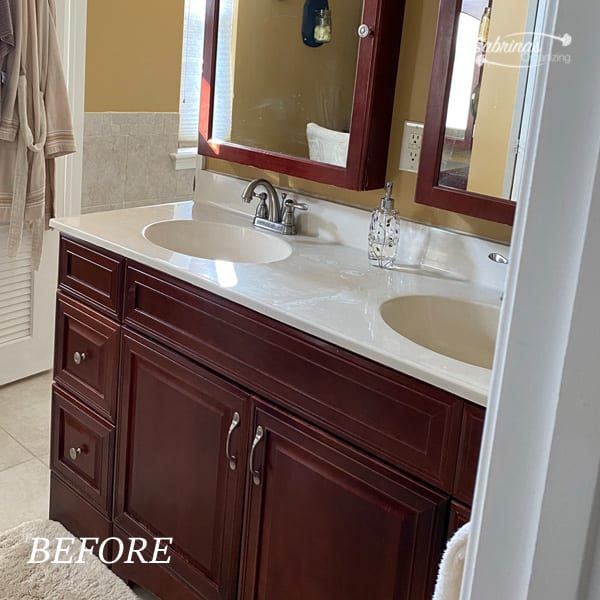
Now in 2021, we decided it was time for another update. The cabinet was getting shabby, and the walls needed painting.
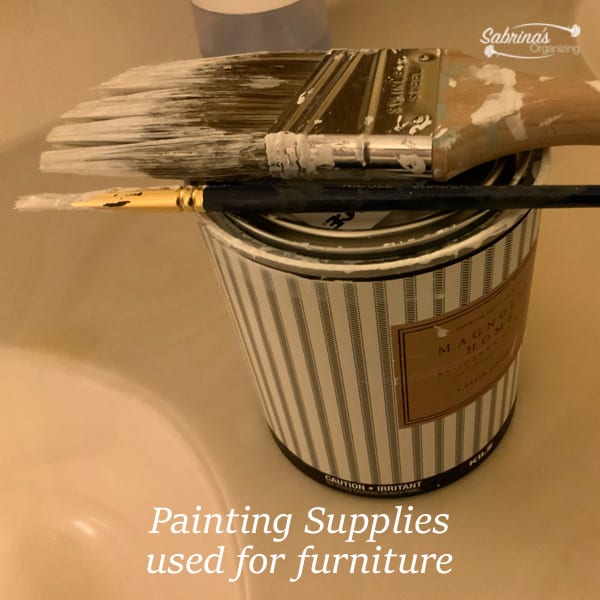
Tools used for this main bathroom transformation:
Paint For the Walls: Wedding Band Magnolia paint 1 gallon and 1 quart in satin
Paint For the furniture (affiliate): Shiplap Magnolia paint 2 quarts in satin
Mini wax Polycrylic 1 quart matte finish
Paintbrushes various sizes
Paint rollers and pan
Krud Kutter Prepaint cleaner spray
3- new vanity mirrors from Home Depot - Home Decorators Collection 20 ⅛ in. W X 26 in. H Fog Free Framed Recessed or Surface-Mount Mirror Bathroom Medicine Cabinet in Brushed Nickel.
Full disclosure: There are Amazon (affiliate) Associate links in this post. If you choose to click through and buy something, I will receive a small referral fee at no cost to you.
How we transformed this main bathroom?
I painted wall mounted cabinet next to the tub above the toilet.
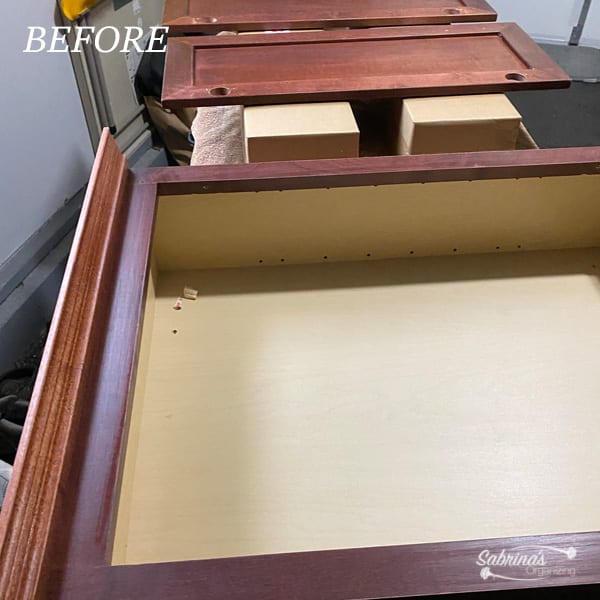
I took off the cabinet and painted it. It took some time because I needed to clean the cabinet; I removed the doors to make it easier to paint.
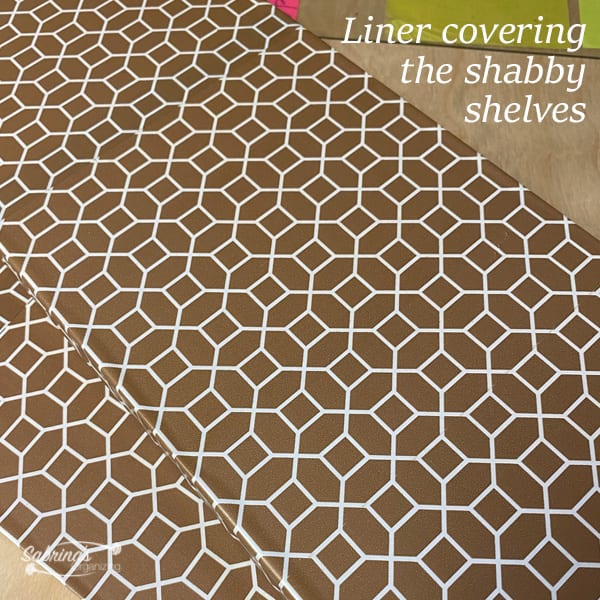
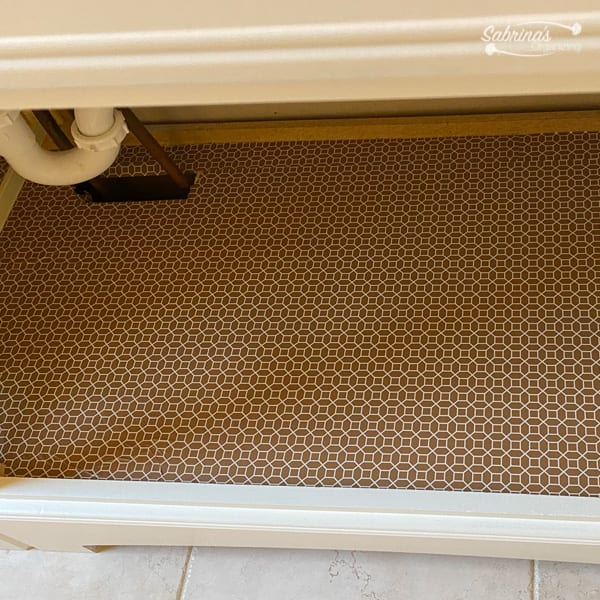
The shelf looked shabby, so I covered it with a decorative liner. I used it in other cabinets and vanity to make them look uniform and cohesive with one another.
While I was painting the wall-mounted cabinet downstairs, my husband painted the tub and toilet area.
First, he removed the blinds and ivy we had hanging. He had to paint around the tiles throughout the room. It was a small space, so I let him do it himself. He did a great job.
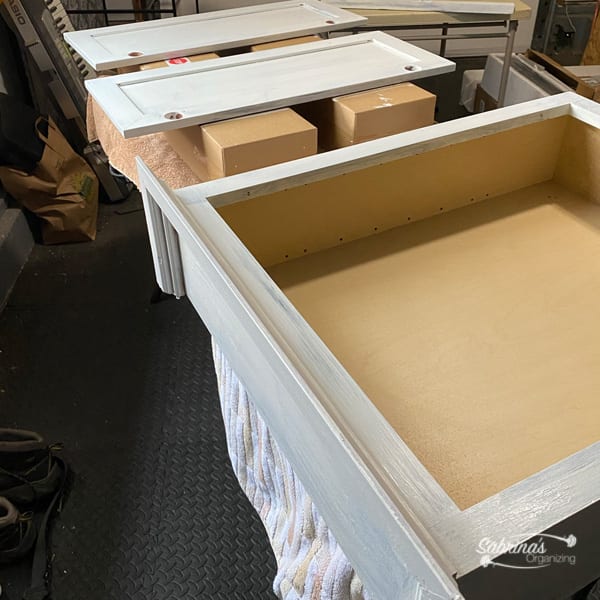
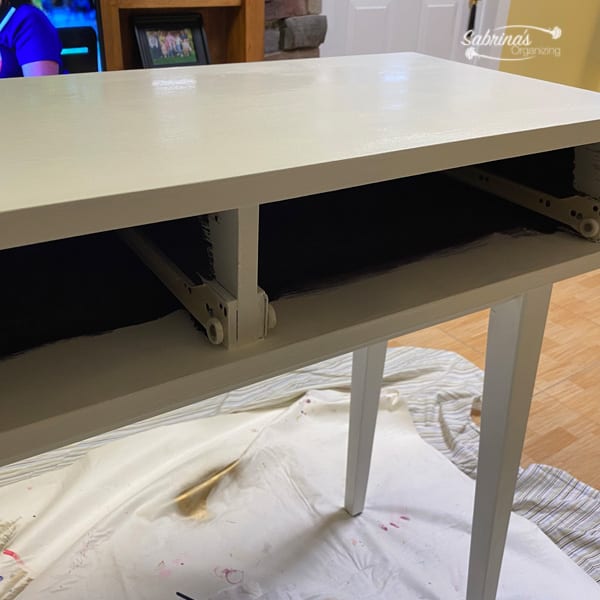
I painted a double sink cabinet.
I removed the doors and brought them to another room to paint them on a flat surface. Because I was going lighter in color, it took me about 2-3 coats on each door, with plenty of drying time in between.
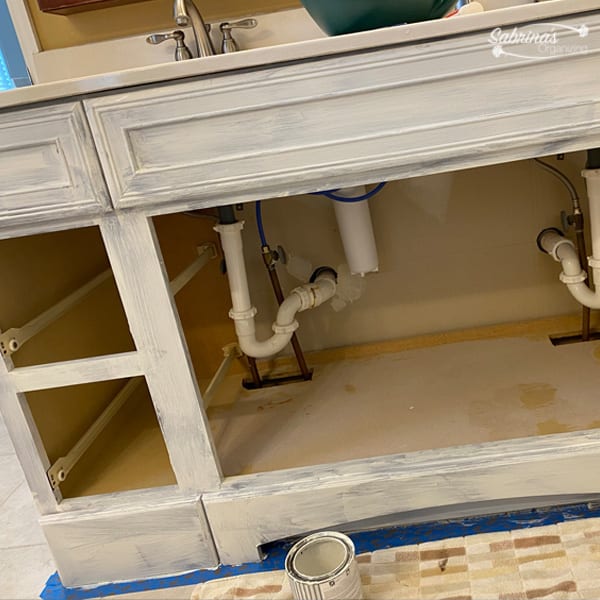
I did not want to remove the cabinet from the bathroom, so I painted it in its spot. I taped up the floor and the top sink, so I wouldn't accidentally paint those items. And I went to town and painted the cabinet. I did two coats on the cabinet.
We removed mirrors and trashed them.
They were larger and got wet often. So, it was time for them to go.
While I painted the vanity and the cabinets, my husband painted the variety and sink walls.
He washed the walls and then cut in and painted this bathroom area. We found that using the prewash to clean the walls helped remove dust and grime so the paint would adhere better.
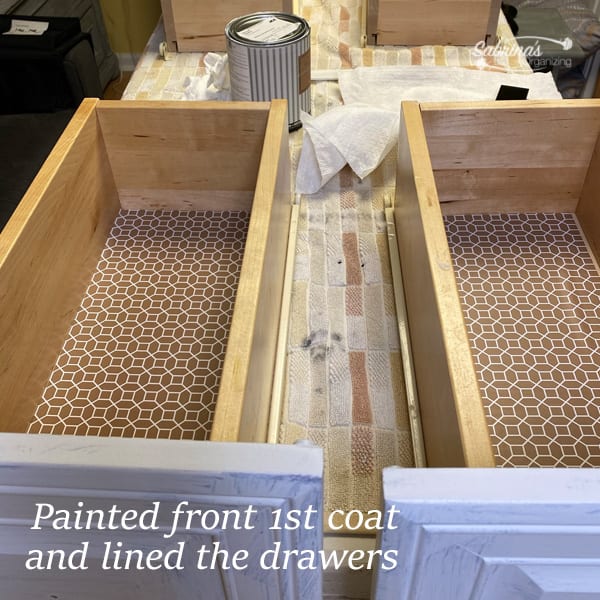
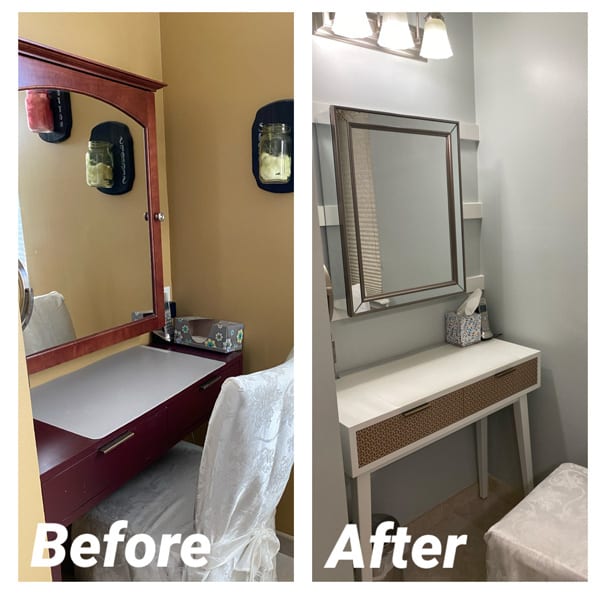
I painted my vanity and covered the front of the doors with self-stick decorative paper.
The drawers were covered with the same liner as the inside of the cabinet above.
After the walls were dried, we worked on the other areas.
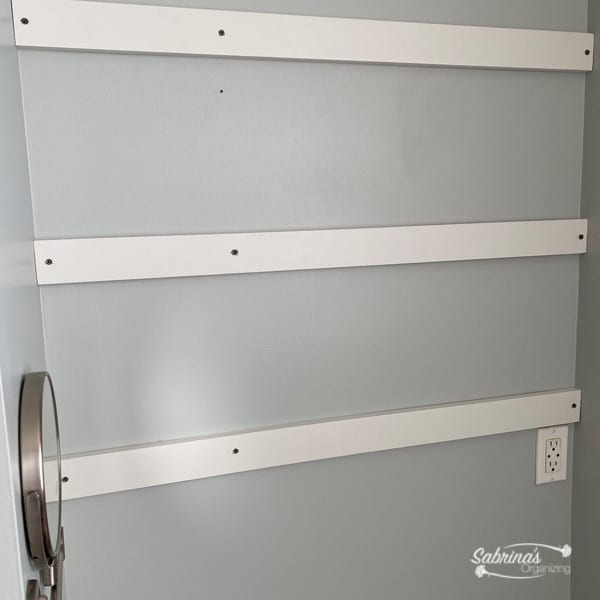
The wall where I would hang my vanity mirror did not have a stud in the middle, so to help support the heavier mirror, we added three horizontal 1 x 2" wood painted white. Then we screwed into the wood when we added the vanity. We patched up the screw with caulk (affiliate) and then repainted them while on the wall.
I purchased new bins under the sink and lined the cabinet and drawer insides with the same self-stick liner paper as the front of the vanity doors.
Then, we added the cabinet doors to the sink cabinet and the cabinet above the toilet. We returned the finished vanity to its home.
It made the sink cabinet look finished, finally. I love the way the cabinet looked with the doors.
Then, we replaced the old mirror cabinets with new ones.
My husband is finding the stud so we can hang the mirror from a stud on the wall instead of using anchors.

We did not replace the light fixtures because they matched perfectly fine. I found that since we bought a little smaller mirror cabinets, they actually fit better on the wall and allowed more light to fall on the sink.
I then replaced the blinds, top down and bottom up, since both cracked when we pulled them down.
They were expensive, but they lasted a long time, so we just replaced them. I got them from JCPenny. However, you can also purchase it directly from Levolor LEVOLOR Custom Cordless Top Down Bottom Up Room Darkening Cellular Shade in snow. They worked fine for this space.
Bathroom Transformation Video
Feel free to follow me on YouTube for more inspiration!
How much did this project cost, and how long did it take?
The cost for the paint and mirrors was about $567. Since we had broken the cellular blinds when taking them down, we incurred an unforeseen cost of $344.00. So, the total cost of all the items we bought was $911. We had the paint supplies.
And the project took a little time because of the drying of the paint and room. It took us about a week to do this entire transformation.
The finished bathroom pictures:
Here's the finished low-cost main bathroom update. What do you think? I shared some before, and after photos below that look amazing.
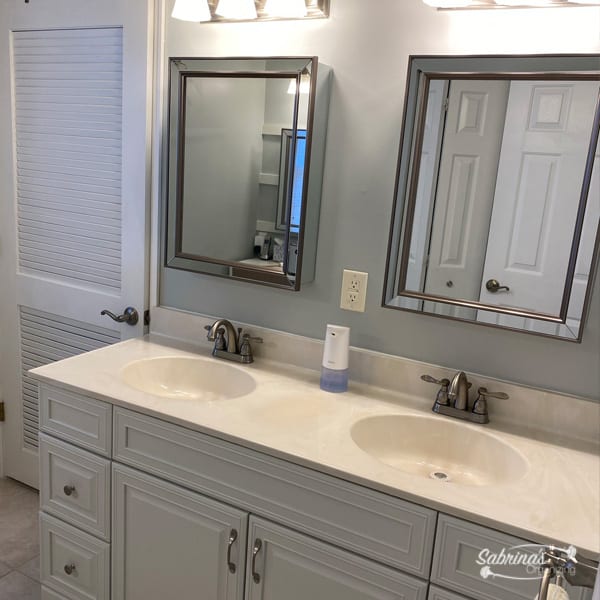
I love it! It is like we got a brand-new remodeled bathroom. I am happy with it so far. It has been about six months since we did this remodel, and the painted furniture (affiliate) and cabinets are holding up well.
Now it is your turn! Would you try this makeover? What would you do to your bathroom to improve it? Please leave a comment below. I would love to hear from you.
Feel free to check out our other updates and organization posts!