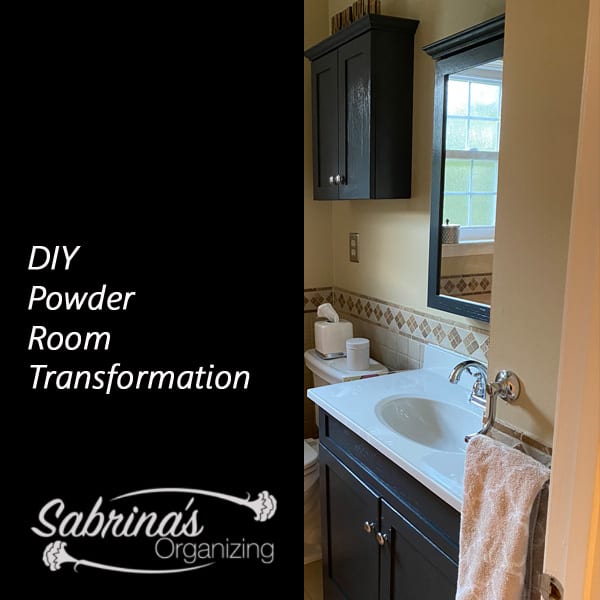
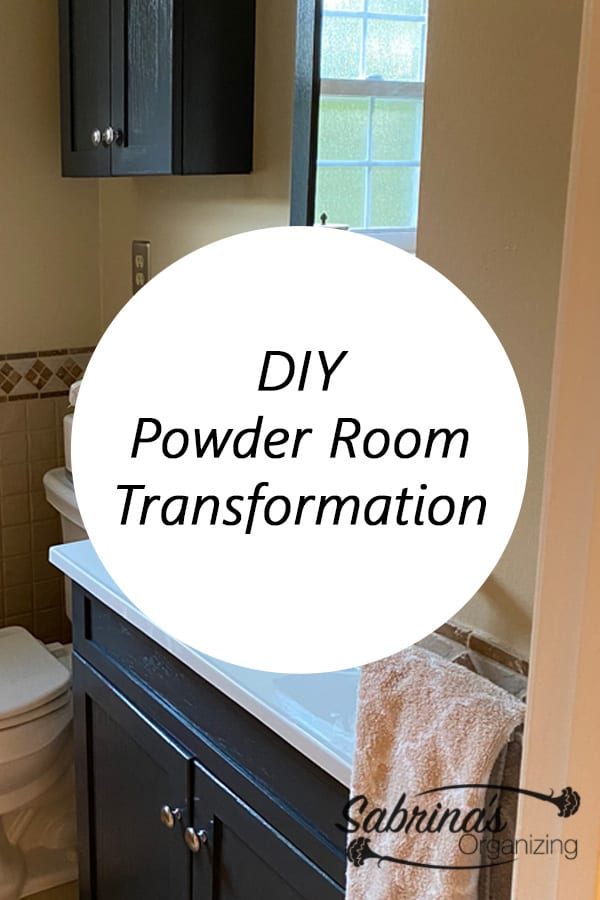
DIY transformations are wonderful to observe. I have seen several before and after organizing the home to improve older, shabby pieces of furniture (affiliate). Our DIY Home Organizing Series will show you the previous projects we have done in the past. This post is about our DIY powder room transformation, where we repainted the cabinet and vanity, replaced the sink and faucet, and updated the mirror. Follow along and, hopefully, get inspired to make a change to your powder room.
Jump to:
- Powder Room Transformation Steps
- Supplies are needed for this powder room transformation.
- Clean cabinets.
- Prep the area to protect the wall and floor to protect them from the paint.
- Paint the cabinet and the vanity.
- Laid the doors/cabinet on drop cloths and painted them.
- Add the faucet/sink to the top of the painted vanity.
- Add the doors and mount the cabinets.
- Before and After DIY Powder Room Transformation Photos
Powder Room Transformation Steps
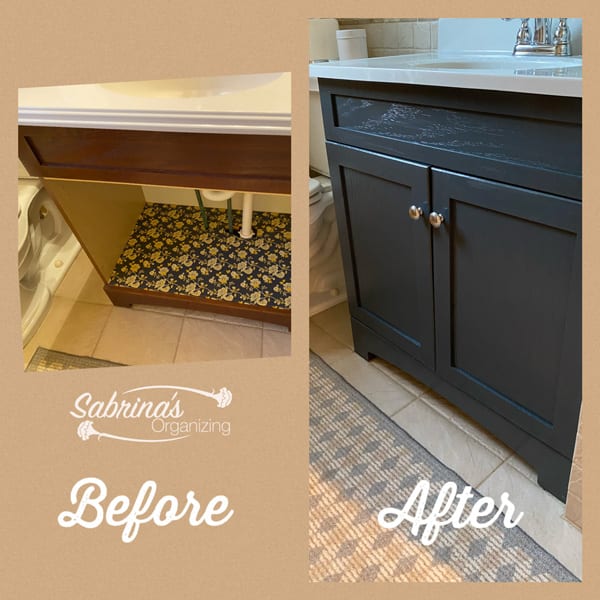
Our powder room was getting a little shabby lately. In 2006, we remodeled the powder room with a new toilet, cabinet, and sink/vanity. Over time, this powder room was used a lot by family and friends. Now, it has gotten a little rough around the edges. So, we decided to replace the vanity top and paint the cabinet, mirror, and sink. Here's the before picture.
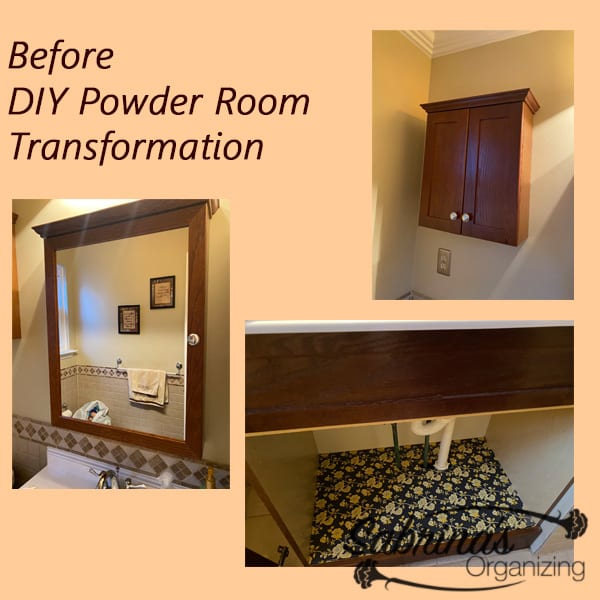
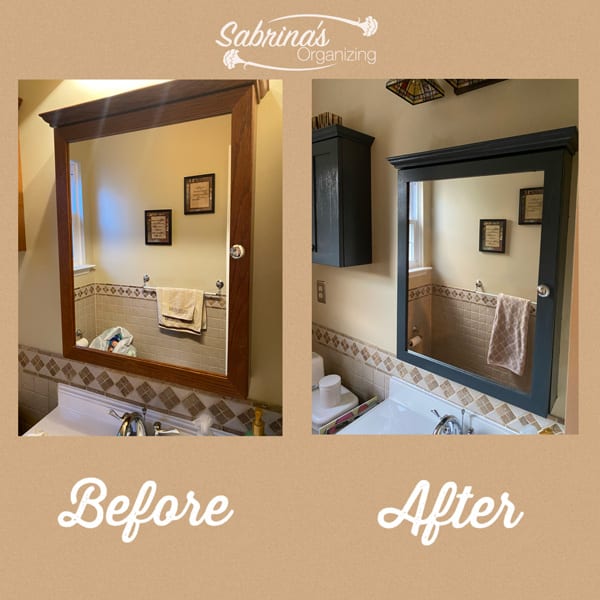
If you look closely, you will notice that there was some wear and tear on the wood around the mirror and sink.
Supplies are needed for this powder room transformation.
Prepaint Cleaner Spray
Drop cloth
Painters Tape
Screw Driver
Polyurethane
Gloves
Paintbrushes
Paper Towel (wet)
Caulk
Magnolia Fine Black Interior Satin paint - it was as close to black (affiliate) with a little blue tint in it.
Clean cabinets.
We cleaned off the cabinet mirror and took the doors off to make it easier for us to paint. Painting the doors took some time because we had to do two coats on each side and the edges.
As it took some doing to take off the caulk (affiliate) and the glue from the cabinet to remove the sink, we moved the vanity a bit and loosened it from the wall. We had to remove some of the tiles around the sink top to make it easier to move and pull out to replace it. So, to make the vanity more secure again, we added L brackets to the front inside edges of the cabinet.
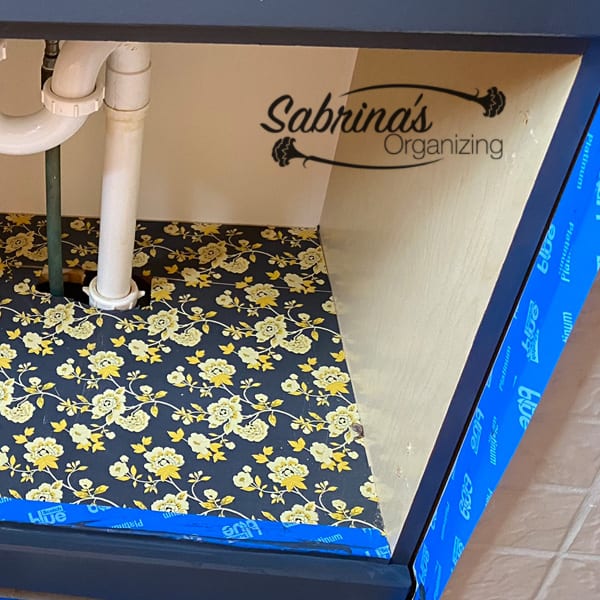
Prep the area to protect the wall and floor to protect them from the paint.
We taped the wall to protect them from the painting we were about to do to the cabinet. You can see that when we started painting and we did not get any paint on the tile or wall. YAY!
Paint the cabinet and the vanity.
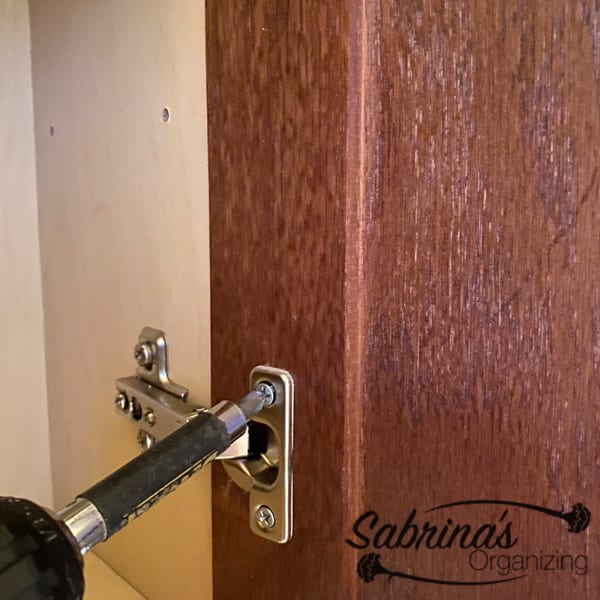
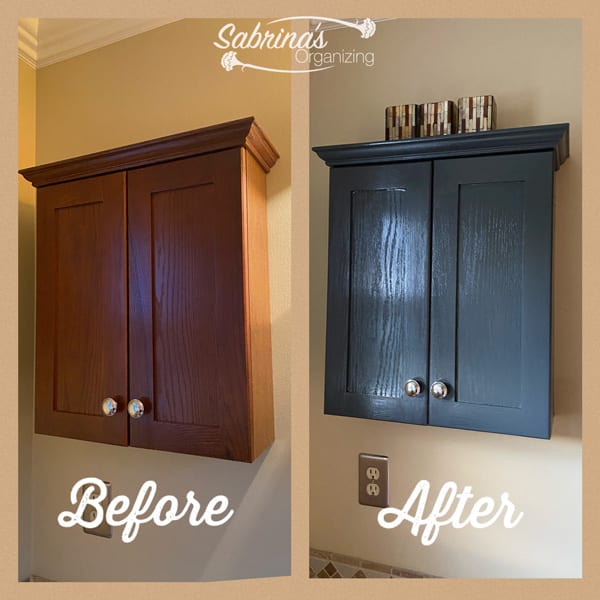
Since the sink cabinet was screwed into the wall, we chose to leave it in place. But, we decided to remove the upper cabinet and paint it in another room with the doors. This made it easier to paint the cabinet. We removed the doors to make it easier to paint. Using a drill (affiliate), we unscrewed the doors.
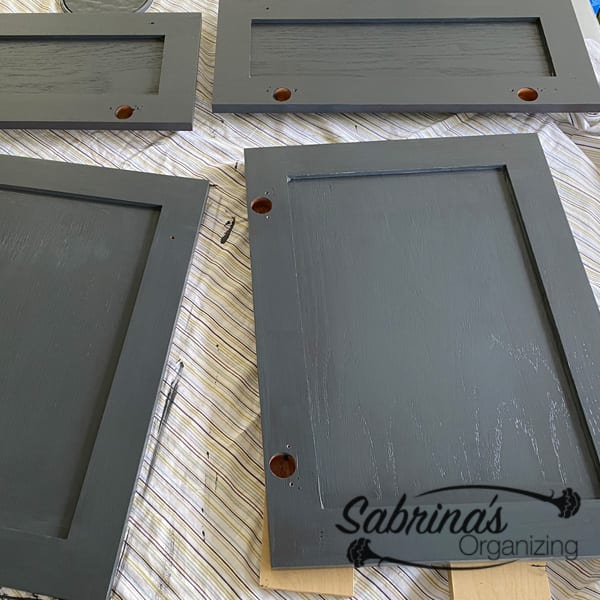
Laid the doors/cabinet on drop cloths and painted them.
We laid the doors and cabinet on the drop cloths (affiliate) and spaced them out. The paint has been added to the cabinet with a paintbrush (affiliate). We used wood to raise the doors and cabinet to paint the sides easily, and it would not paint the dropcloth and the fabric together.
We painted the edges of the mirror to match the vanity area. Then, we painted the inside of the mirror edges so as not to paint the mirror itself.
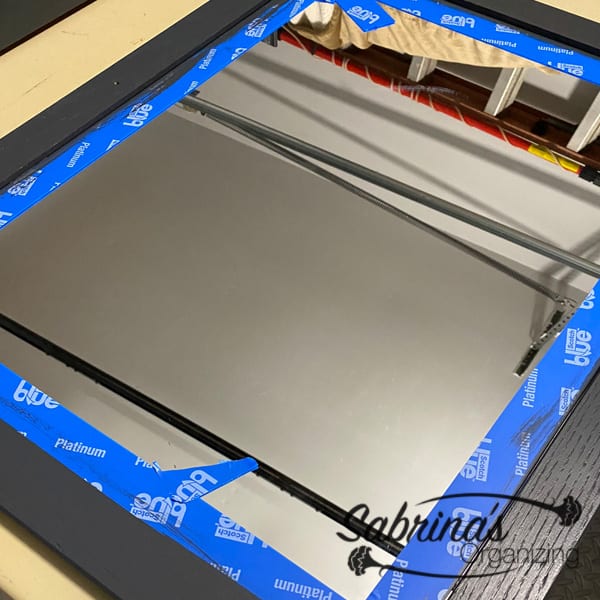
Also, we painted the sides of the cabinet and mirror boxes (affiliate).
We then did the second coat on all of them again and let them dry.

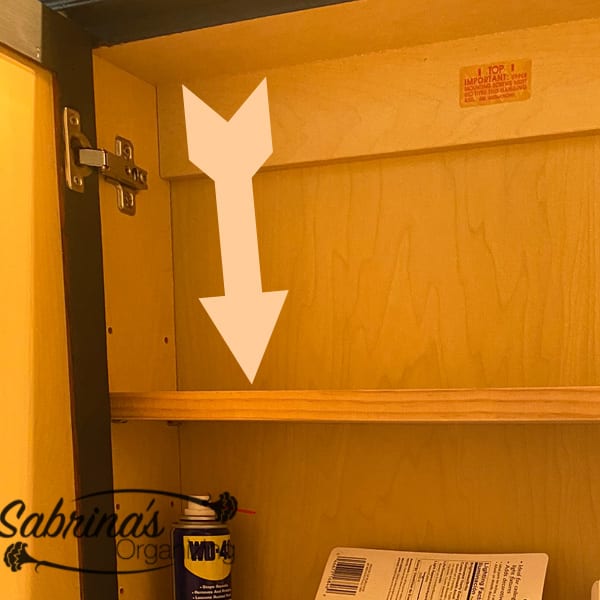
While they were drying, we added the new wood shelves (affiliate) inside the cabinet, and the mirror also gave those items more stability. This wood was used on another DIY project (How to Modify A Stone Wall with Little Effort), so we had extra. No extra cost here! YAY!
The painting took about a week. Since the cabinets were brown oak, the black (affiliate) finish would work well to cover the dark oak. It also matched the area rug (affiliate) and the stained glass pieces we had in the powder room.
Tip: I found that if I got paint on the tile, I could remove it with a wet paper towel easily enough.
Note: we painted the cabinets with a polyurethane satin finish. But, it really did shine it up. If I would do it again, I would not do this because it created a shine.
Add the faucet/sink to the top of the painted vanity.
We then added the faucet to the sink and the sink to the cabinet. It worked, and there were no leaks. There was a small hairline crack that was running down the overflow drain area. So, to seal it up, we used silicone and applied it to that entire area. It worked! Silicone is amazing for sealing up cracks. After that was completed, we caulked the sink area to seal up the sink to the wall.
Add the doors and mount the cabinets.
We attached the painted doors to the vanity. And mounted the mirror and the cabinet above the toilet using the existing screw holes from before. We added the rubber bumpers to the backside of the doors that we took off before painting.
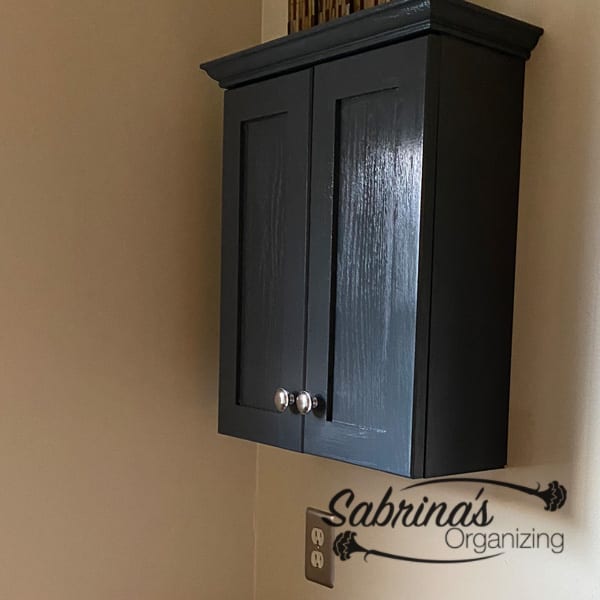
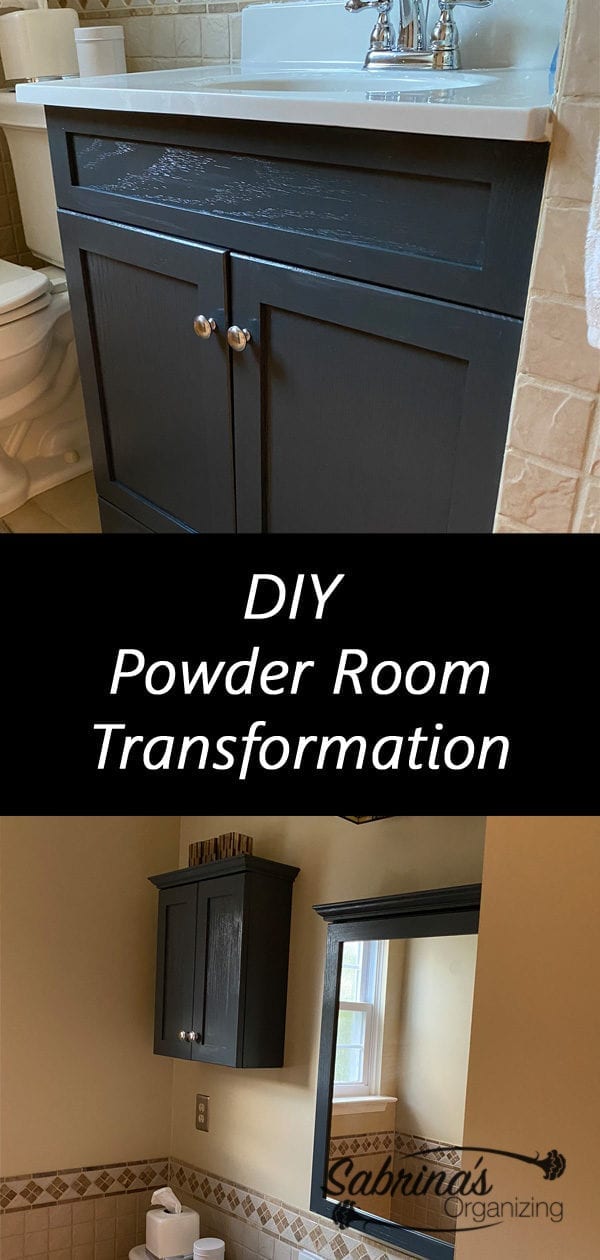
Before and After DIY Powder Room Transformation Photos
Here are the before and after photos of the powder room transformation. What do you think? Please leave a comment below.
I love it! It took some time but was well worth the energy. I am so glad I took the time to do this.
Subscribe to our YouTube Channel!
Below are some additional articles I found that talk about how to do a DIY Powder Room Transformation. Feel free to check them out.
How To: Paint Bathroom Cabinets
How To Give Your Bathroom Vanity a Quick Update
Enjoy more of our bathroom organization articles!