Last time we talked about how to take care of the clutter that you woke up to in the home. In part 3, I will discuss the sorting process to help you when reviewing the items kept. This part of the process will help you see the light at the end of the tunnel. The initial preparation is the most critical part of this process. The following steps will make the actual sorting process much more comfortable.
Jump to:
- Create categories that are descriptive and not too general.
- Using the different colored 8 ½ x 11 papers, write one of the specific categories on each piece of paper.
- Sort those "like" items!
- After completing the sorting process, measure the area of each category.
- There are many places to purchase affordable containers.
- Place the items in the new or repurposed container and store them in the assigned place.
- Label each bin.
- Have a family meeting!
- Subscribe
Now that you cleared out the donated and given away items, you should have the space to sort your kept items. If not, clear a space for sorting.
Create categories that are descriptive and not too general.
Instead of using the words ―Spices (affiliate) and Herbs, use 'Spices (affiliate)' for one group and 'Herbs' for the other group. Here is a list of descriptive titles for your categories:
- Gardening tools (affiliate)
- Gardening soils
- Fertilizer
- Beads
- Ribbons (affiliate)
- Markers
- Pens
- Hats (affiliate)
- Shirts
- Pants
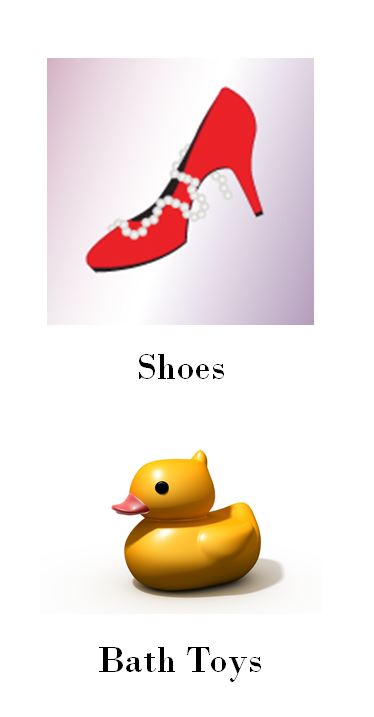
- Winter shoes (affiliate)
- summer shoes (affiliate)
- Pots & pans
- Forks
- Knives
- Spoons
- Tea
- Breakfast things
- Bread
- Kid’s hair supplies
Using the different colored 8 ½ x 11 papers, write one of the specific categories on each piece of paper.
Place them in various areas around your space. If you are dealing with small items, you can sort them on a large countertop or table, so you don't have to travel too far, and the process will be quicker.
Sort those "like" items!
One by one, place each item in the corresponding category. It will present itself in this process if you need to add or subdivide a group. You may need to modify the sorting process during the work to optimize its efficiency. Be flexible in your system. If you get stuck, ask a family member or friend for their thoughts on the process. A fresh look at your work will make the system even more effective.
Need accountability while going through your decluttering and sorting process, check out my Virtual Organizing Service!
After completing the sorting process, measure the area of each category.
This step will give you a good indication of how many and how big the bins you will need are. For several smaller items, consider storing them in a tiny container with dividers. Be sure to decide on a place to store the bin or drawer. Create a list of categories, specifying where they will be stored and the size of the bin required for each space. Also, note the depth, height, and width of the area. Take this list with you to the store to purchase the needed bins.
There are many places to purchase affordable containers.
I enjoy places like discount stores like T.J. Maxx and Marshalls, Dollar stores, online discount stores like Overstock and Wayfair, and even yard sales and flea markets. Be creative in finding these bins. You may already have them in your home. Check those storage areas. We tend to have them holding items that have not been used for years.
Place the items in the new or repurposed container and store them in the assigned place.
This process may take some time. Work through one room at a time and get it the way you want. If you have smaller items to organize, try sorting them while watching TV or listening to music to help make the time pass more quickly.
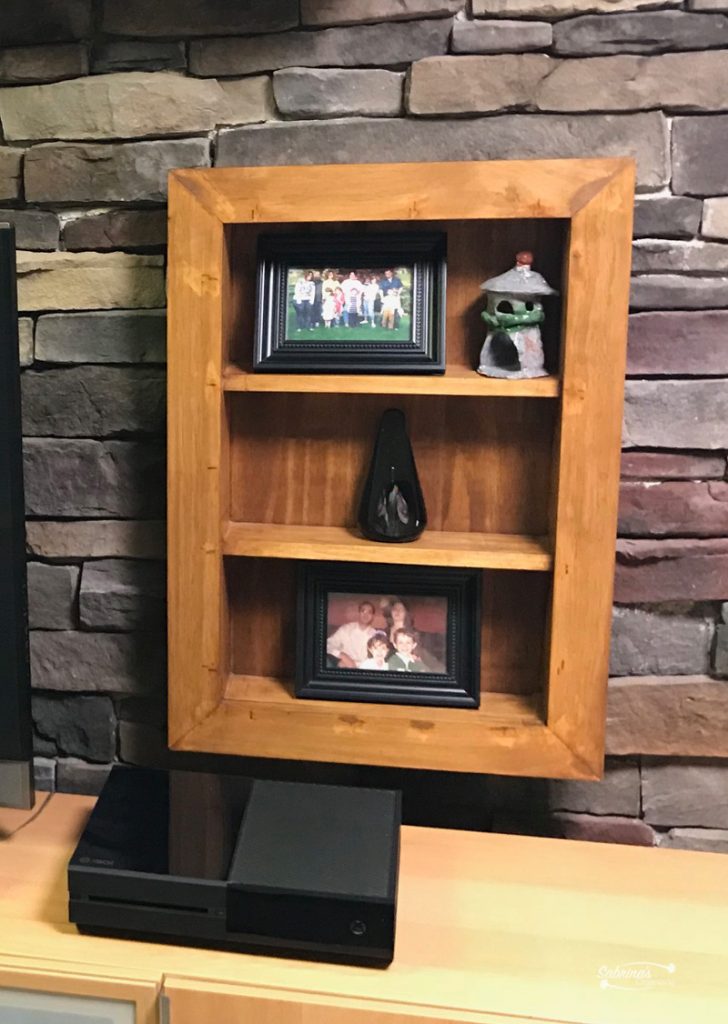
Label each bin.
To help you maintain the space, you can use a labeler or just handwritten stickers for your labels (affiliate). It will help you and everyone using the area to know where everything goes. I like using pictures and adding words underneath the images for children who are not yet reading. Full sheet labels (affiliate) for your printer (affiliate) work nicely. After they are printed out, cut them into squares and affix them to the front of the box. Here are examples:
Have a family meeting!
After you finish each room, have a family meeting and explain where everything goes. You may have to explain it a few times. This happens to every family when one person initiates the organizing process, and the others aren't wholeheartedly involved.
That's it; congratulations on clearing out the clutter! You completed the organizing process. After the three phases of ―Awaken to Your Clutter Blindness, your home and you will feel calmer. Take pride in all the work you've done. Modifying the space in the future will not take nearly as long. So, revisit each area once a year to see if it will still work for you.
Visit these pages first before proceeding to the 'Sort Items' step.
How to Awaken From Clutter Blindness – Part 1
How to take care of clutter in the home – Part 2
Fill out the form below, and you will receive a FREE copy of Awaken to Your Clutter Blindness ebook and workbook I made.

Visit our recent posts!

Please note these are affiliate links through Amazon (affiliate), and at no additional cost, I will earn affiliate fees if you decide to make a purchase.


Hilda Rodgers says
I love how you mentioned searching your home for organizing containers... so often we have what we need and don't need to spend money on containers at all! Great series... thanks 🙂
Sarah Soboleski says
I love that you highlight stores like TJ Maxx and dollar stores for organizing gear. It really doesn't have to be expensive!
Seana Turner says
Part 3 is when it really starts to get fun!
Sabrina says
I agree! =)