****Visit our "Disclosure Policy and Cookies" for details. Affiliate links appear on this page from Google Adsense, Amazon, Order Out of Chaos, Impact affiliate members, Release, Repurpose, Reorganize, and Shareasale affiliate members.****
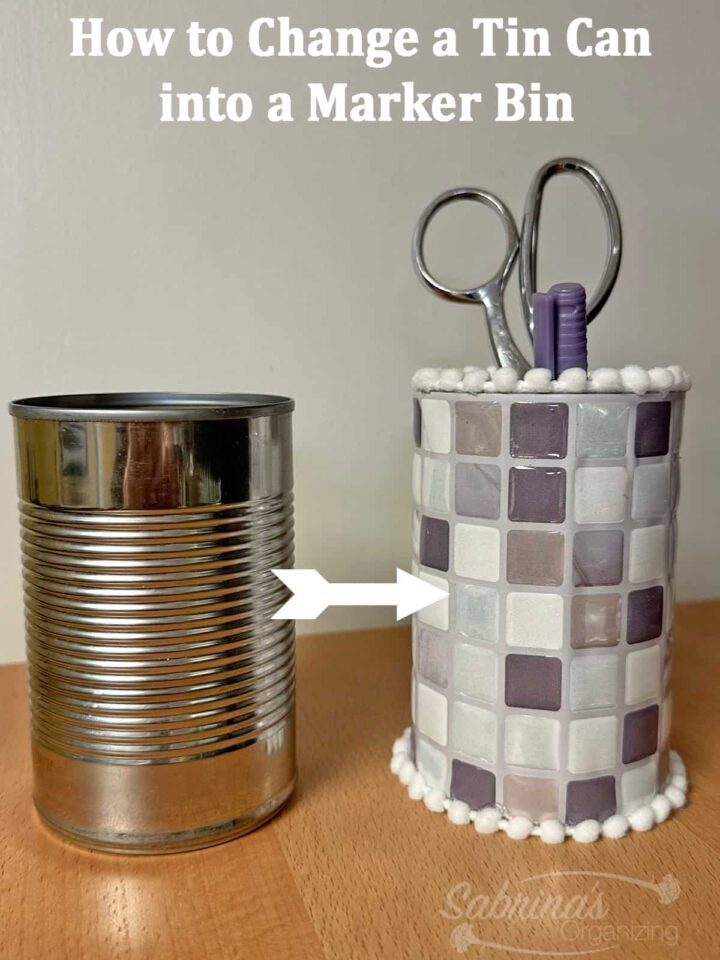
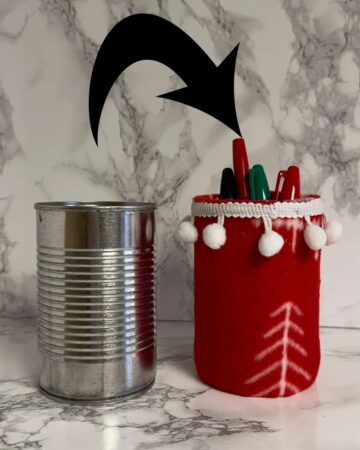
Tin cans are super easy to repurpose. But instead of just using them as is to organize small things in your home, how about making them pretty? Here is how I changed a tin can into a marker bin. Follow along and try it yourself.
You can easily use these repurposed cans for your home office, college dorm desk, a student's study area, kitchen, or anywhere else in your home. They become an integral part of the area to keep organized.
They can easily hold a variety of things, not just markers. Then can hold pens, pencils, scissors, rulers, and anything that needs to be used in an instant.
What inspired me to change this tin can into a marker bin?
Well, I love to repurpose different things to help me organize my home better. This tin can in a marker bin is no different. And on top of that, it is super easy with minimal supplies needed. It’s a win-win in my book.
What supplies did I use to make this Tin Can into a marker bin project?
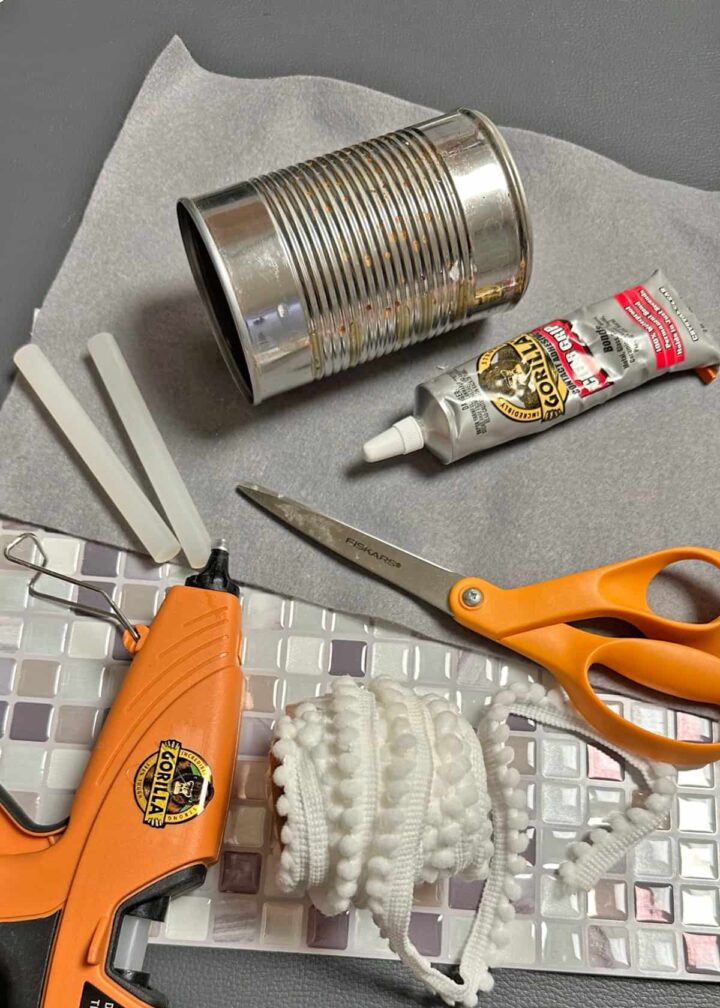
The supplies for this are pretty simple.
Supplies used:
***AD*** The best academic planner for students! Order Out of Chaos Academic planner helps track time and tasks! Buy 1 or more today!
- 1 soup can or tin can — cleaned and label removed.
- Vinyl backsplash sheet
- Grey felt sheet
- hot glue guns and glue sticks - Optional - If you need to keep things attached and the Gorilla Glue doesn't work.
- Scissors
- Gorilla Glue Clear Grip tube
- White ribbon with cotton balls on it
How much did it cost to make this Tin Can into a marker bin project?
This project cost me nothing. I pulled all these from other leftover supplies. If anything, it cost me $3.00 for the soup can.
How long did it take me to make this Tin Can into the Marker Bin Project?
This project only took me 15 minutes to make and will help me organize pens, pencils, and scissors in my craft area.
How did I make this Tin Can into a marker bin project?
First, clean the soup can by removing the label (Affiliate Link) rinse out, and dry completely before starting.
Now, cut the strips of the vinyl backsplash sheet to the height of the tin can.
Free Shipping and Free 60 Days Returns
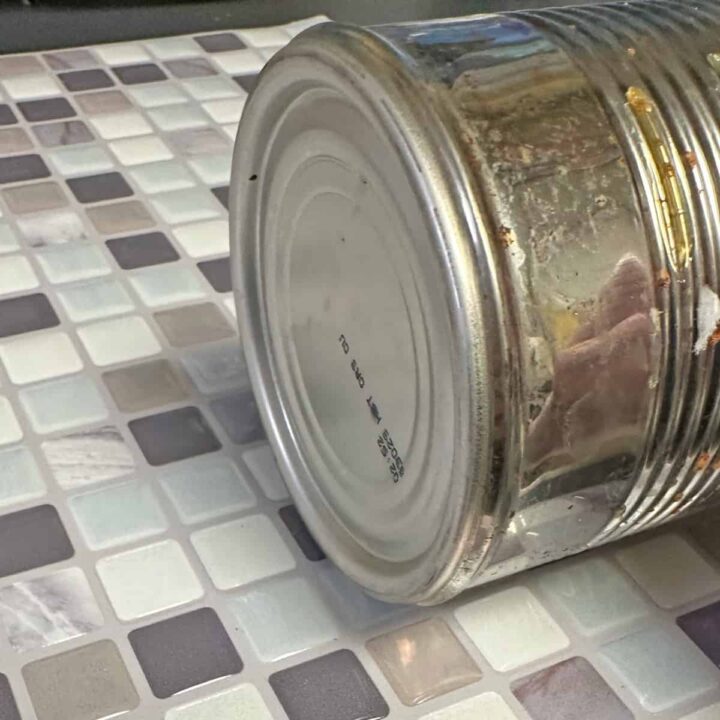
Then, do the same with the gray felt. Make sure it is a little shorter so it fits inside. You can not see the top over the edge of the can. Set aside.
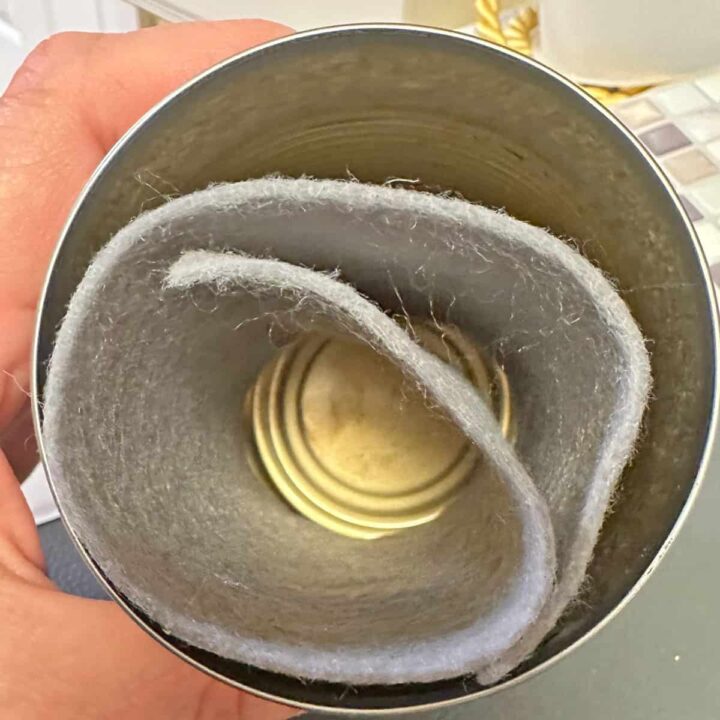
Now, add the ribbon with cotton balls with the Gorilla glue around the inside top of the soup can.
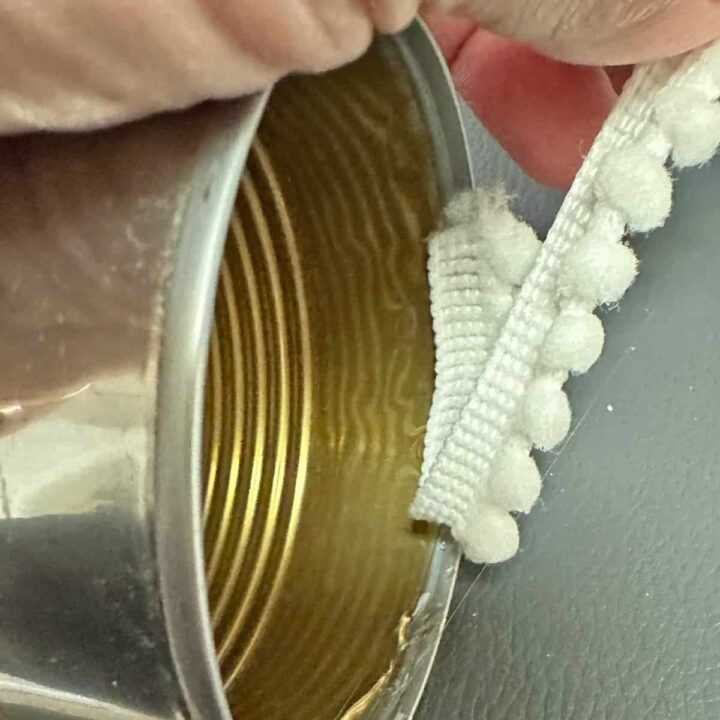
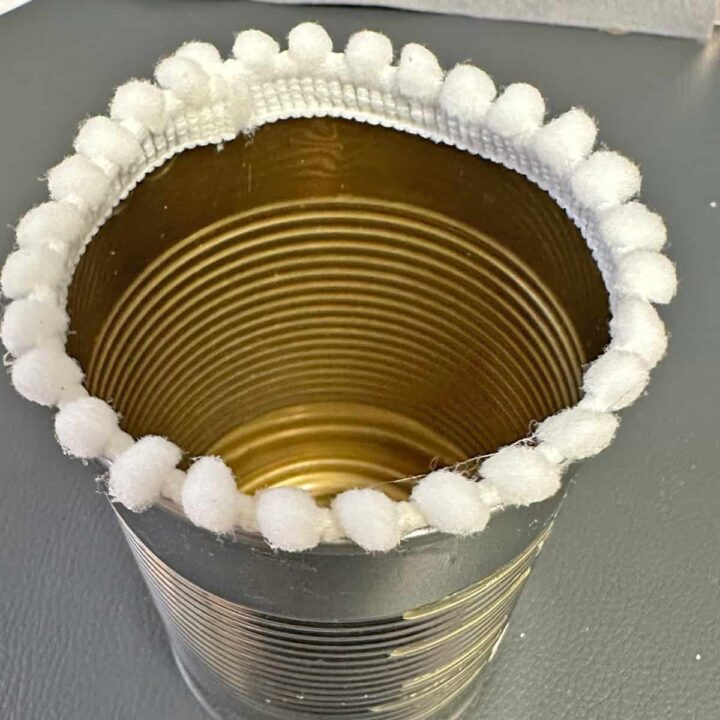
Here is what it looked like when the ribbon was completely added to the inside of the can.
Next, using the Gorilla Glue, add the felt to the inside of the can. Add glue to whatever it needs so it stays sturdy and tight.
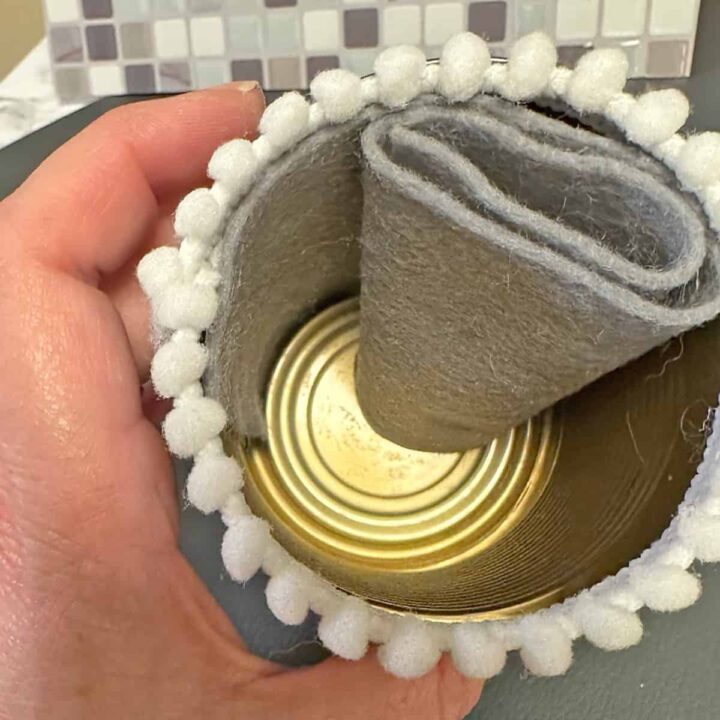
Here is what it looked like when the felt was completely glued inside.
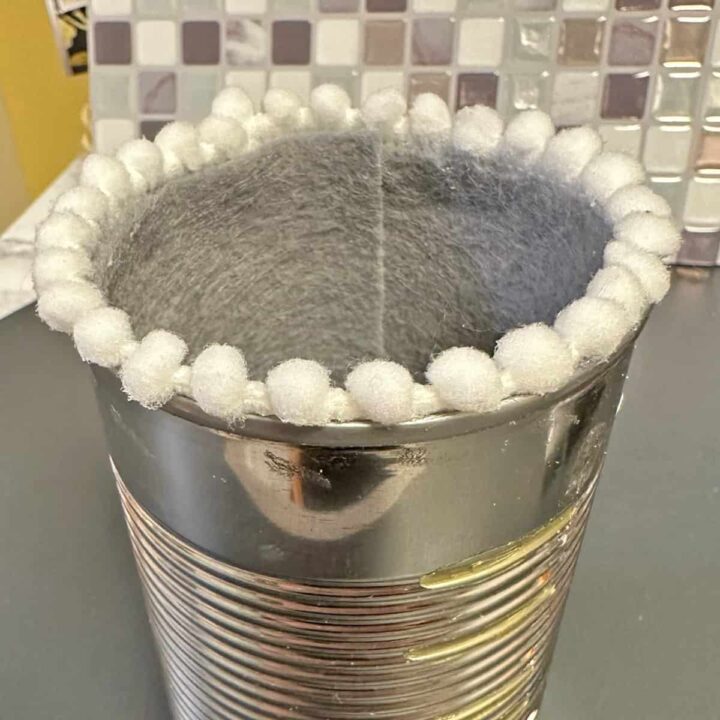
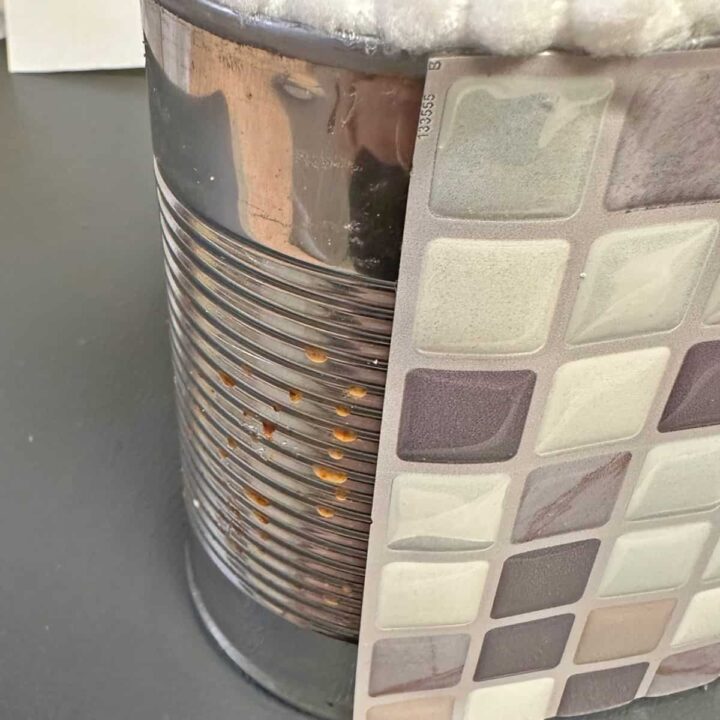
Now add the vinyl backsplash sheet to the outside of the tin can. If the vinyl doesn't stick well, you may need some of the hot glue or the Gorilla Glue to add to different points near the top and bottom and maybe even the ends of the can.
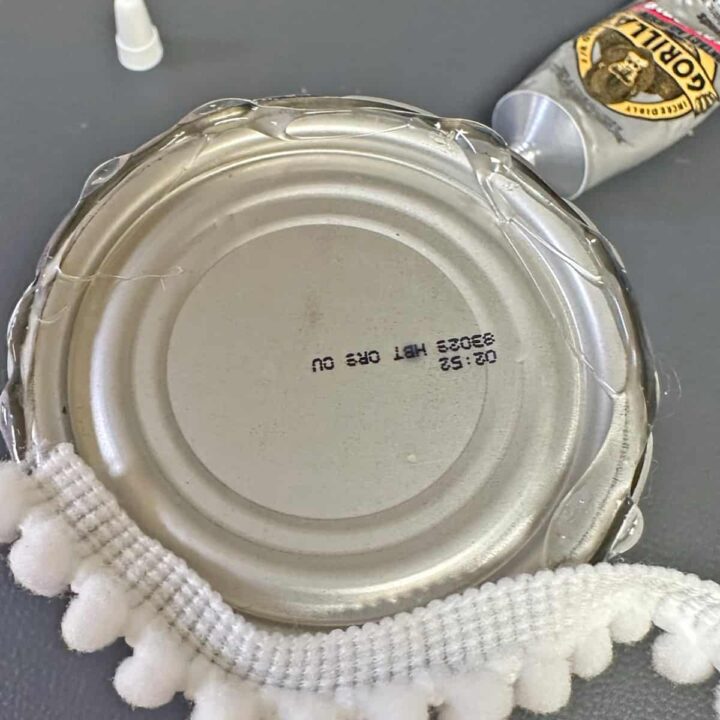
Lastly, turn the can over and add the ribbon with the cotton balls on it around the bottom using a bead of Gorilla Glue around the edges. Let it completely dry before turning the can over.
The Big Reveal
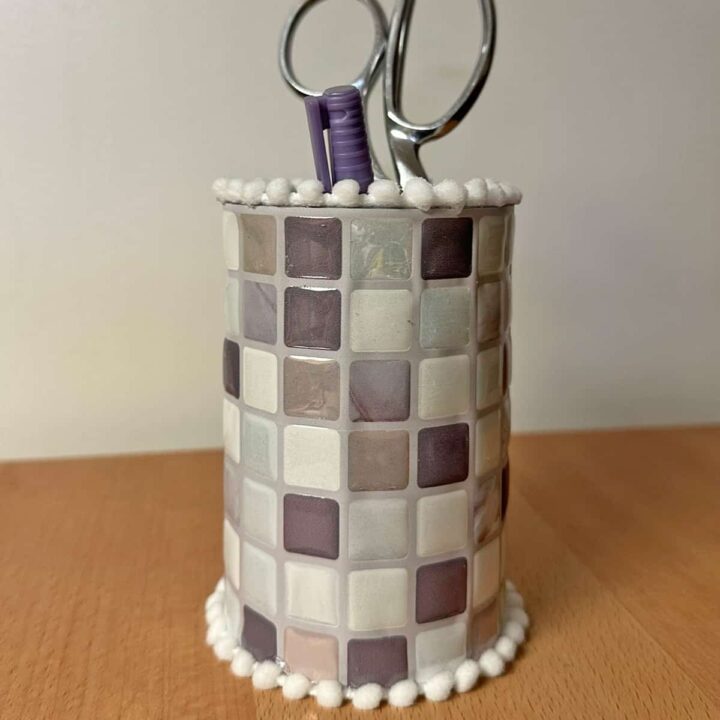
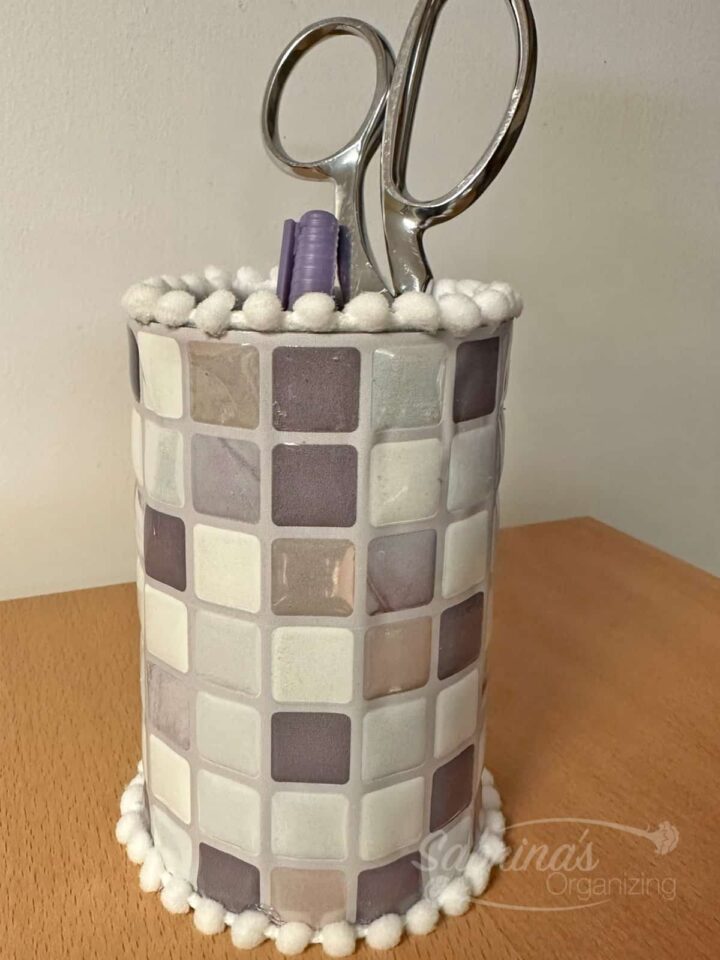
Drum roll, please! Here is what the Tin Can into a Marker bin looks like now. They are super cute. I plan on doing them again with different vinyl backsplash sheets.
Feel free to check out this video to see the transformation.
I hope you try to repurpose your tin cans in your home to help you get organized. If you do try this project, please come back and comment below. And, please, please, please, share this post to spread inspiration.
Popular DIY posts:






Leave a Reply