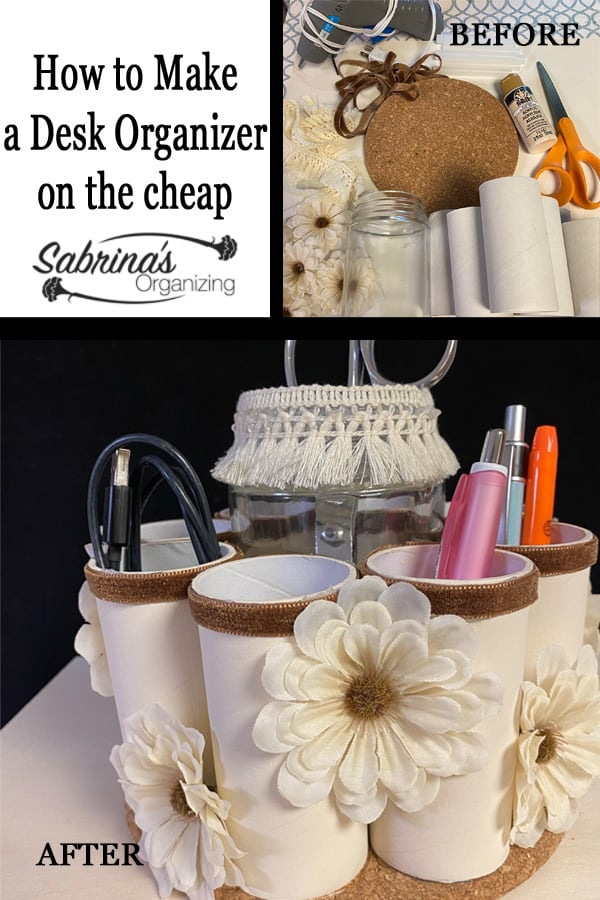
Organizing your desk will easily keep you organized and reduce distractions. If you have clutter in your home office or craft area, making a desk organizer will help you with that. This one repurposes several items you may have in your home or home craft area. Follow along and get inspired to make one for yourself.
Jump to:
Some notes before starting this project.
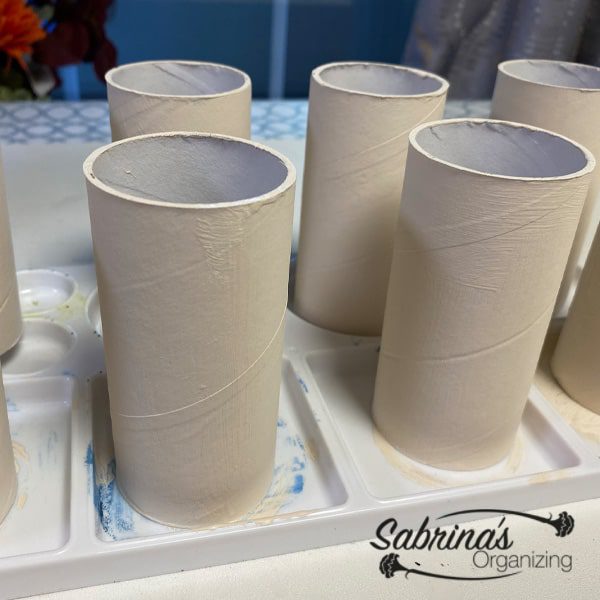
I found thick toilet paper rolls (affiliate) just by chance at our nearby Kimberton Whole Foods. They were recycled brand toilet paper. There was no glue on the toilet paper roll, so when it was finished, the rolls were pristine. I couldn't throw them away.
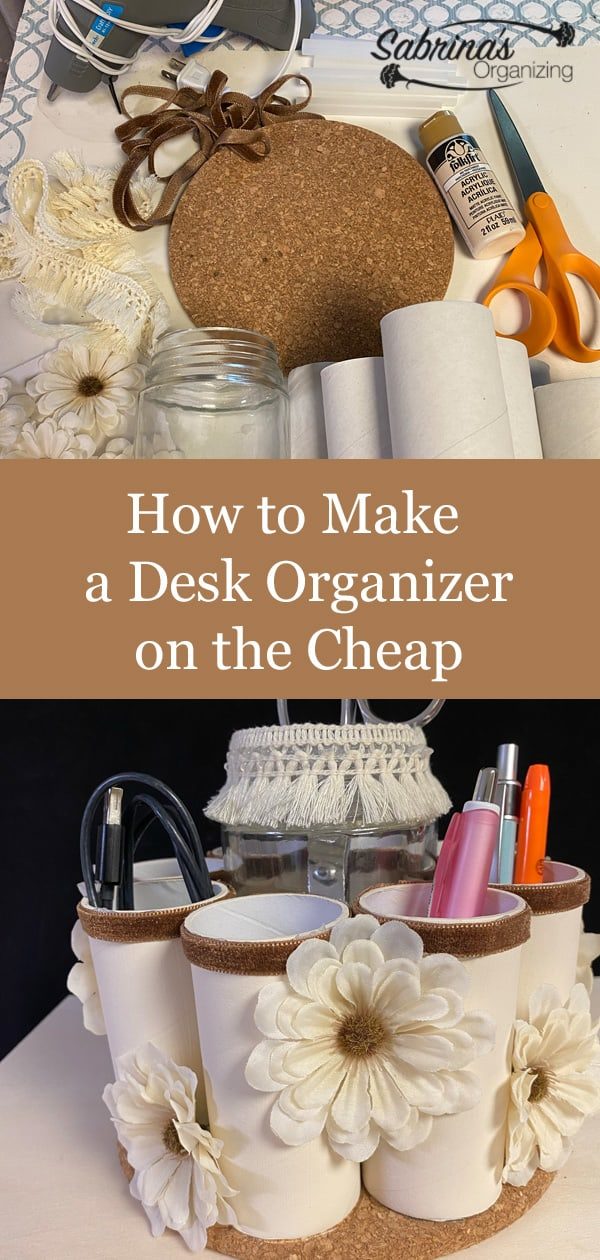
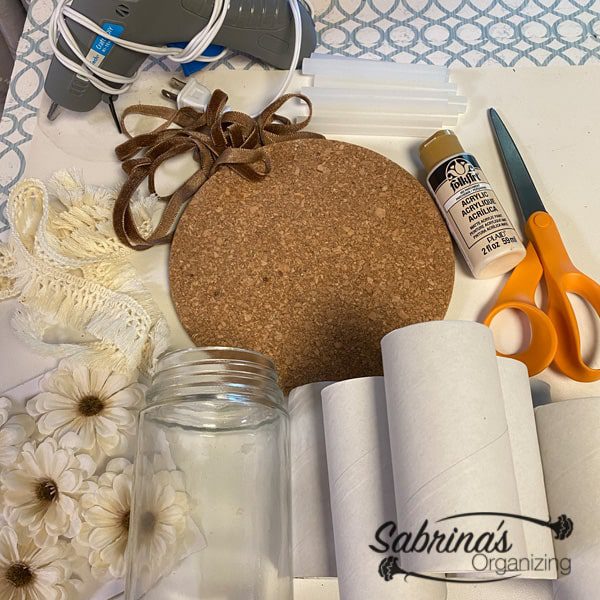
Tools and Supplies needed to make this DIY Desk Organizer Craft Project
Supplies:
8 - ⅛ inch thick toilet paper roll diameter 1 ¾ inch diameter
7 inches diameter cork round trivet - Amazon (affiliate) Affiliate link
2 fl. Oz. FolkArt 450 Parchment Acrylic Paint
8 - 6 inch long ¼ inch wide Velvet brown ribbon - Amazon (affiliate) Affiliate link
9-inch Cream Ribbon bohemian style for glass jar top - Amazon (affiliate) Affiliate link
1 smooth glass jar (for crafts) - 3 inches in diameter
5 - flat cream flowers with wire in the back
Tools:
Glue gun (affiliate)
Glue sticks
Paintbrush (affiliate)
Scissors (affiliate)
The time it took to do this project:
It took me 3 hours, including 1 hour for paint and drying the paper towel rolls.
How to make this DIY Desk Organizer Craft Project?
Paint Toilet Paper Rolls
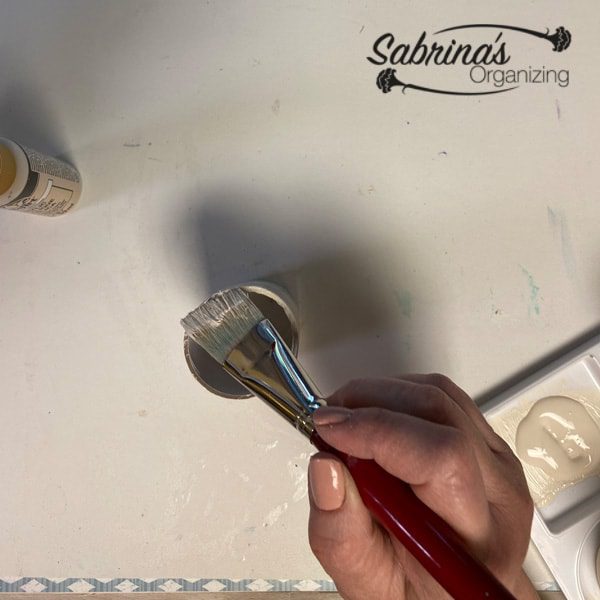
First, paint all eight toilet paper rolls (affiliate) in cream acrylic paint. Let dry completely. Make sure to paint the top and bottom of the toilet paper rolls (affiliate).
Add Ribbon to Toilet Paper Rolls
Cut the ribbon to length. Eight inches for each velvet brown ribbon. Nine inches for the cream ribbon.
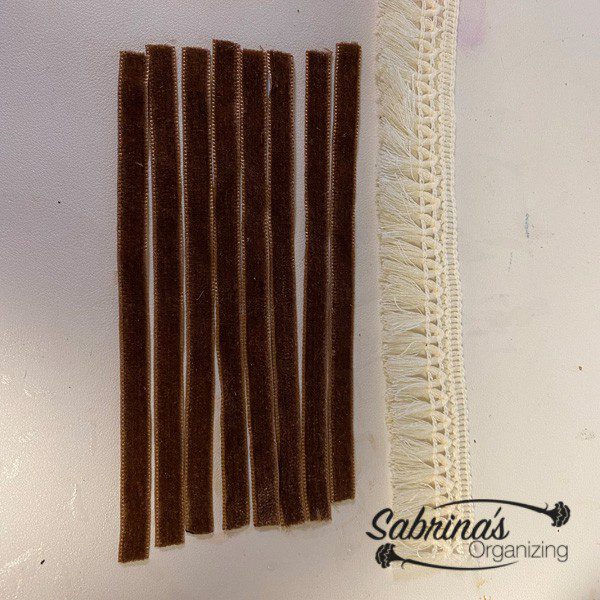
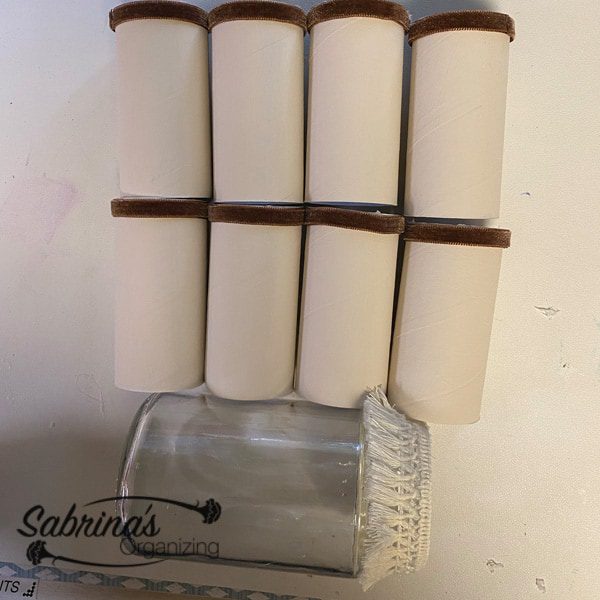
Add velvet brown ribbon with hot glue to the edge of the toilet paper rolls (affiliate). Make sure to adhere the ends with the ribbon.
Add the ribbon to the glass jar
Using the cream ribbon, use hot glue and add a bead around the tip of the glass jar. Then add the ribbon edge so it covers about 1 inch of the top of the glass jar. Be sure to adhere the ribbon ends to the other ribbon.
Add the glass jar to the cork trivet
With the hot glue gun (affiliate), add hot glue to the bottom of the glass jar. Add the glass jar to the center of the cork trivet.
Attach the toilet paper rolls to the cork trivet
Add the hot glue to the bottom of the toilet paper rolls (affiliate) and attach it to the cork trivet. Working around the trivet. Make sure they are tight, and all eight can fit. Let cool.
Add the flowers between the toilet paper rolls
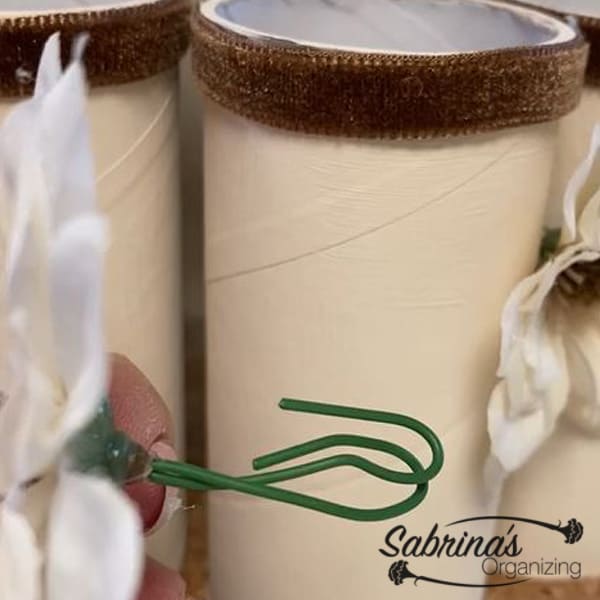
Then, with the flat flowers, fold the wire stem in half and press the wire between each toilet paper roll. Making a zigzag pattern or placing it in between every other toilet paper roll. Some may be tight and can easily be pressed into those areas and will stay.
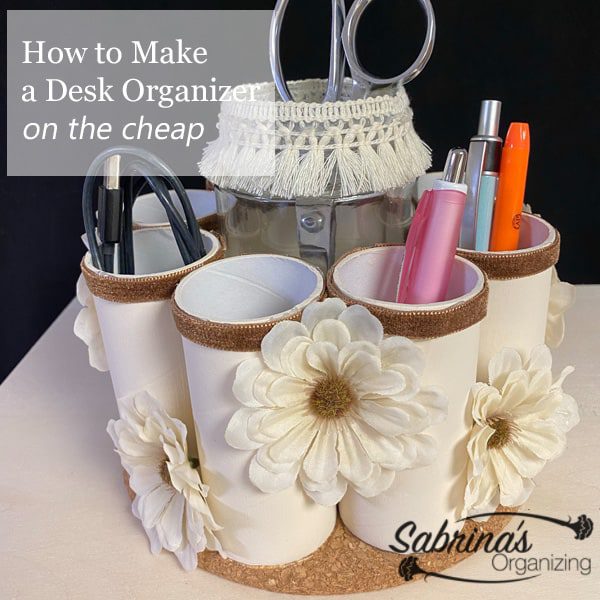
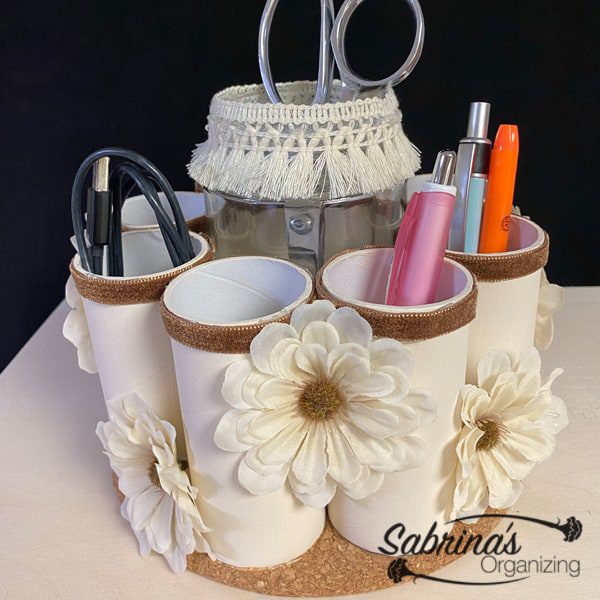
That's it! This is how the finished product looks. I love it. It looks super cute, and I am using it for my markers in my craft area. What do you think?
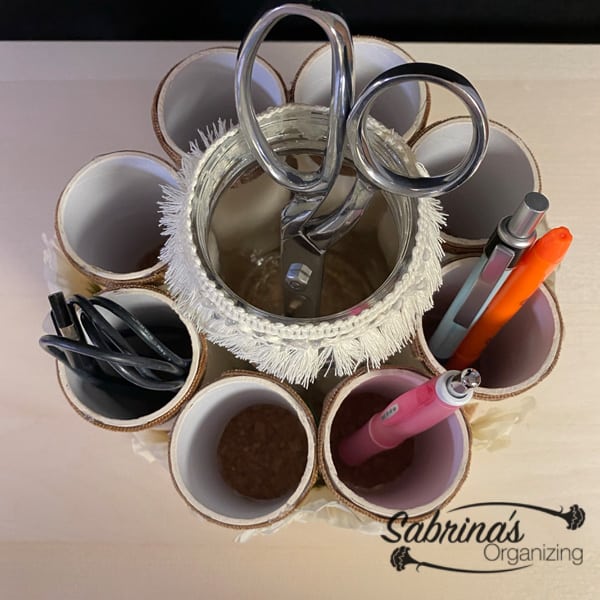
Here is what the top of the desk organizer looks like after it was finished. It is holding up pretty well. I am using it for markers in my craft area now.
Visit these other home office organizing tips and DIY desk organizer posts for more ideas.
5 HOME OFFICE ORGANIZING ESSENTIALS EVERYONE NEEDS
HOW TO UPCYCLE PLANTERS INTO A DESK PENCIL HOLDER
HOW TO CHANGE A PLAIN SOUP CAN INTO A GORGEOUS DIY PENCIL HOLDER