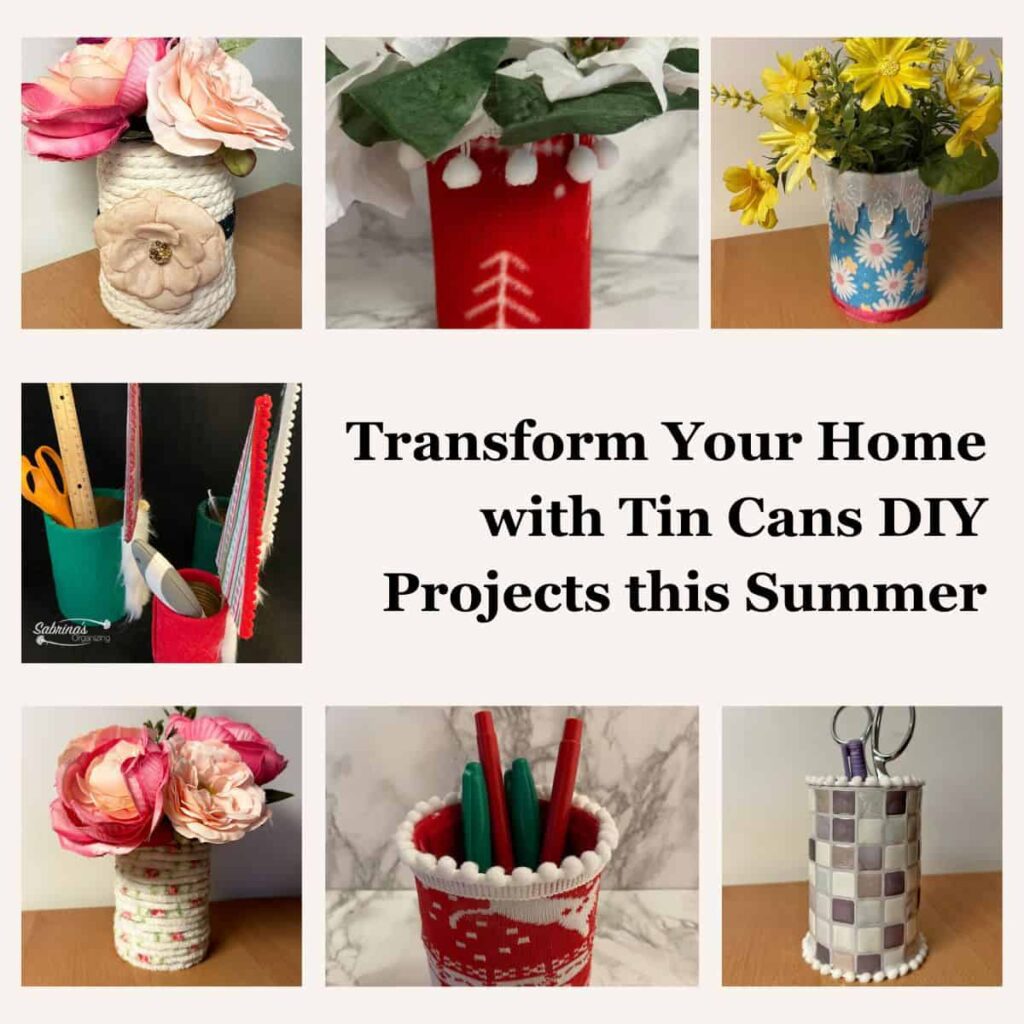
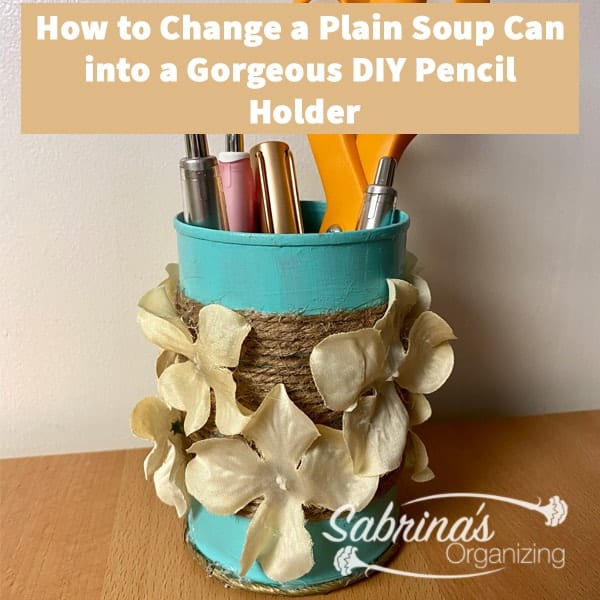
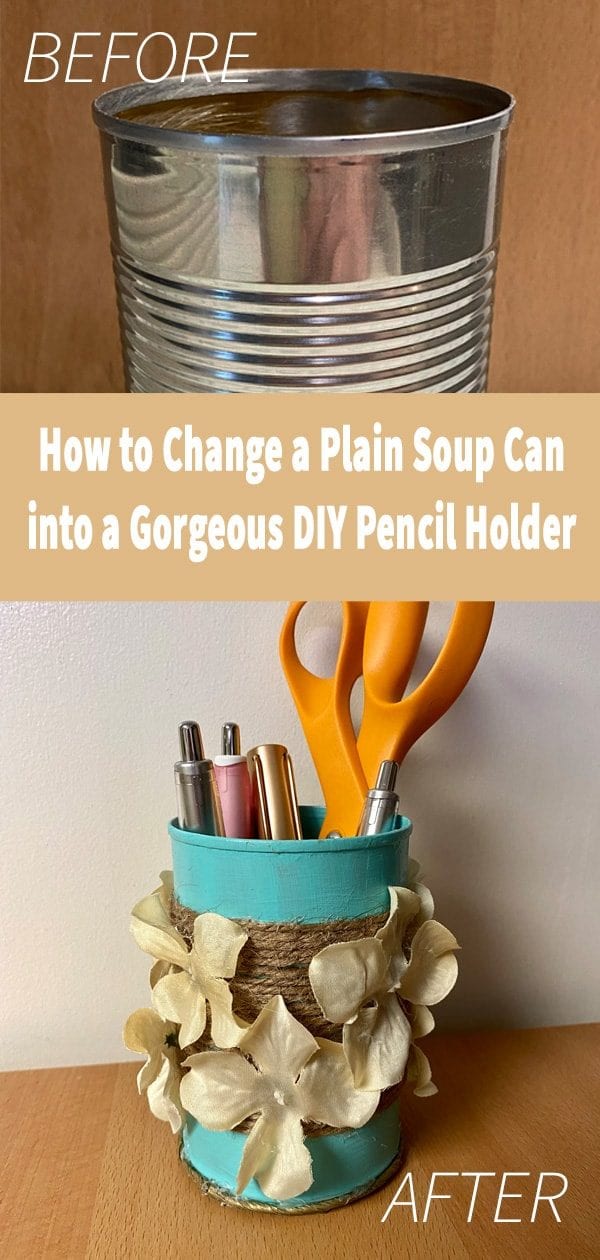
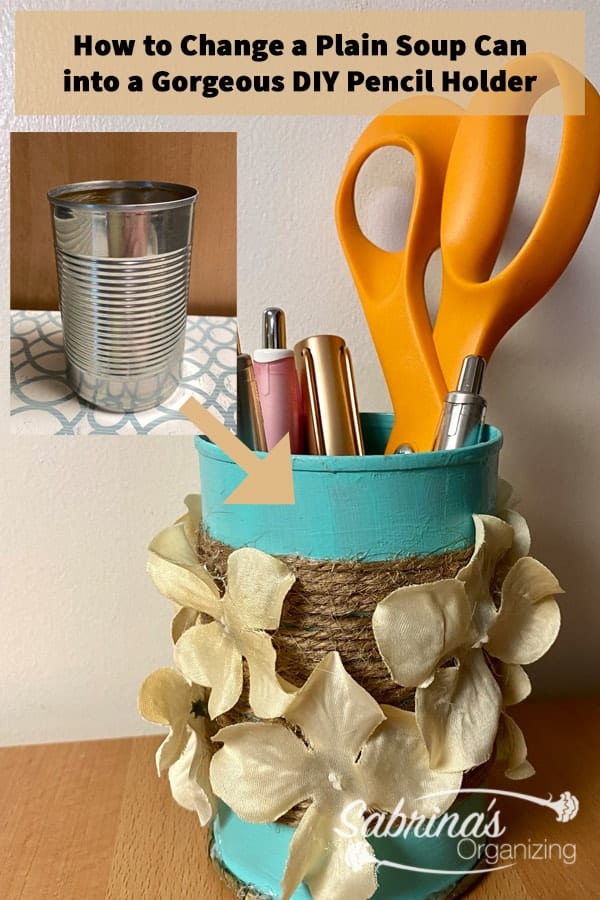
Upcycling is super fun! All you need is creativity, a few things, and a plan. This week, I will share with you how to change a plain soup can into a gorgeous DIY Pencil Holder. It's great for your kids' study zone, a command station area, or home office. Feel free to follow along and make one yourself. Let's begin.
Jump to:
First, you will need the supplies. Below are the things I needed to make this pencil holder.
What supplies do I need to make a DIY Pencil Holder?
NOTE: if you click through and buy these items on Amazon (affiliate), I will receive a small referral fee at no cost. (Thank you for supporting my small business.)
1 Soup can - remove labels (affiliate) and sand down any rough spots
1 bottle of FolkArt by Plaid Patina 2951 Multi-Surface Acrylic Paint
Paintbrush
Natural Jute Twine thin
1 piece of Gold (affiliate) Wired Twine that measures the circumference of the can. (This item can be omitted if you can not find it.)
Hot Glue gun
Hot Glue stick (affiliate)
Mod Podge Matte finish
Flat Silk flowers that are flat on the back
Now that you have all the supplies, we can start making this DIY pencil holder.
The Specifics:
This project took about 6 hours. This time included the time it took for the paint to dry.
I had pretty much everything from prior projects and pulled the soup can from our recycling bin (affiliate). So, the cost was very low for this upcycling DIY project.
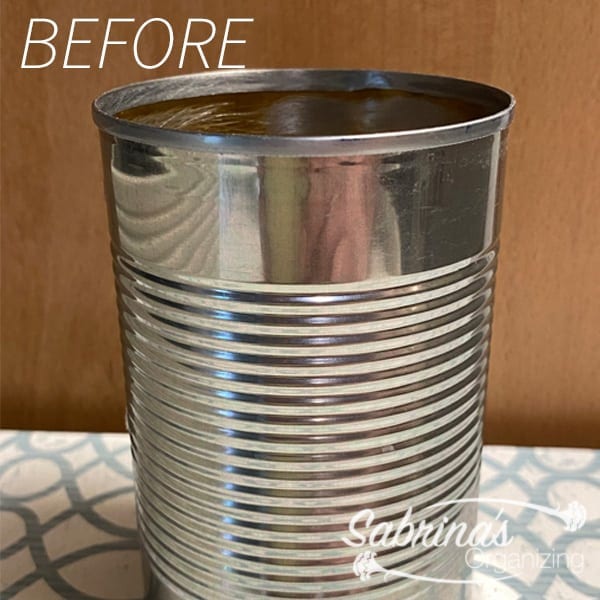
Here is the before can picture. As you can see, it is a plain soup can. If you choose to make your pencil holder larger, you can use a larger can.
How to make a Plain Soup Can into a Gorgeous DIY Pencil Holder?
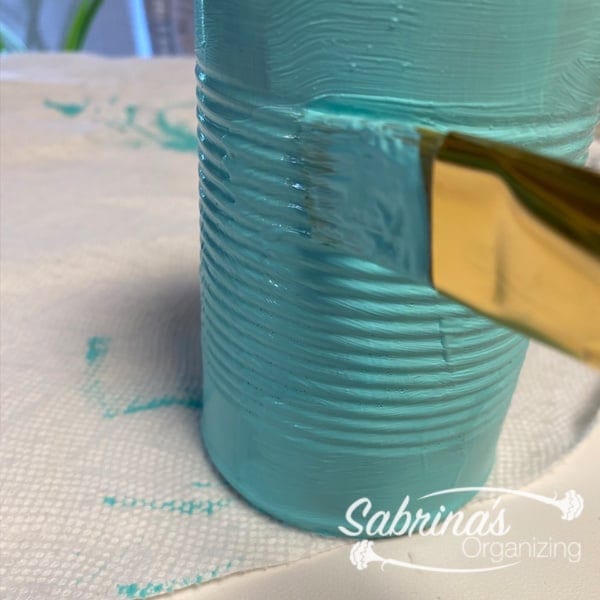
Paint the can.
First, paint the can with at least a few coats. Be sure to paint the inside, too. This will make it look more uniform. Let dry between coats. Since the paint was a multi-purpose acrylic, you should not have an issue with the paint adhering to the can.
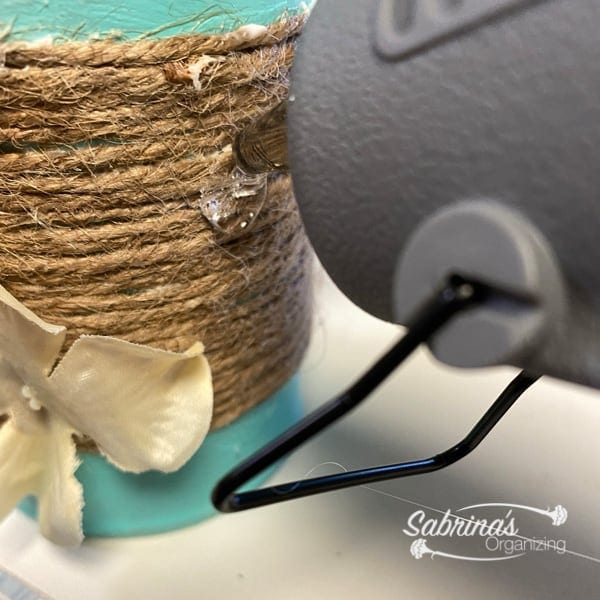
Add the twine around the center of the can.
Then, using the Mod Podge (affiliate), a paintbrush (affiliate), and the twine, add the Mod Podge (affiliate) to the painted can and wrap it tightly around the can as you go. Add more Mod Podge (affiliate) to the top and sides of the twine to help it stick to the can.

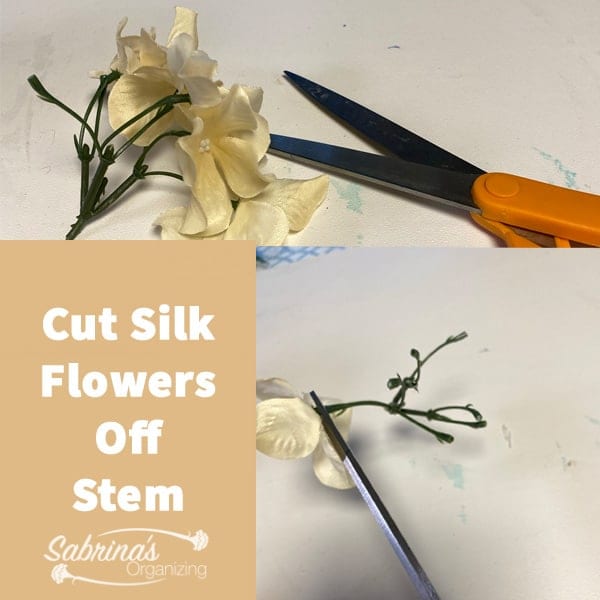
Cut the silk flowers off the plastic stem.
Now, you can cut the flowers off the step and set them aside. Whatever flowers you purchase, make sure they are flat, and the stem is very small. This will help the flowers to adhere better.
Attach the silk flowers to the can.
With a hot glue gun (affiliate) and the flowers, add a drop of glue to the can and attach the flower to the can. Be careful; it is very hot.
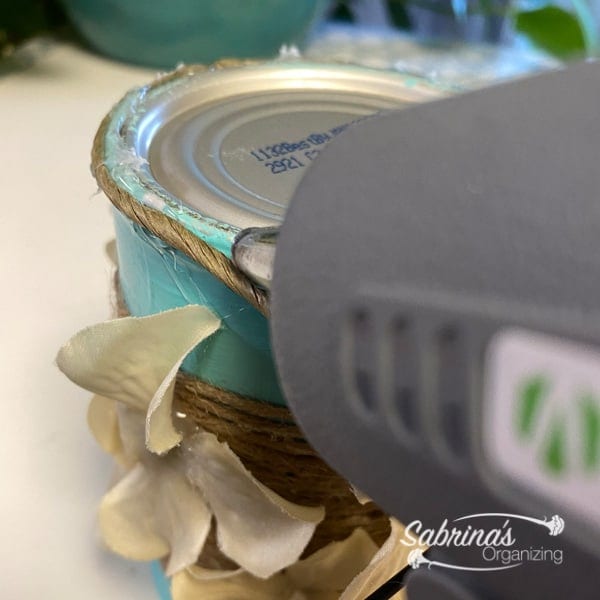
Add the wire rope to the bottom edge.
Now, this part is optional. I felt it needed something at the bottom, so I added a wire rope around the bottom of the can. Working quickly, I added the hot glue around the can and adhered to the rope. I also noticed that the glue would fall over the bottom part of the can, so I had to wipe it off so the can would sit flat on the table. It wasn't pretty, but it looked OK. If you have another idea to add this wire rope, please comment below.
The DIY Pencil Holder Big Reveal:
That is it! What do you think? I love it, and it looks great on my desk. Would you make one for your desk?

Check out the video below and subscribe to our YouTube Channel!
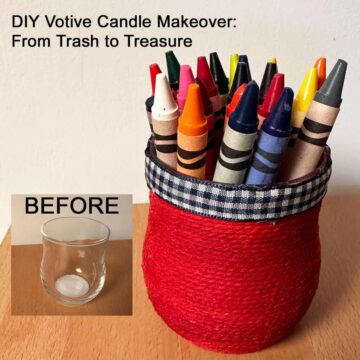
Visit our other DIY Soup Can Project here: SOUP CAN TO DIY MAKEUP BRUSH HOLDER
Above are picks I found on Amazon (affiliate); if you click through and buy something, I will receive a small commission at no additional cost. Happy Shopping!
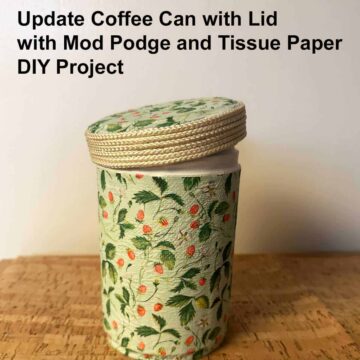
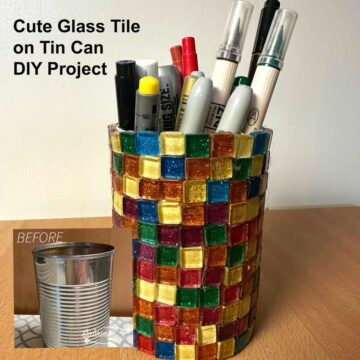
Visit our other tin can upcycling projects to help you stay organized!