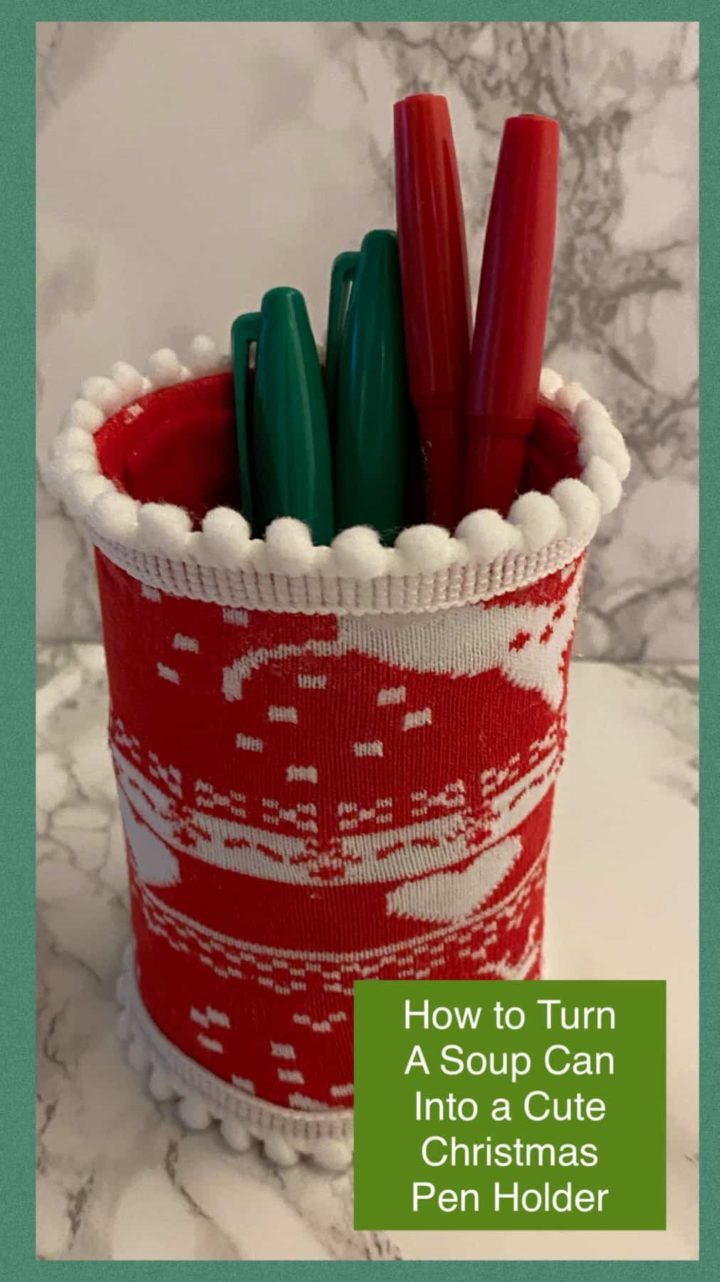
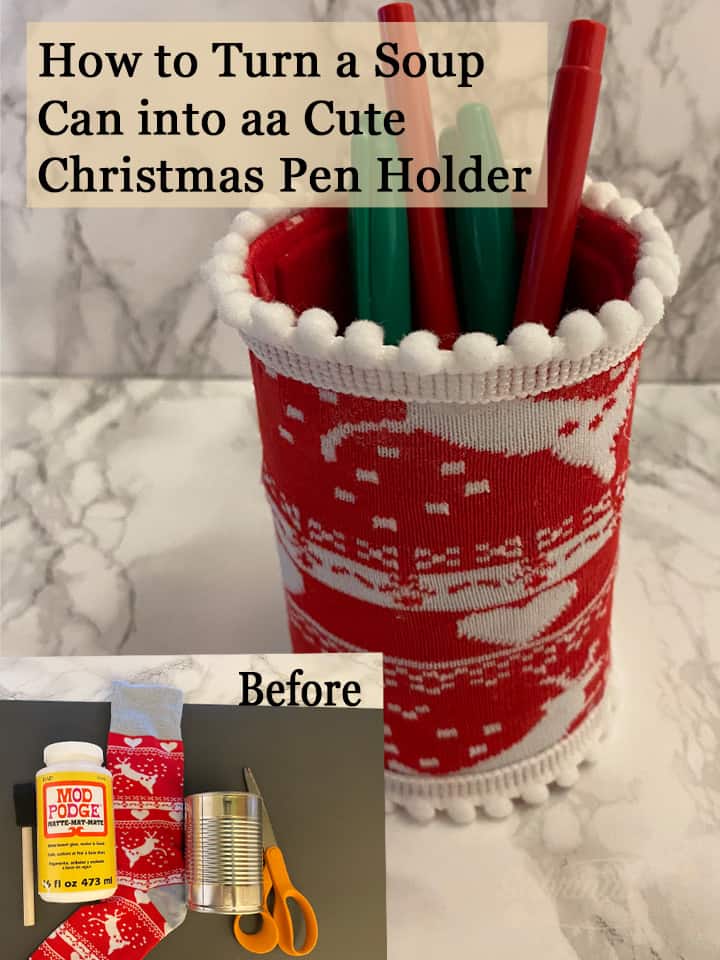
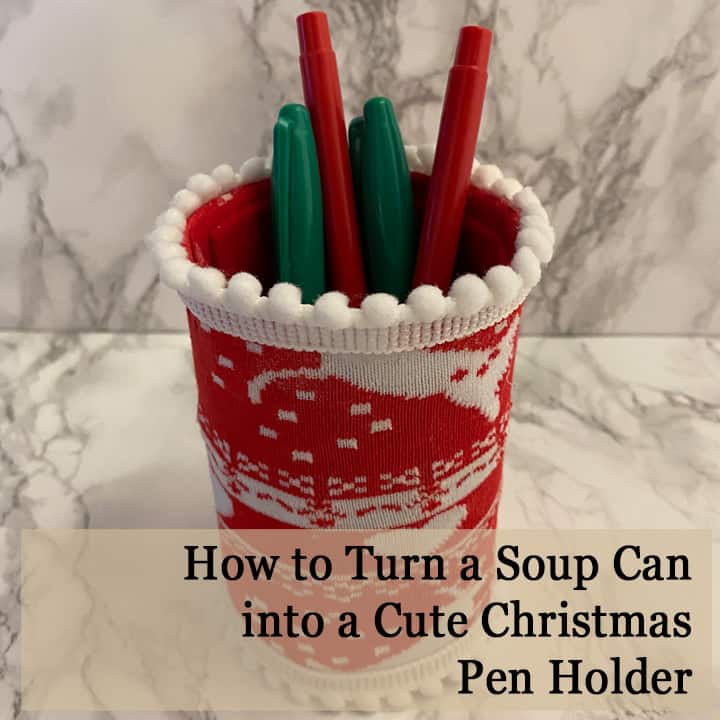
Here at Sabrina's Organizing, we love to turn soup cans into useful organizing tools (affiliate) that will keep our home and office organized! Today's DIY post is no different. We are going to show you how to transform a soup can and one holiday sock into a Christmas Pen Holder. Follow along and see how we made this cute DIY project.
Jump to:
What supplies do I need to make a Christmas Pen Holder?
***the links below are from Amazon (affiliate); if you click through and buy anything, I will receive a commission. Happy Shopping. I found some exact and others are similar products that I used.
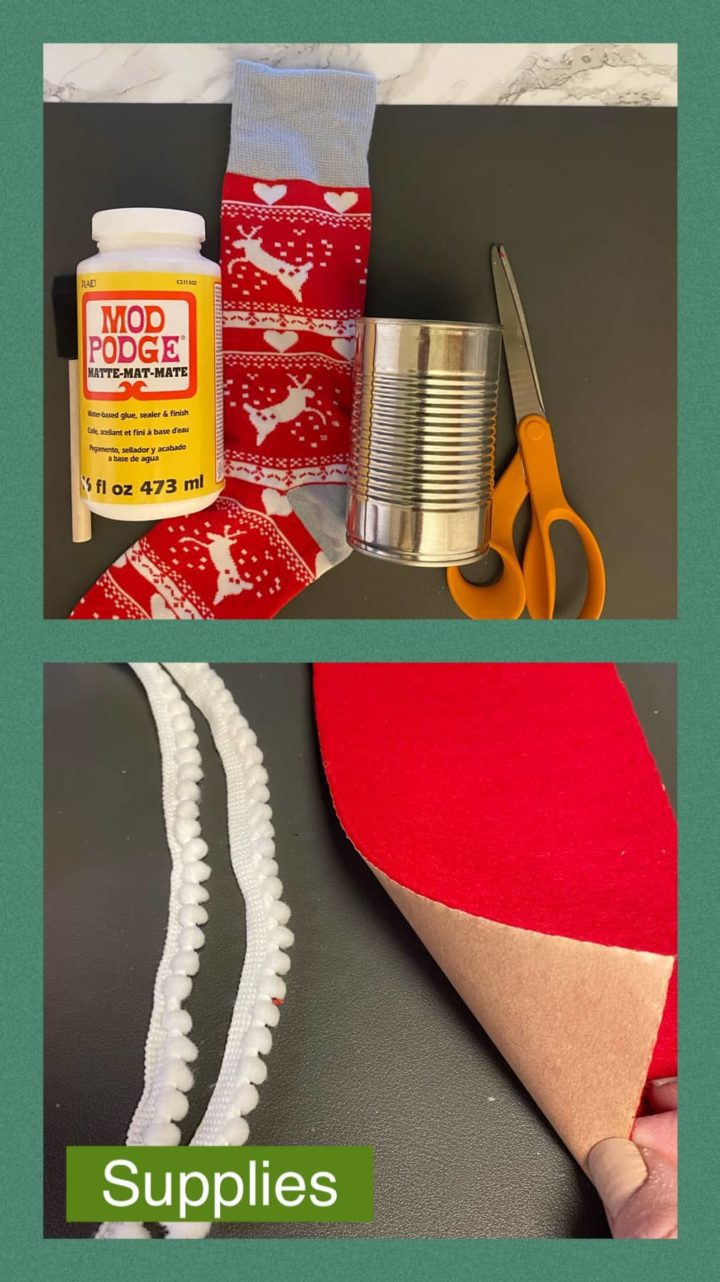
Below are the supplies you will need for this project.
1 Decorative Holiday crew sock - Pick a sock you may not be able to find a match to.
1 soup can with label removed - the can is about 15 - 16 oz in size.
Two strips of ribbon (fabric) white ½ inch - measure the perimeter of the can.
One disposable brush for the Mod Podge (affiliate) Glue
Glue stick (affiliate)
Peel and stick red felt for crafts - measures the interior perimeter of the can sides.
Paper clips and clips to hold the sock while drying
How long does it take to make this pen holder?
This project didn't take very long. The longest part was the drying time. So, the total time was about two days with a drying time of 6-8 hours.
How much does it cost to make this pen holder?
The soup can was cleaned and reused. The sock was missing a sock; the other supplies were from other craft projects, so there was NO COST for this project. But, if you wanted to factor in the sock and soup can, it would be about $5.00 per can.
Now, let's get down to the easy steps.
How to transform a sock and a soup can into a pen holder for the holidays?
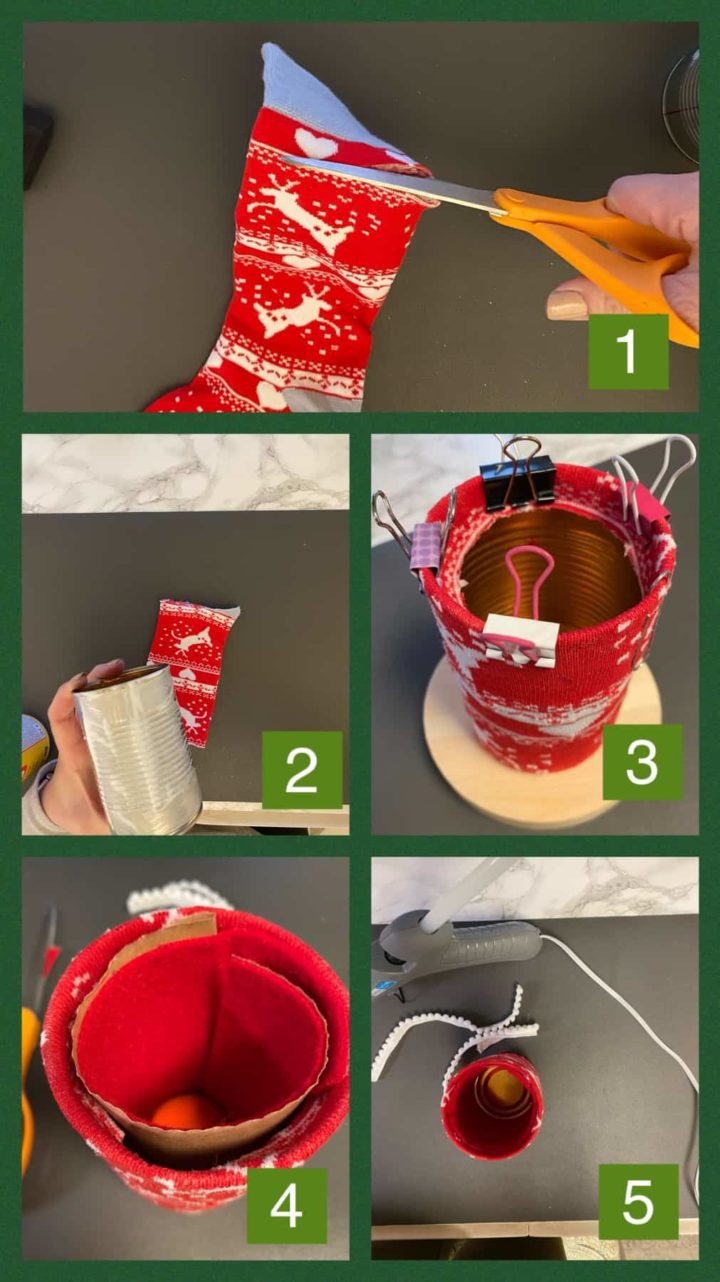
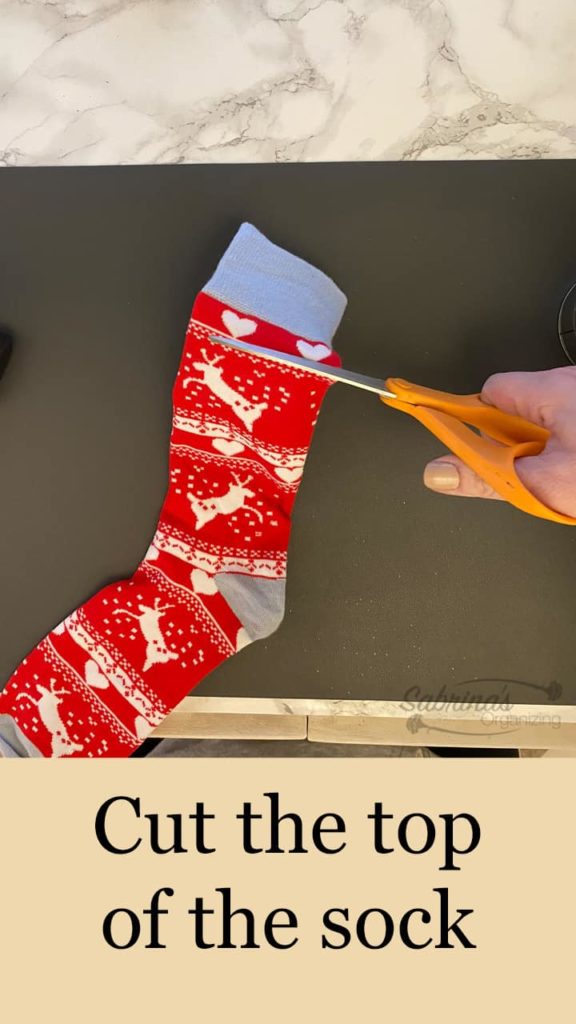
First, gather all the items together. Cut the top of the sock off.
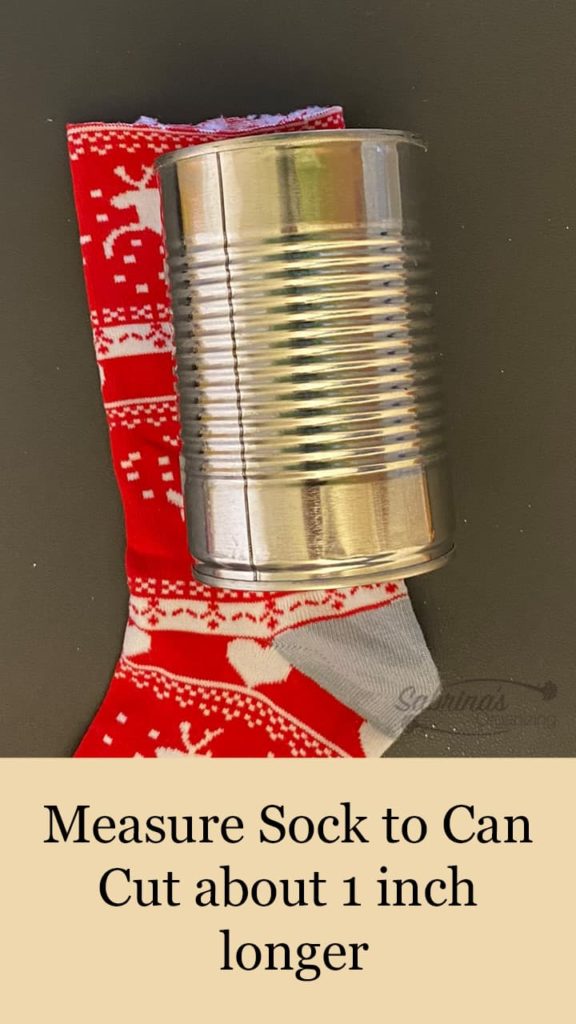
Measure the sock with a can and cut it one inch longer.
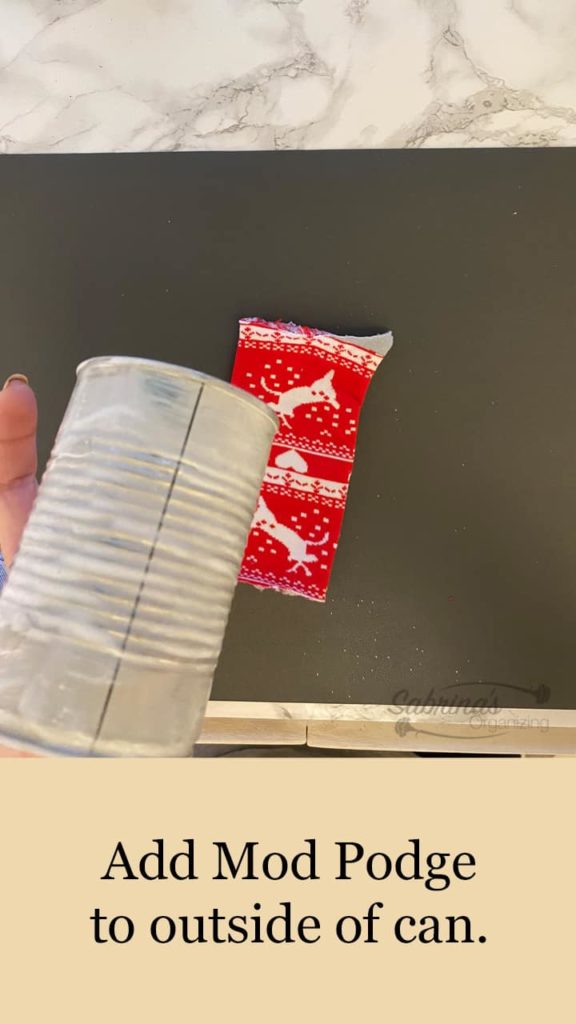
Then, with the disposable brush, add Mod Podge (affiliate) to the outside of the can. Slide the sock over the Mod Podge (affiliate) while stretching it out. Leave about ¼ inch or so at the top and bottom. This will fold into the can and underneath the can.
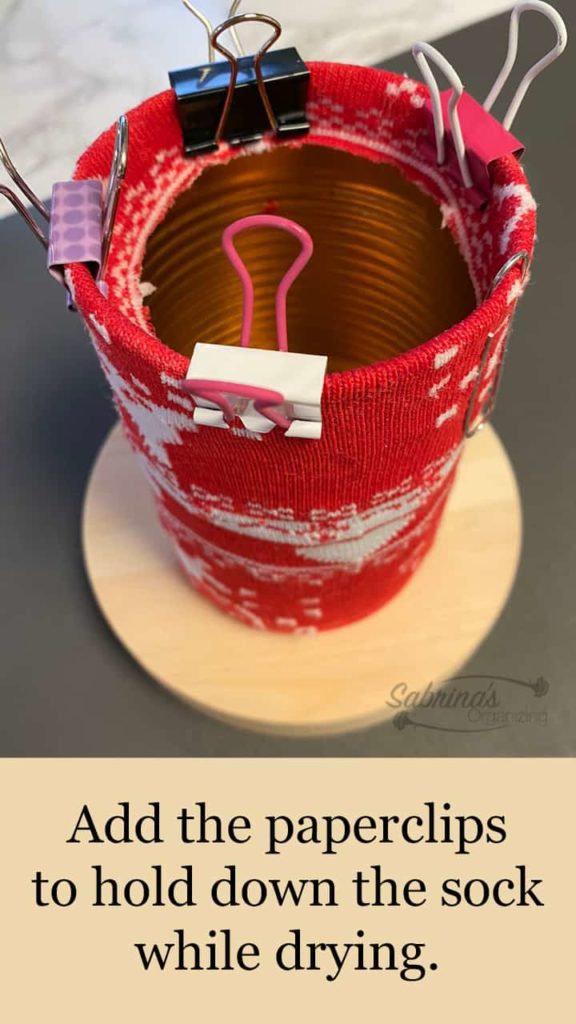
Make sure Mod Podge (affiliate) is at the top, inside, and bottom of the can. Then, add the paper clips to hold the sock while drying on top. Use as many paper clips as you need to keep the sock fabric down while drying. On the bottom, lay the sock end on the bottom and add more Mod Podge (affiliate). Then, lay it on a surface to dry.
Now let the soup dry completely overnight.
Then, the next day, turn it over and press down the fabric to level it off at the bottom of the can.
Now, remove the paper clips from around the top.
Measure the red peel and stick felt to make sure it will fit inside the can.
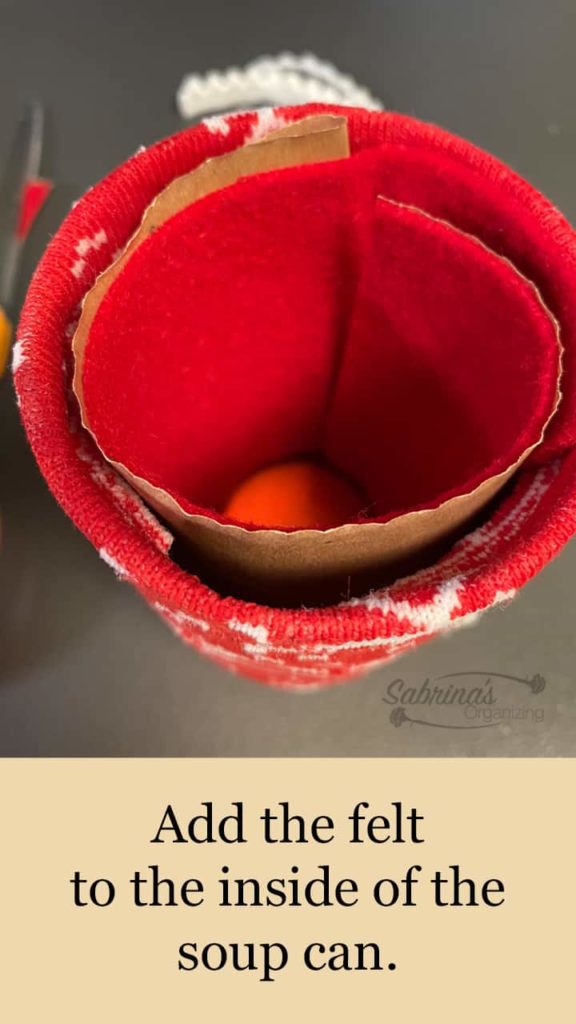
Add the felt to the inside of the can. Roll the felt with the backing facing out. Be sure to remove some backings when you start so it is easier to take off the rest when you unroll it in the can. Press firmly, and it will attach to the can.
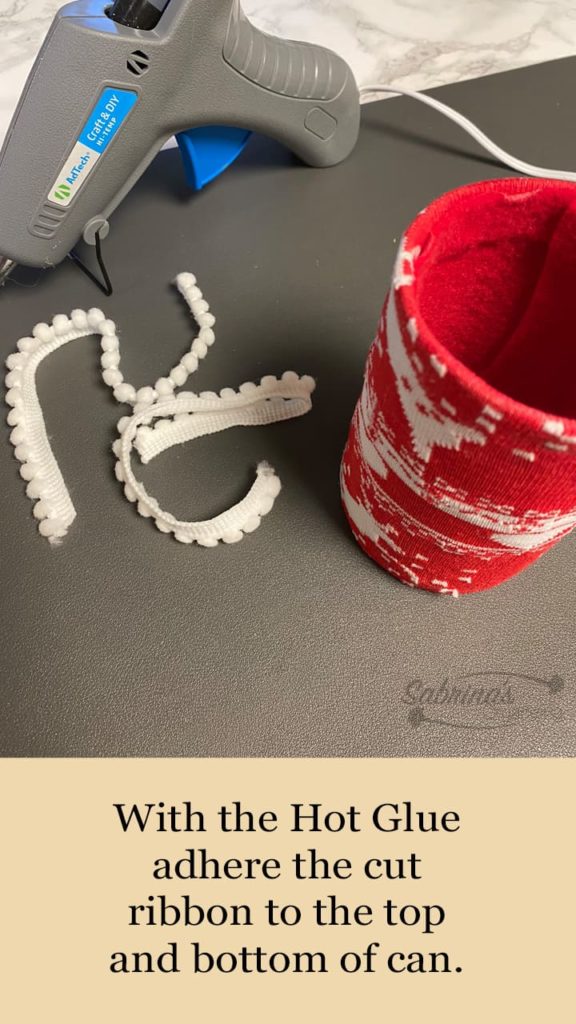
Then, hot glue the ribbon at the top and bottom of the can.
That's it! You are finished.
The Reveal!
Here's how it looks when it is finished. What do you think? Cute, right? Would you try this? Please leave a comment below.
Tips when making this soup and sock can transform.
Using paper clips works better than binder (affiliate) clips. They hold the sock to the can better.
Remove the paper clips/binder (affiliate) clips slowly. They may have adhered to the fabric.
Visit our collection of upcycling soup can DIY posts to help you get organized!
HOW TO UPCYCLE SOUP CAN INTO CUTE GNOME WITH STORAGE
HOW TO CHANGE A PLAIN SOUP CAN INTO A GORGEOUS DIY PENCIL HOLDER
SOUP CAN TO DIY MAKEUP BRUSH HOLDER
Visit our other repurposing DIY Home Projects!