Want to stay focused and keep your tasks in one place while making a really cute place to post them? Check out this DIY Cork Board Picture Frame project. It is super easy to make and fun, too! You can make it in about half an hour and let it dry for one day before hanging and using it. Follow along to see how this simple picture frame transforms.
Jump to:
- What inspired me to do this DIY Corkboard Picture Frame Project?
- What supplies did I use to make this DIY Corkboard Picture Frame Project?
- How much did it cost to make this DIY Corkboard Picture Frame To Organize Your Day?
- How long did it take to make a DIY Corkboard Picture Frame?
- How did I make this DIY Corkboard Picture Frame Project?
- Before Picture
- Add Bling Strip
- Add Press Flowers
- Add the Bling Sticker pieces
- Add Cork Sheet
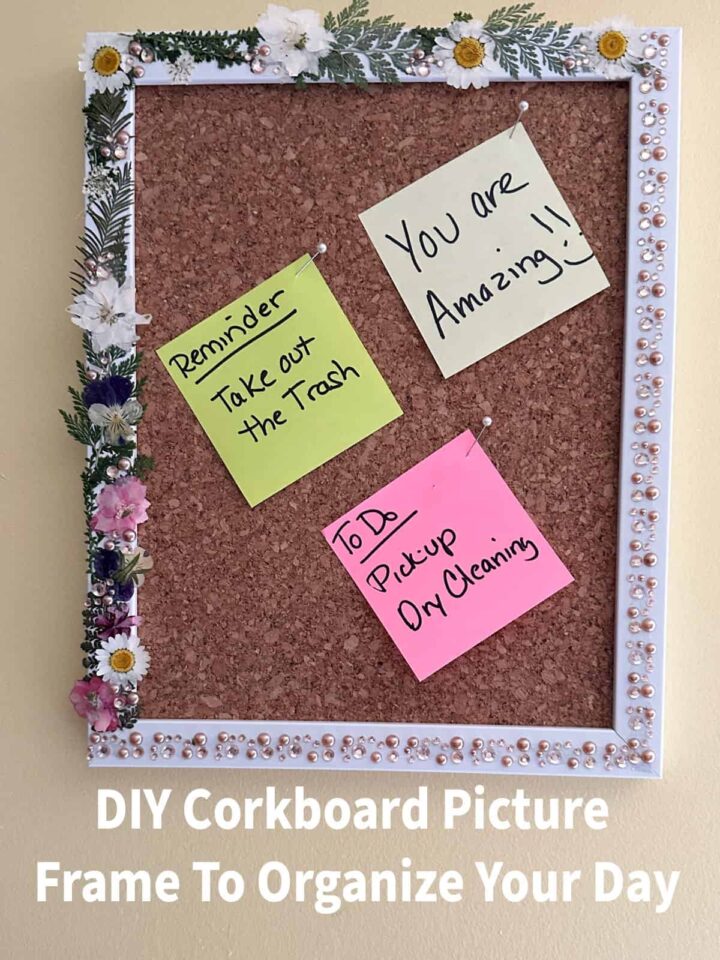
- The Big Reveal
- DIY Tutorial Video
- Tips on making this DIY Corkboard Picture Frame Project
- Ways to use this DIY Corkboard Picture Frame Project
What inspired me to do this DIY Corkboard Picture Frame Project?
Keeping my sticky notes (affiliate) organized really helps me each day. However, I sometimes need a better place to display them. This project helped me post the immediate tasks that need to be completed in an attractive way to remind me to do them.
What supplies did I use to make this DIY Corkboard Picture Frame Project?
Supplies used:
The links below are from Amazon (affiliate). If you click through and buy something on Amazon (affiliate), I will receive a small commission. Thank you for supporting my small business.
- 1 - 8x10 inch picture frame - white flat - remove glass
- 1- 12x12 inch cork sheet ¼ inch thick
- Nuanchu Pressed flower set from Amazon (affiliate)
- Bling Sticker Strass Autocollant Pegatina Brillante embellishments Recollections (TM) from Michaels - Here's one Amazon option (affiliate).
- Mod Podge matte finish
- Paintbrush
- Push pins and sticky notes (affiliate)
- Scissors
Please note these are affiliate links through Amazon (affiliate), and at no additional cost, I will earn an affiliate commission if you decide to make a purchase.
How much did it cost to make this DIY Corkboard Picture Frame To Organize Your Day?
This project cost me about $20.00 because the pressed flowers were the most expensive. You can make your own pressed flowers to save a ton of money. Here's an instruction post by Better Homes and Gardens.
How long did it take to make a DIY Corkboard Picture Frame?
This DIY Corkboard picture frame took me about 30 minutes to make and is displayed on my wall to use right now. =)
How did I make this DIY Corkboard Picture Frame Project?
Before Picture
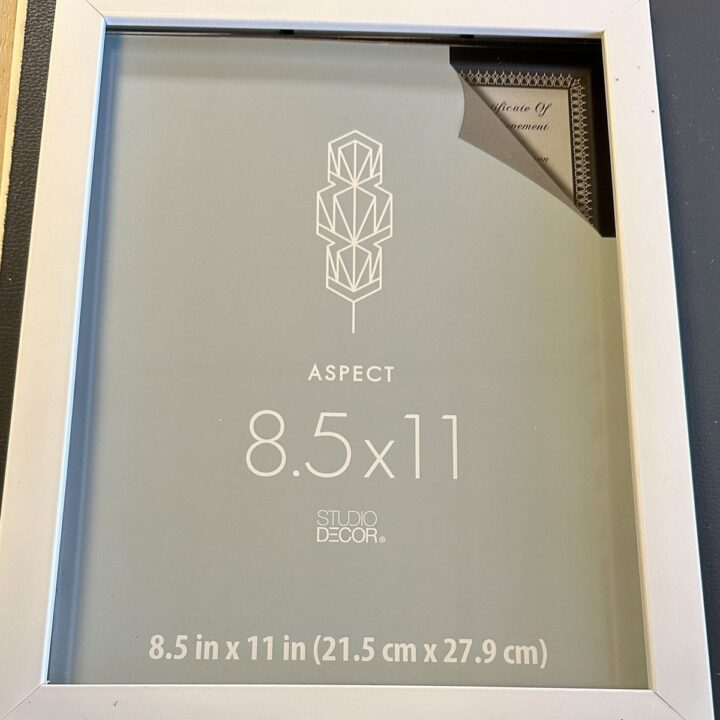
First, this BEFORE picture is what the picture frame looked like before I modified it. It was super plain and needed some dressing up. Now, remove the glass, but keep the back and any other sheet to use later.
Add Bling Strip
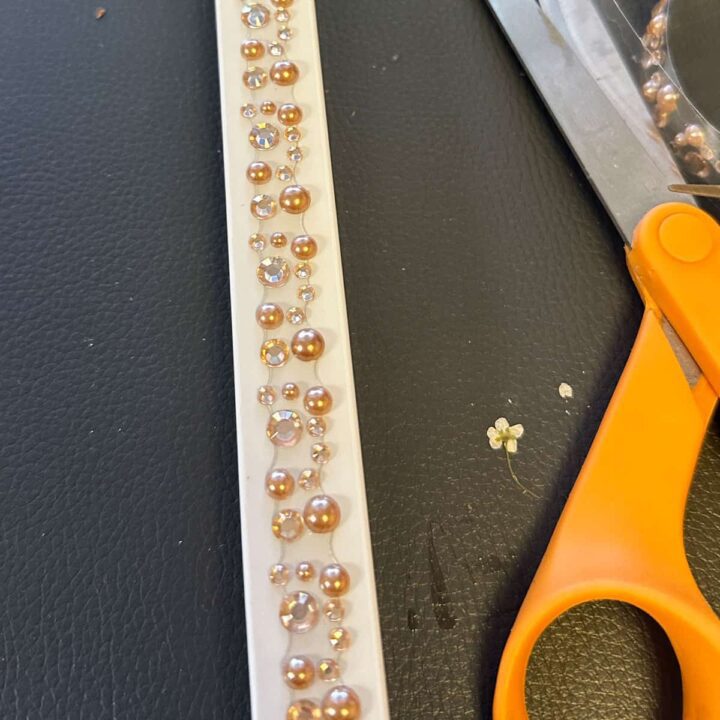
Then, cut one strip of Bling Sticker Strass Autocollant Pegatina Brillante embellishments Recollections (TM) from Michaels and place them on the right side front of the picture frame. Do the same to the bottom front of the picture frame.
Add Press Flowers
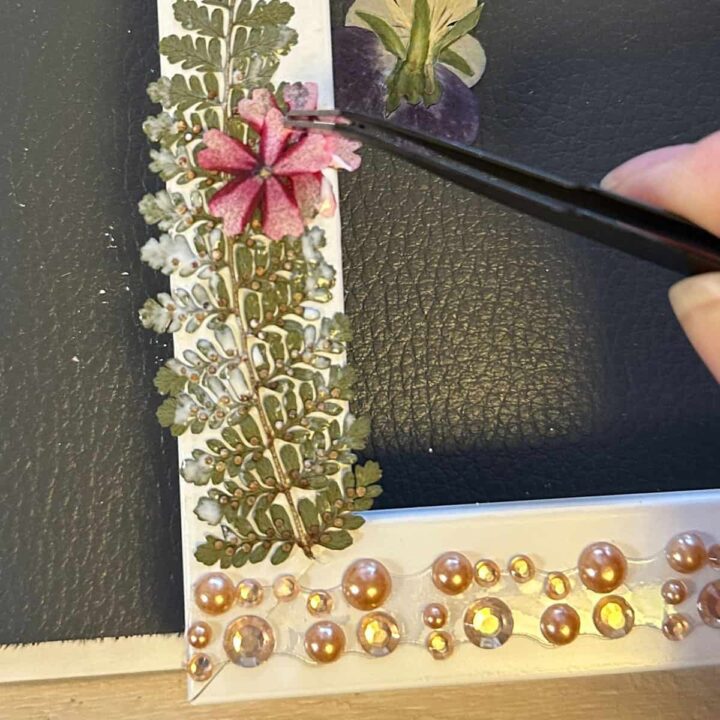
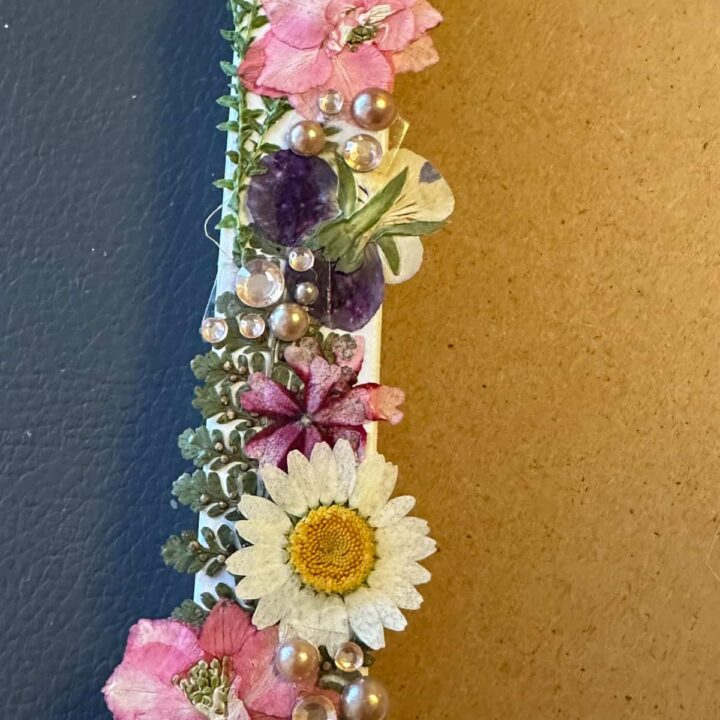
Now, using Mod Podge (affiliate) and a brush, apply a thin coat to the frame and press the leaves to the left front of the picture frame.
Wait a few minutes, and then add the flowers to the top of the leaves. If you do it any sooner, the leaves will tear. Continue this process: add leaves, wait for them to dry, then add flowers until you fill the remaining part of the frame.
Add the Bling Sticker pieces
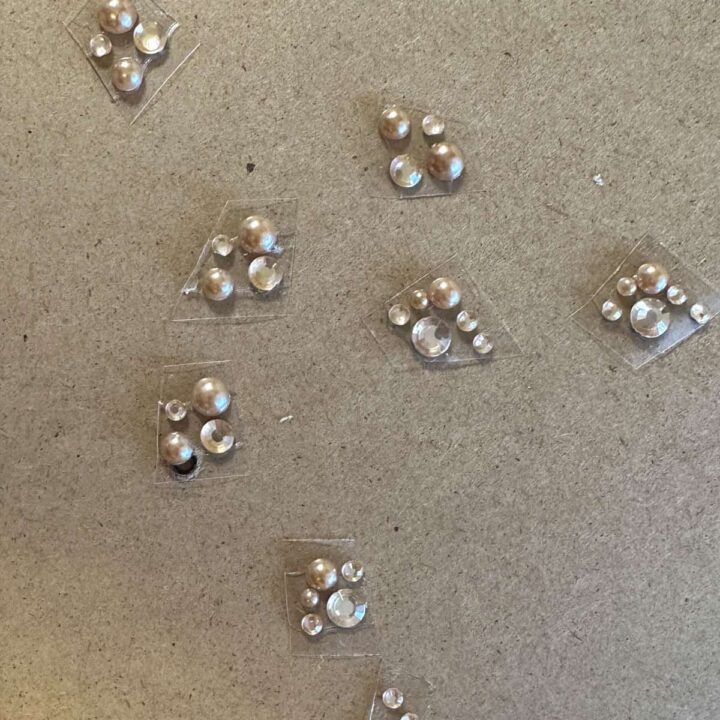
Next, Take a three to four-inch strip of Bling Sticker Strass Autocollant Pegatina Brillante embellishments Recollections (TM) from Michaels and cut it into pieces to add randomly on top of the leaves section of the picture frame.
Add Cork Sheet
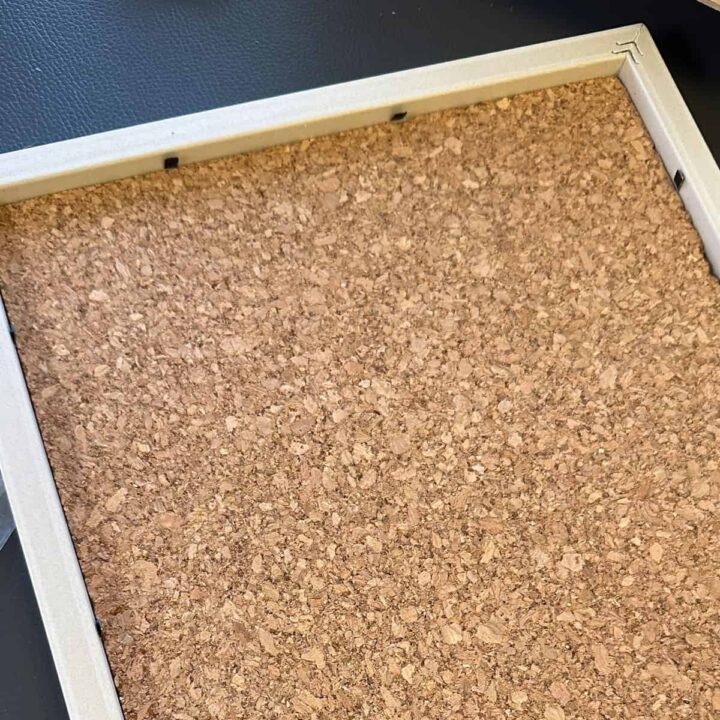
Now, it's time to add the corkboard sheet to the back of the picture frame. Using the glass you pulled out, outline the glass size onto the cork sheet. Then, cut with scissors. Add the cork to the picture frame and add the backing by securing it to the picture frame.
The Big Reveal
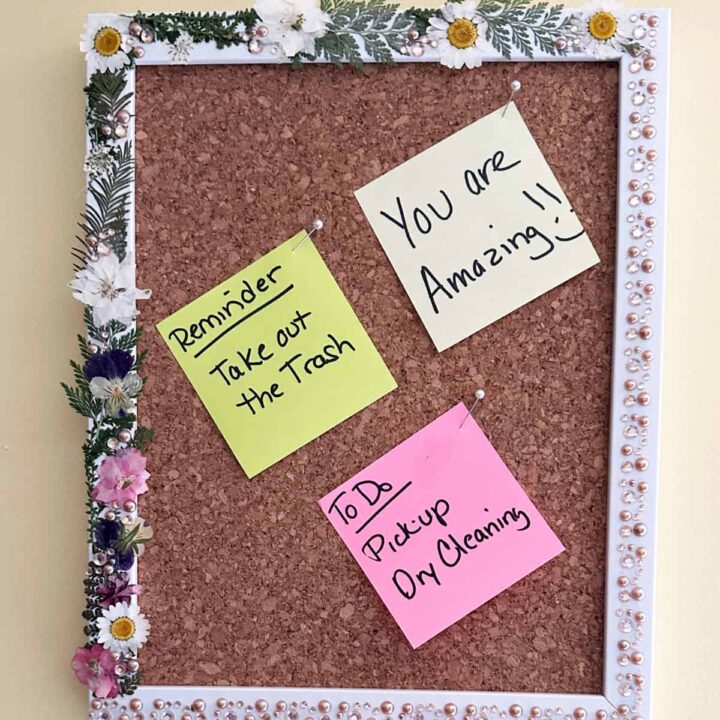
This corkboard picture frame looks lovely, and I really like the use of it.
DIY Tutorial Video
Tips on making this DIY Corkboard Picture Frame Project
Below are a few tips to help you with this project.
- Use a thin brush or foam brush for the Mod Podge (affiliate). For the pressed flowers, you only need a thin layer on the frame.
- The pressed flowers are very delicate, so be extremely gentle with them.
- Wait a bit after you add the first layer of leaves before adding the next pressed flowers. It will break the first layer if you do not let it dry slightly.
- You can use push pins to hold the papers to the corkboard.
Ways to use this DIY Corkboard Picture Frame Project
There are lots of ways to use this DIY project to help you get organized. Below are just some of them.
- You can divide the board into sections and use sticky notes (affiliate) to add your tasks, reminders, and inspirational thoughts. Then, place the picture frame near your desk for easy access.
- You can hang it up near your front door or anywhere you place your keys and bag to remind you to do something. Add things like mail to go out and reminders to it so you remember what you need to do.
- Display it in your kids' rooms with their morning chores or tasks list to help them stay on track.
I hope this project inspires you to organize your day. If you need help organizing your day, please check out my virtual organizing consulting services.
Below are some additional DIY Projects for you to get inspired and get organized!



Leave a Reply