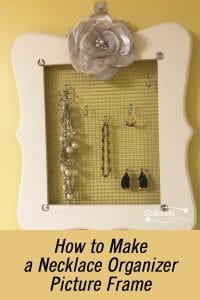
This week's home craft organizing project features another one of my picture frame jewelry (affiliate) organizers. This one is particularly for necklaces and hook earrings. But you can also use hooks to hold bracelets. It's a valid focal point of any room or walk-in closet. Read on to see how I made it.
Jump to:
Stuff you need to make a necklace organizer picture frame:
Wooden paintable frame 8 x 10 inches opening - the link is from Amazon (affiliate) (affiliate)
9 x 11 inches square wire cloth
Fabric flower or flowers - this link is from Amazon (affiliate) (affiliate)
4 gems
Hook for hanging the picture frame
4 Felt pad 2 inches wide
5 Small 1-inch S Hooks
Tools needed:
Magnolia Antique Rose Chalk Paint
Magnolia Clear Wax
Hot glue gun (affiliate)
Staple gun with shallow staples not thicker than the wood
Paintbrush or sponge brush
Hot glue and a hot glue gun (affiliate)
How to make this necklace organizer picture frame:
If you want to sand the wood, feel free. I purchased my new frame from Michael's, so I didn't feel it needed to be sanded. And, when to work on painting it with Magnolia Antique Rose Chalk paint. I painted the front of the picture frame with a paintbrush, let it dry for an hour or so, and added a second coat. I then waited a day and added Magnolia Clear Wax to coat the paint. Beeswax or any wax will do.
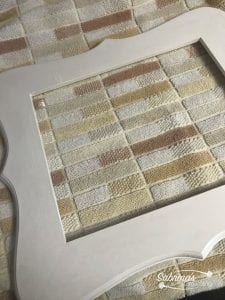
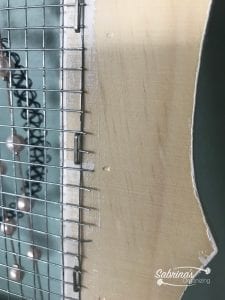
I then cut the wire cloth (square style) 1 inch bigger to overlap it with the wood frame. This helped keep the wire cloth intact after I stapled it. I stapled every 2 inches around the back of the frame to keep the wire cloth tight.
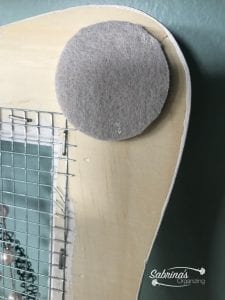
Add the adhesive felt pad to the corners. this raises the picture frames from the wall, which will help give enough room for the hooks to be removed easily. It will also help to attach the hook earrings as well.
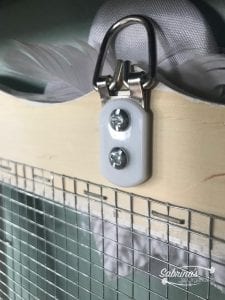
Add a hook to the center top of the back. I particularly like these hooks because they are very durable and have screws with them.
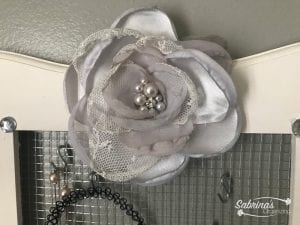
Add with a hot glue gun the fabric flower and the 4 gems. Feel free to add more gems if you want. I felt that the flower was too pretty to take away its attention using a lot of gems around the frame.
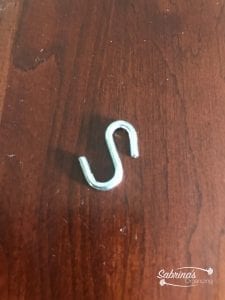
With the S hooks, use pliers to pinch one side of the S hook. This will help keep them on the chicken wire.
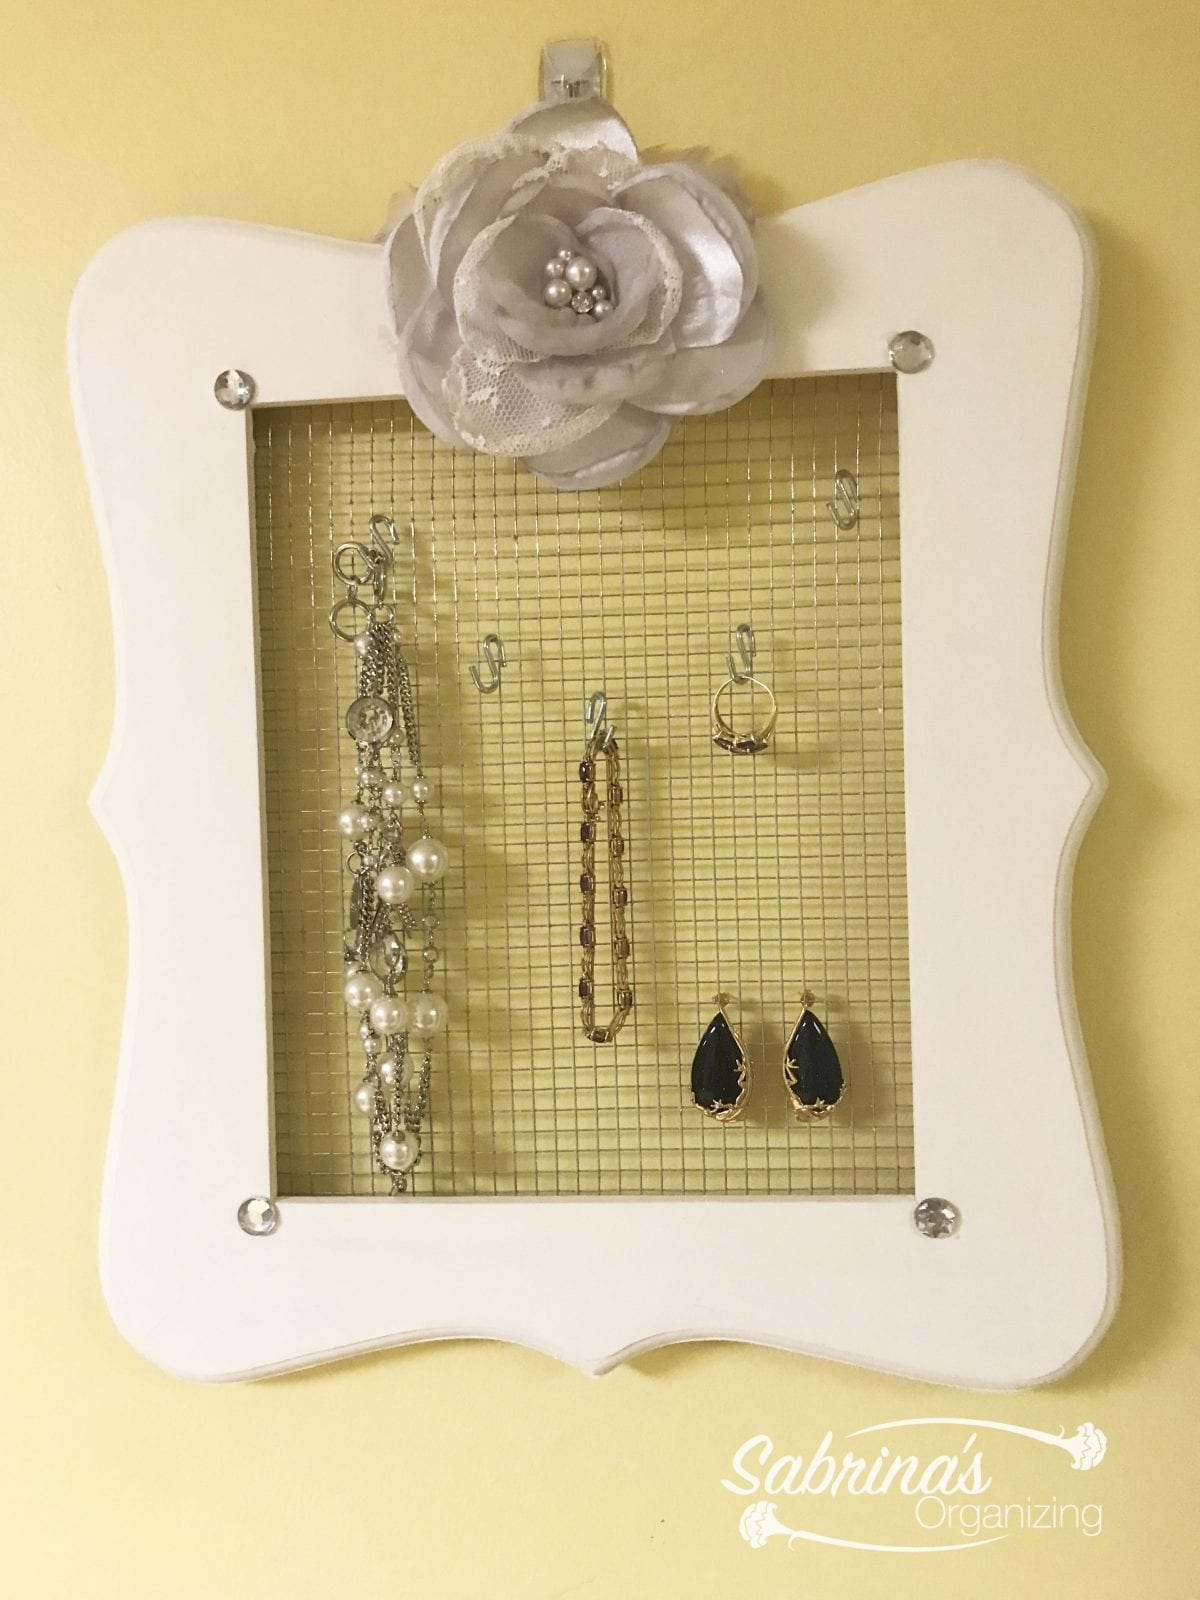
Necklace Organizer Picture Frame Reveal
Here's the finished project. What do you think? I hung it in my daughter's room so she could place her jewelry on it. It's great for your favorite college student while away from home. What a pretty thing to give to your daughter or mother! Do you agree?
Visit our other DIY Home Organizing Craft Projects by clicking here.
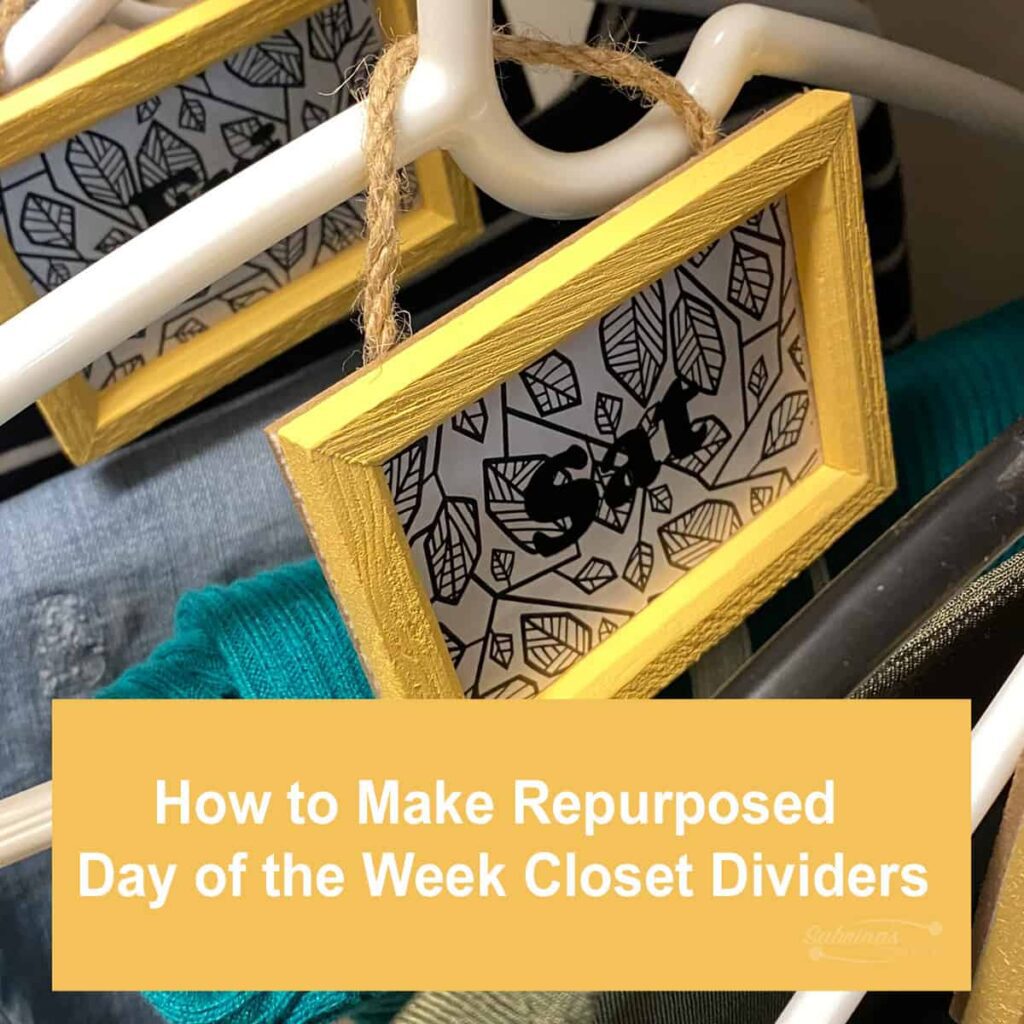
Below are posts for the clothing organization!

Leave a Reply