****Visit our "Disclosure Policy and Cookies" for details. Affiliate links appear on this page from Google Adsense, Amazon, Order Out of Chaos, Impact affiliate members, Release, Repurpose, Reorganize, and Shareasale affiliate members.****
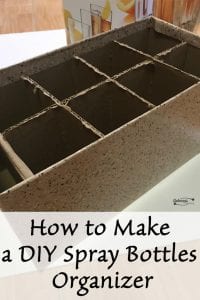
Perusing a magazine recently, I was inspired by the use of recycled beer cardboard caddies. They have a handle and are easy to carry. However, I felt they were a little flimsy to use to carry anything a little heavier. Nor did I like the fact that it didn't hold more than 6 items. But, it gave me an idea. I am about to show you how to make DIY Spray Bottles Organizer.
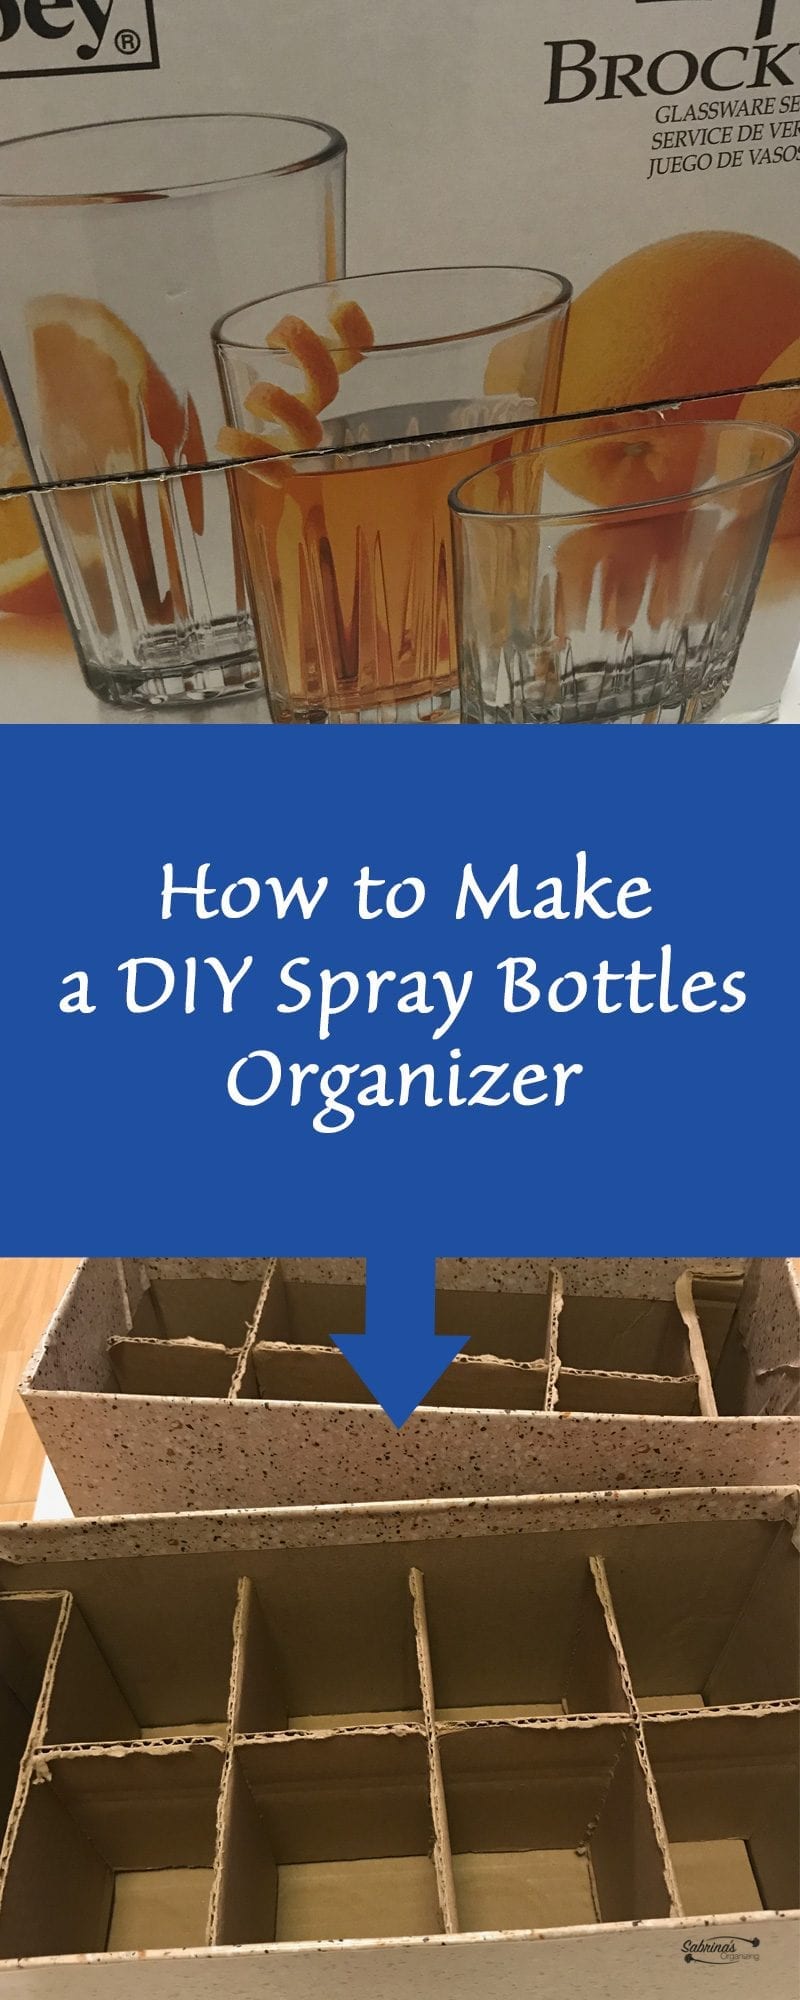
Just by chance, we were looking for everyday glasses for our kitchen. It came with a great sturdy box that would work awesome to organize my spray bottles. My husband also bought a 6 pack of beer which I told him not to recycle it because I wanted to use it for a project for our tool closet. If you want to check out our tool closet, click here.
Jump to:
Step by step instructions on how to make a spray paint bottle organizer
Before Spray Paint Organizer Area
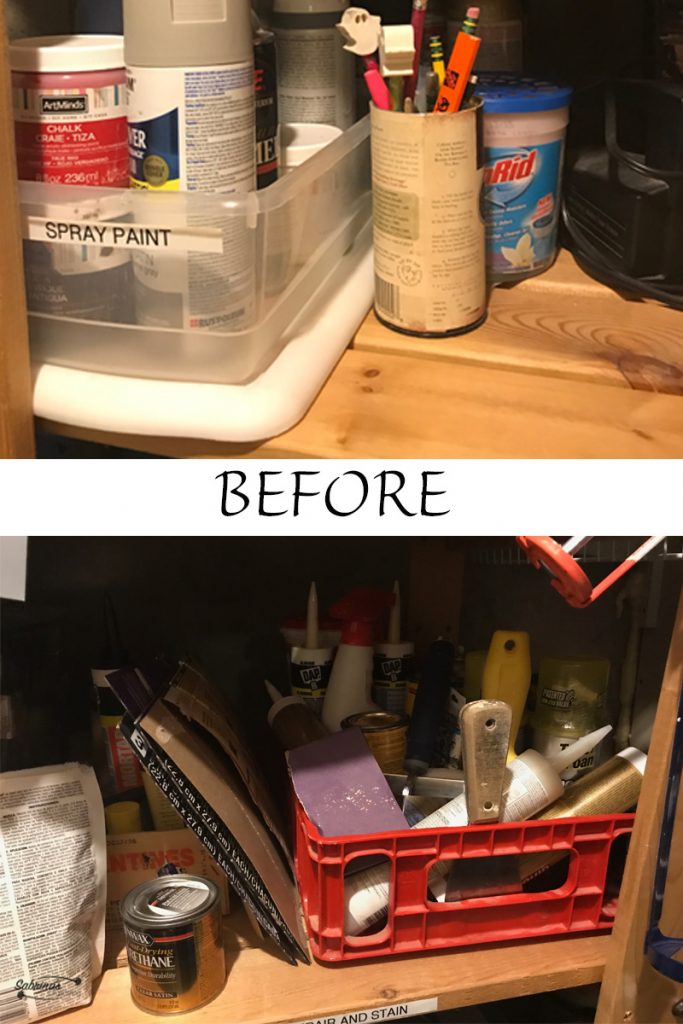
First, let me show you the before shelves (Affiliate Link) that I was trying to organize. It looks OK. but, I over the years I found it was hard to find items and the boxes (Affiliate Link) became a mismatched catch all for our random stuff. And, since, I am the one who would use these items, I decided it needed some attention. Check out the spray paint bottle area. Yuck! I was so frustrated with this area and the fact that all the caulk (Affiliate Link) containers would fall over every time I would get something in the bin. Not good at all.
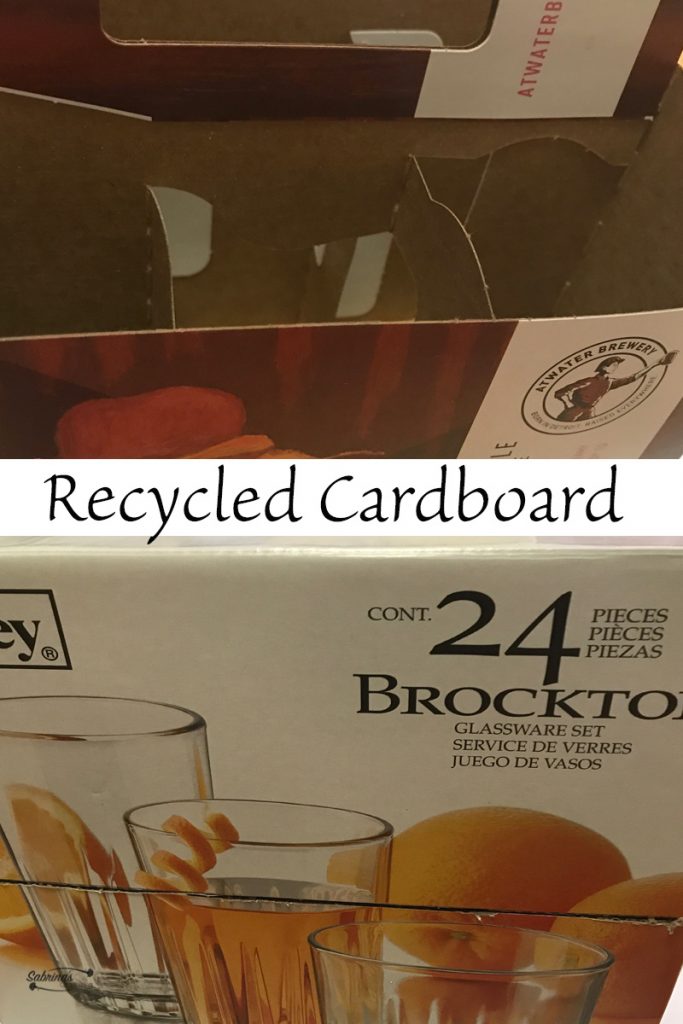
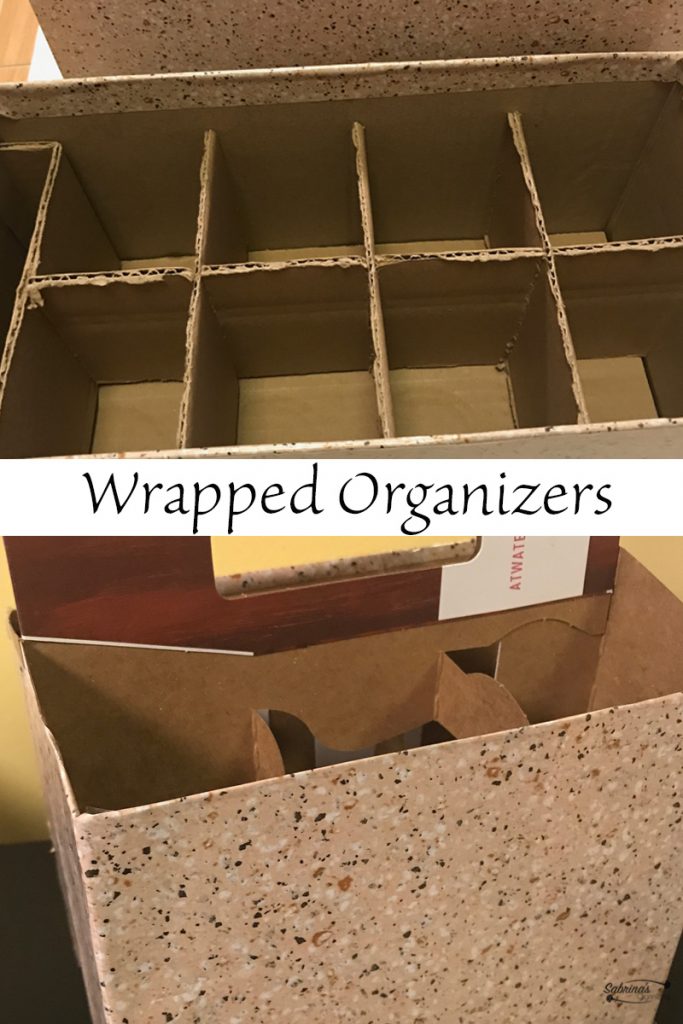
These are the cardboard boxes (Affiliate Link) I used for this DIY recycling project for the paint cans and caulk (Affiliate Link) canisters. As you can see, the beer caddy had a handle with made it easy for transporting to different areas to paint. But, my main purpose was to organize the shelves (Affiliate Link) and not necessarily take the entire bin to other areas. So, that's why I used the glass cardboard box (Affiliate Link) too.
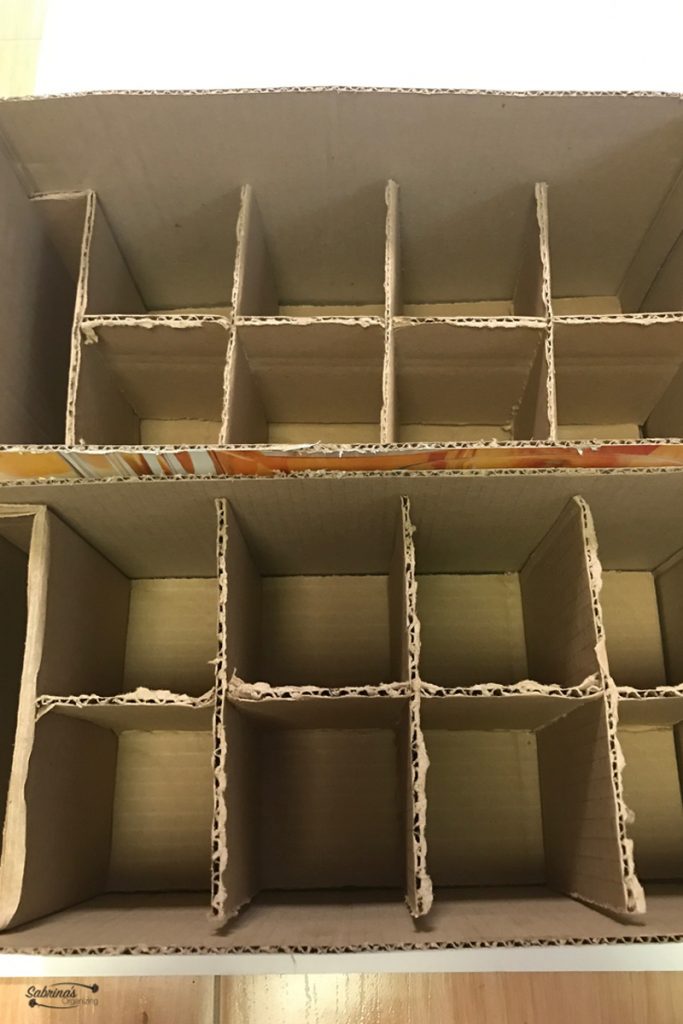
Cut cardboard boxes in half to make two.
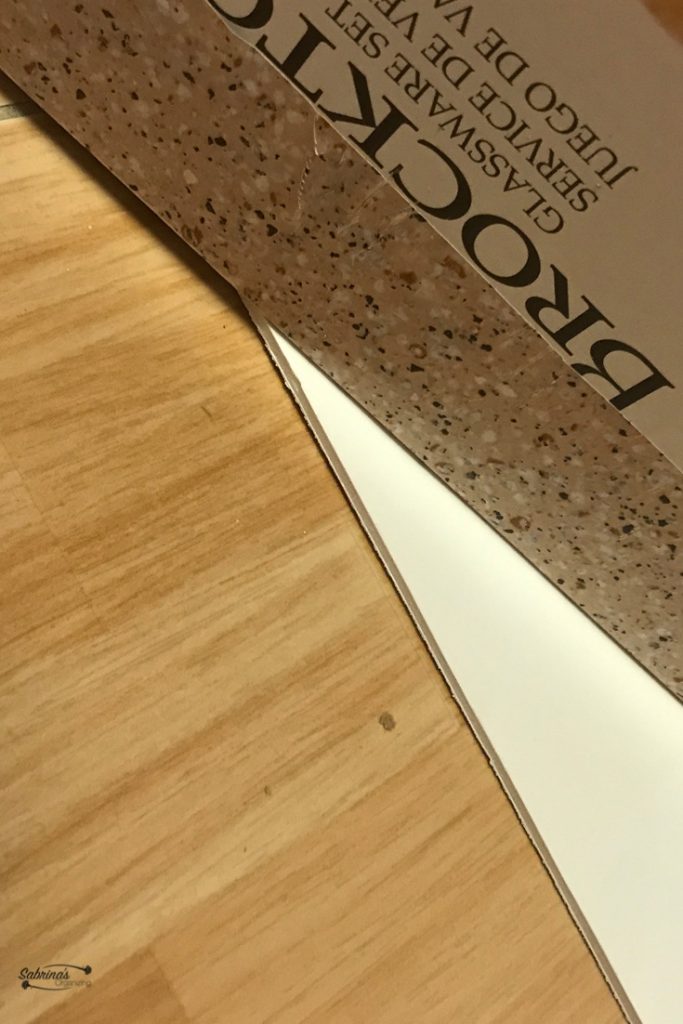
First, I removed the dividers in the box and then cut the box in half with a straight edge and sharp box cutter. Using a straight edge T square
Cover bottom of cardboard boxes
I then covered the bottom of the box with Contact Paper (Affiliate Link). I used a nonfloral pattern since my husband was going to use the items as well. This process reinforces the bottom of the box because these bottles and caulks can get pretty heavy.
Tip: if you have others using the space as well. Make sure they like what you are doing by asking their opinion on the colors. This gets them involved and allows them to enjoy the area instead of feeling that the newly organized area is thrust upon them. They are more likely to put stuff away too if they feel like it is their area as well.
Cover side of cardboard boxes
Then I wrapped the box with the Contact paper little by little removing the paper and smoothing out the sides to get rid of any bubbles under the paper.
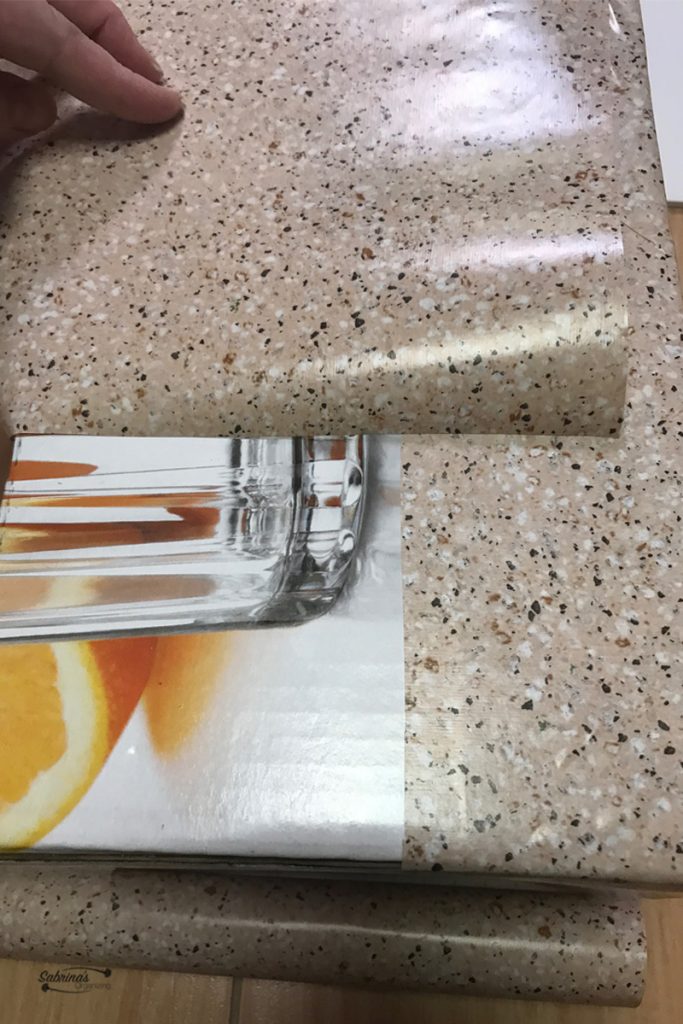
Here is what the boxed looked like after I wrapped them. great right? Tip: be sure to have at least 1-2 inches over lay for the top edge of the box. This extra paper will adhere better to the cardboard when you wrap it over the edges.
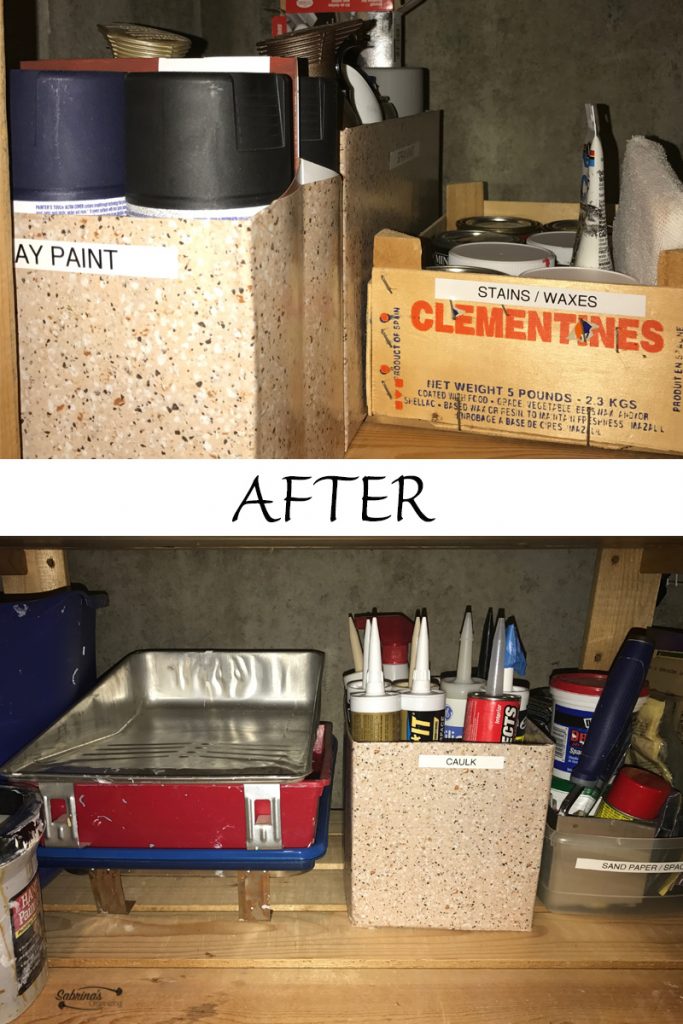
After DIY Spray Bottles Organizer
And, that's it. Here's what the shelves (Affiliate Link) look like now with the new DIY Spray Bottles Organizer in my tool closet. I love it! And, boy doesn't it make a difference? I especially like the DIY spray bottles organizer.
Free Shipping and Free 60 Days Returns
The sturdiness of the boxes (Affiliate Link) made it a long term organizing solution for my spray bottles.
What do you think? Is this a project you will be doing soon? Please leave a comment below. I would love to hear from you.
Please note these are affiliate links through Amazon and at no additional cost to you, I will earn affiliate fees if you decide to make a purchase.



Deborah Hopper
Amazing, good Idea, Thank you.
Tania Young
Great idea. Looks great. But why do you cut the box in half and which way do you cut it?
Sabrina Quairoli
I cut the box in half because in the box there was two levels of glasses which gave me two sets of dividers. I cut the box parallel to the floor and retaped the top of the box. I then turned the top part over to make another organizer. Hope this helps.
Seana Turner
Isn't it amazing how you can often find the tools you need right inside your own home? I often "shop" the home before we buy anything. Sometimes these solutions are temporary, other times they work so well we just stick with them. I like that you used the contact paper, as cardboard can sometimes attract little critters who like to eat it:)
Sabrina Quairoli
Good point, Seana. Thanks for sharing your thoughts. Cardboard can be tricky.
Janet Barclay
Brilliant! You never cease to amaze me with your creativity.
Sabrina Quairoli
Thanks, Janet for your kind words. =)