Update: It has been five years since we organized this closet and there were some updates in the last year that I wanted to share with you. While a lot of the shelving (affiliate), bags, and stuff are available to use, we have updated several things that made the tool closet much more user-friendly. While reading this, I left the original content and added the updates at the end to see what we had modified and improved. I hope this helps you get inspired to take action and organize tools (affiliate). Note: There are affiliate links in this post. I will receive a small referral fee if you click through and purchase on Amazon (affiliate).
Jump to:
We have a pretty well-organized tool closet. It holds all of our tools (affiliate), a desk for assembly, floor standing shelves (affiliate) to keep our paint cans and heavier supplies; however, the one thing we are lacking is the floor space to move around. The door is only 24 inches wide, and if there are hooks on the wall near the door, we have to walk sideways into the tool closet, like a crab, really, like a crab to make sure we do not scratch ourselves on the wall. Annoying! Below I detail how we improved our tool closet organization.
Easy DIY Tool Closet Organization You Can Do Right Now
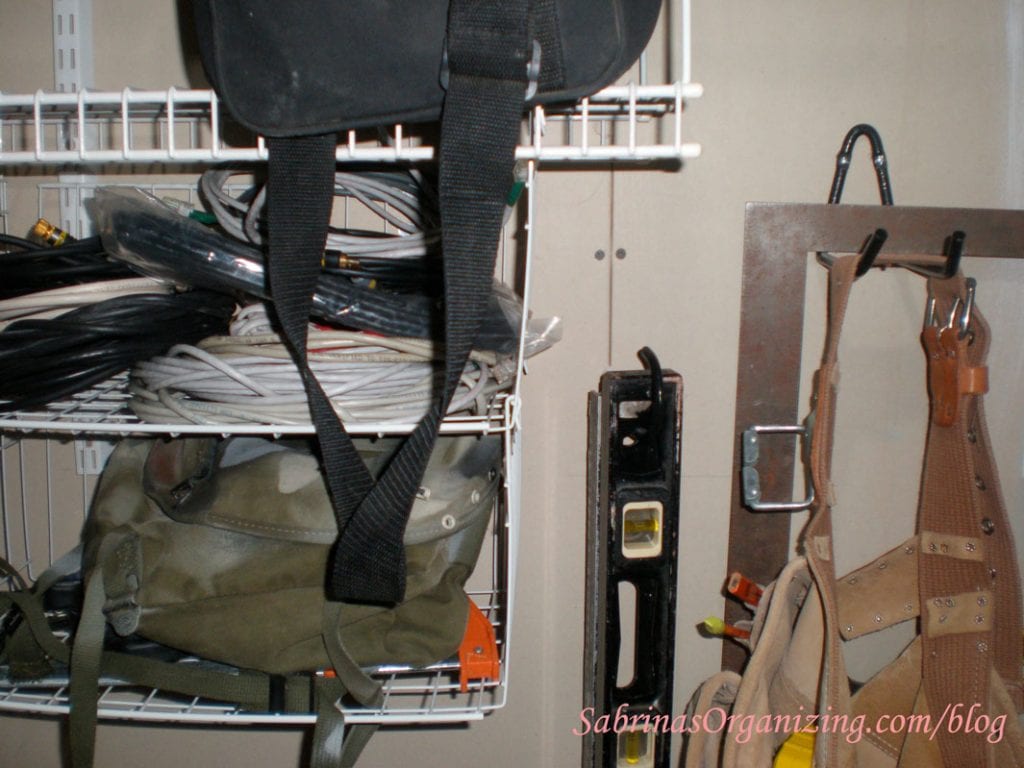
So, we decided to mount shelving (affiliate) on the wall in the closet. We repurposed these shelves (affiliate) from a makeshift pantry (affiliate) we had years before. It's a little hard to see, but we attached wire shelves (affiliate) to the mounted wire shelves (affiliate) to add more storage space. We also made sure the tracks were on studs.
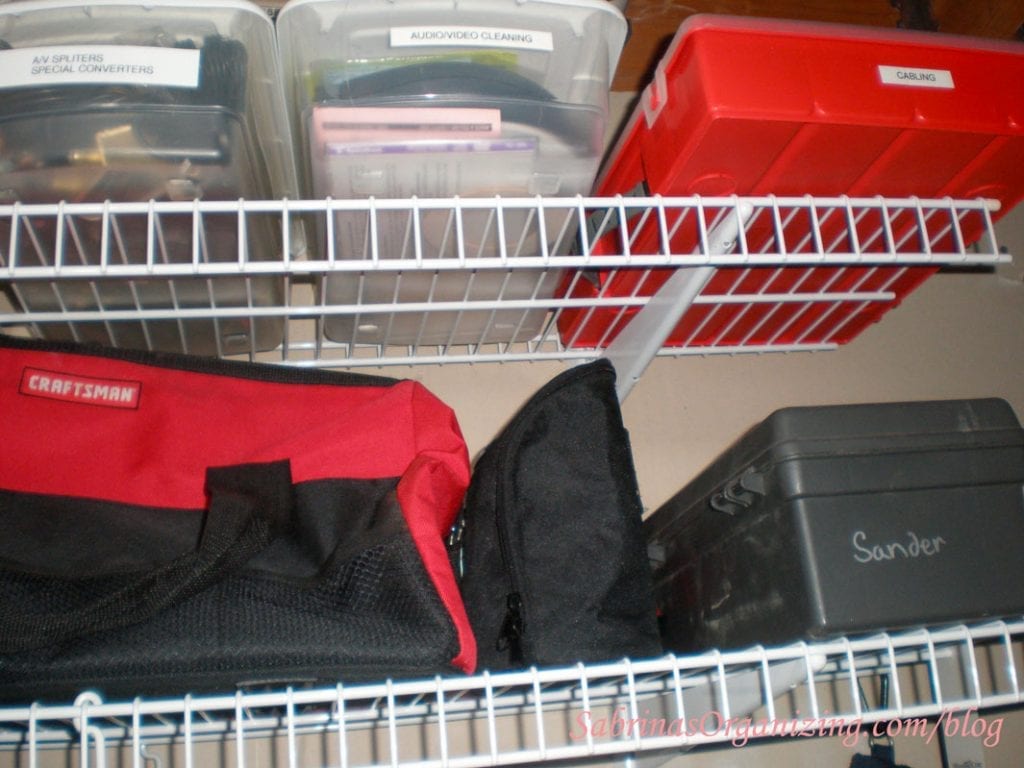
We labeled the cable pull-out bins and tool bags. For the dark bags, we used a permanent silver marker to make the label (affiliate) visible.
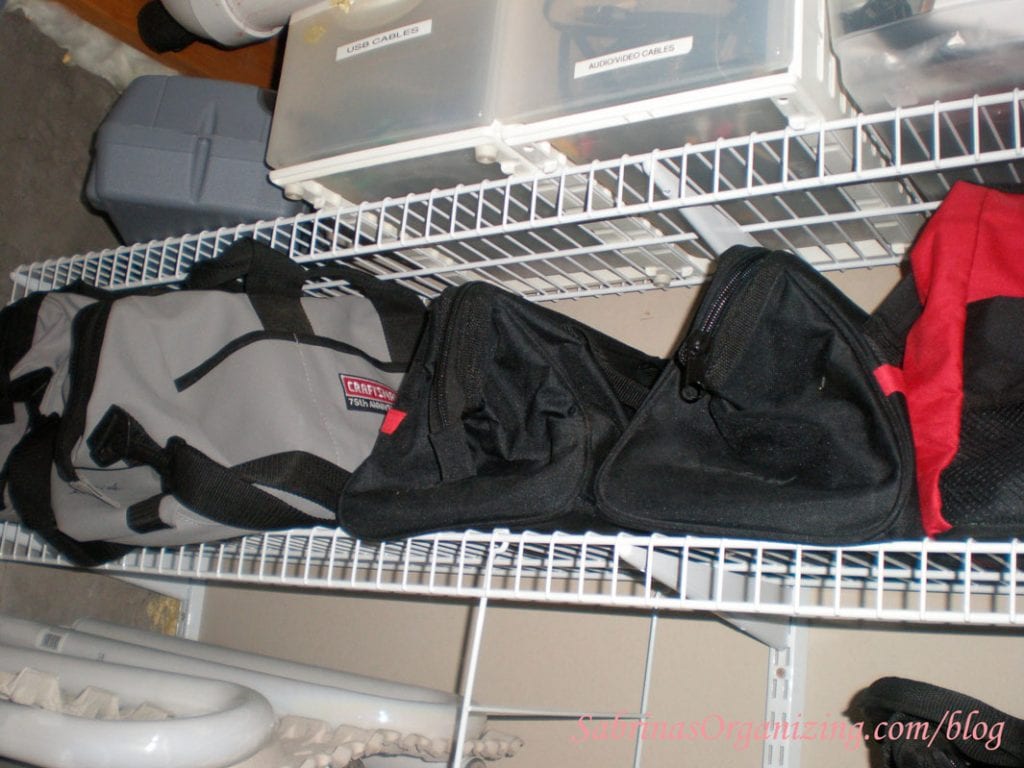
We put the least used tools (affiliate) and their corresponding bags farther up the wall.
And, we put the tool bags we use most often at eye level. Our drill (affiliate) and screw bits and other supplies are in the bag; however, we do not store the screws in the fabric bag. Those screws and nails are on the desk in the organizer. You can see it in the image below.
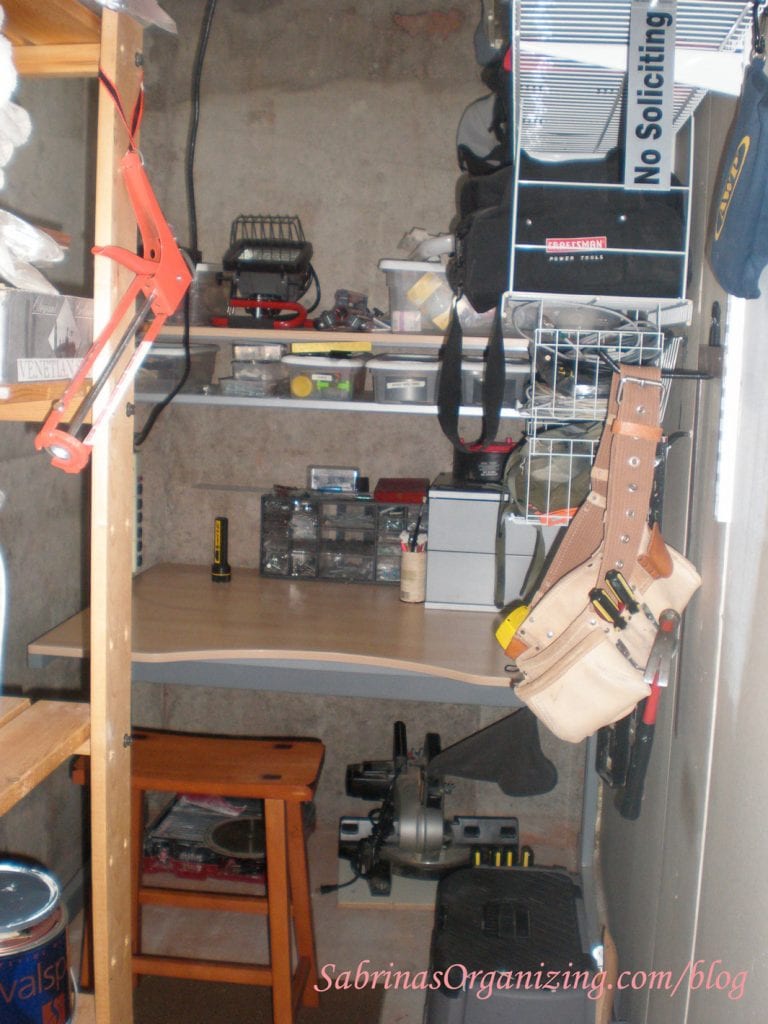
Now, we can fit a chair (affiliate) in the tool closet! Wonderful, right?
UPDATE: Wow, this has completely changed! My husband now uses his desk in his office. And, we moved the wooden shelving (affiliate) into the desk place (you can see a little of the Ikea shelving (affiliate) unit on the left of the above image).
By making these changes, we can move around the room and have a surface to work on. Brilliant! And we don't have to walk like a crab. =) How do you organize your tool space? Please leave a message below.
OK, now for more updates in our tool closet!
Cool Options to Organize Tools
We have purchased many more tools (affiliate) since I originally created this post. We now have a table saw (affiliate) which we take apart when we are not using it to save space. A drawer cart with wheels for light bulbs because we have a variety of lights in and outside our home. From different types of landscape light bulbs to LEDs and halogen light bulbs, we needed to find a place to store them that would hopefully keep them safe (affiliate) from breakage. I shared with you on DIY Fridays my way of organizing spray paint bottles. You can check that here (How to Make A DIY Spray Bottle Organizer). To free up space on the floor, we removed a large bulky step stool (affiliate) toolbox (affiliate) that stored random tools (affiliate). My husband went through and decided to revisit the nails and screws organizer caddy (affiliate) and labeled everything. He's detailed when he wants to be. LOL. It looks amazing! Below, I share the images and give you more details about each improvement.
Make a DIY spray bottle organizer
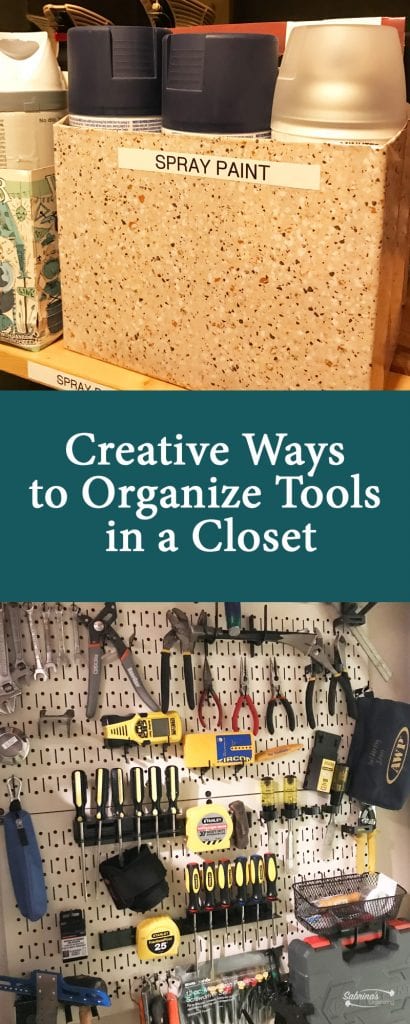
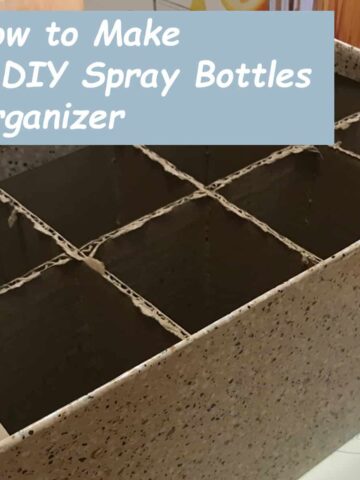
First, here's the picture from my DIY spray bottle organizer. I was able to make two out of the glasses box I purchased. I also had a few more spray bottles that I stored in a four-pack cardboard beer carrier that we had from a recent beer run. That worked well, too! It even had a handle.

Carpet the floor
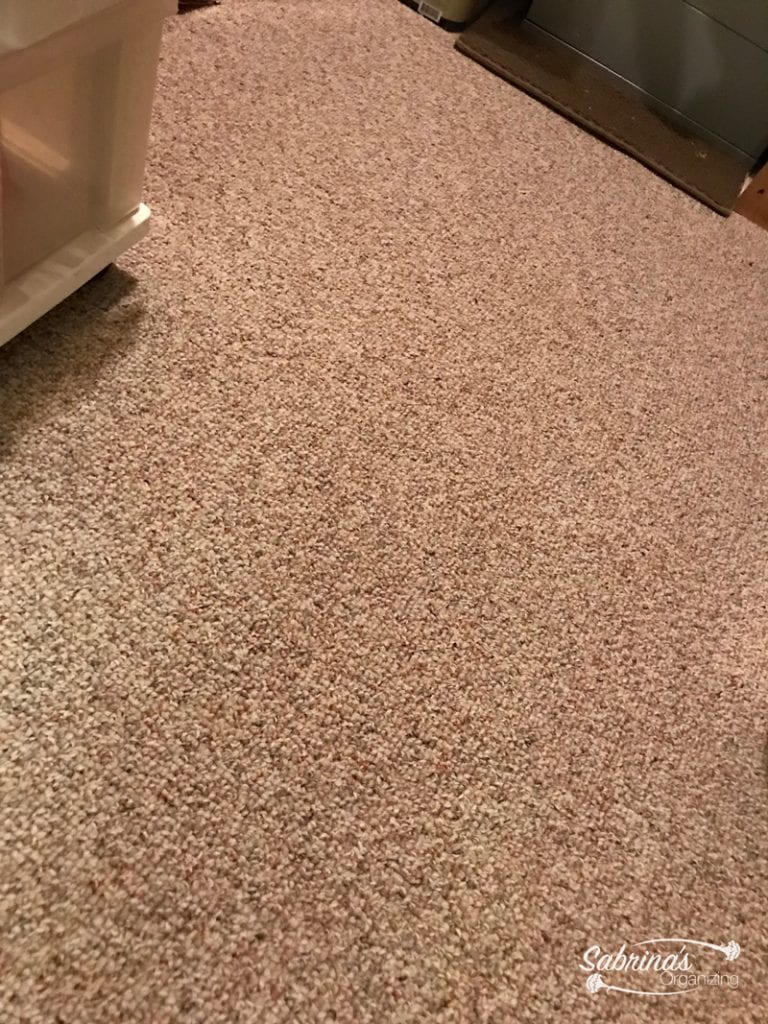
We recently added carpet to the bedrooms and halls, so we had some remnants that we wanted to use. We added them to the floor in this closet since it was just a concrete slab and would get cold in the winter. It feels like a real room now. You can use remnants that you may have from a recent carpet replacement.
Label those Nail and Screw Organizers
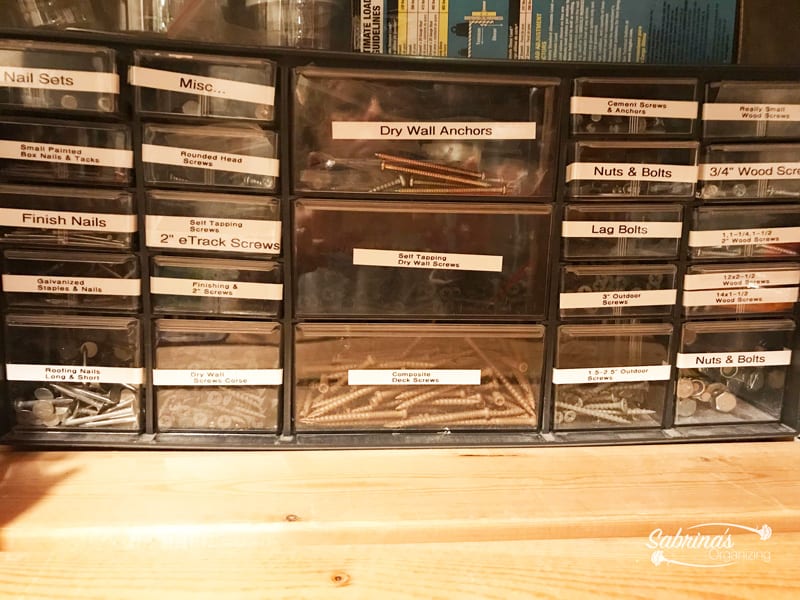
The below nail and screw organizer is my husband's handy work. It took him a few hours to organize the screws and about an hour or two to label (affiliate) all the bins. It's his pride and joy. We better put stuff back where it belongs, or we will hear about it. LOL.
Organize tools on a Metal Pegboard Organizer
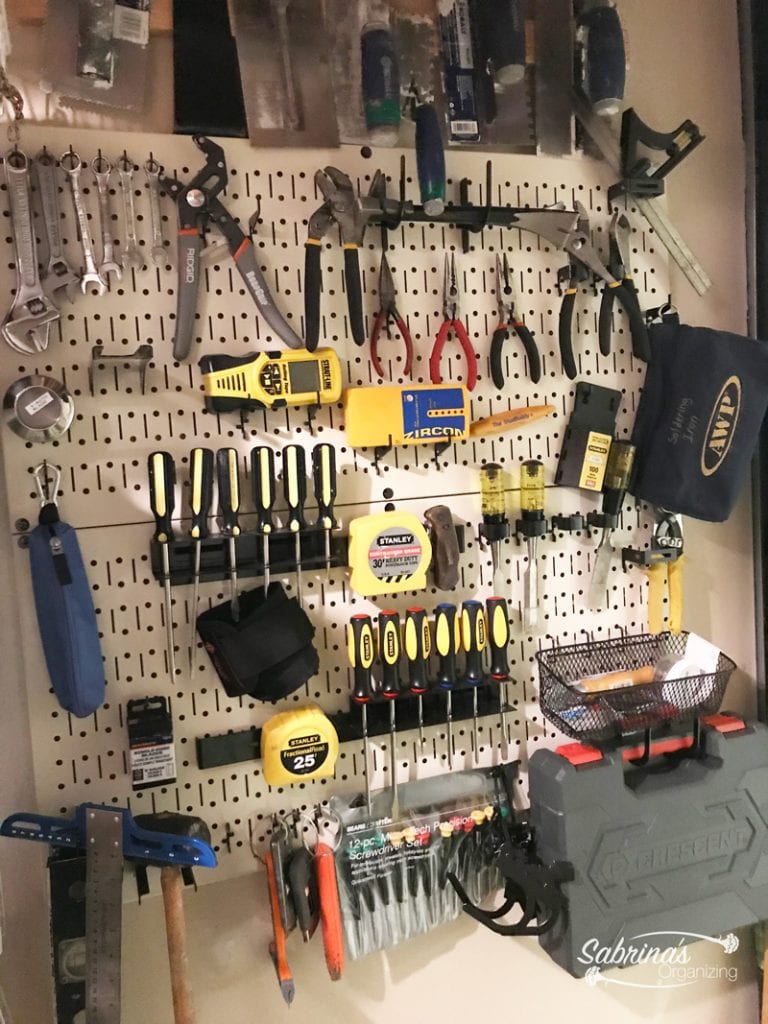
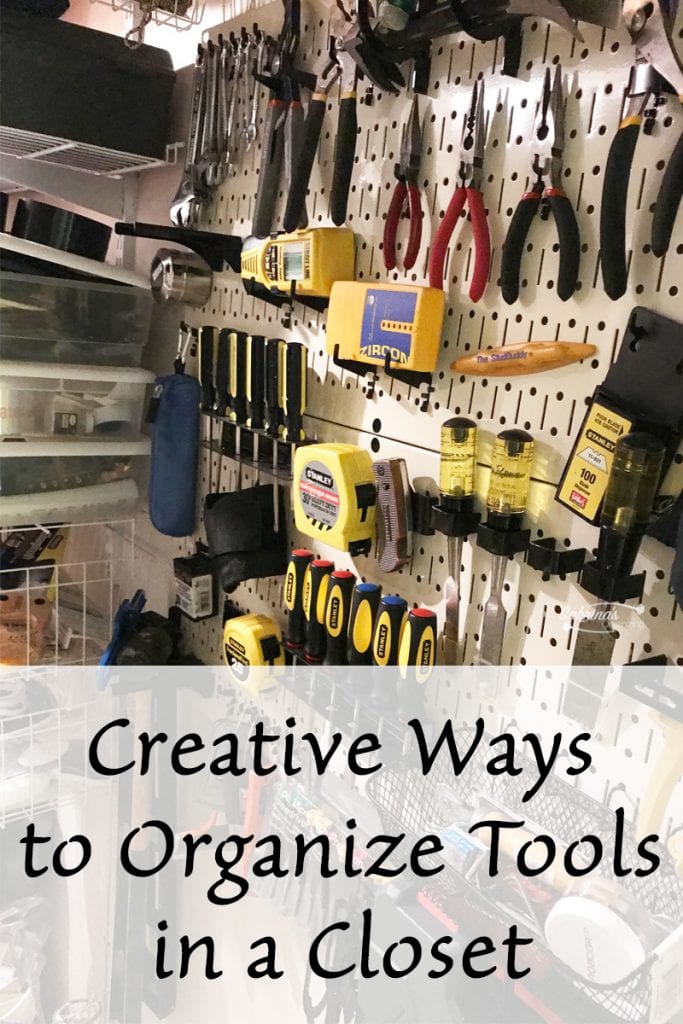
This metal pegboard was my husband's idea when I said, "the floor is getting too cluttered again." He took action and found this on Amazon (affiliate). He bought extra hooks as well. We were able to get rid of the bulky toolbox (affiliate)/step stool (affiliate) and it did save on floor space. Great one, honey!
Use a Knives Magnet Holder to hold Metal Tools
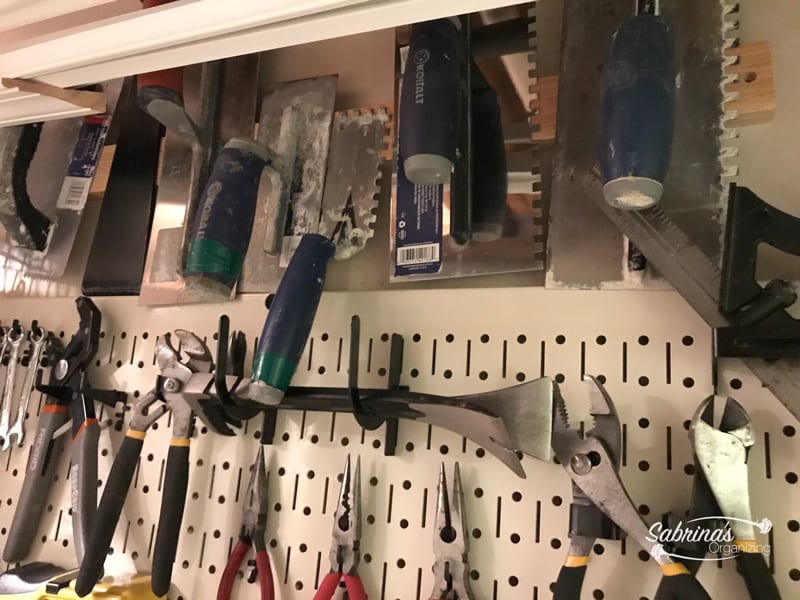
The trowel holder is a repurposed knife magnet strip we had in our kitchen before the remodel. It worked great! And removed some dangerous items from the tile bucket on the floor. A few times, I have scraped my leg while walking by or reaching for something on the shelves (affiliate) above. Great idea, right?
Well, there you have it! Our updated tool organizing closet is very organized now! This post is a perfect example of a room evolving over the years to be even more organized and user-friendly. I hope this post inspires you to organize your tools. I know it helped us.






Janet Schiesl says
Great ideas. I have never organized tools before. Thanks.
Janet Barclay says
I love how you demonstrate that just because a project is done well, doesn't mean it will continue to work indefinitely. Always tweaking to meet your changing needs - great job!
Linda Samuels says
I like that you worked on the tool organizing together. I have a few tools that I use and keep with my organizing bag and some more that are in a drawer near my desk. However, my husband is a major tool collector and user. He was a cabinetmaker and woodworker once upon a time and has amassed an enormous collection of tools and machinery. He's the organizer and keeper of them and knows where everything is. He uses cabinets, bins, and racks to keep things organized. It's rare that he needs to purchase a tool because he seems to have everything that we could ever need. I appreciate and admire that he knows how to fix most things.
Seana Turner says
Wow, I never thought of using a knife magnet for metal tools, but this makes so much sense. I guess I would have wondered if the magnet was strong enough to hold the heavy tools, but obviously it is. Great idea! I love that metal pegboard as well:)