
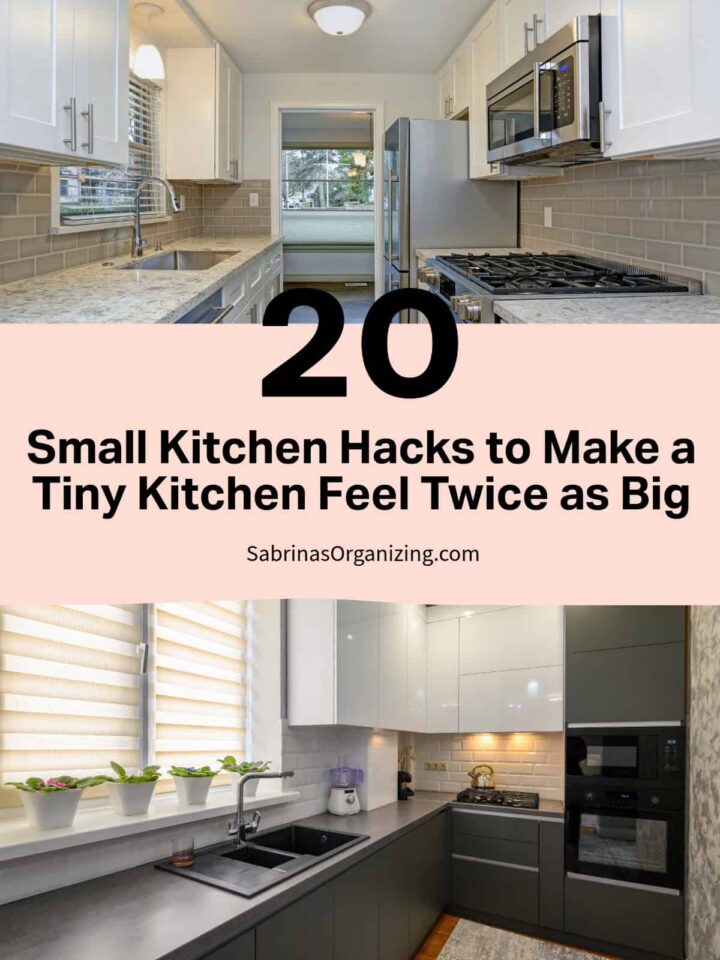
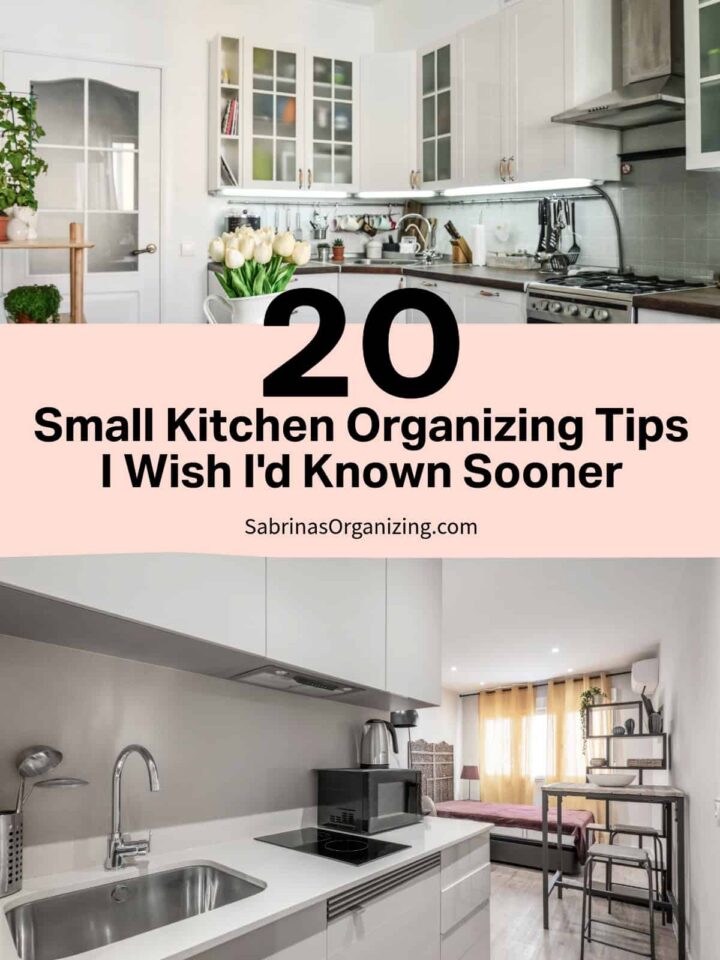
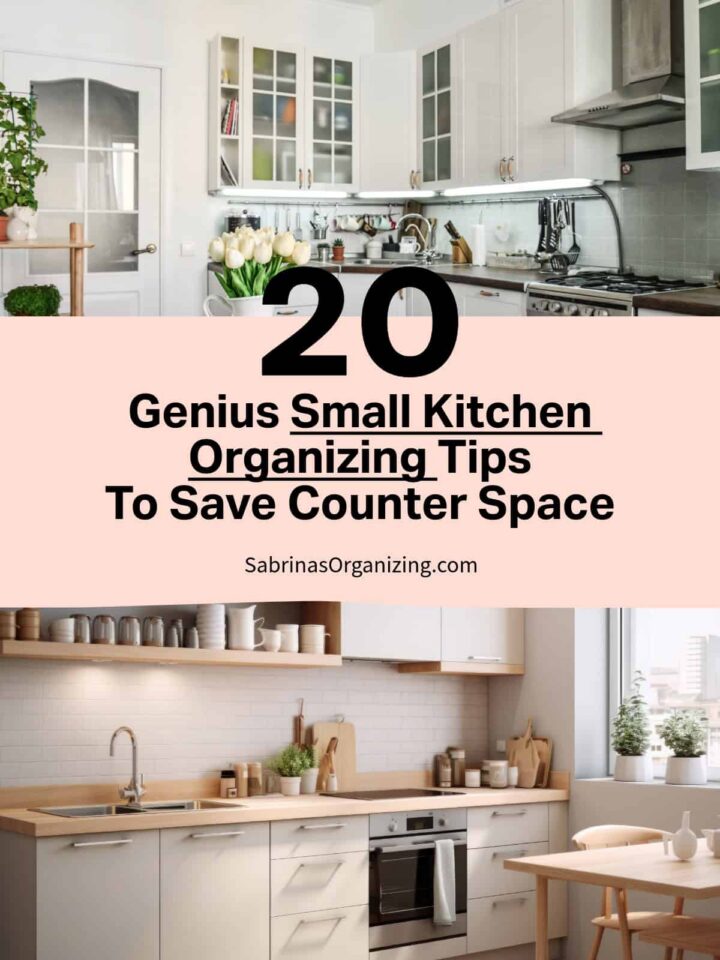
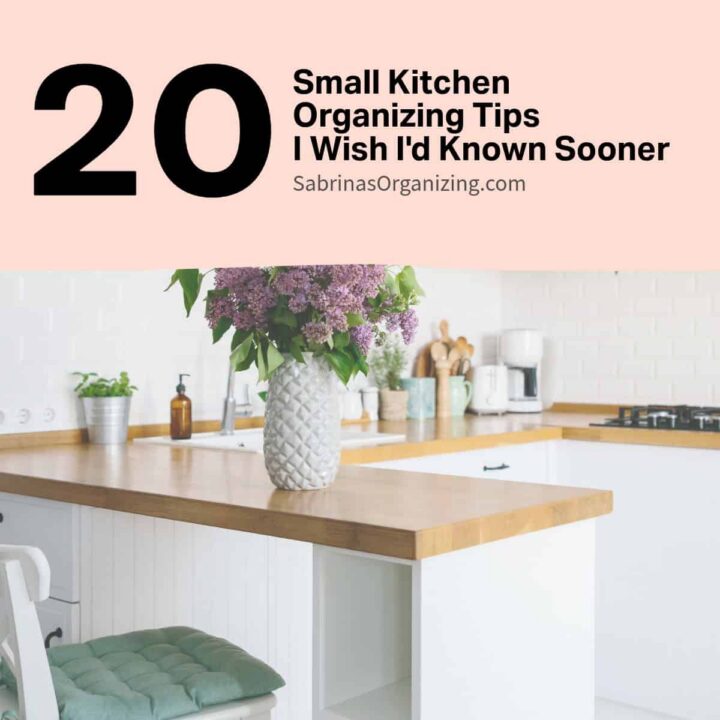
Organizing a kitchen can already be challenging and overwhelming, but organizing a small kitchen can be downright impossible without a little creative planning. To find these creative areas in a small kitchen, you first need to do a little research to determine where items go. This post will share Small Kitchen Organizing Tips.
Whether you're working with a galley kitchen, a tiny apartment kitchenette, or just a minimal cabinet older home, these ideas focus on the spots most people overlook - vertical inches, dead corners, and the awkward space above the fridge. Most of these you can do this weekend without a single power tool, and many cost under $25.
First, we must determine the items needed to make a creative home in the small kitchen. Start by placing the things you regularly use in the appropriate areas (zones). Read more about kitchen zone organizing here. Store items in the areas you use most often, such as the dishwasher, stove, refrigerator, and command (family management) area.
Oh no, you ran out of space. No worries; the next step requires a little creativity. Look for places to store your belongings, such as bare walls, behind doors and cabinets, ceilings, and under counters. All of these areas are useful for storing your belongings. Below are twenty small kitchen organizing tips to help you make your kitchen more functional.
Jump to:
- Key Takeaways
- 1. Always use multipurpose appliances and tools in your kitchen.
- 2. Hang things from the ceiling like pot racks.
- 3. Hang things on the back of the cabinet doors.
- 4. Hang organizers on the back of the pantry closet door.
- 5. Where possible, use pull-out drawers.
- 6. Store baking pans vertically.
- 7. Use the sides of cabinets and refrigerators to hold items.
- 8. Maximize storage in every drawer.
- 9. Use decorative pegboards to hang items that are easily accessible.
- 10. Open up the cabinets, and feel free to adjust the shelves in the upper cabinet.
- 11. Use the "prime real estate" rule for daily-use items.
- 12. Add a tension rod under the sink to double your storage.
- 13. Don't ignore the space above the fridge - but use it wisely.
- 14. Create a "landing zone" for the items that don't belong in the kitchen.
- DIY Family Command Center Layout Idea
- 15. Use clear, stackable containers for pantry staples.
- 16. Store small appliances by frequency, not by size.
- 17. Use a rolling cart as a movable kitchen island.
- 18. Group items into "stations" instead of by category.
- How to Make a Fabulous Beverage Station that will amaze your entire family
- How to Create a Baking Zone with a Baking Tools List
- Essential Baking Supplies in the Kitchen
- Create a Complete Baking Supplies Zone with this Checklist and Tips
- 19. Tame the food storage container chaos.
- 20. Do a 10-minute weekly reset.
- FAQ for Small Kitchen Organization
Key Takeaways
- Organizing a small kitchen can be challenging, but utilizing vertical space and different zones is key (affiliate).
- Consider multipurpose tools (affiliate) and hanging storage solutions, such as pot racks, to maximize space.
- Store frequently used items at eye level, and create a landing zone for items that don't belong in the kitchen.
- Regularly declutter and reset your kitchen to maintain organization and functionality.
- Use clear, stackable containers for pantry (affiliate) staples to save space and enhance visibility.
1. Always use multipurpose appliances and tools in your kitchen.
Sorry to say, no unitaskers are allowed. Everything should have two or more purposes. A mixture can have attachments that help you make spaghetti instead of having a spaghetti maker. An Instant Pot  (Amazon (affiliate) affiliate link) has at least six settings and can replace several other countertop (affiliate) appliances, such as a slow cooker (affiliate), yogurt maker (affiliate), and electric skillet.
2. Hang things from the ceiling like pot racks.
Some pot racks have a covered top, so you can store some small pots on top. Others are very streamlined and can be hung over the sink to dry after being used for plates and pans that have been cleaned. These pot racks can also hang from the wall to use the unique wall space. Whichever one you want for your kitchen, make sure you measure the space to make sure it will work. Below is an example of pot racks that hang from the wall.
 Buy Now →
 (affiliate)
Pro Tip: Measure the depth of your largest skillet to determine its width in the area. If you have low ceilings, you may want to place the item closer to a side wall where you are not standing.
3. Hang things on the back of the cabinet doors.
Don't forget the inside of cabinet doors. You can fit small items like these, which I found, to organize your small items. Smalls can consist of spices (affiliate), herbs (affiliate), measuring spoons (affiliate), etc. Here is an example from Amazon (affiliate).

Over the Door Organizer Heavy Duty 55x14x6.7,
Buy Now →(affiliate)
4. Hang organizers on the back of the pantry closet door.
If you are lucky to have a small pantry (affiliate) in or near your small kitchen, utilizing the back of the pantry door is also a handy place to organize your kitchen. There is a variety of options. Some over-the-door (affiliate) organizers have plastic bins (affiliate); others are all metal. Some are white, some are black, and some have larger bins at the bottom and smaller ones at the top. Below is one I found on Amazon (affiliate).

Over the Door wall mount Pantry Organizer by POKIPO, 6-Tier
Buy Now →(affiliate)
5. Where possible, use pull-out drawers.
If you have cabinets that have only a shelf inside, you can get pull-out organizers to make it easier for you. It does limit about 2 inches of space (1 inch on each side of the pull-out), so consider that. Some look like metal racks. Others are solid wood. Some are small for smaller cabinets, and others are two tiers. Below are options from Amazon (affiliate). Note: plan what you can use the pull-out for before purchasing. Make sure you measure the opening twice before ordering.
 Buy Now →
Rev-A-Shelf 11" Pull Out Single Draw Organizer
Buy Now →(affiliate)
6. Store baking pans vertically.
If you have a lot of rectangular cookware, storing it vertically will prevent it from getting beaten up when lying on top of each other. Visit our DIY post here (DIY Small Baking Cabinet Organization Idea) for step-by-step instructions on how I did this.
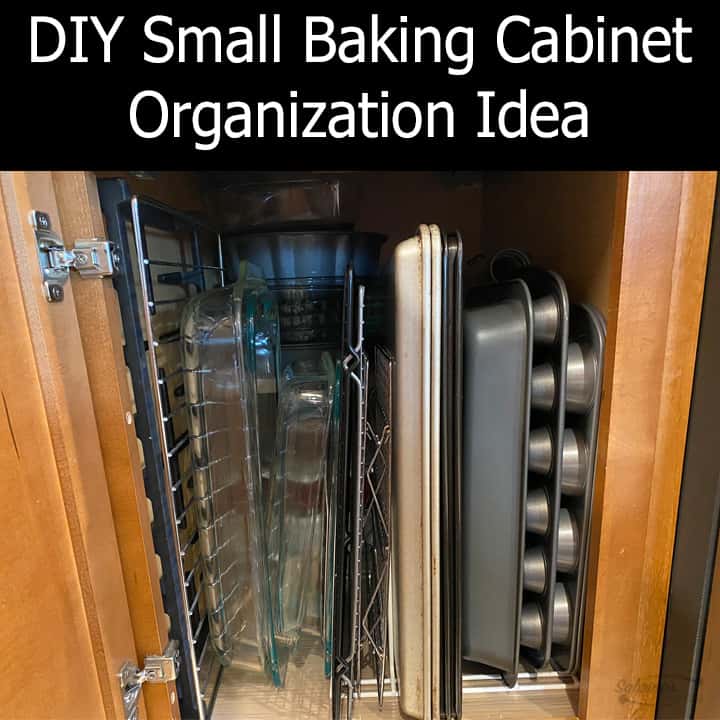
Note: The glass pans can be on their side and do not fall out. (This is a big question for everyone.) I have been doing this for years, and the Pyrex version I have does not chip when stored in this direction.
7. Use the sides of cabinets and refrigerators to hold items.
The next one of my Small Kitchen Organizing Tips is to use heavy-duty magnet hooks, which are great for the side of the refrigerator. You can also use 3M Command hooks for the ends of the cabinets. Items you can store in these areas are tea towels, plate drying mats, cooking utensils (affiliate) with holes in the handles, and calendars.
 Buy Now →
 (affiliate)
8. Maximize storage in every drawer.
When organizing drawers, take measurements of the inside to maximize available space. If you purchase a smaller drawer organizer, you may be limiting yourself. If you're willing to do some work, you can purchase a customized drawer organizer (affiliate) like the one below.
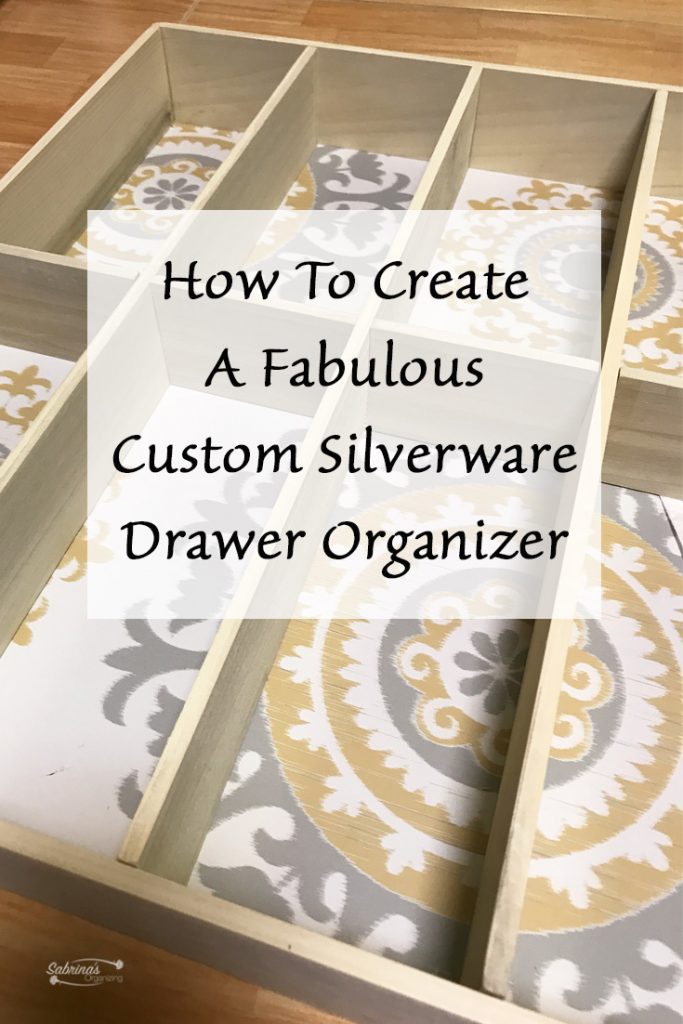
This post shows you step-by-step instructions on how to make a silverware drawer. It uses wood.
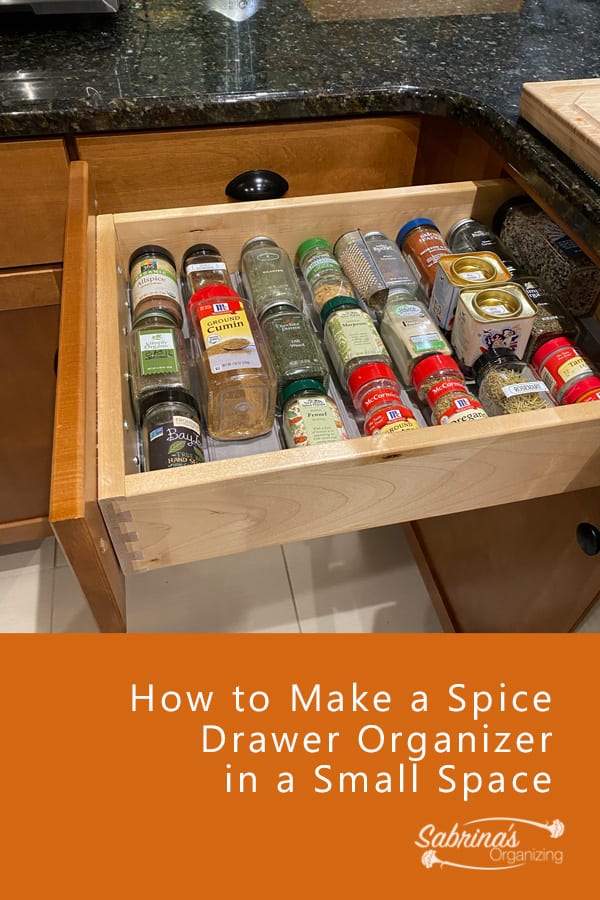
This post shows you how to make a small spice drawer.
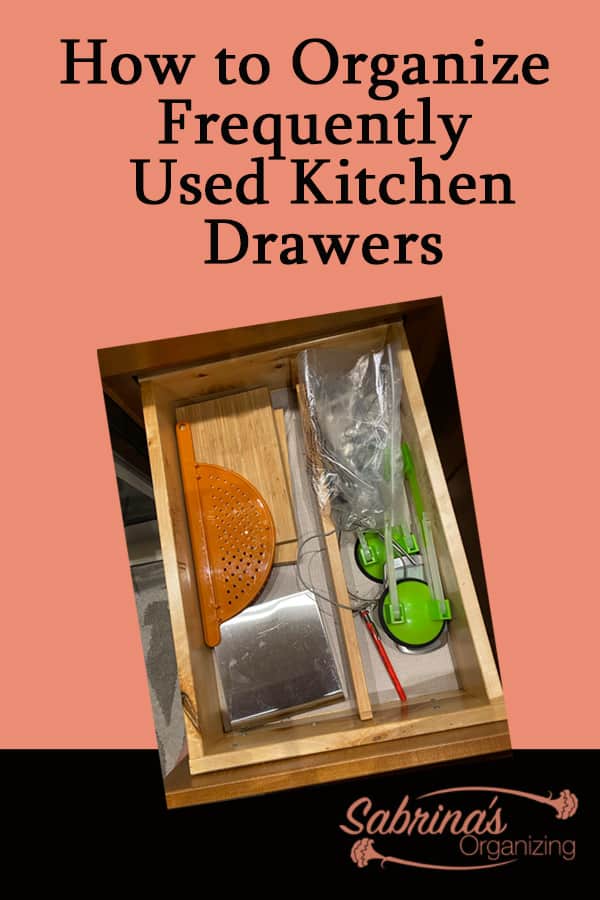
In this post shares how I used premade customized drawer organizers and where you can buy them.
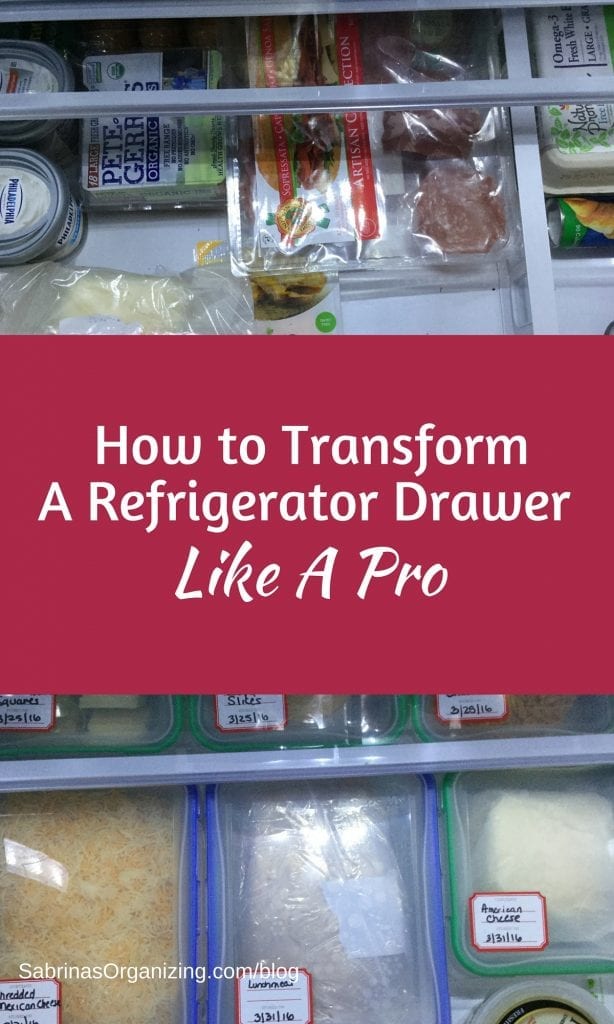
This post shows how to organize a drawer in the refrigerator.
9. Use decorative pegboards to hang items that are easily accessible.
If you have a wall that is not usable for anything else, you can easily make it a place to hang your utensils (affiliate) and pans. Here is an example of decorative pegboards and accessories you can add. I found these on Amazon (affiliate).
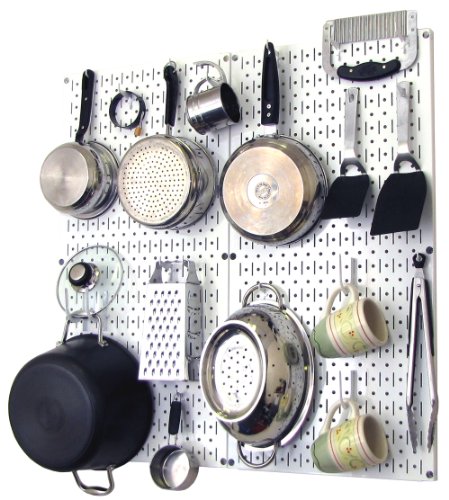
Kitchen Pegboard Organizer Pots and Pans Pegboard Pack Storage and Organization Kit
Buy Now →(affiliate)
10. Open up the cabinets, and feel free to adjust the shelves in the upper cabinet.
Did you know you can adjust the shelves (affiliate) in the cabinets? It's amazing, but many people think the cabinet shelves (affiliate) are affixed. They are not. You can remove the shelf holders and adjust the shelves (affiliate) to minimize the open space between them.
Then, place the items on the shelf. Is there space above them before the next shelf? If there is space, move the shelf down to allow for only a little clearance, enough to pull out the items. By doing this, taller items can be placed on a shelf in the cabinet.
Pro Tip: Some kitchen cabinet pegs that hold the shelves (affiliate) are plastic-lock versions, primarily for shipping the cabinets. You can break the plastic lock part and replace these pegs with whichever type you prefer. Here are a variety of kitchen cabinet pegs from Amazon you can use.
I had to do this with my laundry room (affiliate) cabinet and was able to easily find these pegs at Lowe's.
11. Use the "prime real estate" rule for daily-use items.
In a small kitchen, the space between your hip and your eye line is very important. Reserve it for items you reach for every single day - your favorite mug, the coffee (affiliate) scoop, the cutting board (affiliate), the chef's knife (affiliate).
Move occasional-use items (the turkey roaster, the holiday platter (affiliate), the bread machine) to higher shelves (affiliate), the basement, or a closet. If you haven't touched it in 90 days, it doesn't deserve prime real estate.
Quick test: Open your cabinets and take a photo. Anything in the front-and-center spots that you used less than 5 times in the last month? Move it.
12. Add a tension rod under the sink to double your storage.
This is one of my favorite five-dollar fixes. Install a small spring-loaded tension rod across the upper portion of the cabinet under your sink, and hang spray bottles by their trigger handles. It instantly clears the cabinet floor for a small bin or pull-out, and you can see every bottle at a glance. The same trick works inside a tall cabinet to hang dish towels or pot lids.
13. Don't ignore the space above the fridge - but use it wisely.
That dead zone above the refrigerator is usually too tall and too deep to be useful as-is. Add a single shelf riser or two stackable bins with handles, and turn it into long-term storage for items like the slow-cooker insert, the cake stand, or seasonal serving pieces. Use bins with labels (affiliate) because you most likely won't remember what's up there in six months.
14. Create a "landing zone" for the items that don't belong in the kitchen.
In a small kitchen, the counter is the first place mail, keys, and homework end up - and the first place to feel cluttered. Set a small basket or tray near the doorway as a designated landing zone.
Once a day (I do it while dinner cooks), empty it and walk things to where they actually belong. This one habit has saved my counter more than any organizer I've ever bought.

DIY Family Command Center Layout Idea
I received a cute wooden gift box with a sliding lid a few years ago for Christmas and found it so well-built that I didn't want to part with it. It was from William Sonoma and included a variety of gourmet snacks. Because it was enclosed and easy to slide, I thought
15. Use clear, stackable containers for pantry staples.
Decanting flour, sugar, rice (affiliate), pasta, and cereal into clear, square containers does two things in a small space. First, square containers waste less shelf space than the original bags and boxes (affiliate). Second, you can see exactly how much you have left, which means fewer "do we have rice (affiliate)?" trips to the store. Add a small label (affiliate) with the contents and the cooking instructions clipped from the original package.

Container by OXO Good Grips POP - Airtight Food Storage
Buy Now →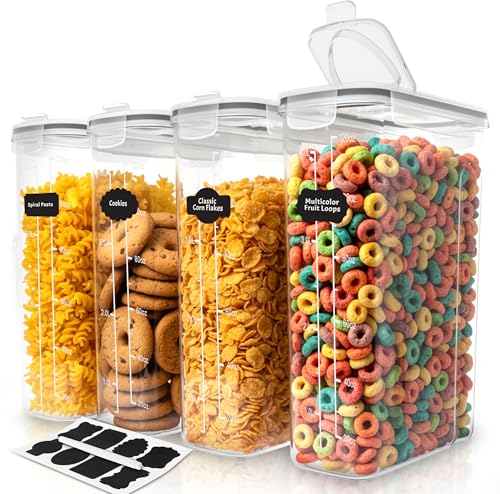
Containers Cereal Storage Set - 4 Pack 4L(135.2 oz) Airtight Food Storage Containers with Lids
Buy Now →(affiliate)
16. Store small appliances by frequency, not by size.
Most of us store appliances based on where they fit, not on how often we use them. Change that. Below, I created a table to help you determine where to place items. Ask yourself if you really need to keep it while you go through your small appliances (affiliate).
| When Used | Where to Store | Possible Items |
| Every Day | Arm Reach On the counter corner The lowest level of an upper cabinet | Toaster Toaster Oven Coffee (affiliate) Maker Electric Kettle Air Fryer (affiliate) Slow Cooker (affiliate) Microwave Coffee (affiliate) Grinder |
| Once a Week | Upper cabinet shelves (affiliate) | Blender (affiliate) Hard-boiled egg maker Instant Pot (affiliate) Rice (affiliate) Cooker Steamer (affiliate) Immersion Blender (affiliate) Chopper |
| Once a Quarter or Yearly | Lower corner cabinet Basement Shelf Closet Pantry (affiliate), if you have one | Waffle Maker Pancake pan Quesadilla maker Food Processor Indoor Grill Bread Maker Pizza Oven Stand Mixer (affiliate) Hand Mixer (affiliate) |
| Over a Year | Donate Regift Basement Closet Pantry (affiliate) | A yogurt maker (affiliate) Hot Plate Countertop (affiliate) Burner Deep Fryer Sandwich Toaster / Panini Grill Dehydrator Juicer Meat Grinder/Slicer |
17. Use a rolling cart as a movable kitchen island.
If you don't have an island, a narrow rolling cart (affiliate) can give you 3 extra cubic feet of storage plus a prep surface - and you can roll it out of the way when you're not cooking. I use mine for produce, baking supplies, and a small countertop (affiliate) appliance. Look for one with a butcher-block top so it doubles as a cutting station.
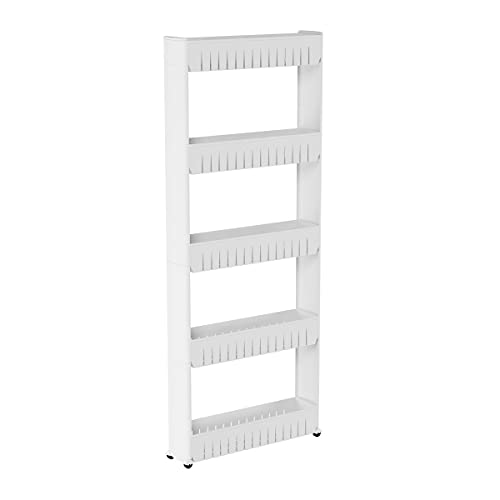
5-Tier Plastic Pantry Rolling Cart with Baskets for Narrow Spaces
Buy Now →
Foldable Rolling Cart, Folding Mobile Multi-Function Storage
Buy Now →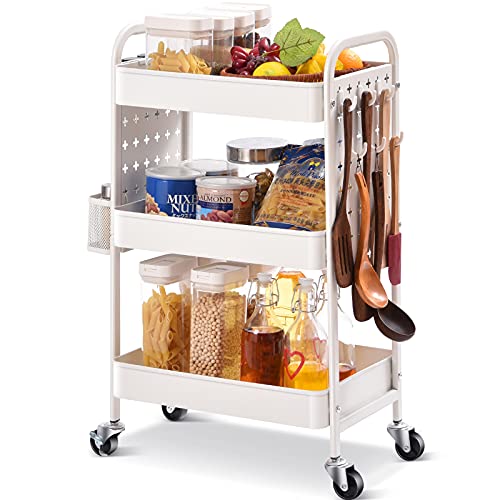
Rolling Cart, Metal Utility Storage Cart with DIY Pegboards, Art Craft Trolley with Baskets Hooks,
Buy Now →(affiliate)
18. Group items into "stations" instead of by category.
Instead of storing all your cups in one cabinet and all your spoons in another, think in stations. A coffee (affiliate) station has the mugs, the coffee (affiliate), the filters, the scoop, and the sweetener all together. A baking station has flour, sugar, measuring cups (affiliate), a mixer (affiliate), and pans. This cuts your prep time and your kitchen feels twice as efficient - even if it's the same size.
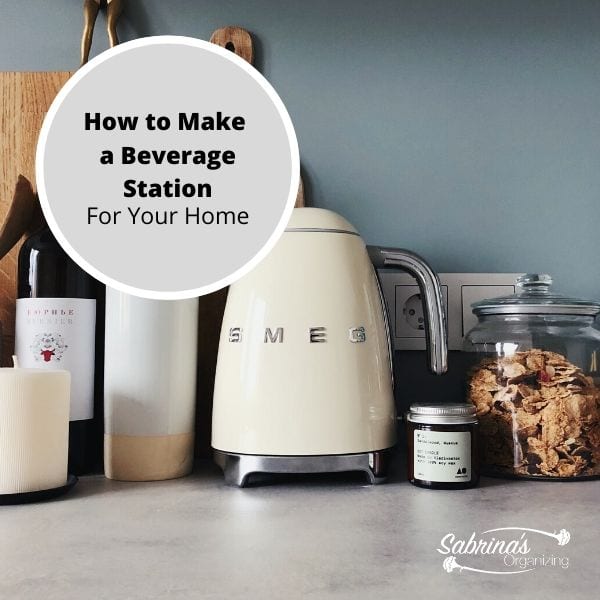
How to Make a Fabulous Beverage Station that will amaze your entire family
Having a beverage station in your home will organize all your drinks and glassware, allowing for an easy and relaxing morning routine. Let's create a beverage station in your home.
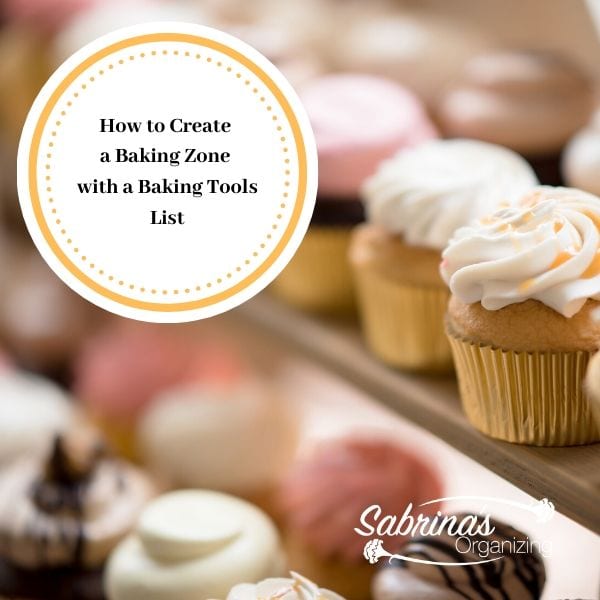
How to Create a Baking Zone with a Baking Tools List
If you are like me, you become the baking expert this time of the year.
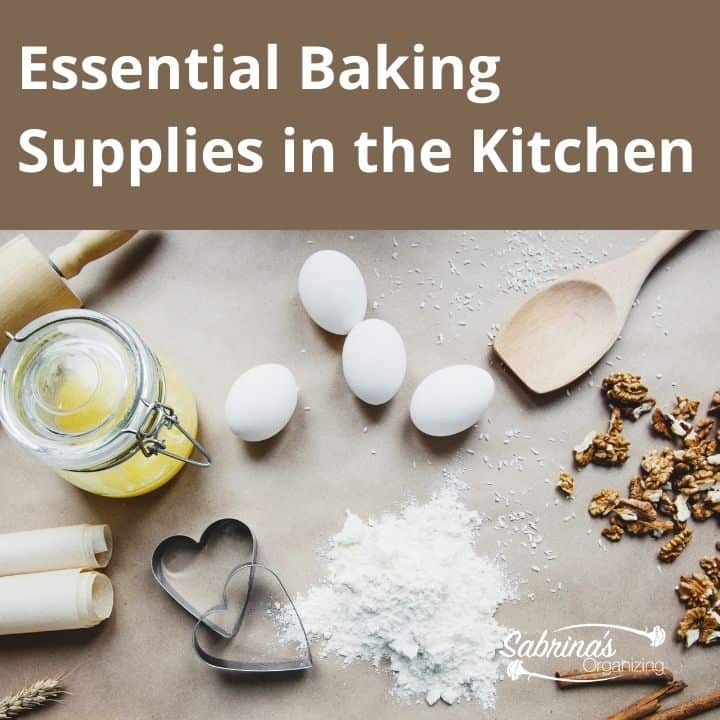
Essential Baking Supplies in the Kitchen
For a well-organized kitchen, it's best to organize the areas into zones: the baking zone, the prep zone, etc.
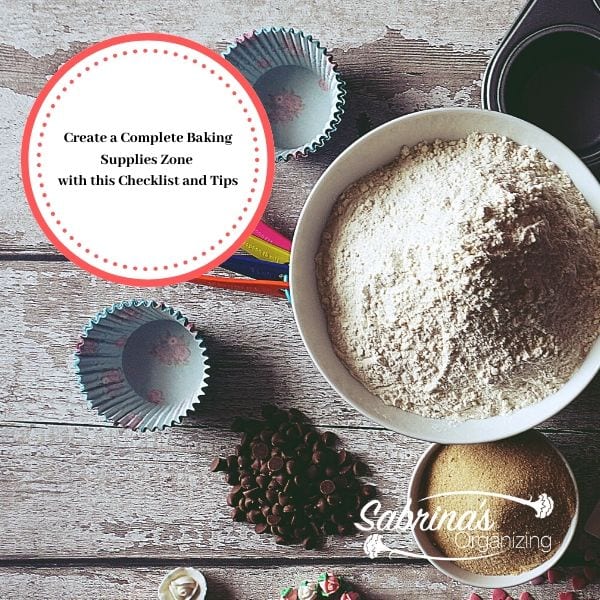
Create a Complete Baking Supplies Zone with this Checklist and Tips
This is the first part of a two-part series on creating a complete baking zone. These posts include printable checklists to help you make sure your baking supplies zone is complete.
19. Tame the food storage container chaos.
Mismatched lids and bottoms eat more cabinet space than just about anything else in a small kitchen. Pick one brand and one shape (I like square, glass, and stackable) and donate the rest. Store lids upright in a small bin or file organizer rather than stacked, and nest the bottoms inside each other. You'll free up an entire shelf, I promise.

Pyrex Snapware 18-piece Glass Food Storage Set (Purple & Blue)
Buy Now →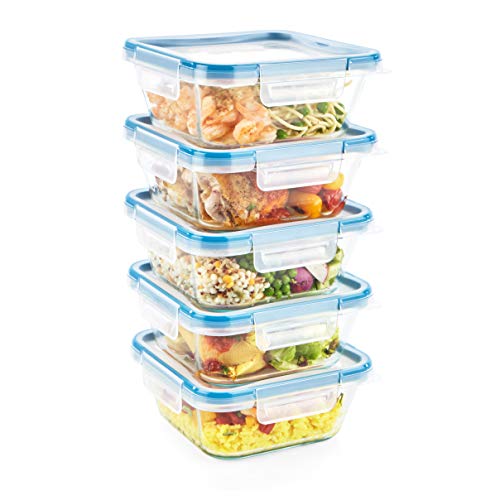
Pyrex Snapware Glass Food Storage Containers with Plastic Lids, 10 PC
Buy Now →(affiliate)
20. Do a 10-minute weekly reset.
Every Sunday evening, I spend ten minutes doing what I call a kitchen reset: clearing the counter, wiping everything down, returning any items to their homes, and checking the fridge for anything that needs to be eaten this week.
In a small kitchen, clutter compounds fast - ten minutes of maintenance prevents an hour of overhaul later. This is the single habit that keeps a small kitchen feeling functional long after the initial organizing project is done.
FAQ for Small Kitchen Organization
Before you buy a single organizer, declutter. Pull everything out of one zone (a single drawer or cabinet), and put back only what you've used in the last 90 days.
Most small kitchens don't need more storage - they need less stuff. Once you know what's actually staying, you can plan the right organizers for what's left.
The highest-impact, lowest-cost upgrades are tension rods (under $5), Command hooks for cabinet sides, a small file organizer for storage container lids, and clear bins from the dollar store for grouping similar items.
You can transform a small kitchen for under $30 if you focus on visibility and grouping rather than fancy systems.
Clear the counters as much as possible - visible counter space is what makes a kitchen feel open.
Store small appliances inside cabinets when not in use, use a single tray to corral the items that have to stay out (like the coffee maker), and choose lighter-colored organizers and bins that blend with your cabinets instead of competing with them.
Use one full cabinet (ideally near the stove) as your pantry zone, and apply over-the-door organizers, clear bins, and shelf risers to triple its capacity. Dry goods that don't fit can go in a labeled bin in a nearby closet, on a rolling cart, or on a shelf added inside a tall, narrow cabinet.
The key is to keep all your food in two places at most, not scattered across the kitchen.
Single-use gadgets (banana slicers, avocado tools, egg separators), duplicate utensils, mismatched food-storage containers, chipped mugs, restaurant plastic cups, expired pantry items, and any small appliance you haven't used in a year.
Donate what's still good, recycle what isn't, and don't replace anything until you've lived without it for a month.
Create a low "kid zone" - typically the bottom drawer or a low cabinet - with their cups, plates, snacks, and water bottles within reach. This frees up your prime real estate cabinets and teaches independence.
Keep breakables, knives, and adult-only items up high, and use child locks where needed.
Do a 10-minute weekly reset, a 30-minute monthly check-in (mostly the fridge and pantry), and a full reorganize once or twice a year - typically before the holidays and again in the spring.
Your needs change with the seasons, and a small kitchen rewards regular small adjustments more than big once-a-year overhauls.
I hope these tips help you make the most of your small kitchen. If you need help being creative in your kitchen, feel free to Contact a Professional Organizer on NAPO.net. If you want ideas on your particular situation, I offer virtual organizing consultations.
Let's continue the conversation. Do you have any tips on organizing a small kitchen? Please leave a comment below.
Visit our other small home organizing tips!


Below are some additional posts to help you organize your small kitchen; feel free to check them out.
31 Clever Ways To Organize Your Tiny Kitchen
20 Sneaky Storage Tricks for a Tiny Kitchen




Linda Samuels says
What excellent tips! The funny thing is that a small kitchen can be just as challenging to organize as a large one. When there's too much space, it can be harder to edit, and you end up having more than you need. I've never seen the YouCopia spice liners for drawers. Those look great! And I love that you can easily cut them to fit the drawer.
Sarah Soboleski says
Your posts are always so "pin-worthy," Sabrina! And I love the last tip about adjusting your shelves - we forget that sometimes, don't we?!
Hazel Thornton says
Thanks for the handy list of kitchen organizing tips, Sabrina! #10 (adjust the shelves) made me laugh, because it's so true! Sometimes we overlook the obvious and need someone else to point it out to us.
Seana Turner says
Such great tips here. You really do need to use every inch and eliminate anything that isn't earning its real estate! This makes me think of another new product idea I had that I didn't add to last week's post. I think kitchen cabinets should come with shallow pockets and maybe hooks build into the back side of the door. Wouldn't that make it easy to store recipes or low-profile items?
Sabrina Quairoli says
That would be awesome! People don't realize the unlimited options you can do with the back of the cabinet doors. Thanks for sharing, Seana.