Many silverware drawer organizers just don't fit in the drawers properly. And, if you have a large drawer, it is even more challenging. Doing some research, I found that getting a custom drawer organizer (affiliate) can be quite pricey, and frankly, I had the tools (affiliate) to make one myself. So, that is what my husband and I did. Here's how to make your very own custom silverware drawer organizer (affiliate).
Jump to:
- Before Silverware Drawer Organizer
- List of supplies and tools needed
- Step 1: Measure the drawer
- Step 2: Cut the wood
- Step 3: Stain and Polyurethane the wood to protect it.
- Step 4: Glue the sides of the boxes and let dry.
- Step 5: Add a non-paper liner to the back of the box.
- Step 6: Nail and glue the sides of the box to the back of the box.
- Step 7: Create and add the dividers.
- Reveal
First, let me take you back to when we designed the kitchen. I knew I wanted a large drawer near my plates for silverware/flatware and serving tools (affiliate), and I felt that the area near my plates and glasses would be most useful for us. When going to get glasses and plates, the silverware drawer would be close to the area for a quick table setting. And, with the dishwasher right near this area, it would even help us load and unload the dishwasher quickly. It was the perfect place.
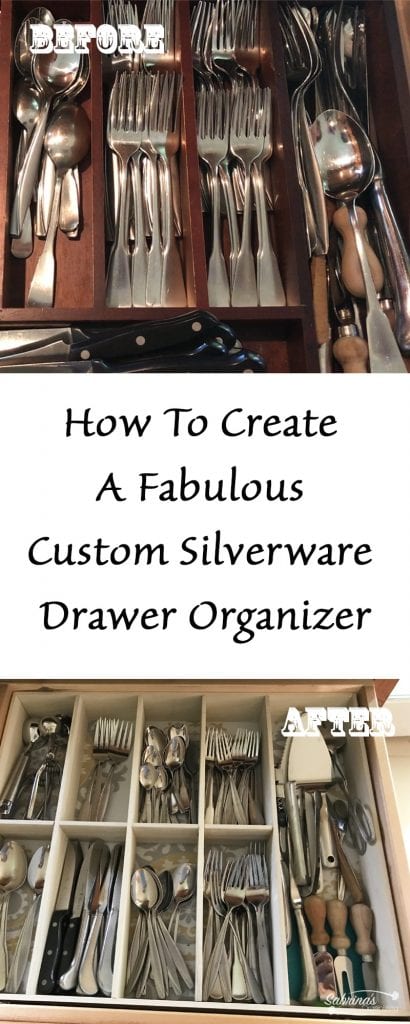
Though I found that the store-bought organizer, while it was expandable, it was just not large enough for the drawer. Leaving a lot of space around that was just not used. And, being meticulous about maximizing space in the kitchen, this just wouldn't do. Here's the before photo of our drawer.
Before Silverware Drawer Organizer
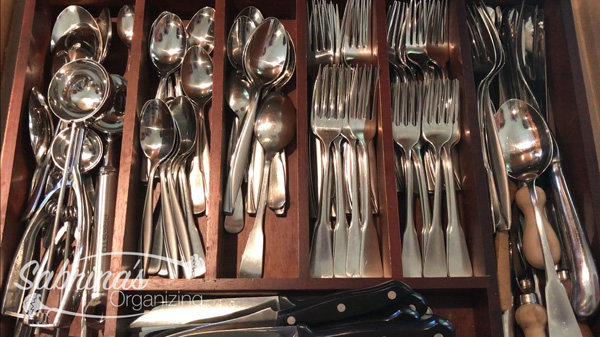
As you can see in the above image, the ice cream scoopers are on top of the serving spoons, and the other cheese knives are under the other serving forks. And the dessert and dinner forks and spoons are cluttered within the small opening. Just in case you are wondering, I purchased this organizer before I had the drawer in my kitchen and was going off of dimensions that I received that just weren't correct. It was such a jammed mess.
List of supplies and tools needed
Below is a list of supplies I used for this DIY Silverware Drawer Organizer (affiliate) project.
- 36x24 wood ¼ inch thick board - I found it at Home Depot
- 9 - 3 inches high by 36 inches wide pieces for the dividers and the sides ¼ inch thick - I found it at Home Depot
- hand saw
- Wax Stain - white wash color
- Polyurethane - clear
- Wood glue
- 90-degree clamps
- Self-stick wallpaper
- Finishing nails
- Nail gun
Step 1: Measure the drawer
The first thing I did was measure the inside of the drawer and write it down. To my surprise, it was wider than I thought. Yay for us! So, we went to Home Depot to pick up the pieces to do the drawer organizer (affiliate). We bought a higher quality 36 x 24 inches wood so that it would cover the entire area of the back of the organizer. Then, picked up the ¼ of an inch thick board so not to take too much of the space in the drawer. We also picked up 9 - 3 inches high by 36 inches wide pieces for the dividers and the sides. 4 for the sides and 5 for the dividers. They were also ¼ inch thick.
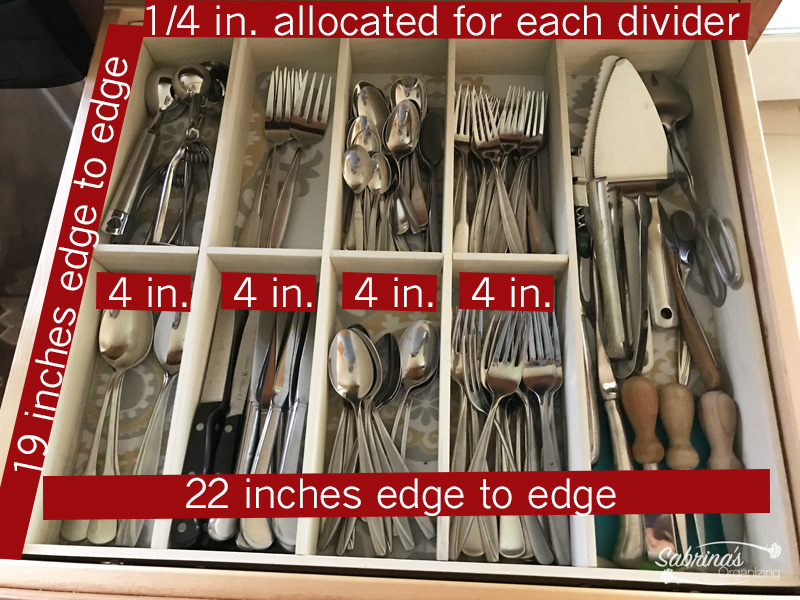
Here is a visual of how I measured out my organizer. The drawer was 22 inches wide and 19 inches deep, and 3 inches high. I took the length of the entire box and subtracted ¼ inch for each divider and ½ for each side so it would help me determine the space inside the organizers. Any additional space I added to the right side for my larger utensils (affiliate)? To determine the middle divider, I took 19 inches and subtracted the sides of the box and center divider, and then divided by two.
Step 2: Cut the wood
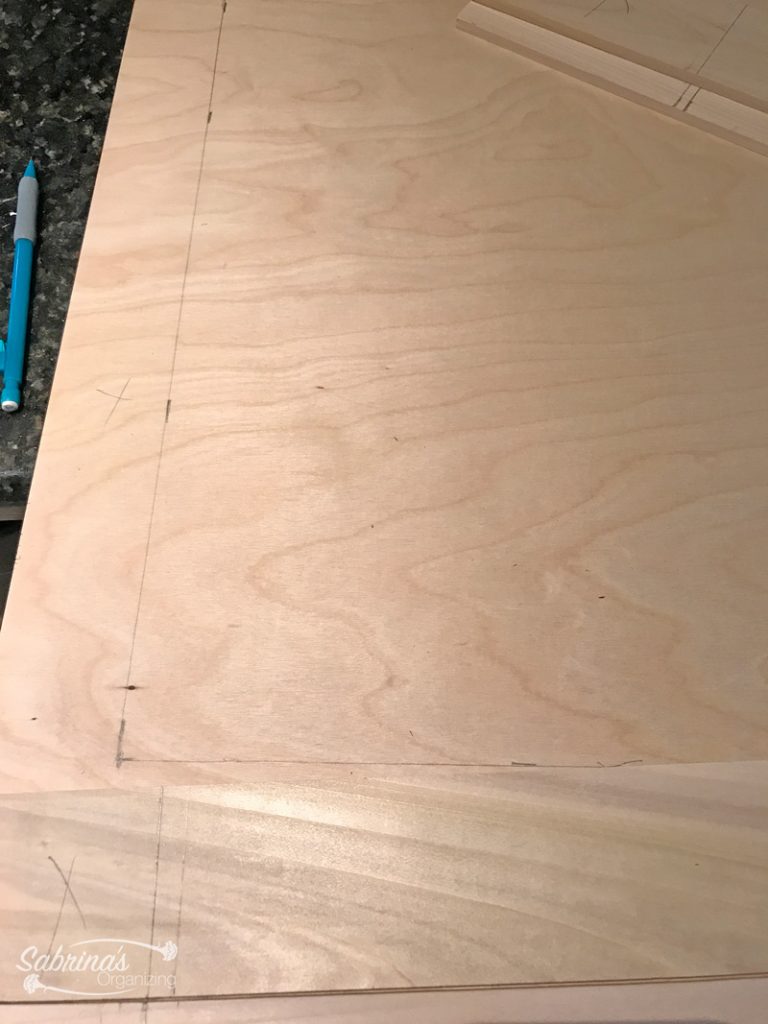
I then marked up the wood and cut it to fit the back of the organizer. Note: When doing the measurements, be sure to take into account the screws from the drawer handle. It sometimes takes up to ⅛ of an inch. And, remember the saying, measure twice, cut once. Measure different areas of the drawer to make sure you are getting all the same measurements before deciding to cut the wood. We then cut the sides of the box so they would fit inside the drawer.
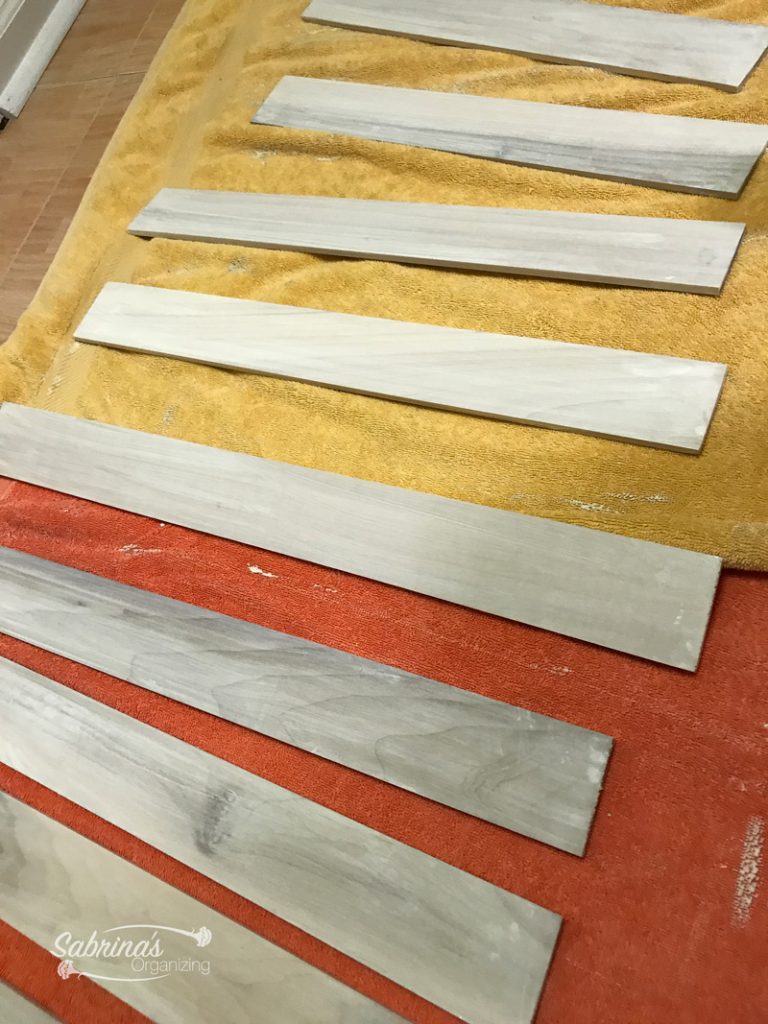
To determine the sides' length, we measured and then cut so we could glue them to each other. This step gave the organizer more support, and we didn't have to miter the corners. Woo hoo, =) Note: Examine the wood and measure to knots or unattractive parts so you can cut them off. (see image above.) They are very noticeable if you decide to stain the wood dividers.
Step 3: Stain and Polyurethane the wood to protect it.
Before gluing the sides together, we used a wax stain on all the parts of the wood strips and dividers to protect the wood. Let completely dry.
Step 4: Glue the sides of the boxes and let dry.
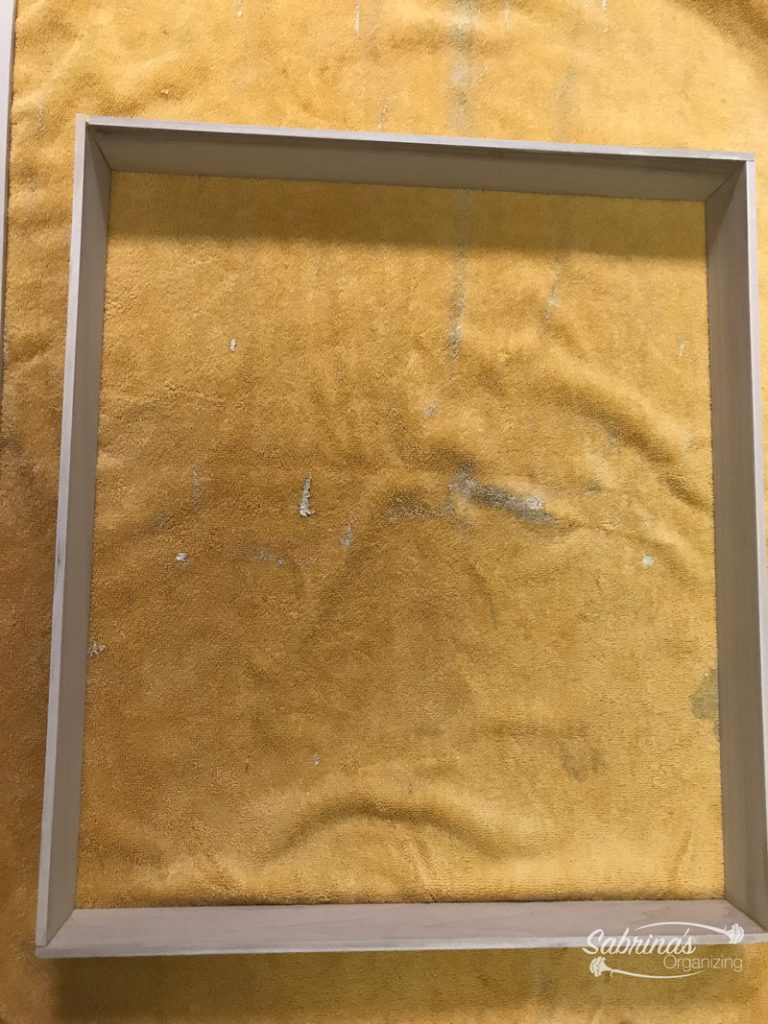
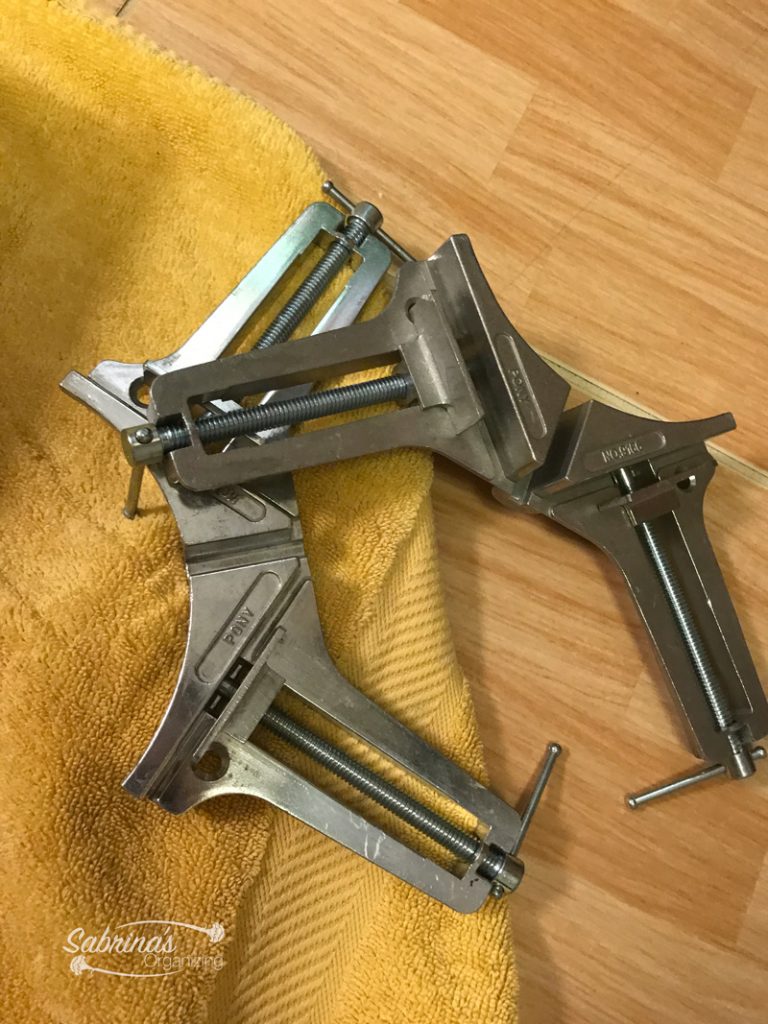
Now, we glued the sides together. These handy clamps worked nicely to help keep it at a 90-degree angle.
Step 5: Add a non-paper liner to the back of the box.
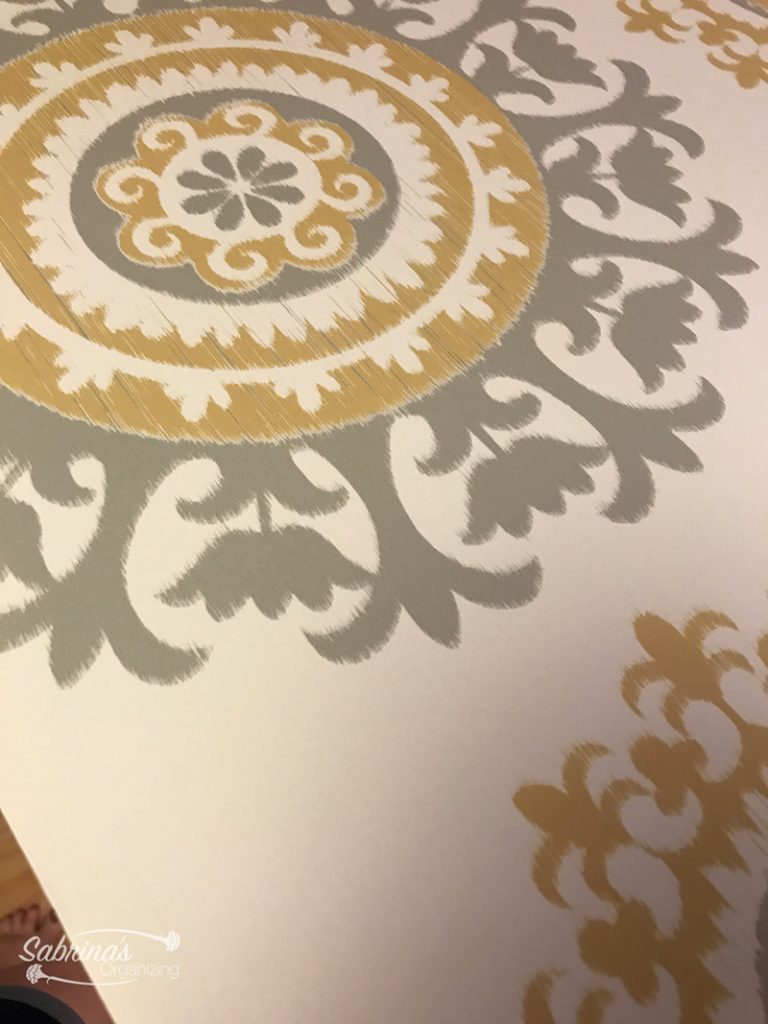
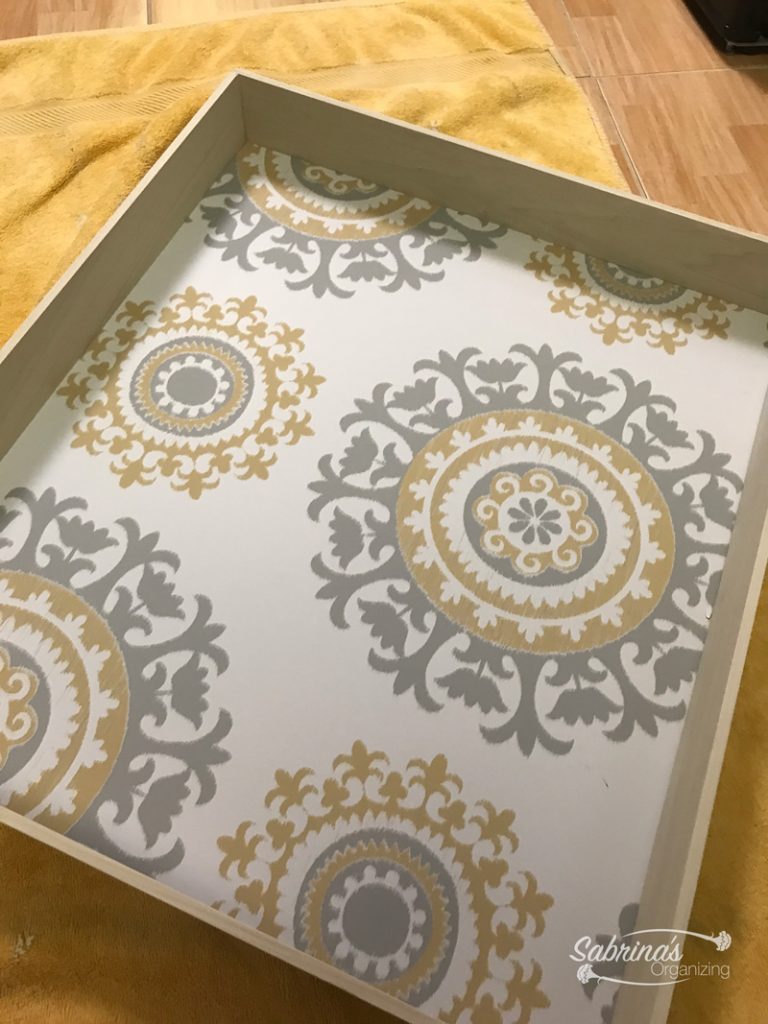
Then, to dress it up a bit, I used my self-stick wallpaper from my armoire project. It attached nicely because the wood had no knots on it. =)
Step 6: Nail and glue the sides of the box to the back of the box.
Then, I added the sides by using small finished nails with my nail gun, and wood glue beaded on the edge for a tight seal. Here's the finished box.
Step 7: Create and add the dividers.
I measure the length of the box and cut one divider to length. This one will be the anchor for the crossbar. Then, I cut all the other dividers. Note: Be sure to label (affiliate) the different dividers so you know the order, they go in the box.
The last crossbar needs to be measured and cut from the side of the box to the first long divider. This one would be notched with the other dividers.
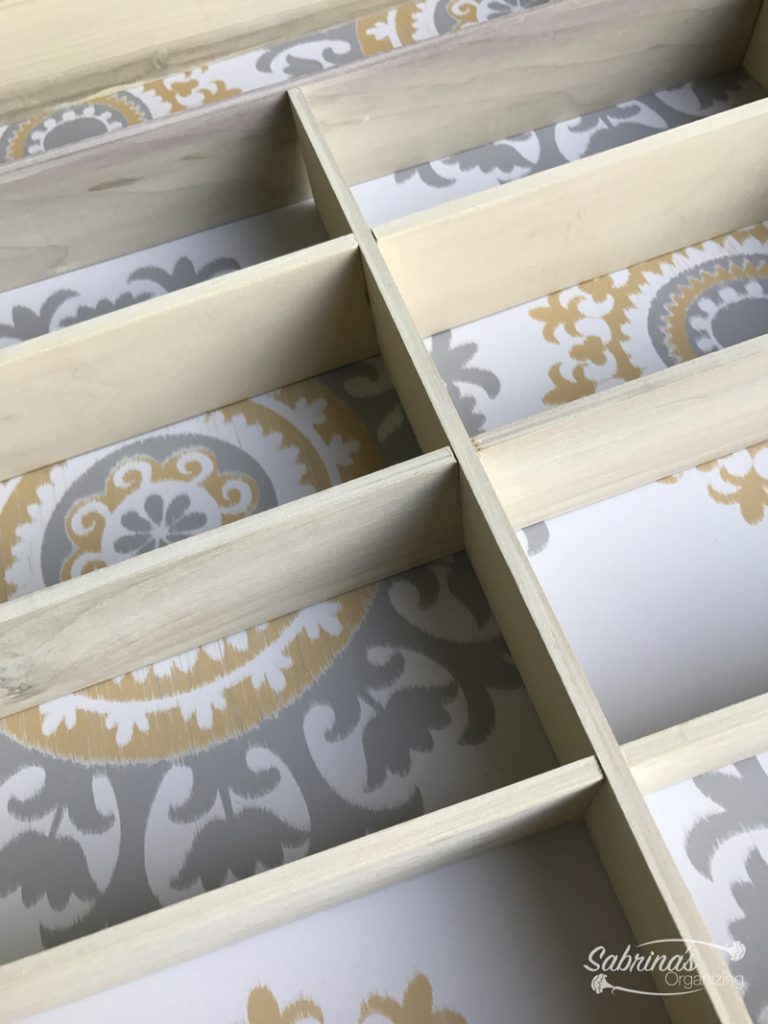
Then, I notched the dividers and the long bar to fit together. I didn't want to have everything fixed to the box because if I wanted to clean the box, it would be difficult. By doing it this way, the entire inside of the organizer is removable. Cool, right?
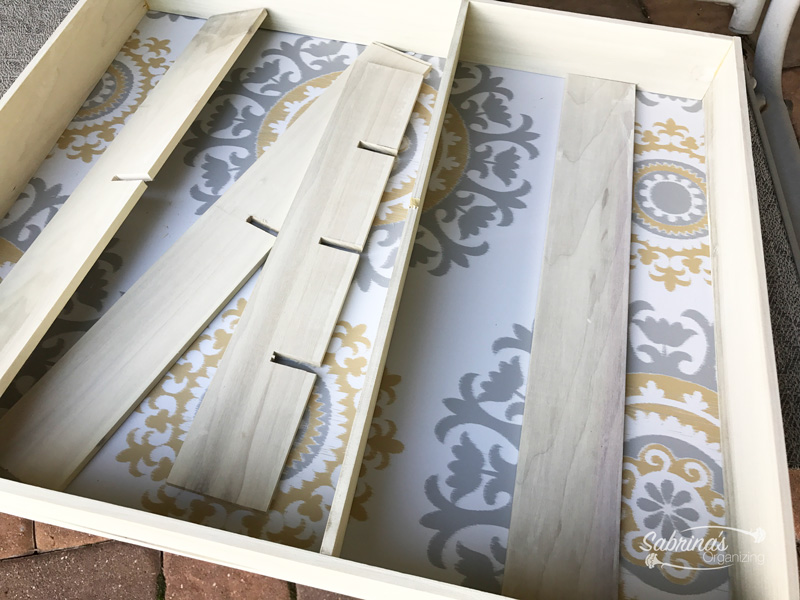
Note: make sure you measure the dividers a few times to make sure they aren't too tight or too loose. It will move a bit if it is too loose.
Are you ready to see the final product? Here you go. What do you think?
Reveal
Subscribe to our YouTube channel to see all our videos.
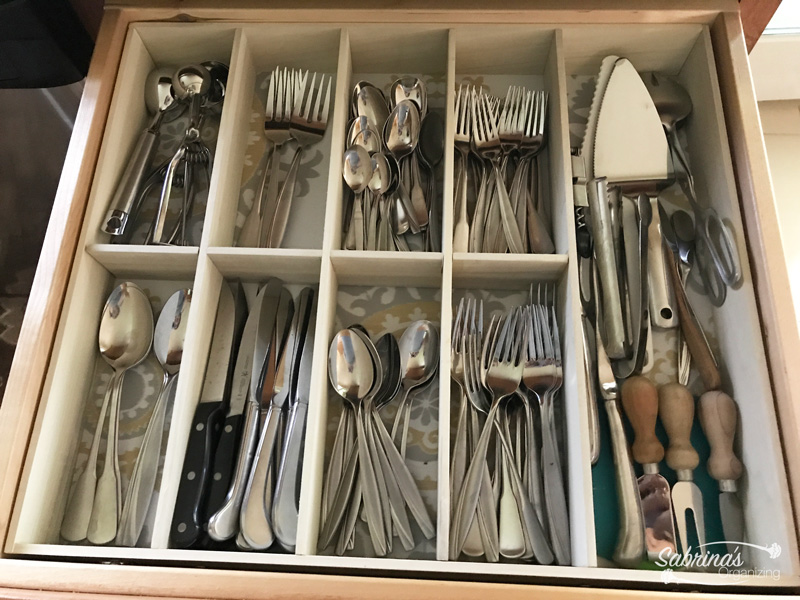
Look at all the space I have now! And all the servicing spoons and ice cream scoops have their space. And all my party utensils (affiliate) are in their space. It is a pleasure putting stuff away now! We are so happy with it.
Now it's your turn. Have you made your drawer organizer (affiliate)? Please leave a comment below with any tips you can add to this post.


Sarah Soboleski says
You're so crafty! And I love that wallpaper pattern. Pinned it to my Kitchen Organizing board!
Sabrina Quairoli says
Thanks. I wanted to do this since I got my new kitchen 3 years ago. It was a lot easier than I thought.
Hazel Thornton says
Well, aren't you and your husband the handy ones? It's a gorgeous piece of organizing furniture!