I love making things I can use to organize different items in my home. This one was no exception. This custom wood scarf holder DIY project was so much fun to make, and I could give it to a relative for their daughter's room. It was a win-win in my book. Here are the step-by-step instructions on how I made this scarf holder. I hope you enjoy it.
Jump to:
Supplies and Tools for this project
Here are the supplies and tools (affiliate) I needed to do this project.
2 Wood beams 1 x 2 about 3 feet long
4 Wooden pegs from the craft store
6 Wooden words - thick with a flat bottom
2 Black spray paint (primer and color combined in one spray bottle)
One sheet of sandpaper
One drill (affiliate) and drill (affiliate) bits
One roll of blue painter's tape (1 inch thick)
A right-angle edge
Tape measure
4 Hanging hooks

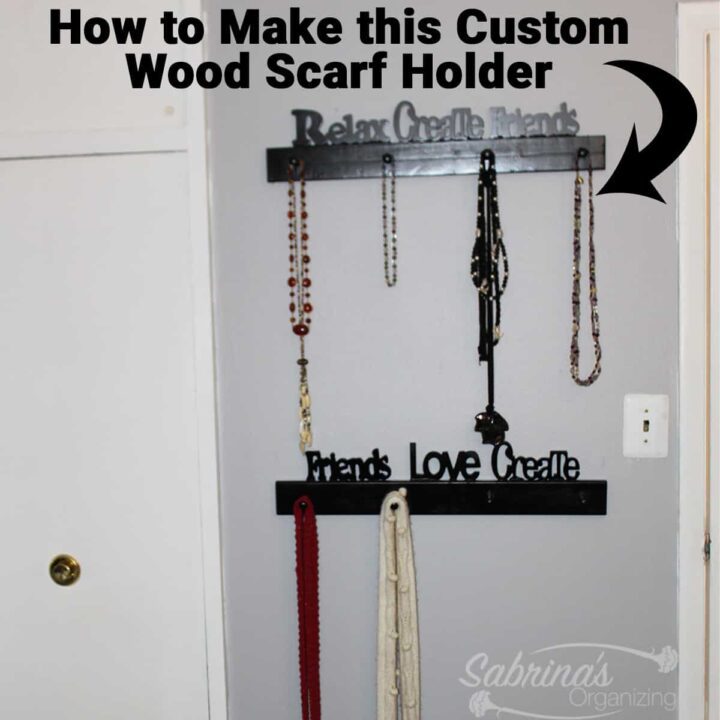
How I made these Wood Scarf Holder
Decide how many peg holes you want.
First, you can use as many pegs as you like. I decided on four because it came in a package of two. I got the wood from an old IKEA bed support that was no longer being used. Then, I removed the strap and took out the staples.
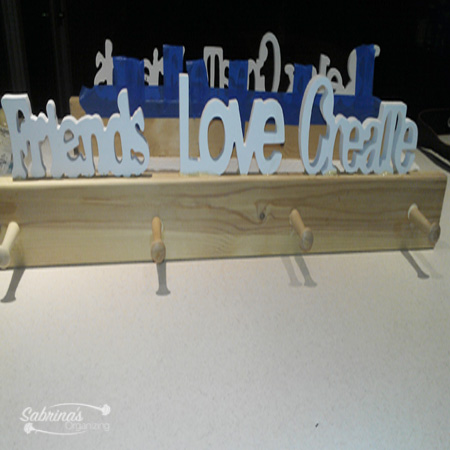
Glue the words to the top of the wood board.
Measure out the entire length and evenly space the drill (affiliate) holes from top to bottom and left to right.
Then, glue on the words at the top, ensuring it is flush with the back of the wood plank. I then sanded the wood and drilled holes in the wood for the pegs. I glued together the $1.00 for each word (great deal) to the wood.

This image is how it looked after I glued the words on and then added the pegs to it.
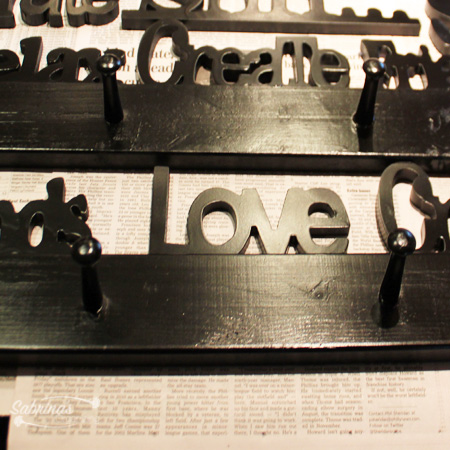
Spray paint the custom wood scarf holder.
To unify the color, I went to town spray painting. First, I primed with black (affiliate) spray paint and then applied two coats of spray paint, drying between coats. Here is the final picture.
Add hooks to the back.
I then added hooks to the back of the main piece of wood and mounted it on the wall.
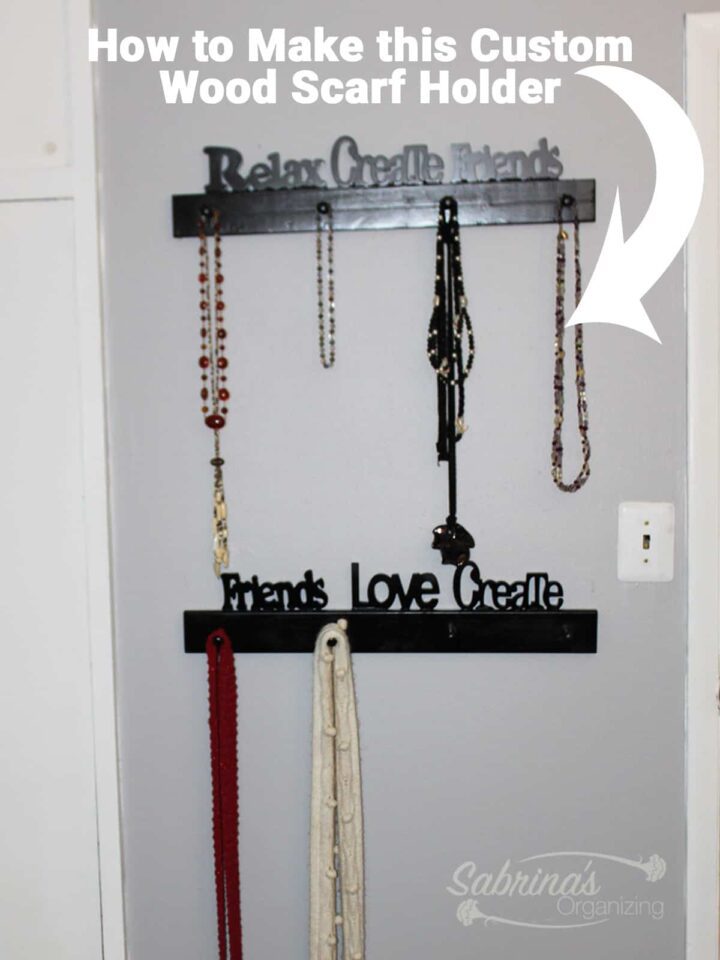
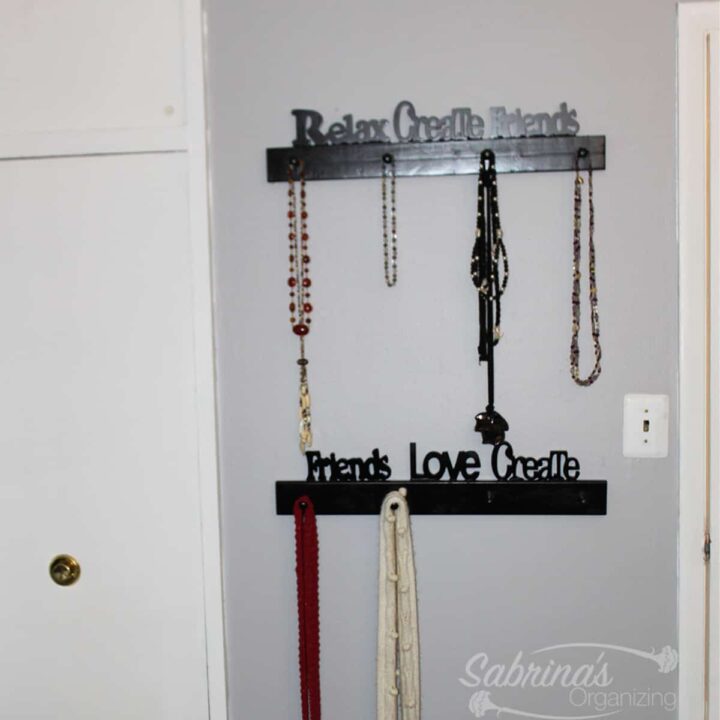
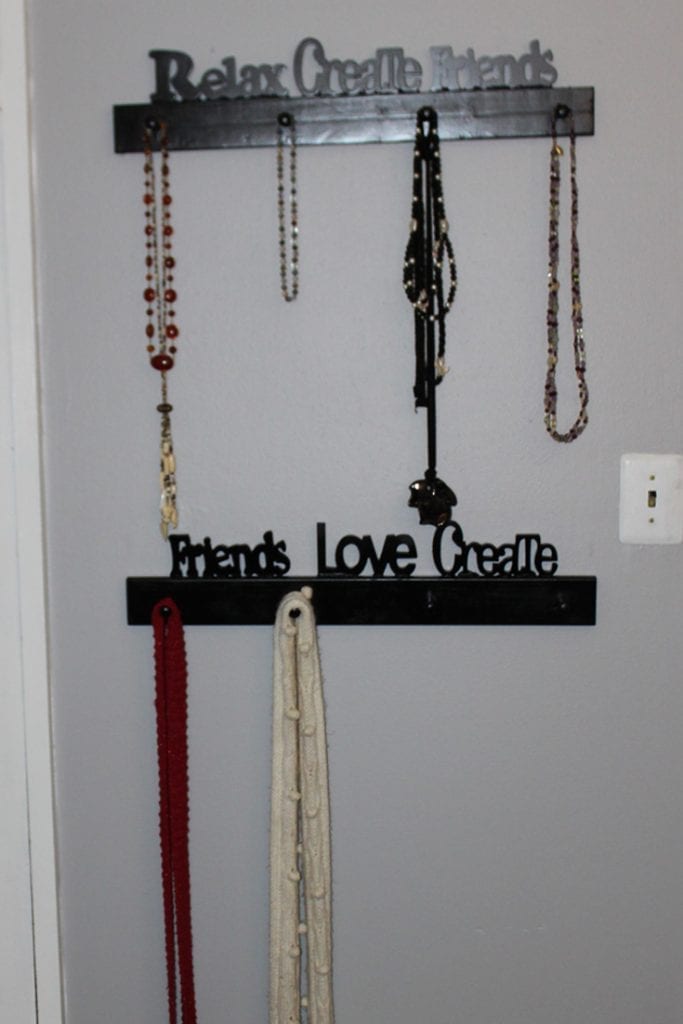
Reveal
Here are the two finished scarf holders I created. I loved the finished products. You can make it as long as you want and add as many pegs as possible.
Tips when doing this custom wood scarf holder
Below are a few things you need to keep in mind.
- Get wood glue. Any other glue may not work. Put enough to cover the surface but not too much that it would create a mess. Read the instructions on the glue container.
- Measure the length of the peg that will go into the wood. Then tape the drill (affiliate) bit with the blue tape to match the length of the peg edge that goes into the wood. This will help make the right hole depth without going through the piece of wood.
Feel free to share! I hope you enjoyed the transformation and will try it one day to organize your scarves! If you want to see some of my other DIY organizing projects, please click the links below.
How To Upcycle Planters Into A Desk Pencil Holder
DIY Electric Toothbrush Holder
How to Upcycle an Old Bench into an Adorable Accent Table
The Best Way to Make Drawers More Functional
Visit our other DIY projects!