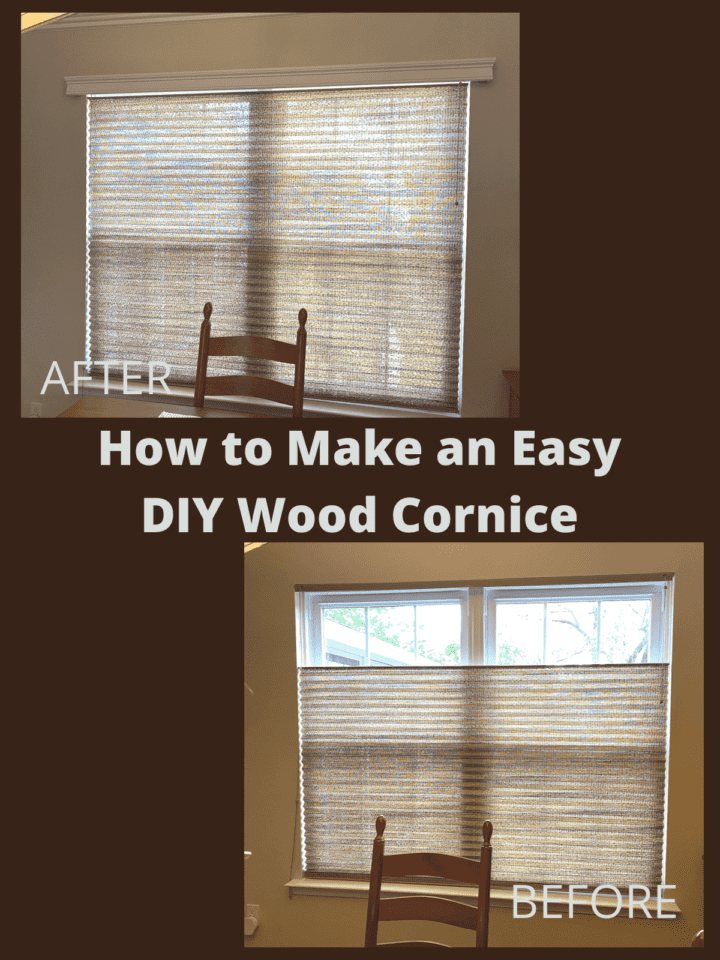
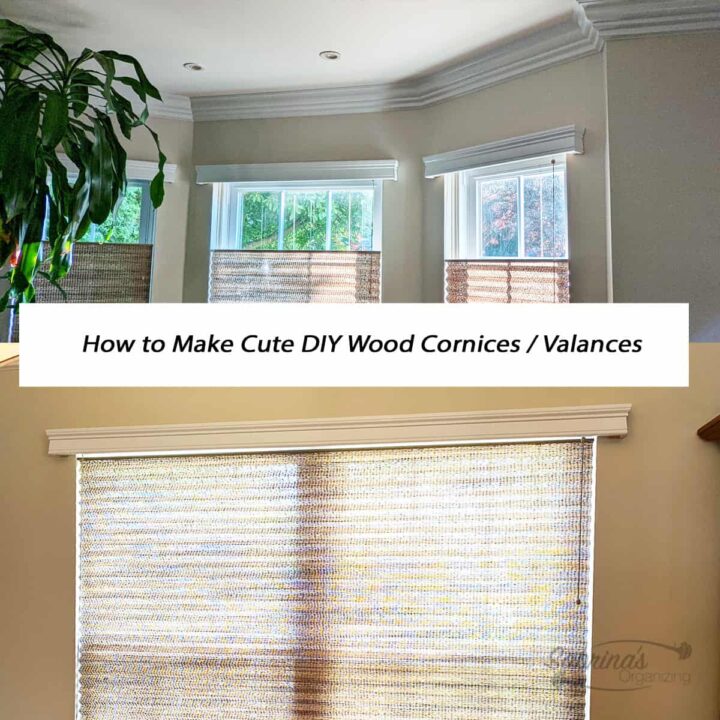
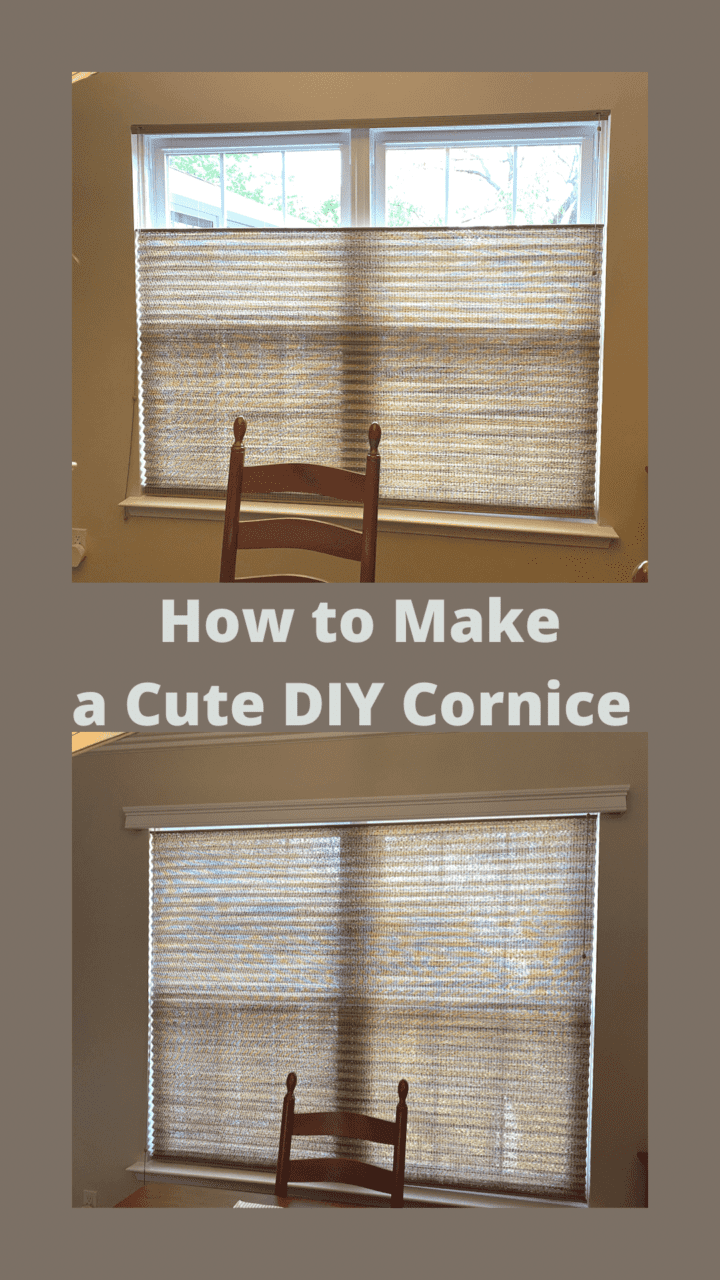
Whether you call it a wood cornice or a wood valance, it will give a window that has no frame a clean and upscale look. Today, I will show you how we made these cute DIY wood valances or cornices from scratch for our home. Follow along and make yours today!
Note: these wood cornices/valances are mounted on the top of the window to hide the hardware from the blinds. They are affixed to the wall and are not easy to remove. We wanted them that way.
When sharing on social media, some people felt the valance should be taller/deeper. However, with my living room /dining room situation and to allow accessibility to the mounting bracket for the blinds, we had to make it not as tall or deep as a normal wood cornice. This is the reason we had to customize this for our home.
Jump to:
- What inspired me to do these DIY Wood Cornices / Valances?
- What supplies did I use to make these DIY Wood Cornices / Valances?
- How much did it cost to make these DIY Wood Valances / Cornices?
- How did I make these DIY Wood Valances / Cornices?
- The Big Reveal of these DIY Wood Valances
- How long did it take to make these cornices/valances?
- Tips on making these Cornices/valances:
- Popular DIY Painting Projects:
In our living room and dining room area, we have one double window, two single windows, and two small windows. If we bought them already made, it would cost a fortune.
What inspired me to do these DIY Wood Cornices / Valances?
I always liked wood cornices and has always been something I wanted to do in my home. You see, my windows are not framed in wood. They only have a ledge at the bottom. So, making a wood cornice was a nice option instead of fabric, to help reduce dust and streamline the window treatments.
What supplies did I use to make these DIY Wood Cornices / Valances?
We had all of the tools (affiliate) in our tool closet so we didn't need too many things but wood and molding.
Supplies used:
- 3 - ReliaBilt 1-in x 2-in x 8-ft Square Edge Unfinished Oak Board - no need to go with hardwood. - this link is from Lowes. It is not an affiliate link.
- 3 - ReliaBilt ¾-in x 3-7/16-in x 8-ft Primed Wood Casing - Look for the best looking, not curved ones. This link is from Lowes. It is not an affiliate link.
- 10 - Scrap 2 in. x 2 in. x 4 in. good quality wood - we ripped down a long 2 x 4 piece of wood we had.
- Drill - we used a cordless drill (affiliate).
- Table saw
- 2 - corner clamps
- 20 - Wood screws box - 3 inch
- Wood filler or white chalk that is paintable.
- Nail gun and finishing nails 1 inch
- White paint
- Paintbrush (affiliate)
The above links are from Amazon (affiliate); if you purchase something after clicking through, I will receive a small referral fee. Happy Shopping!
How much did it cost to make these DIY Wood Valances / Cornices?
This project costs us about $158.00. This cost was primarily for the wood; we had all the paint and supplies/tools (affiliate) listed above. It made five (5) windows which cost $31.60 each! That is a bargain! It is usually at least $100 for each window if you buy them already made.
How did I make these DIY Wood Valances / Cornices?
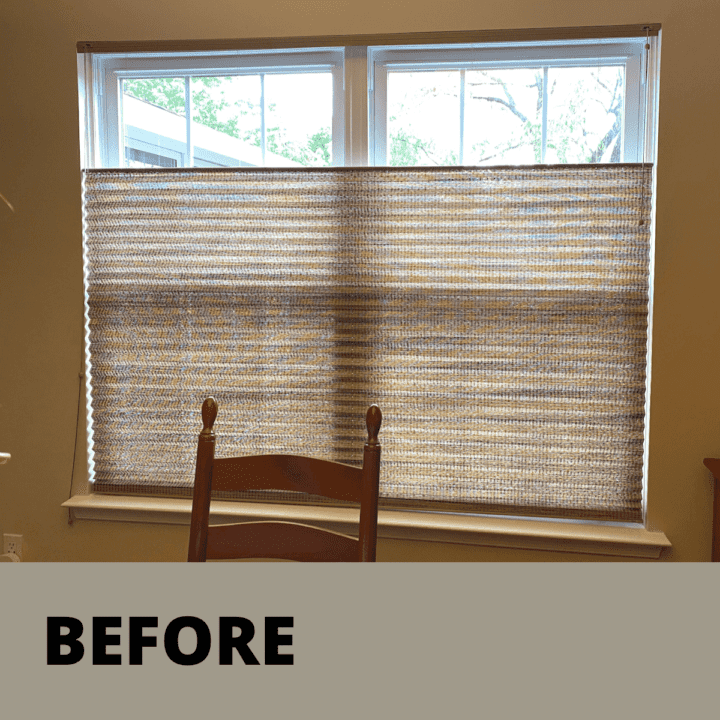
Here is what the double window looked like before the cornices.
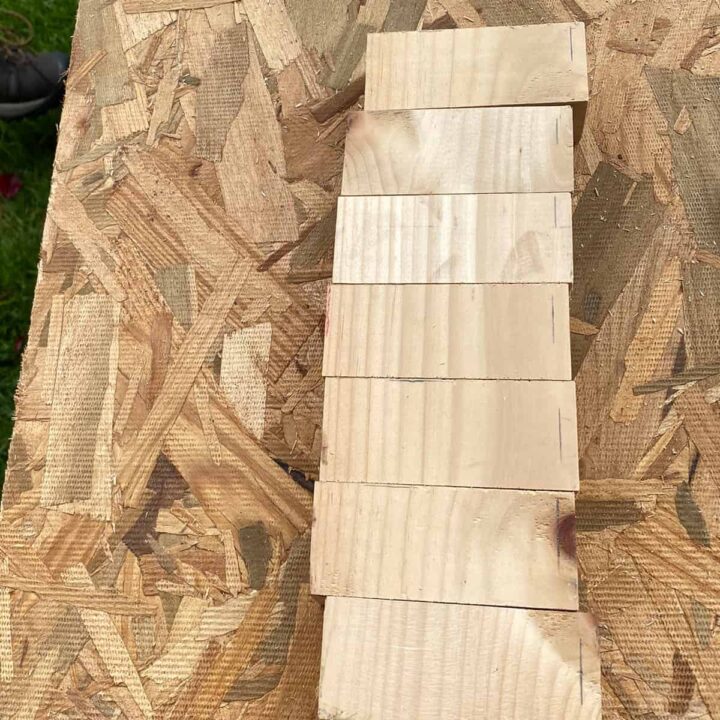
Make support pieces of wood.
First, we ripped down the ten - 2-inch x 4-inch pieces of wood. These pieces would be the corner of the cornice to hold the molding in the front and side. And set them aside. The 4-inch pieces will hide behind the molding and will not be seen.
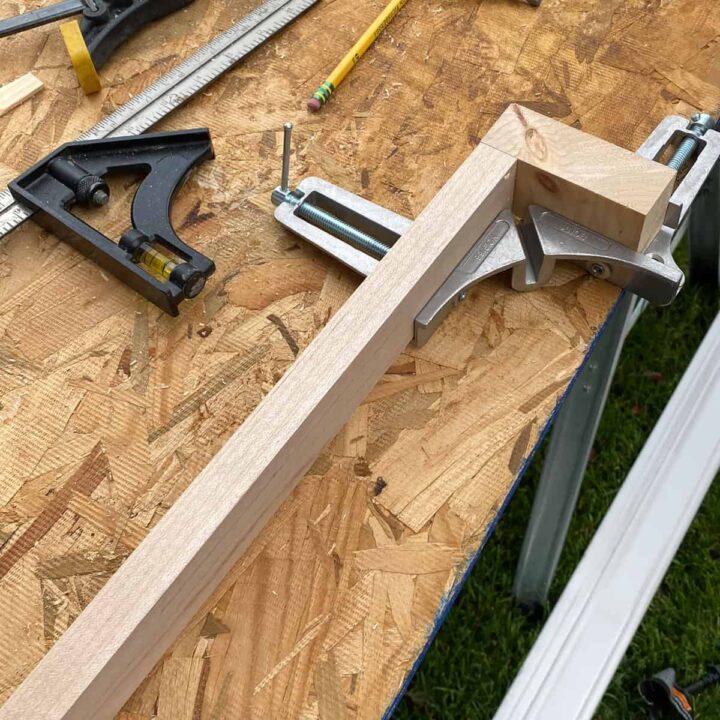
Screw wood together.
Then, we cut the oak pieces of wood to measure the length of each window minus the 2 inches of the ripped wood above. Each window was measured differently, so we did one window at a time.
To determine the length of each cornice, we measured the ledge at the bottom and made it that long.
The length of the cornice molding front = 2 inches of ripped wood + 2 inches of ripped wood + ??? remaining length of ledge.
Then, we clamped the two pieces of wood together and screwed in nails that would hold them in place. We used two screws and recessed the screws so they were not flush with the wood. This would mess with the molding when we needed to add it.
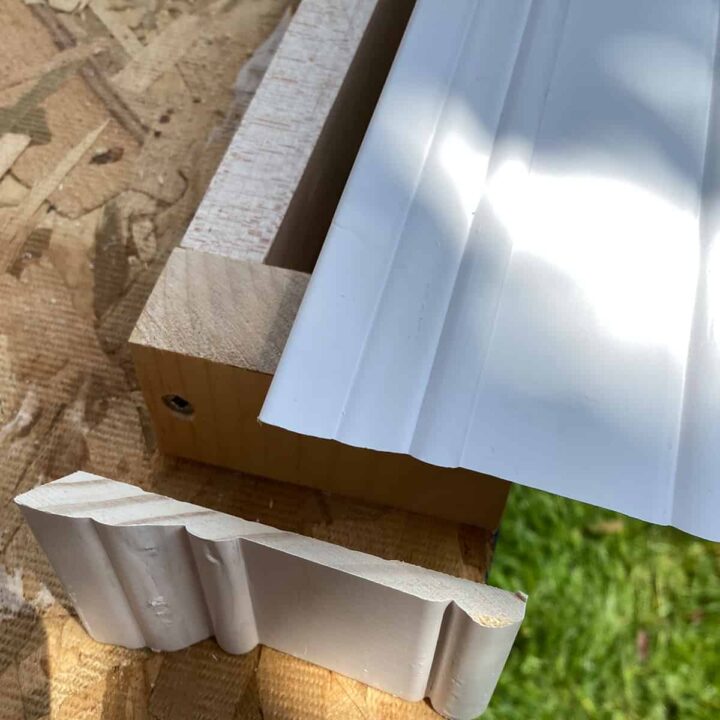
Cut molding.
Now, it was time to cut the molding front and sides. We did a 45-degree angle cut on both pieces to match them together when attached to the other wood. Then we set it aside. Make sure to mark where you want the back 45 degrees to land on the supporting wood.
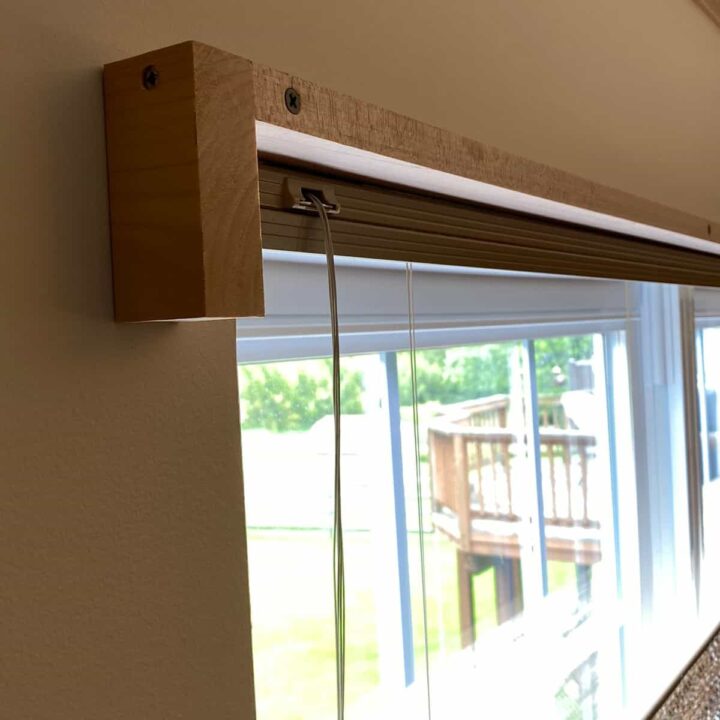
Mount supporting wood to the wall.
Next, we added the back pieces of wood to the wall above the window. Allowing enough space to use the blind strings and be able to remove the blinds if we needed to replace them. Make sure to screw the 2 x4 pieces to the wall for more security. This will help the size molding to adhere to the nails when adding the molding to the wood. Learn from our mistakes. On all the other windows, we added an extra screw at the end of the vertical piece of wood.
Then using a nail gun, we tacked the molding pieces to the wood frame in about four or five places, depending on the length of the cornice.
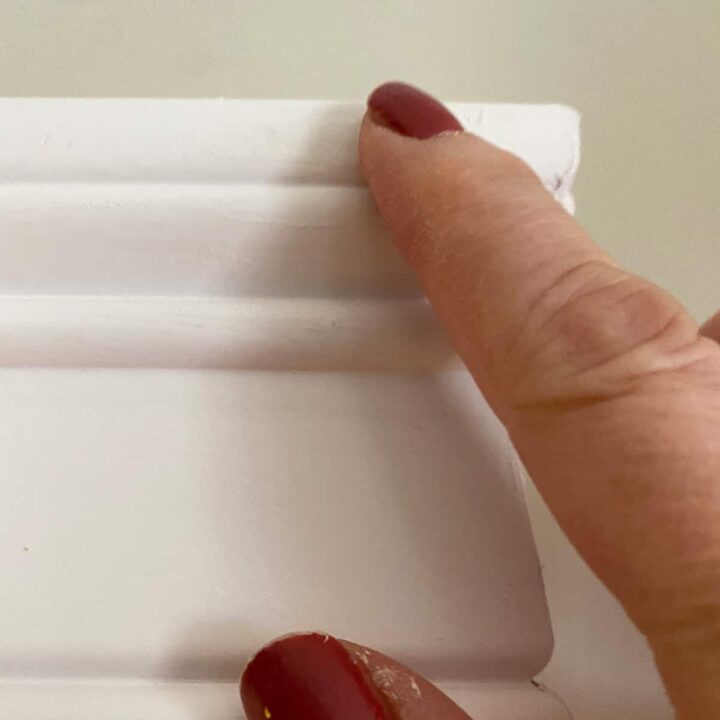
Fill the holes and paint.
We then filled in the holes that were made by the nail gun.
Now it was time to paint the wood cornices. I then painted them two coats of white glossy paint to match the other molding in our home. And let it dry for a few hours.
The Big Reveal of these DIY Wood Valances
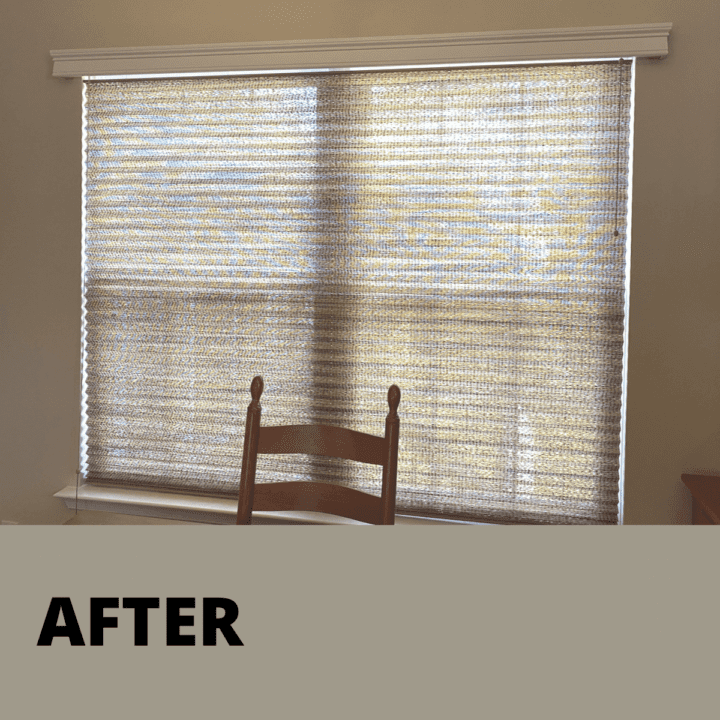
This wood cornice/valance looks lovely. It looks like it belonged there all along. We are so happy with the outcome.
How long did it take to make these cornices/valances?
It took us a weekend from Friday to Sunday.
Tips on making these Cornices/valances:
Do one window at a time. Do not rush through the process. Each window may be unique and have its how challenges.
Use the same paint you used for your other molding. That way, it blends in with the surrounding areas.
Make sure to add an extra screw to the vertical piece of wood when mounting to the wall for extra support.
Feel free to watch the video below to see the transformation and follow us on YouTube!
I hope this makes you want to try making your own DIY wood valances in your home. If you decide to do this, please let us know how it went. We would love to hear from you.
Popular DIY Painting Projects:
Visit our other DIY painting projects to get more inspiration.