Would you love to have a gigantic whiteboard wall? This wall can hold writing to-dos for larger projects and get detailed. If this sounds like you, you will love this DIY project I did recently in my office. I believe that if you can get a clear picture of what you want your project to look like, it will be easier for you to implement and succeed.
Jump to:
- Before Room Transformation
- Time Saver Tip:
- Supplies used to make this markerboard wall.
- Prep by unrolling the markerboard paper
- Apply the markerboard paper.
- Add the second markerboard paper.
- Main Tip
- The Reveal
- Other tips for keeping your whiteboard wall lasting a long time.
- What Other Places Should I Hang a Whiteboard Wall?
- How much does it cost to make this wall markerboard?
- Updated 2020: I updated the modifications I made to this post.
- Update 2022:
- 2025: I Updated My Home Office
- 2025 Results
- Visit some of our other DIY projects below.
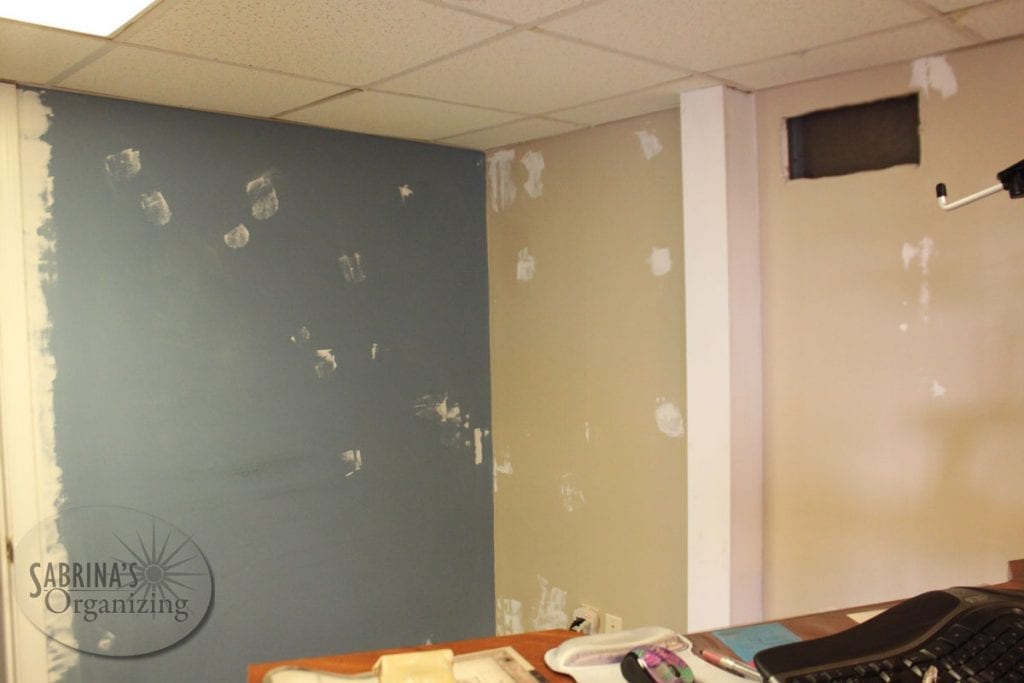
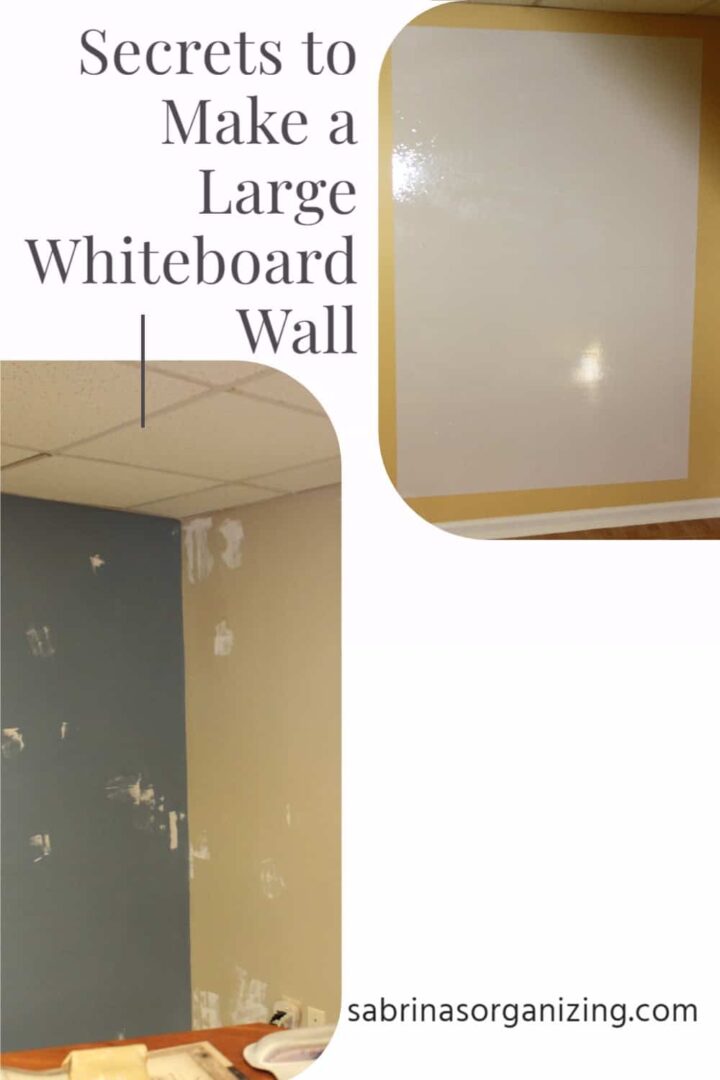
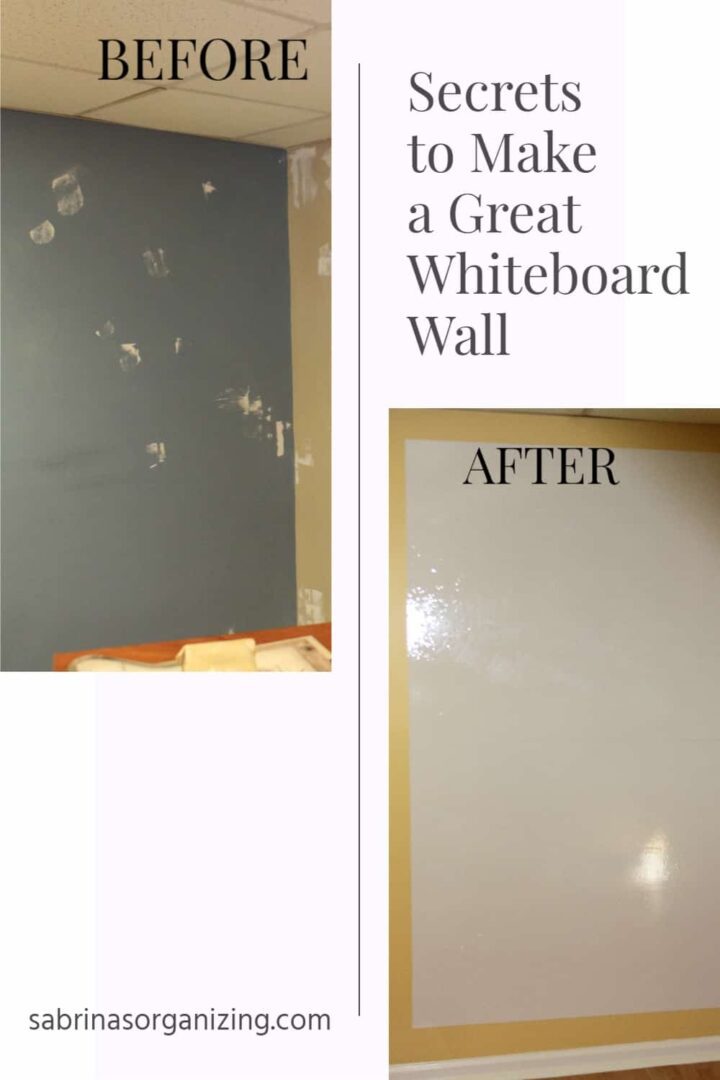
Before Room Transformation
Below is the before picture. It was a mess. I had already started spackling in this picture. We haven't painted in over 12 years, and it needed some TLC. I spent some time getting the wall as smooth as possible because I didn't want to see too many bumps through the markerboard (affiliate) paper, which was self-adhesive and would stick to the wall.
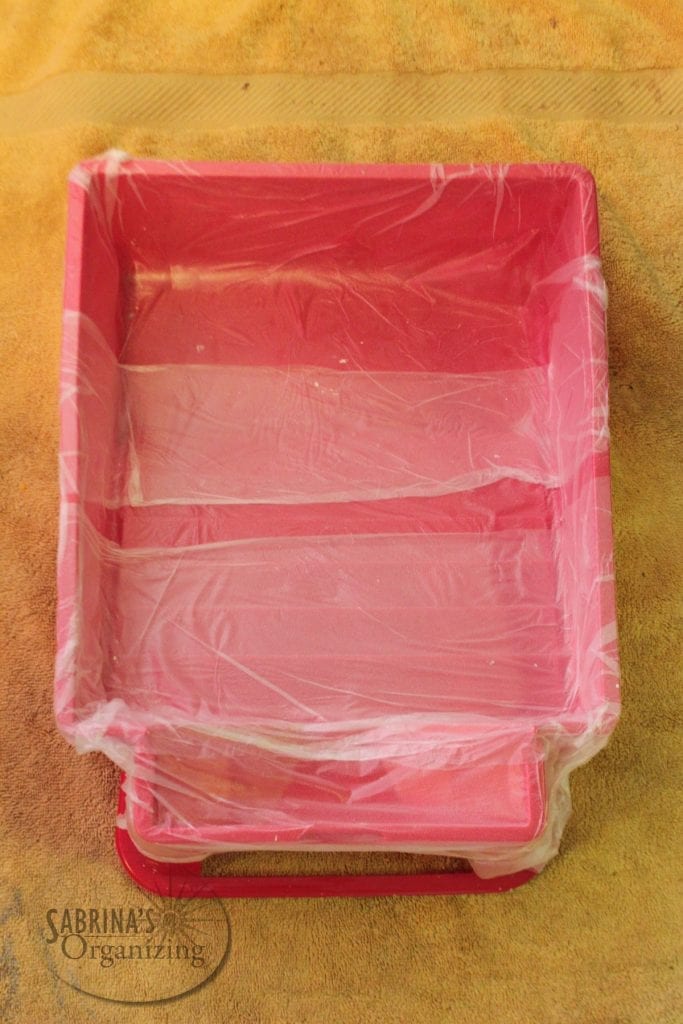
Tip: If you don't have a paint liner, use Glad Press'n Seal Wrap to line and protect your paint tray. It works great. I overlapped the Press n' Seal several times. I started from the top and worked my way down the tray. I also overlapped the middle twice. This helped prevent the paint from getting stuck under the Press n' Seal wrap, seeping under the wrap, and messing with the paint tray.
Back to the project, we painted the wall yellow. I used Classic Yellow from Sherwin Williams to brighten the office area.
Time Saver Tip:
Be sure to prime your walls if you have a darker color and go with a lighter color. I forgot this step and had to paint three coats on the walls. But if I had primed first, I would have only had to do two coats. Oh well.
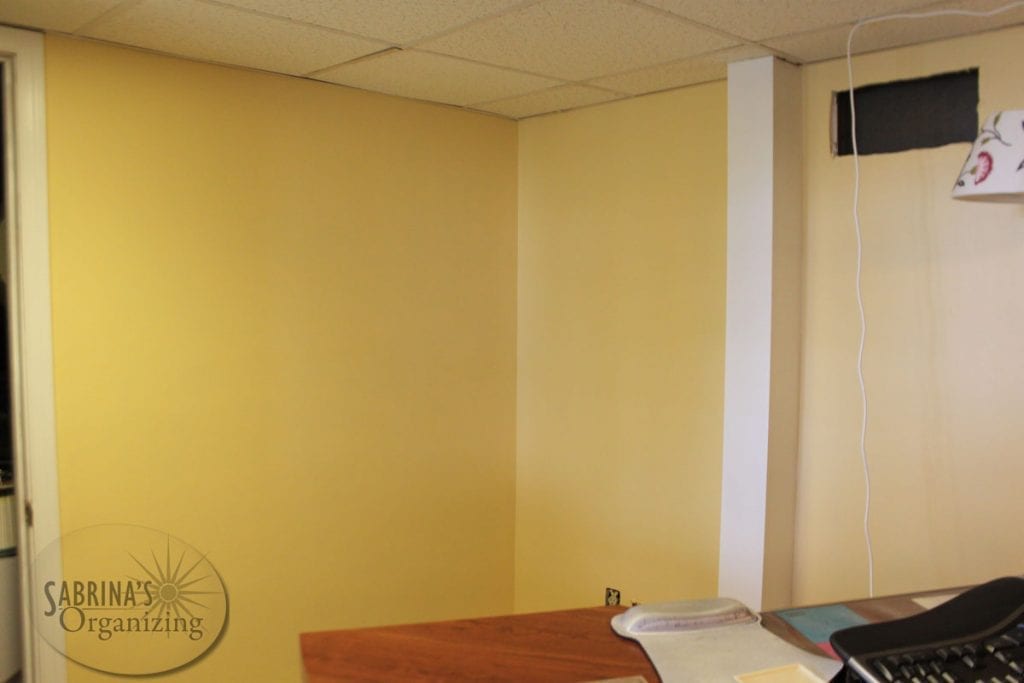
Here's the wall painted. It is bright but not too bright yellow. I only have one window in my office, which helped brighten the space.
Supplies used to make this markerboard wall.
This is the product I used: Two - Wall26® - Removable Dry Erase Message Board Peel and Stick Decal Sheet w/ Black Marker Pen - 24" x 36"![]() <<< This one is out of stock right now.
<<< This one is out of stock right now.
I found another one from Amazon (affiliate).com(affiliate). Everase Re-Stic Dry Erase Self-Adhesive Peel & Stick Sheet, (24 x 36 in.) Free Marker & Cloth
Prep by unrolling the markerboard paper
While drying the wall, I unrolled the markerboard (affiliate) paper flat on the floor. Since it was larger and thicker than regular self-stick paper, I wanted to ensure I could work with it without it rolling up on me and creating many creases and, possibly worse, ripping the paper. To do this, I used heavy books to hold down the corners and let them sit on the floor for two(2) days to be sure they wouldn't roll up. In the meantime, I let the wall dry completely.
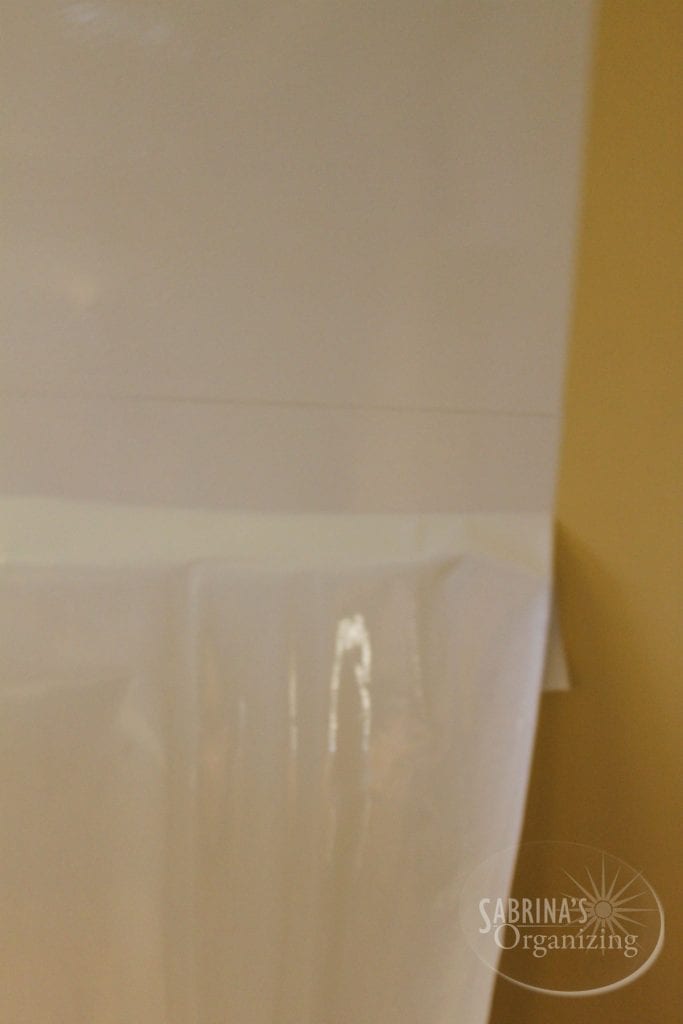
Apply the markerboard paper.
Then, my husband and I leveled it as best as possible, and with the smooth side of a plastic trim guide , we started separating the paperback and laying the sheet on the wall. Little by little, we pressed and removed all the air pockets from the top down, and with gravity's help, we could smooth out the markerboard (affiliate).
Add the second markerboard paper.
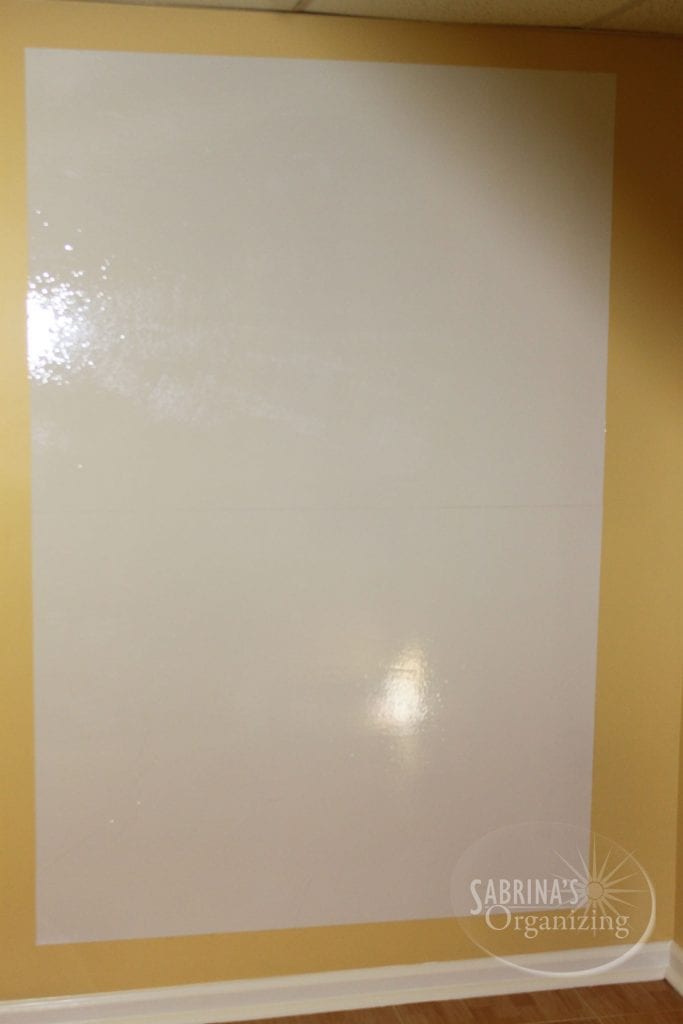
We then added the other piece and lined it up at the bottom of the first piece. We did not overlap it because the reviews said we should not do this. After all, it would start peeling back. Then, gradually, we removed the paper backing and smoothed out all the air bubbles from the second markerboard (affiliate) paper. It took some time, but it did work. We noticed that we couldn't stretch the paper because it created creases on the paper, which was challenging to get out. I was a little nervous because I didn't want it to rip or crease anywhere. But, lucky for me, it only did not.
Main Tip
Do not stretch the paper because it creates creases paper, which is challenging to get out. I have a few creases at the bottom, but it's so far at the bottom that I will probably not be writing down there.
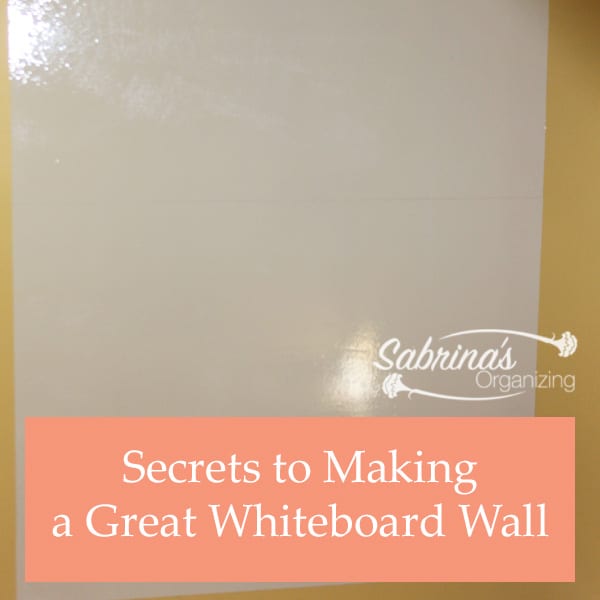
The Reveal
Here is the after picture: What do you think? I was intimidated about writing anything on it for the first few days. I kept saying to myself, "What should I write?"
Being able to write down all the steps made this process more real to me, and I needed to step up and do the tasks I listed. But after a few days, I took the plunge and started. I listed things like the ebook steps I needed to finish, client step-by-step tasks I needed to complete, and backend blog tasks I still needed to finish.
I love it. Hopefully, it will stay on the wall. It's been about two weeks, and it is still sticking nicely. It is my special place to write down everything.
Other tips for keeping your whiteboard wall lasting a long time.
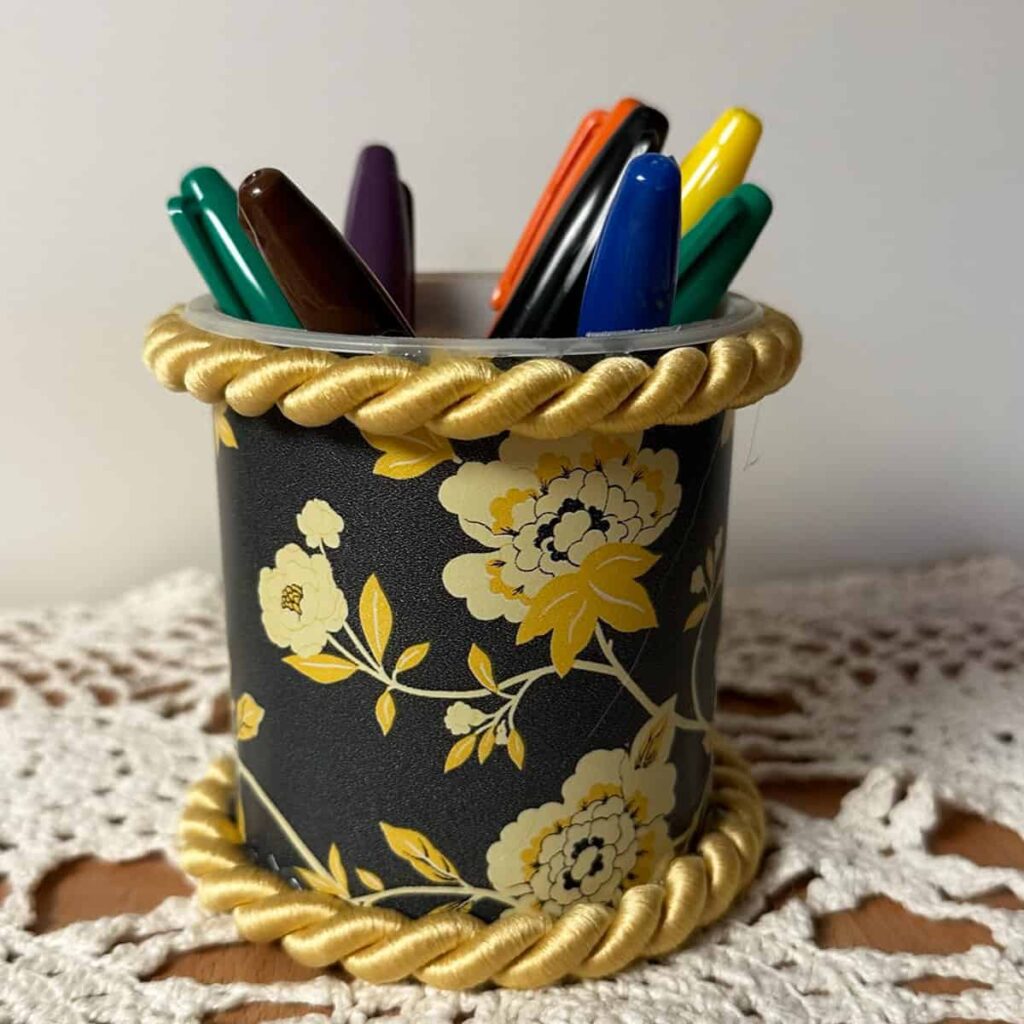
- Use an Expo Marker
 instead of the marker that came with it.
 - It wipes off pretty well but may leave a little gray area. I am still figuring out how to remove the markers altogether. I will update you when I do.
- Use an actual dry-erase eraser and spray. It works best to erase the markers. I didn't try color yet; that will be my next step.
- Try not to use tape on it. The glue doesn't come off quickly. However, you can use 3M Command Hooks on it, as long as what you are hanging is not too heavy.
- Update 2023: I added some Washi Tape (affiliate) and created squares on the whiteboard to subdivide my sections. Washi Tape (affiliate) doesn't have a lot of glue in the back, so it is easy to remove. I also used Washi Tape (affiliate) to create sections for task activities, and it has held up well with no damage to the whiteboard paper.
- Since I wrote this post, they have improved the whiteboard peel-and-stick paper. They clean up better now.
 instead of the marker that came with it.
At the Cricut Shop, you can find Cricut machine bundles to heat presses, infusible ink & blanks, supplies, and tools, making any DIY inspiration possible. From sale items to specific products, you can find it all!
What are you waiting for? Visit their shop to see what is on Sale Today!
What Other Places Should I Hang a Whiteboard Wall?
If you don't have room in your home office, you can use them in other areas of your home. Here are some other places I would add to this whiteboard wall.
- A Kid's playroom
- A Homeschool classroom
- A Garage (affiliate)
- A Kid's study area
- A conference room in a small office
How much does it cost to make this wall markerboard?
We repainted the walls, which cost about $50.00. The markerboard (affiliate) rolls, which we made, cost approximately $75.00.
I hope you enjoyed my DIY Project. What areas of your home would you add a markerboard (affiliate) like this? Please share your comments below.
Updated 2020: I updated the modifications I made to this post.
These whiteboard walls held up well over the years, though I found that they shrunk slightly because of the heat in my office, resulting in a separation between the sheets. So, to repair this, I added Scotch Dry Erase Tape and layered it over the two pieces to cover the gap.
I also hung Command looks on them to hold my calendar and other papers I wanted to have displayed. I even taped some pictures of family members.
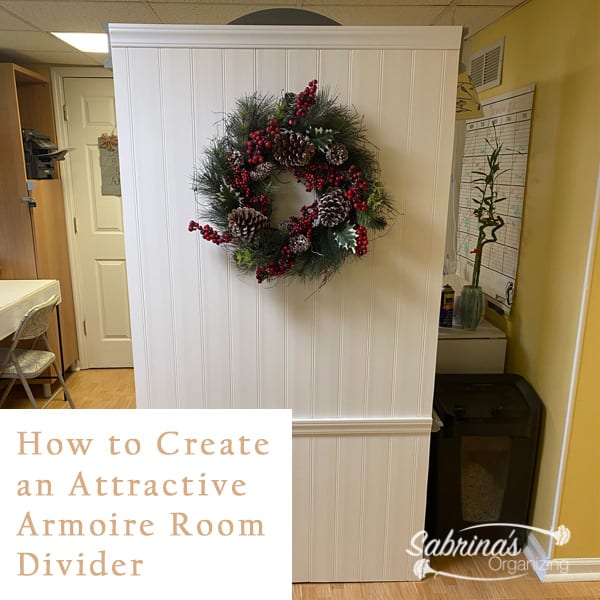
Update 2022:
We added an area to our idea wall. It is called our DIY INSPIRATION BOARD. We used washi tape (affiliate) to divide the markerboard into sections for the needed stuff and notes. Check it out here. Below is what it looks like. The area is super easy to set up and similar to this one.
Please note these are affiliate links through Amazon (affiliate), and at no additional cost, I will earn affiliate fees if you decide to make a purchase.
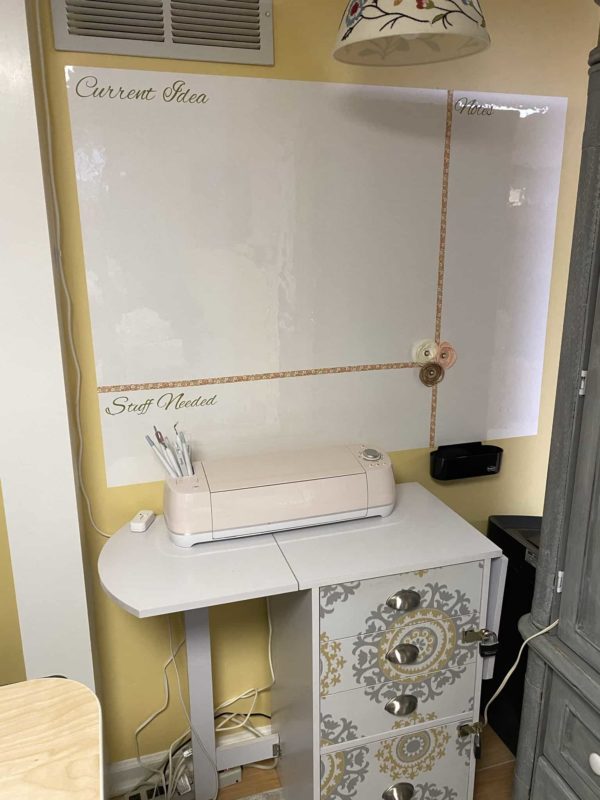
2025: I Updated My Home Office
I updated my office with a different paint color, so the markerboard also needed an update. Since I moved my desk, the bottom part was no longer necessary. So, my brave husband painted my office while I was away-it was too small for him and me to deal with painting the wall.
Instructions
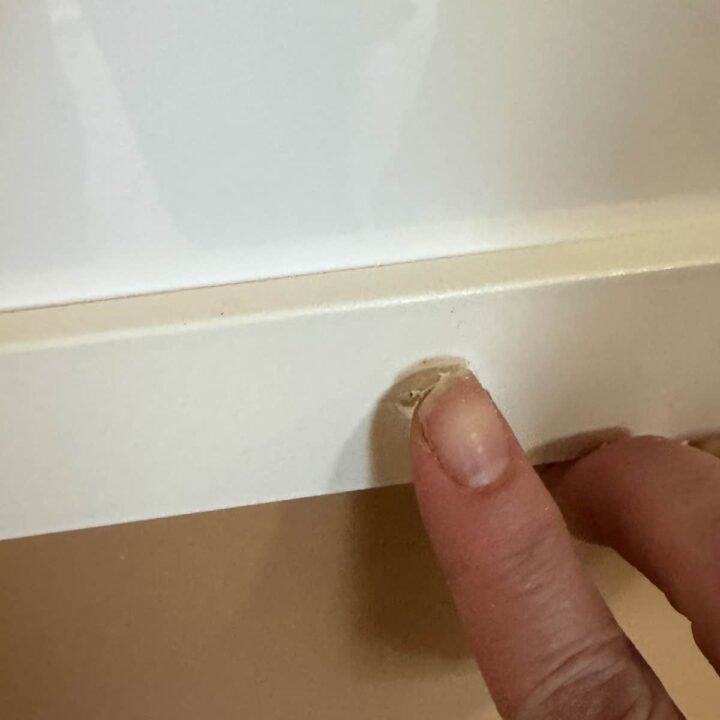
I reduced the size of this markerboard to just the top half and added a thin melamine edging around both of my markerboards above. We cut straight edges and added 1 inch to each side of the top edging to create a nice finish.

We used a nail gun with finishing nails to tack them to the wall around the whiteboard.
Then, I added a little white caulk (affiliate) to the nail holes to cover them up. Here is what they both look like now.
2025 Results
Here is what the markerboards look like now. I also did this edging with my DIY inspirational markerboard. Feel free to click this link to see the before and after of that one.
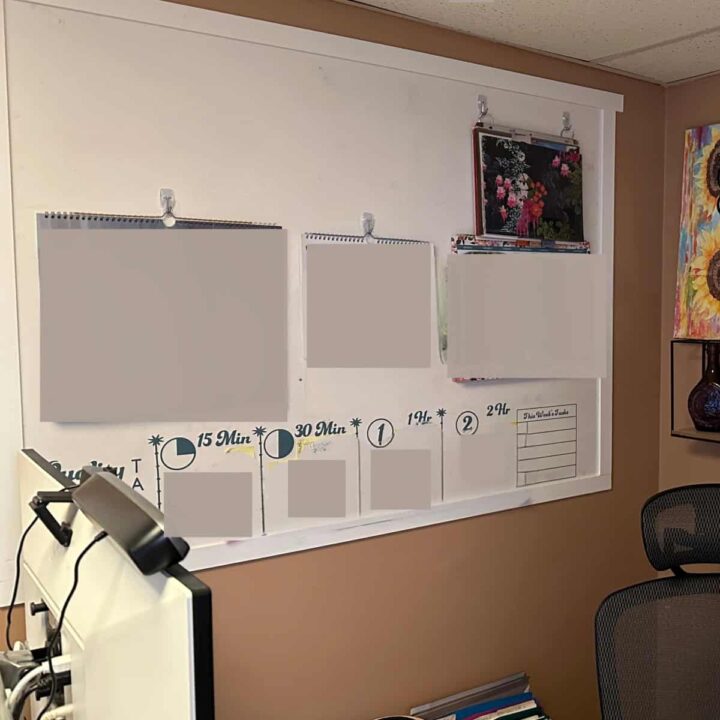
I hope this shows you that you do not have to keep your home office the same over the years. I have transformed it several times every 5 years or so. Feel free to check out my most recent update on my sister blog, How I Made My Organized Office Then and Now on SabrinasAdminServices.com.
Visit some of our other DIY projects below.


William Rusho says
What a great DIY project.
I might try this at work, considering white boards are scarce.
If I can only get my boss on board with the idea.
Thanks for sharing this with us.
Tatia says
Thanks for sharing Sabrina. What a before and after transformation of the space! I can envision putting the whiteboard wall in a social area like the living room, so that guests can leave comments or funny remarks.
Susan cooper says
Pretty cool. Had never heard of this. Sounds a little tricky to get up though. I imagine myself entangled in it like Lucy and Ethel in the wallpapering episode. Lol They should invent whiteboard wall paint, like the chalkboard paint. Maybe they already have and I just don't know it. 🙂 that'd be super easy.
Marquita Herald says
What a fun project! As a renter, I'm afraid my options are limited when it comes to things like this because the owners only have one rule - no messing with the walls. Still, I really enjoy learning about creative projects like this.
Ramona McKean says
Like others, I thought "kids!" I happen to live in the same house as two, almost three, little grandchildren. As for me, it could help me forget the lists I write which are easy to get misplaced. Btw, your pictures are great--having visuals to show what you mean, in addition to writing about it, makes a world of difference.
Oh, yes, and you are delightfully organized! How perfect that you share your organizing tips online. 🙂 Thank you.
Erica says
I love the whiteboard wall. It looks like it would come in so handy and be just so convenient. My husband could use one of those in the living room. That way he can leave himself notes to see before he steps out. He always complains that he is so forgetful.
Ken Dowell says
What a great idea. Looks good. Imagine it would be especially nice in a child's room.
Jeri says
I would love to try some peel-and-stick dry erase paper. I wonder if the marker debri that gets rubbed off tends to stick to it a bit and can dry erase cleaner be used on it? A science teacher I used to work with would get squares cut from shower wall linings for individual student use. It worked great and was a lot cheaper than buying a set of individual "real" boards for each student.
Sabrina says
I never heard of the shower wall linings for individual student use. Great idea, Jeri. Thanks for sharing.
The peel and stick version are cheaper than the large standing alone marker boards. I also found a Sherwin Williams paint you can add over your wall paint and it becomes an instant markerboard wall, it is clear so you can write on the wall without changing the wall color. I never tried it, but if this peel and stick didn't work, I was going to try that one instead.
Thanks for commenting.
RoseMary Griffith says
Sounds like a cool idea for an office--or for those kids' doodles on the walls, the right walls!
lenie says
Hi Sabrina, what a great idea. Wouldn't that also be something for a kids playroom.
I really like your paint tray tip - good stuff.
Sabrina says
I agree, Lenie, kids would love it! Especially the kids that love to write on walls. =) Thanks for stopping by and commenting.
Phoenicia says
My - you are creative! The thought would not even dawn on me to make my own white board. My daughter on the other hand would probably come up with such an idea.
This is a wonderful way of noting your ideas for future projects or for children to draw on.
Sabrina says
Yes, I agree, Phoenicia. Thanks for commenting. =)
Doreen Pendgracs says
What a super cool idea! I find we never have enough space to display things, and a white board wall is just the right thing. Whether you're brainstorming, or wanting to keep track of or display small things, it's a great idea!
Sabrina says
Thanks for stopping by, Doreen. I'm having fun with it.