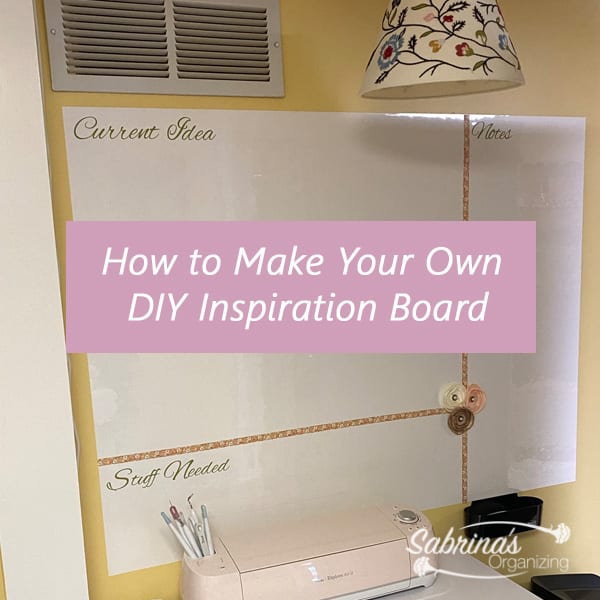
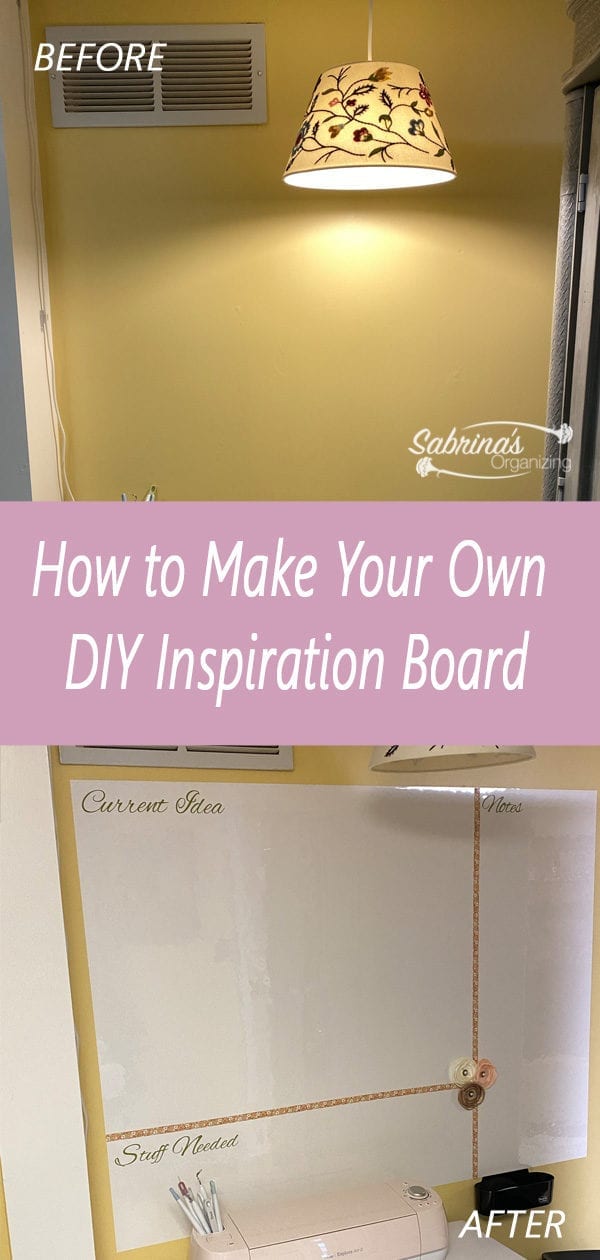
Whether you call it a DIY inspiration board or an Idea board, this super easy project was fun, and I can't wait to use it for future blogging DIY craft projects. Follow along and see how I made this DIY Inspiration Board.
Jump to:
- BEFORE
- What supplies are needed to make a DIY inspiration board?
- How to add the Marker Board Dry Erase Surface to the wall
- Add the Marker Tray to the Wall.
- Subdivide the area with Washi Tape on the markerboard.
- Add the dividers and flowers.
- Now, add the labels to the sections.
- 2024 Update - trimming the markerboard
- BEFORE:
- Cost for trimming of the markerboard.
- How long did it take to add the trim to the markerboard?
- Supplies used to trim the markerboard walls:
- Installing Trim Around The Markerboard Instructions
- Reveal
- Reveal - Inspiration DIY Board with Trim
Visit our post about Secrets to Making a Great Whiteboard Wall for more ideas on how to make an even larger inspiration board.
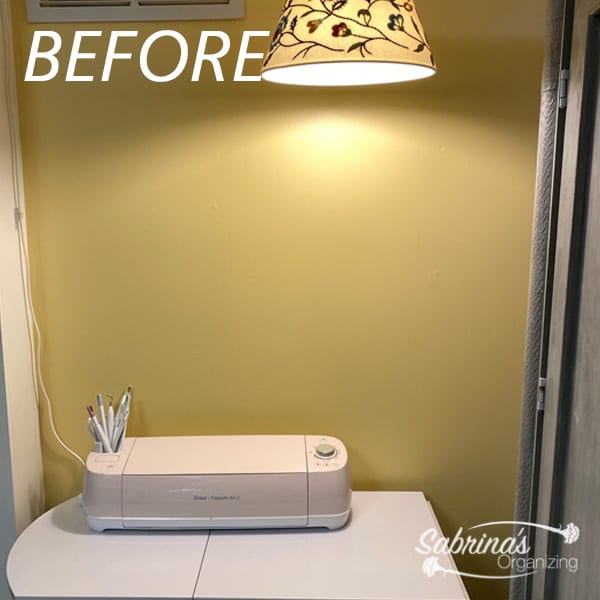
BEFORE
Here's the "before" wall area in my office. It's a blank slate. I was an area of my office that I didn't use and wanted to use it better, so here is how I transformed this wall.
Full Disclosure: If you click the links below, they will take you to Amazon (affiliate).com. If you want to purchase something, please know that I will receive a small referral fee at no additional cost to you. Happy shopping.
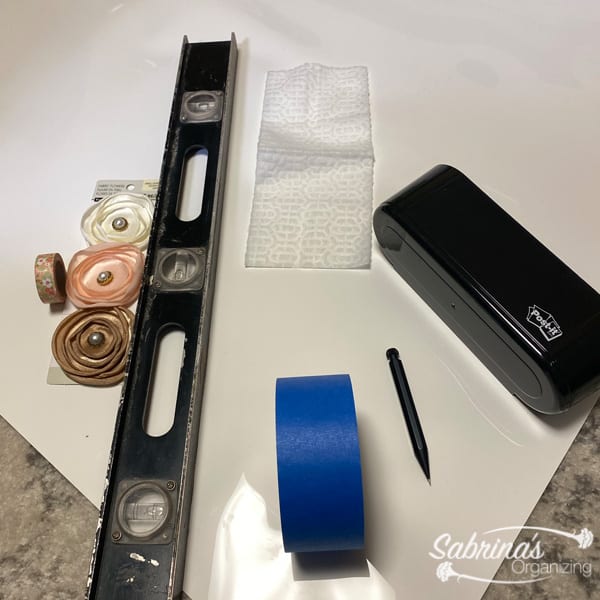
What supplies are needed to make a DIY inspiration board?
Below are the supplies I used to create this inspirational markerboard (affiliate) wall.
Post-it Dry Erase Surface 3 ft x 4 ft
Washi Tape floral ½ inch
Fabric Flowers 3 - found them at Michaels
Small 3M Command strips 3
Cricut Premium Vinyl - Removable in Green One 12-inch x 12-inch sheet
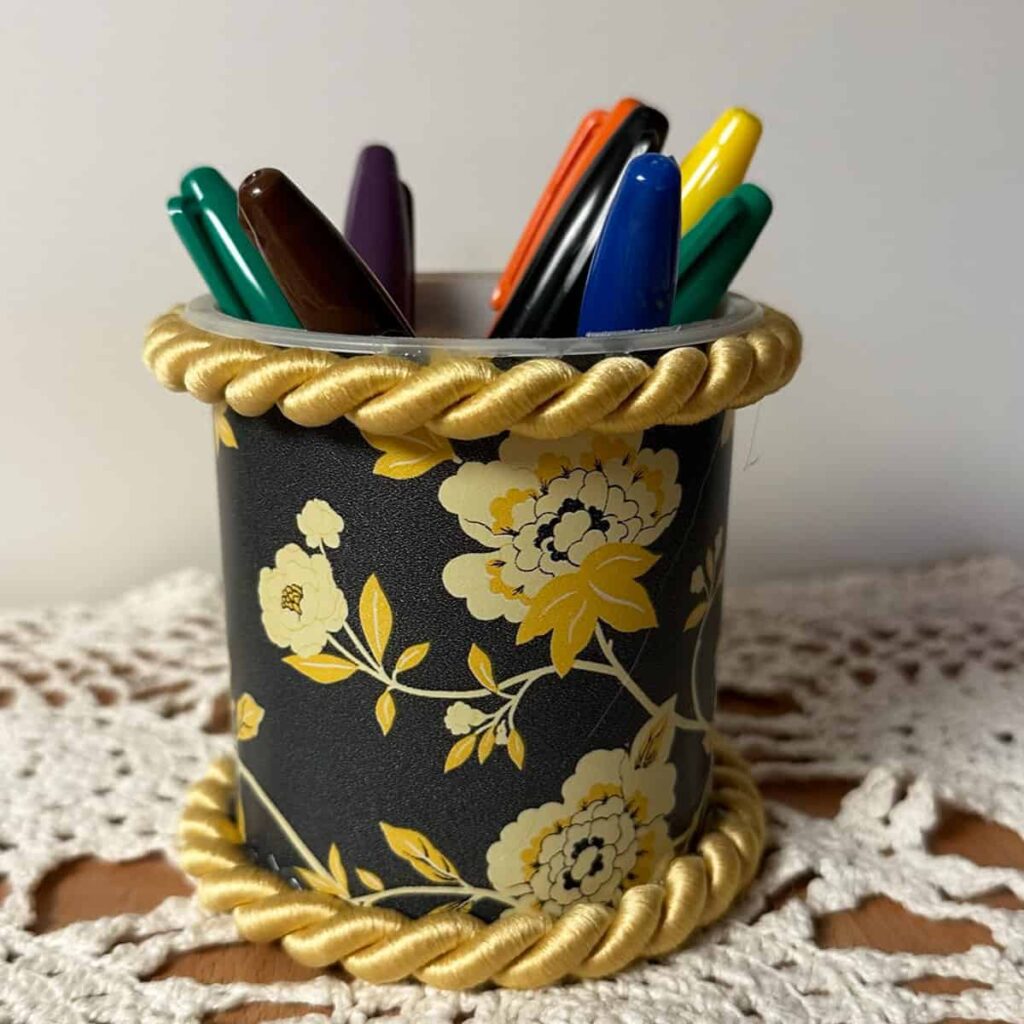
3M Command basket for markers
Tools needed to make this board:
A Level
Cricut Explore Air 2 or any vinyl cutter machine
weeding tool
Transfer tape - Cricut
Expo Markers
Painters tape (affiliate)
Pencil
Scissors (affiliate)
Tape Measure (affiliate)
How to add the Marker Board Dry Erase Surface to the wall
Clean off the wall with a dry Swiffer wipe. Remove all dust and debris. Be sure to get rid of all the residue that may be left with a wet cloth. Let dry.
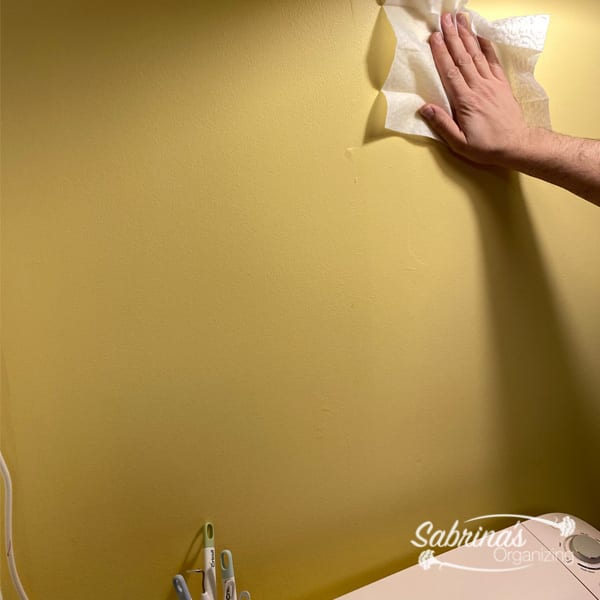
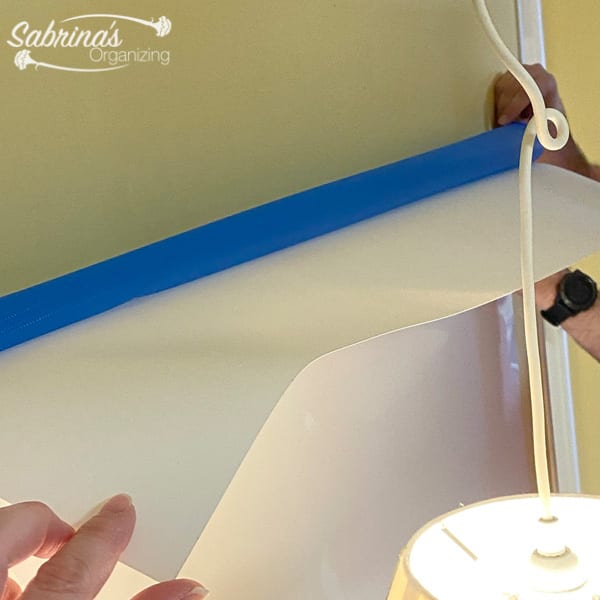
Figure out where you want to lay the dry-erase surface. Using the painter's tape (affiliate), add a piece of tape to each side about 12-15 inches down from the top corners. Then, using the level, adjust the surface paper with the level to ensure it is level with the ceiling-Then, retape it to the wall with the painter's tape (affiliate).
Tilt the top of the dry eraser surface and pull back the blue backing to expose the sticky side. Adhere the sticky side to the wall, and using the cloth, press to remove any bubbles. Work your way down by removing the blue backing and pressing with the cloth in all directions. Keep going until you are finished. Check the corners and the center again by rubbing the cloth all around the surface of the markerboard (affiliate).
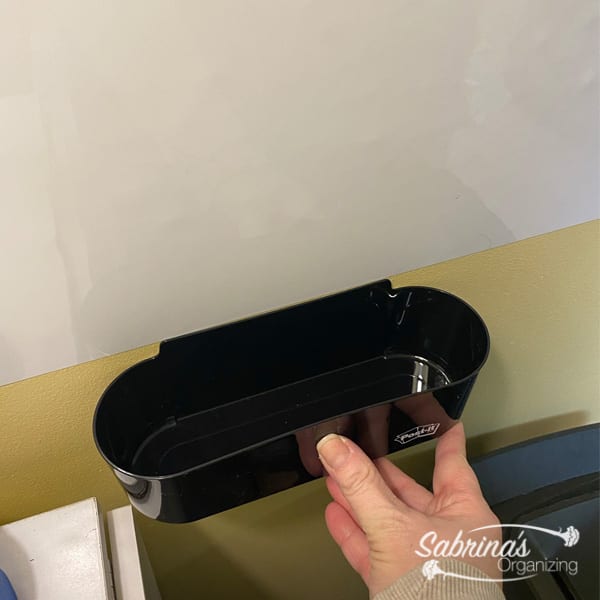
Add the Marker Tray to the Wall.
Add the marker tray to the wall using the Command Tape with the basket in the desired location. I opted for right below the dry-erase surface.
Now it is time to make it look pretty!
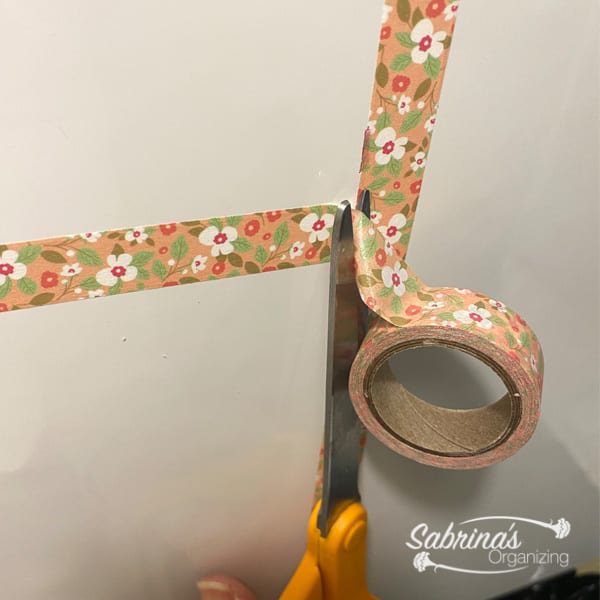
Subdivide the area with Washi Tape on the markerboard.
Now, run the Washi Tape (affiliate) vertically and horizontally on the surface of the markerboard (affiliate).
To keep the tape straight, use a tape measure (affiliate), pick the desired length, and mark the size to the end of the markerboard (affiliate) at three points along the side with a dry-erase marker. Tape the Washi. Tape down the marked lines to make sure they are straight. Then, wipe off the marks with a cloth.
Visit the Google Web Story (affiliate) here!
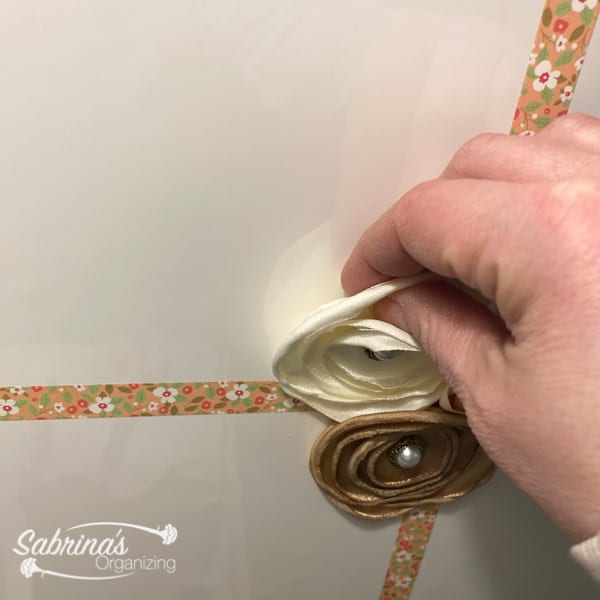
Add the dividers and flowers.
Get the flat fabric flowers and cut the wire off the back with scissors (affiliate). Flatten any wire that was left.
Using the small 3M Command strips I had, add the "3M Command" side to the flower's back and press down, applying enough pressure to adhere to the flower's back. Do this with all three flowers. The side that says "wall" should be facing out on the back of the flower.
Remove the " wall " side cover of the command strip to add the flowers at the intersection of both lines.
Now, add the labels to the sections.
Download these welded labels for the DIY inspiration board from Cricut. Print it out with your Cricut or make your labels (affiliate).

Weed the letters, using the transfer paper, pressed down and transferred the words to the markerboard (affiliate), and removed the transfer paper topping. Watch the video for details. Do this with all three labels (affiliate).
And you are done! This project took me 2 hours to make from start to finish. I did spend some time creating the labels (affiliate). You wouldn't need to do that if you used my labels (affiliate).
2024 Update - trimming the markerboard
I recently updated my inspiration board and wanted to share with you the additional things I did with it. First, let me give you some background.
My yellow walls were looking a little shabby and needed a facelift. So, I decided to paint them a mauve color that became popular this year. The color warmed up my office and family room/hallway, and the color helped me with the brightness of the fluorescent lights, which were not as painful to my eyes.
But it took a little doing when we painted my office walls, where I have this inspirational board and my other markerboard (affiliate). My husband wasn't happy that I decided to keep these on the wall instead of taking them down and starting from scratch. To help him out and accentuate the markerboards, I decided to trim the two boards on the walls in my office with wood.
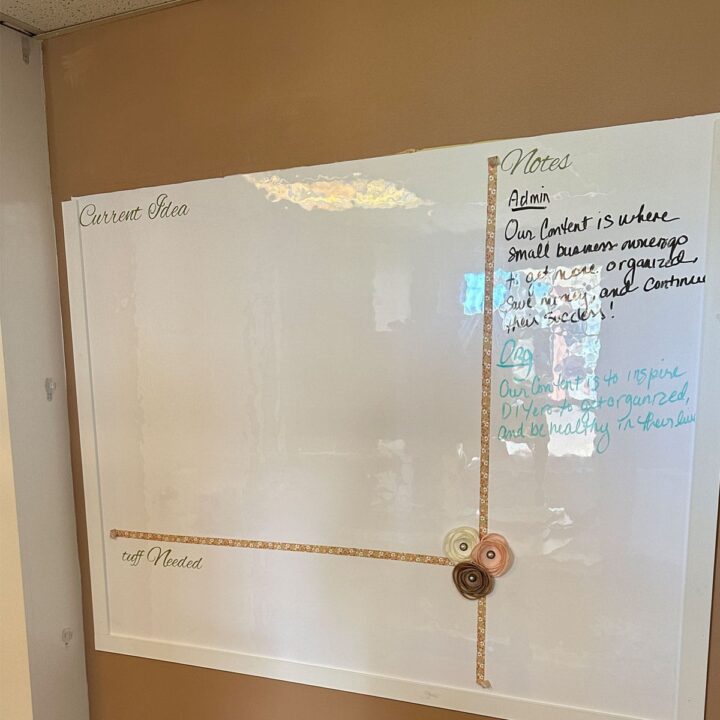
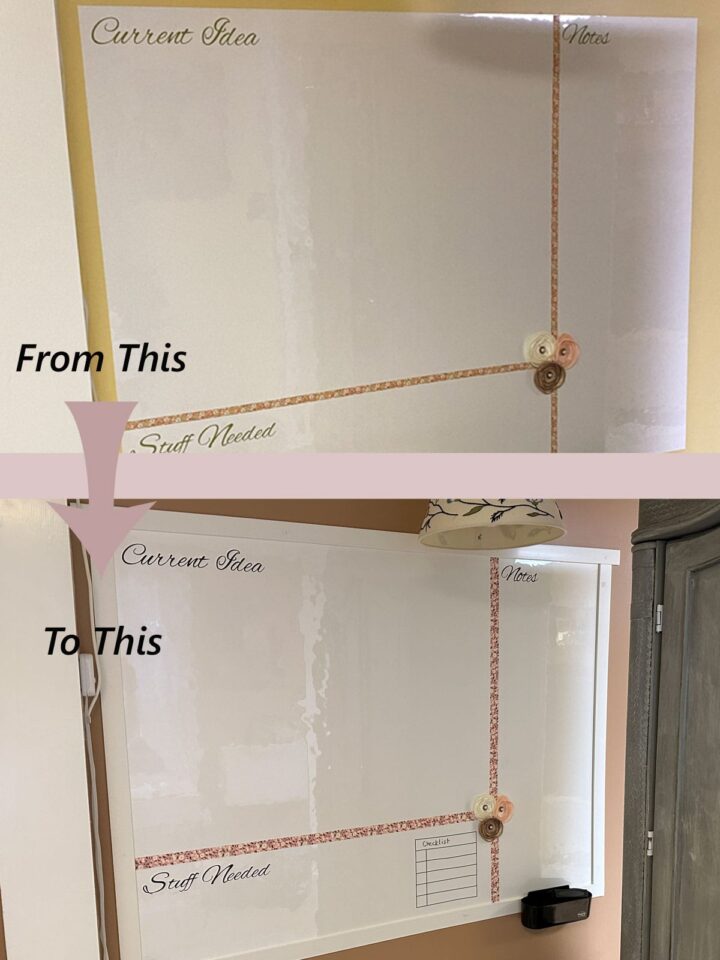
BEFORE:
Here is what it looked like before. It's the After image above if you didn't know that already. lol
Cost for trimming of the markerboard.
It costs about $60 to trim the board.
How long did it take to add the trim to the markerboard?
It took me about 2 hours to cut and affix the trim to the wall.
Here are the supplies I used to update these markerboard walls.
Supplies used to trim the markerboard walls:
- 6 - Royal Building Products ¼-in x 1-½-in x 8-ft White PVC Lattice Divider from Lowes.
- Saw (affiliate) for wood
- Nail gun - and decorative nails
- 2-foot level
- DAP Alex Fast Dry 5.5-oz White Paintable Latex Caulk from Lowes
- 1 inch washi tape (affiliate) - floral pick
- I reprinted the labels (affiliate) on removable Cricut brown vinyl.
Installing Trim Around The Markerboard Instructions
Here is how we added the trim around the marker boards.
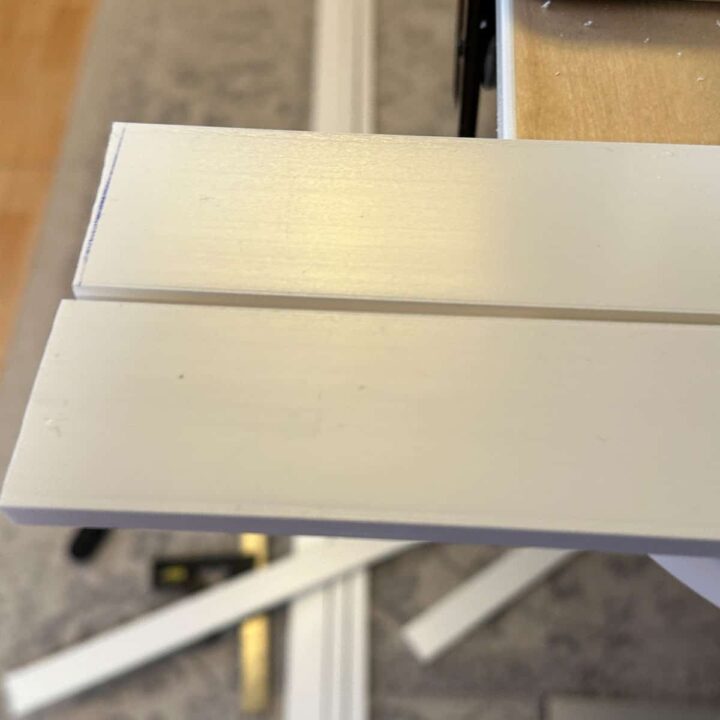
Step 1: Starting from the bottom, we measured the trim 50 inches wide, cut it with a saw (affiliate), and affixed it to the markerboard. The board was leveled with a leveling tool and nailed with a nailer.

Measure the sides and cut
Step 2: We measured the sides 35 inches high on both sides. We cut two, each overlapping about ½ inch of the markerboard to hide the edge.
We had to make sure the ends were straight so they would lay flat against the other board and there would not be a huge gap.
Affix the sides
Using the level, we determined where to place the vertical ones and nailed them in about 4 places. They were very flexible, so I wanted to make sure they were secure enough.
Step 3: I added a little extra trim at the top to make it look more decorative. We cut the trim 52 inches. Using the nailer, I secured the board to the top by adding nails in 4 different spaces.
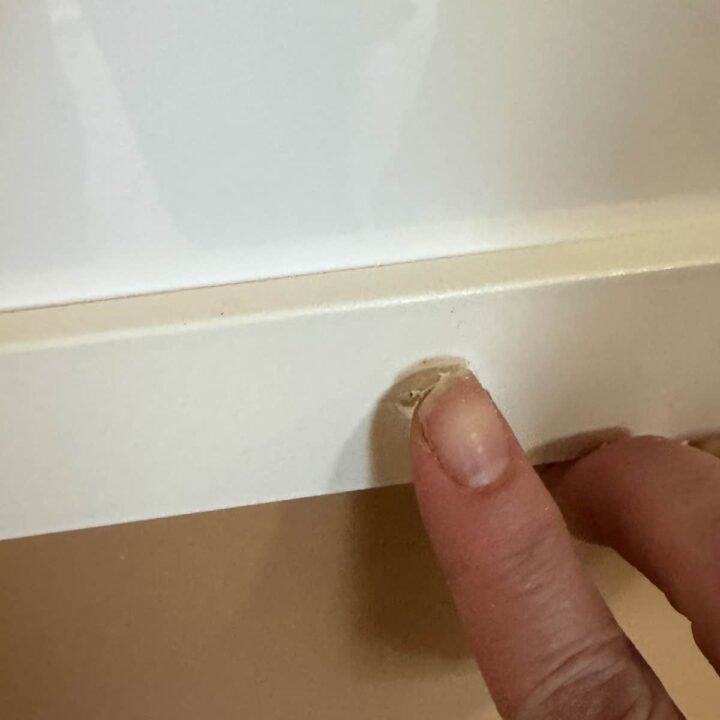
Caulk the nail holes
Step 4: Now, I took the caulk (affiliate) and placed a small amount over each nail hole to hide the nails, waiting for it to dry. I didn't need to paint it since it was already white and looked good.
Step 5: I added 1-inch washi tape (affiliate) for the divider and new labels (affiliate) in brown vinyl (removable).
TIP:
If you have stubborn markerboard stains on your board, try using a paper towel and a little WD-40. It removes the excess marker. Yay!
Reveal
Below is the finished DIY inspiration board. What do you think? I love it! It adds a little style to my office area. Please leave a comment or questions below. I would love to hear from you.
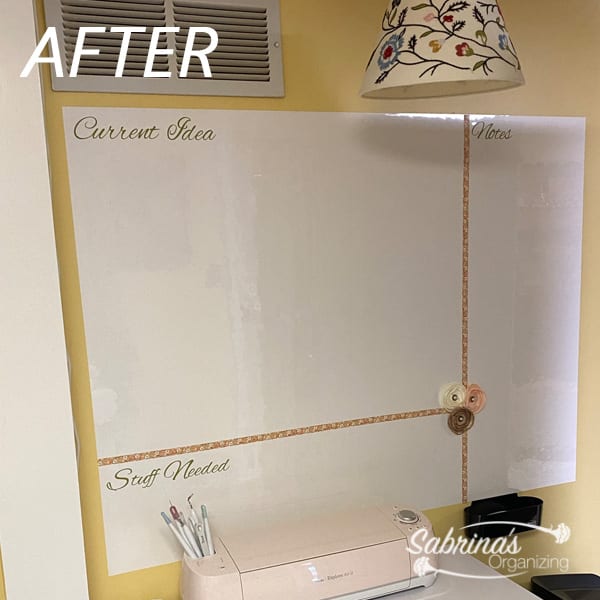
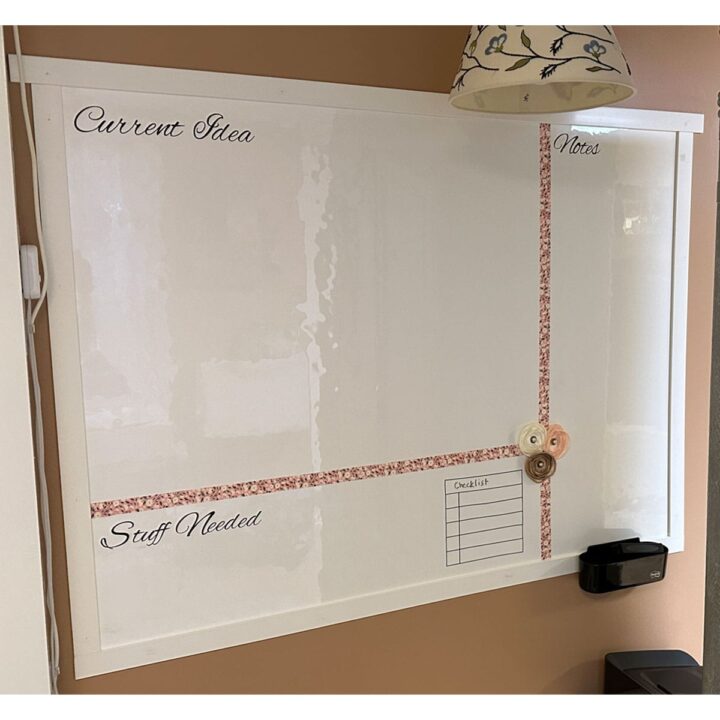
Reveal - Inspiration DIY Board with Trim
Here is what it looks like now. I love the layout and the updated edging. I also changed the Washi Tape (affiliate) and the wording to make them clearer and added a vinyl checklist (affiliate) grid for project planning. Finally, I added the marker holder bin (installed before) using 3M Command tape to the trim.
Visit our other DIY Posts!


Feel free to visit our other dry-erase board and chalkboard DIY projects below.
SECRETS TO MAKING A GREAT WHITEBOARD WALL by Sabrina's Organizing
CREATE A CUSTOM MARKERBOARD by Sabrina's Organizing
THE BEST WAY TO LABEL MASON JARS by Sabrina's Organizing
HOW TO MAKE A DIY CHALKBOARD PANTRY DOORS by Sabrina's Organizing


Michelle says
This is such a cool idea! I had no idea that stuff existed. It would work perfectly for our homeschool room, too. I'm so glad I came across your post today!