Every Friday, I like to share an upcycling project that will help you get organized and keep your home looking pretty. This post shows a way to create a DIY Christmas Tree Felt Can to carry gifts or use to help organize things in your home or office space.
Last year, I made another one, and you can see those instructions here: HOW TO TURN A SOUP CAN INTO A CUTE CHRISTMAS PEN HOLDER. Last week, I also made one called DIY Christmas Lights Can Holder - Upcycle a Can.
Jump to:
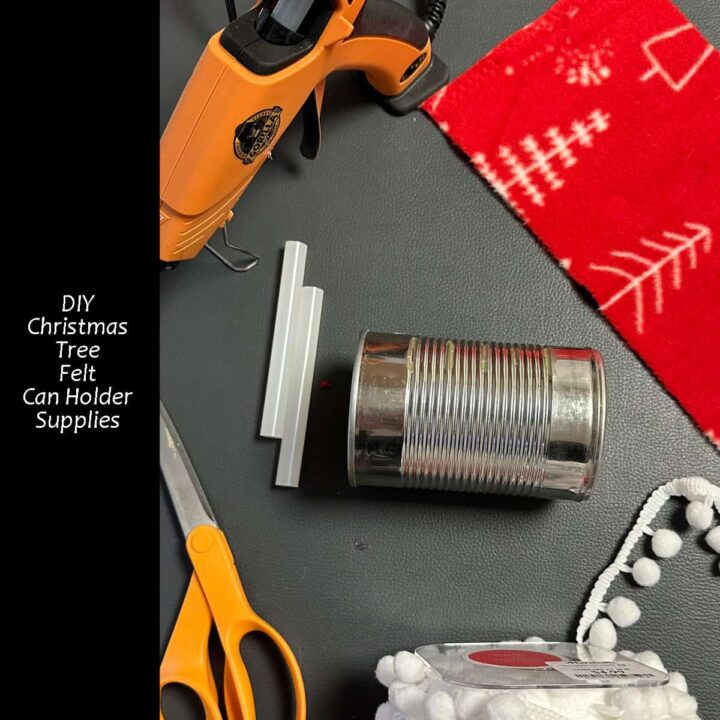
What supplies did I use to make this Christmas Tree Felt Can Holder?
Supplies used:
- Felt holiday theme - this one had white Christmas Trees on a red background - purchased from Joann's fabric
- Soup Can
- Glue gun and glue sticks
- Scissors
- Fabric Ribbon with balls attached - white
- Foam sheet for the inside of the can (optional) – White or white felt with adhesive on the back
Disclosure: at no additional cost to you, if you click through and buy something on Amazon (affiliate), I will receive a small referral fee. Thank you for supporting my small business.
How much did it cost to make this updated Christmas Tree Felt Soup Can?
The cost of this project was about three dollars. Since I had pretty much all the supplies on hand, and I didn't use all of what I purchased, I will be using them for other projects.
How long did it take to make this Christmas Tree Felt Soup Can?
It only took about 1 hour to make it from start to finish.
How did I make this Christmas Tree-Felt Soup Tin can?
First, clean and dry the soup can. Then, measure the felt so that it is over on the top and bottom of the can about 1 inch. It should be about ½ inch above and below the can.
Then, starting from one side, add the back of the felt to the can and keep gluing and pressing the felt around the can, making sure there is an even amount of fabric on the top and the bottom of the can. Fold the felt and hot glue, then add hot glue to the felt on the can and crease.
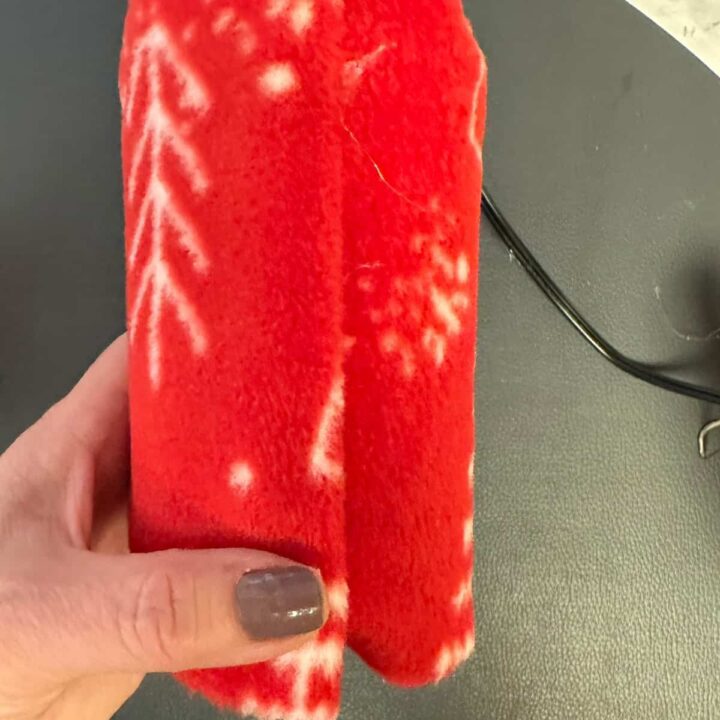
Now, hot glue the bottom flat so that the can is sitting level on a surface.
Next, hot glue the top so it is adhered to the inside of the can.
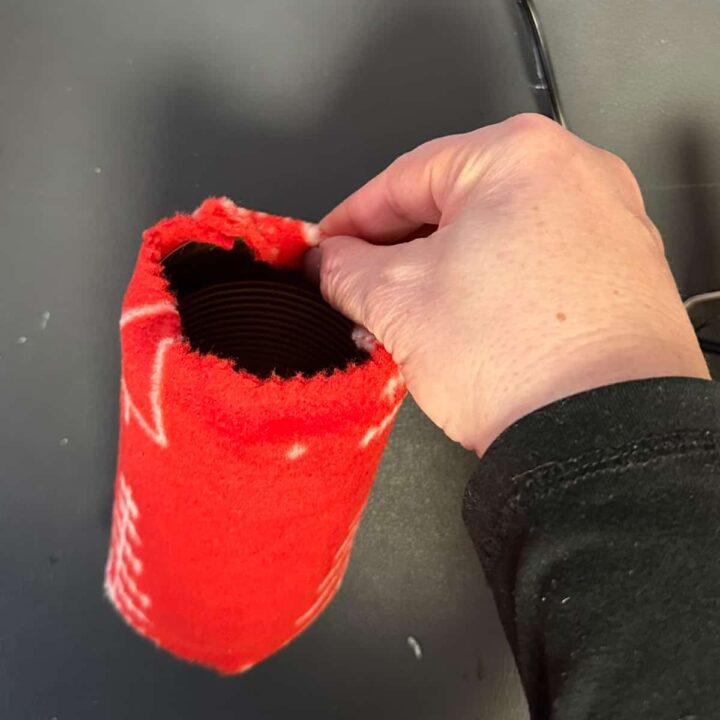
OPTIONAL: If you want, you can add a piece of foam sheet or self-stick felt. Cut it about ½ inch shorter than the height of the inside of the can. Add hot glue to the can and press the foam sheet to the inside walls of the can. By doing this, you will not see the liner from the outside.
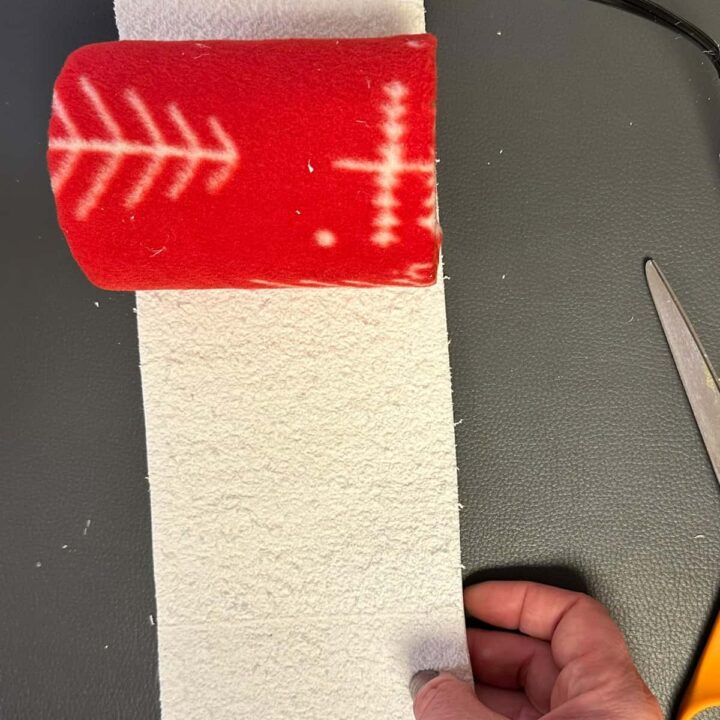
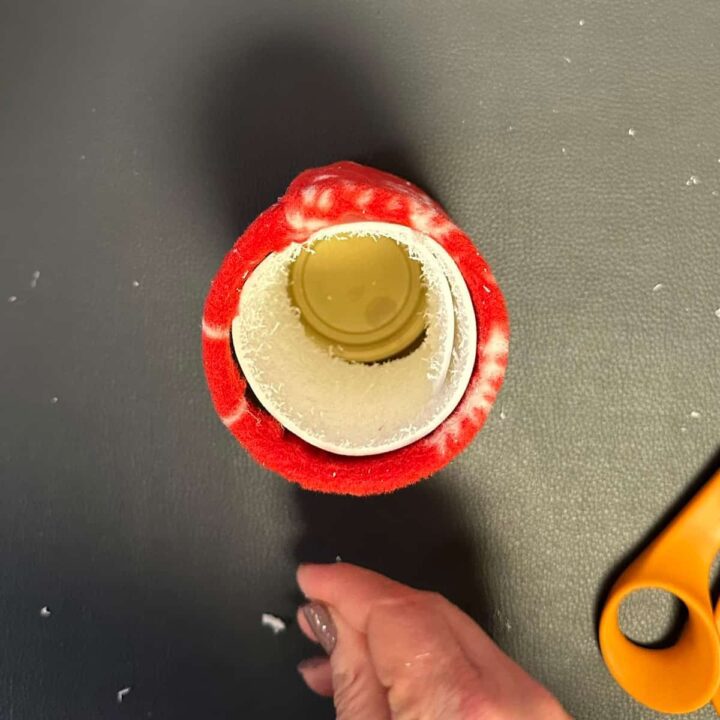
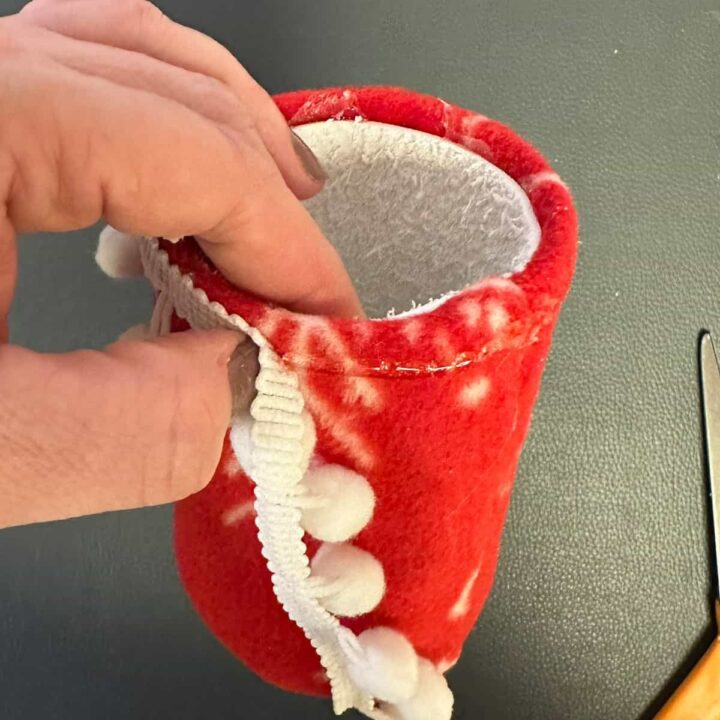
The last step is to cut the ribbon the length of the can exterior. Mine was about 9 ½ inches. Start where the seam is, add hot glue around the top outside of the can, and press the ribbon.
The Big Reveal
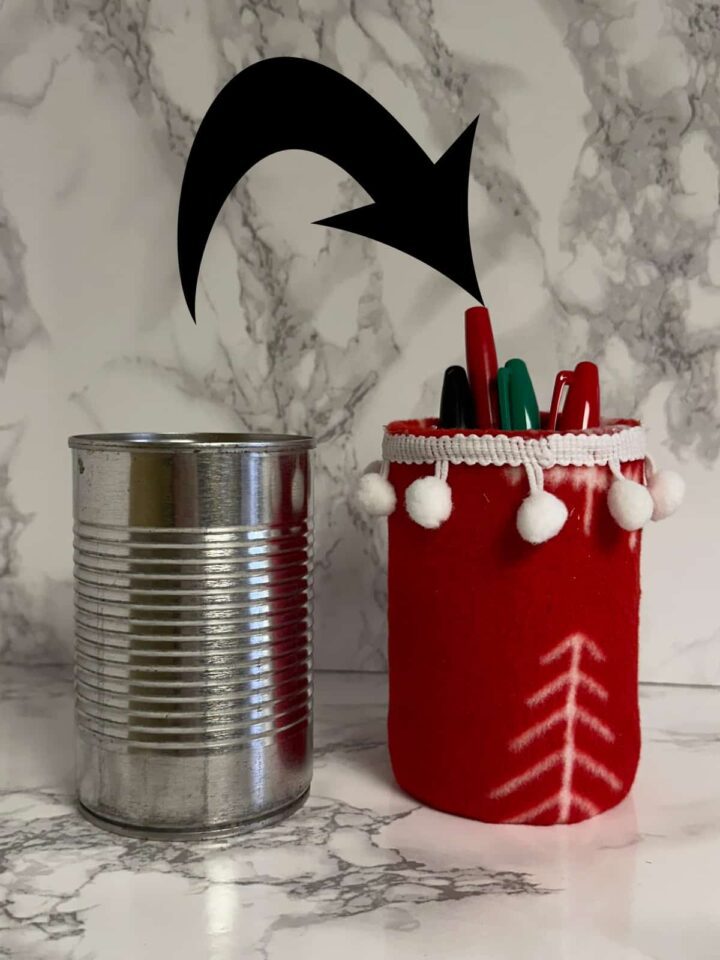
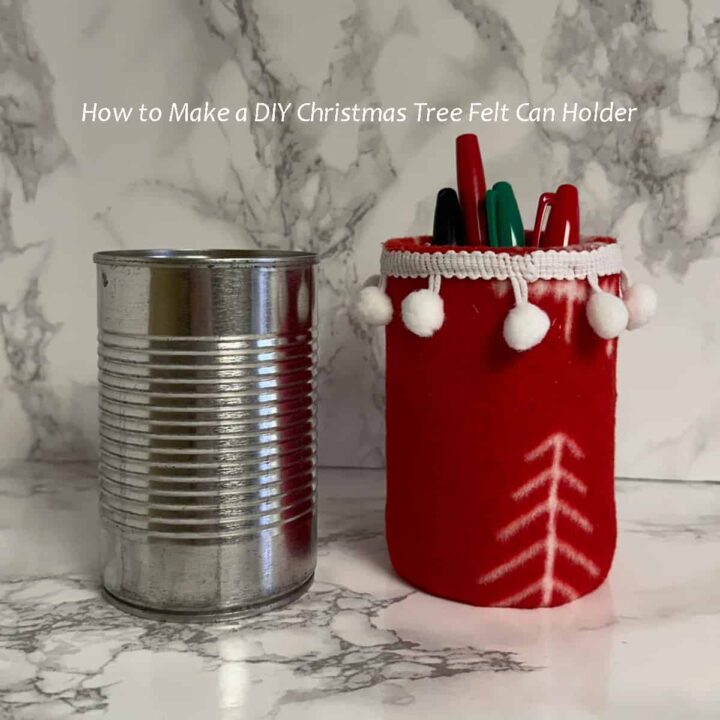
And here is what DIY Christmas Trees Felt Can looks like now. It's cute, and I am definitely going to use it during the holidays.

I hope this DIY Christmas Trees Felt Can project offers a wonderful accessory to your home and office. Please share any tips or questions you may have if you want in the comments section below.
Visit our other tin can upcycling DIY projects for more inspiration.






Leave a Reply