Place cards for Christmas are super helpful when many people come to your home. They can also look elegant and lovely, and they eliminate the "where should I sit?" question invitees ask all the time. They even add to the table decor when matched with the tablecloth (affiliate) and plates.
This one is pretty simple to make. I already had some of the supplies from other projects.
Jump to:
- What are place cards?
- This Christmas Place Cards DIY project includes the following supplies.
- How much did these items cost to make?
- How long did it take to make the Christmas Place Cards project?
- How to make these adorable Christmas Place Cards?
- The Big Reveal of These Cut Christmas Place Cards:
- What are some things you should know when doing this project?
What are place cards?
Usually used for more formal larger events, place cards had the attendee's name and their table number on them. People use them for weddings and larger events. It has been adapted to home party use.
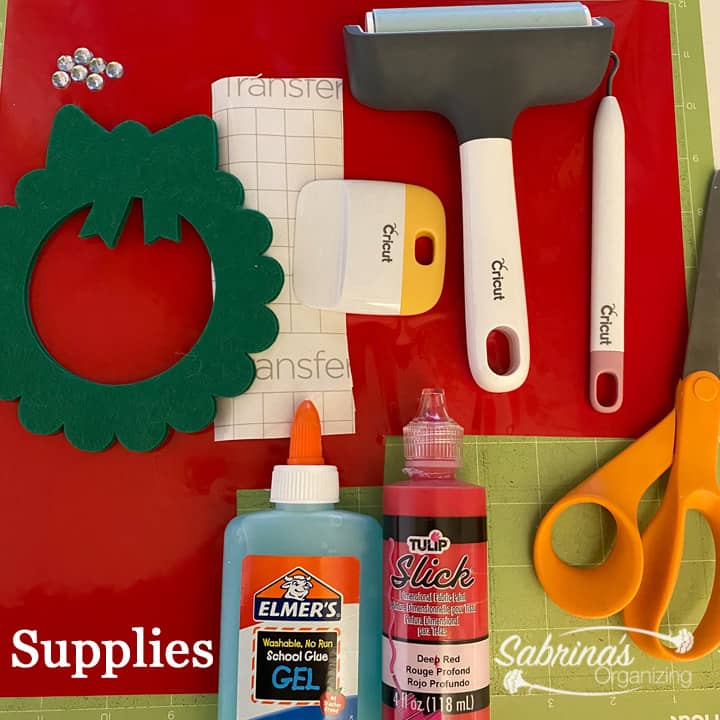
This Christmas Place Cards DIY project includes the following supplies.
7 craft white gems about ¼ inch in diameter per wreath - this link is from Amazon (affiliate) (affiliate)
Green Felt Wreath - small and flat - I found these at Michaels
Permanent Premium red vinyl - this link is from Amazon (affiliate) (affiliate)
A Cricut Roller - this link is from Amazon (affiliate) (affiliate)
Cricut Weeder
A Cricut Scrapper
Cricut Machine - this link is from Amazon (affiliate) (affiliate)
A Cricut StandardGrip - this link is from Amazon (affiliate) (affiliate)
Transfer Vinyl - this link is from Amazon (affiliate) (affiliate)
Scissors (affiliate)
Elmer's clear glue - this link is from Amazon (affiliate)
Red fabric paint - this link is from Amazon (affiliate)
How much did these items cost to make?
Well, the only thing I bought was the wreaths, which were 15 for $5.00. The gems and other things were from other DIY projects.
How long did it take to make the Christmas Place Cards project?
It took about 3 hours, including 2 hours of dry time. It will be longer if you have more than eight place cards to make.
Now, let me show you how I made these cute place cards for our holiday table.
How to make these adorable Christmas Place Cards?
Decorate the wreath with red 7 dots. Leave enough space for the gems. Add the dots to all of them the same way. Let dry.
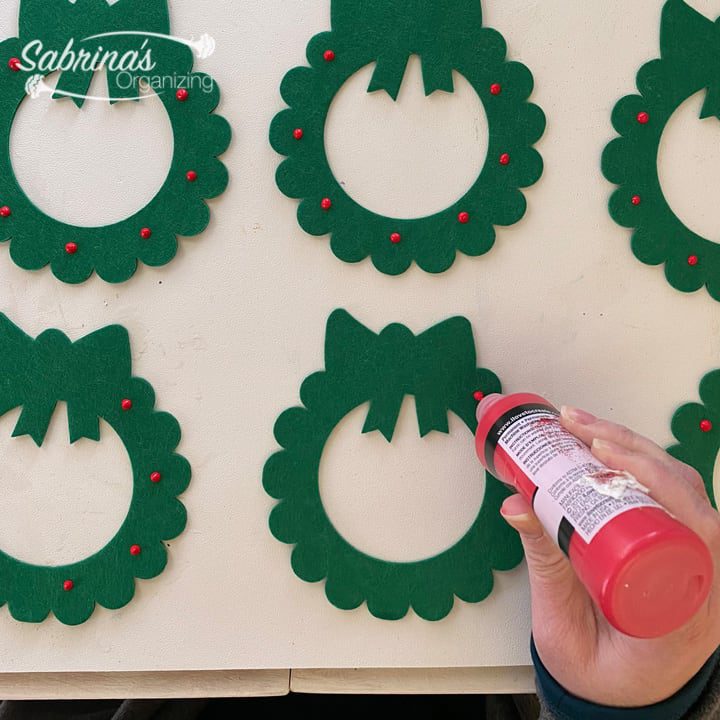
Now, it is time to add the gems. Add the gems to the opening from every other red dot. Let dry completely.
On the Cricut Machine and app, I wrote the name in less than 2 inches wide. I used an Arial font so that it would cut more easily and be easier to read when displayed on the plate.
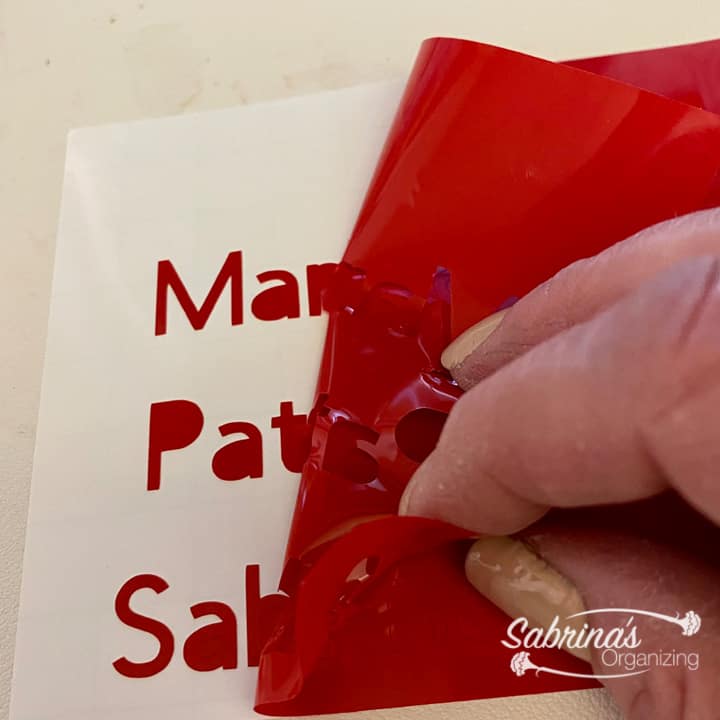
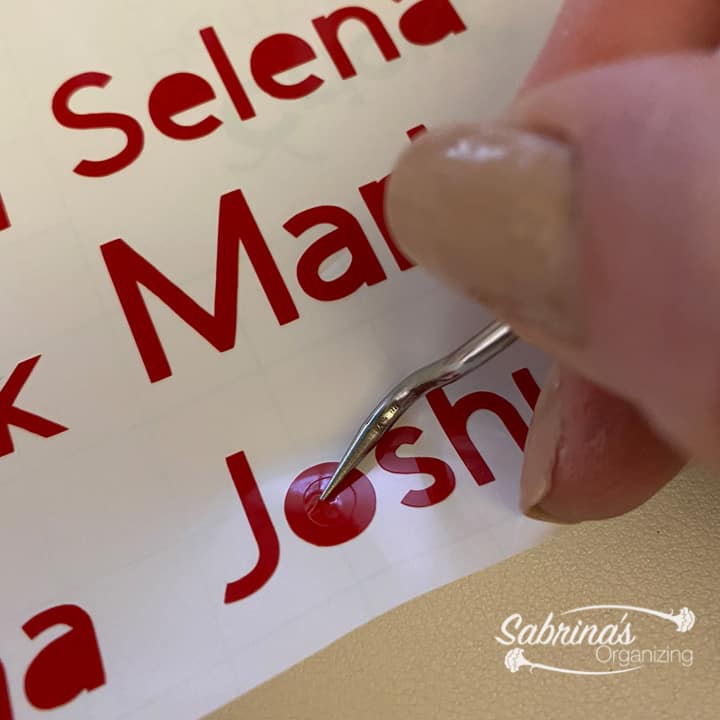
After the cutter is finished, remove the excess vinyl and weed out the letters.
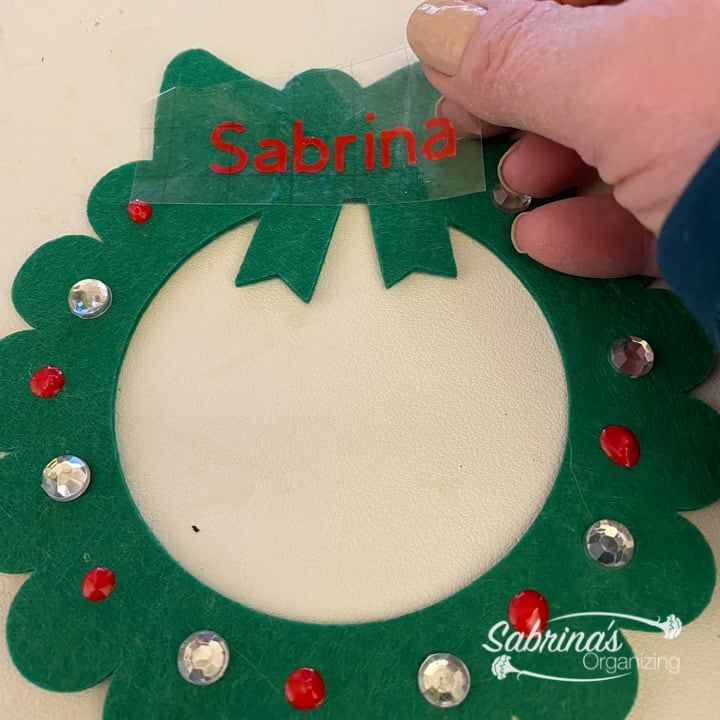
Using the transfer vinyl, press the names down and transfer them to the top of the wreath where the bow sharp is. Press down firmly.
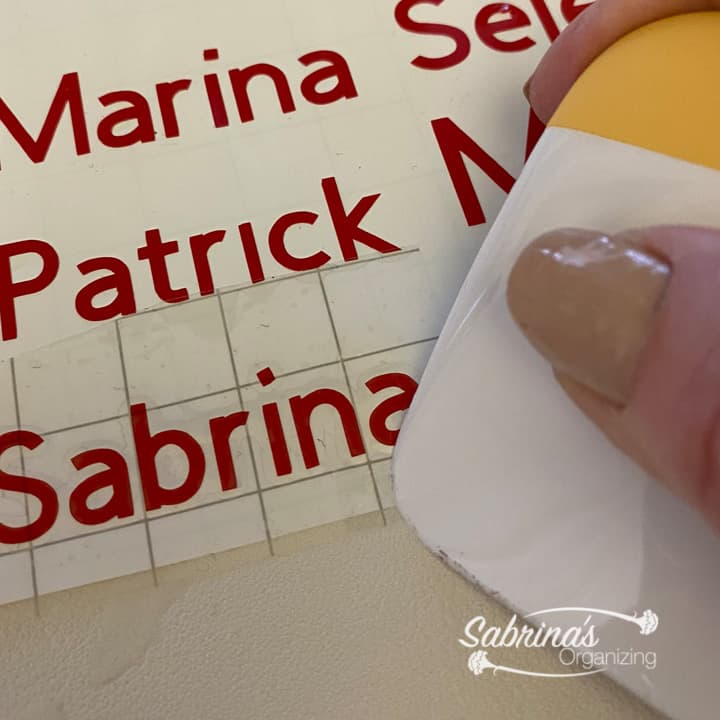
Add the transfer paper and name to the top part of the wreath and press firmly. Set aside and do the next one.
Continue doing all the attendees' names for the party.
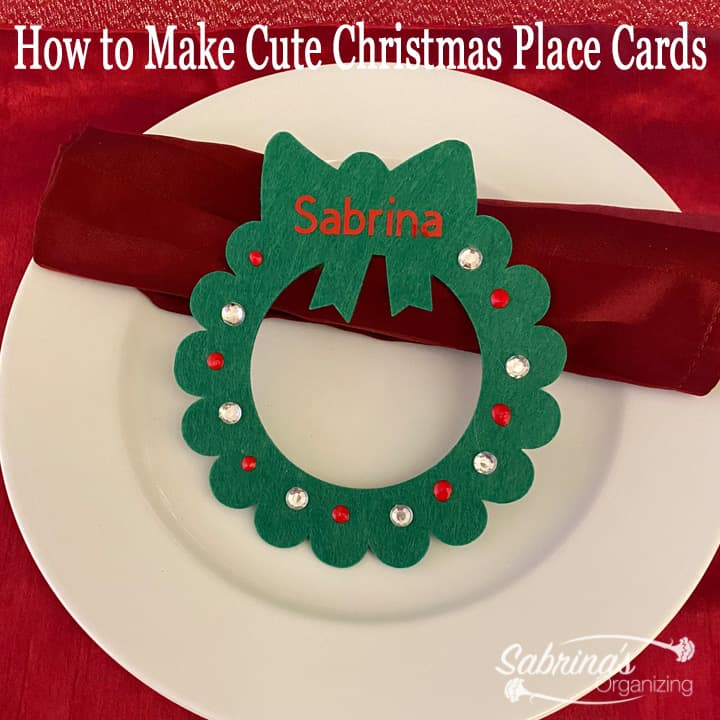
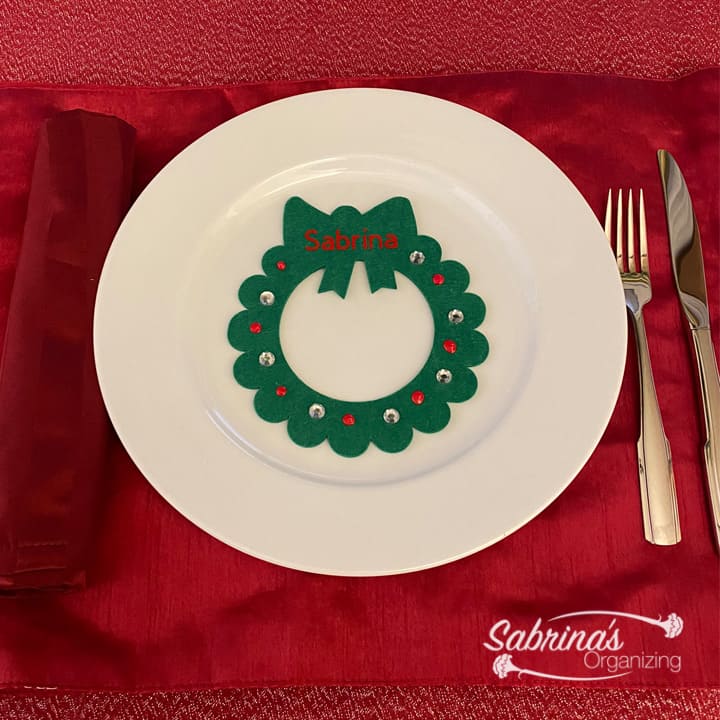
The Big Reveal of These Cut Christmas Place Cards:
Here's the big reveal. I used a white plate to allow the name card to pop. And the red in the wreath also pops and matches the linens.
What are some things you should know when doing this project?
Clear glue is best when adding gems.
The two-inch width for the name was primarily because I had that much space left at the top of the wreath. If you find larger or smaller wreaths, you must adjust this width.
Now it is your turn.
What do you think? Would you make this? Please leave a comment or questions below. I would love to hear from you.
Visit our other Christmas home decor posts for more ideas!
CHRISTMAS TREE GREETING CARD WALL DECOR
HOW TO MAKE A DIY HOLIDAY DECORATION REVERSIBLE SIGN
HOW TO MAKE AN EASY DIY HOLIDAY CENTERPIECE FOR ALL SEASONS
Please note these are affiliate links through Amazon and at no additional cost to you, I will earn an affiliate commission if you click through and decide to make a purchase.