While prepping for Christmas Eve, I realized I didn't have a centerpiece for the table. Every holiday, I love making a centerpiece because I don't want to spend a significant amount of money on buying one already put together and because it's a fun searching and finding items in my home and on clearance to create a beautiful holiday centerpiece. Here is what I did for Thanksgiving.
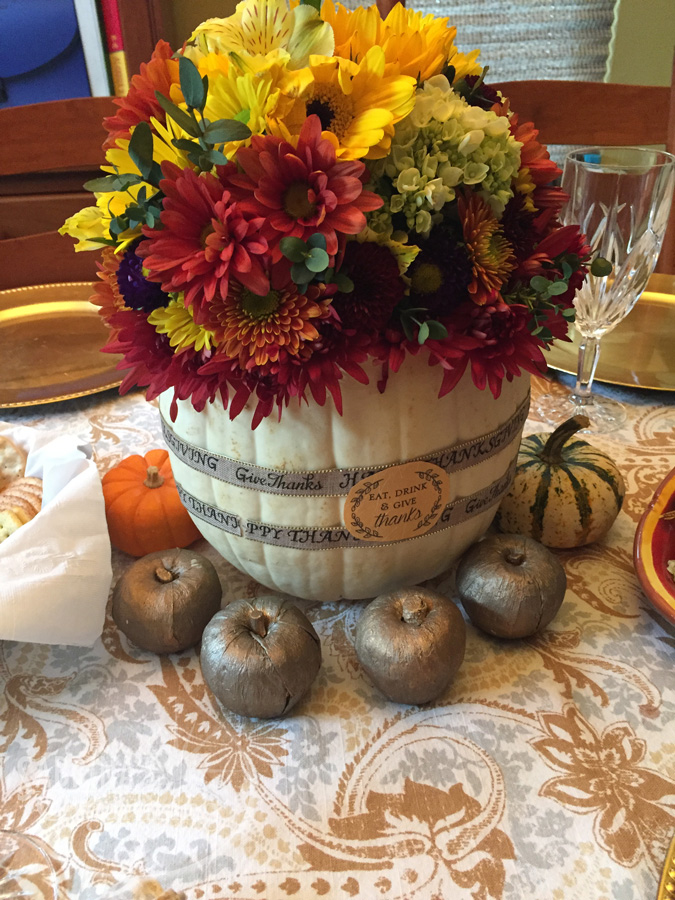
For this centerpiece, I used fresh flowers and a real pumpkin with double stick tape, ribbon, decorative paper, and floral foam. It was the first time I used floral foam, and it was easier to arrange the flowers in the pumpkin. I purchased ribbon from the craft store and found the printable online and printed it on silk paper a client of mine gave to me. It took about 15 minutes to put together, and everyone loved it.
Getting back on topic, I wanted to create a craft for the center of my table that was straightforward and elegant but didn't cost a significant amount of money.
Jump to:
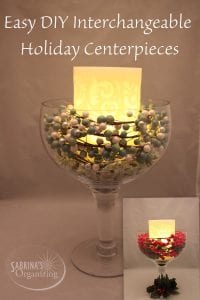
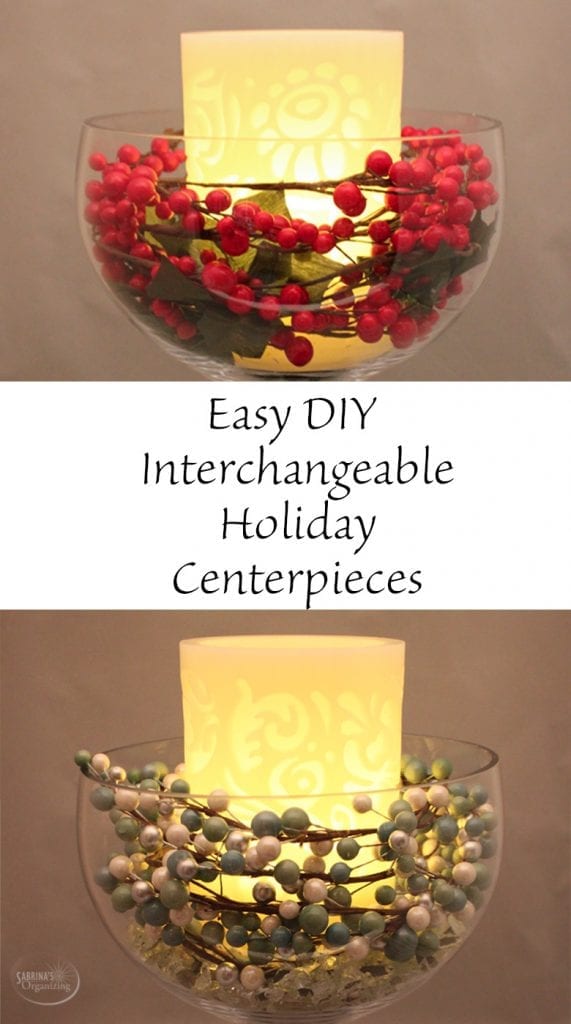
Easy DIY Interchangeable Holiday Centerpieces
While at the craft store, I saw (affiliate) so many different items that I wanted to use for my centerpiece it was hard to decide. It occurred to me that there were two holidays so close together that I should be flexible in my design so I could change it easily.
Tip: If you want to do craft projects, go to the craft store a few weeks before the holiday. All the items will be at a deep discount. Each item I purchased was at least 50% off. I got all these items listed below for $15.56 (including tax and a $10.00 reward I received from the craft store.) Cha-ching!
Ingredients for the Craft Project:
Glass Cup Margarita style $4.45
Embossed LED light candle (battery operated) $4.75
2 Holly bush silk flower bunches $.72
1 Garland Berry style in red $2.38
1 garland berry in blues and silver style $2.38
1 broken glass piece $0.00
Hot Glue or double-stick tape
How to set up the two centerpieces:
- I gathered the pieces and removed all store tags.
- Remove the light from the packaging.
- Straightened out the craft garlands.
- Clean the margarita-style glass and dry.
- Remove the tips of the holly bush flower bunches.
- Start assembling.
- Add the battery-operated candle.
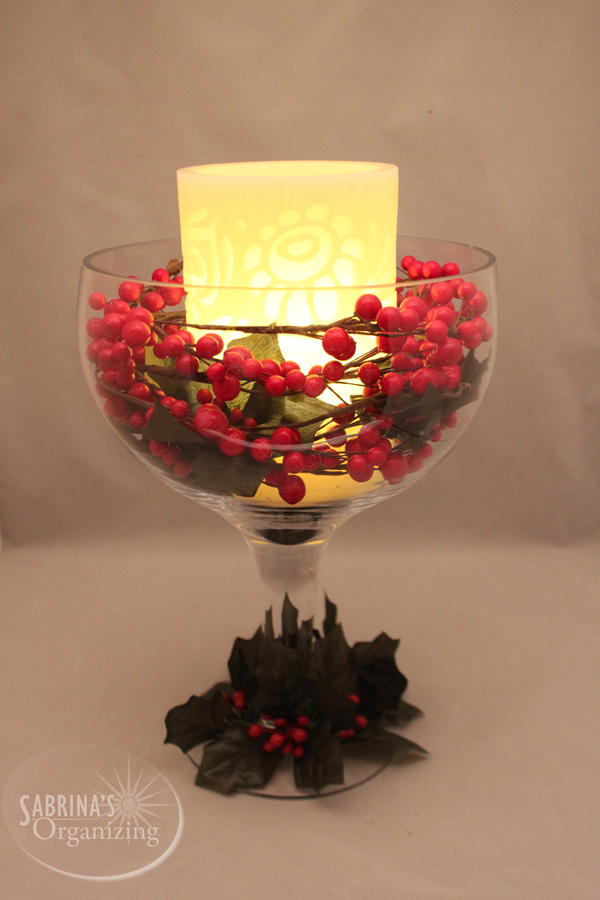
- For the holly centerpiece: Run the garland around the candle and add the tips of the holly bush flowers as you go with the garland. Add the holly berries with double stick tape to the base of the glass. For more permanent, use hot glue to affix it.
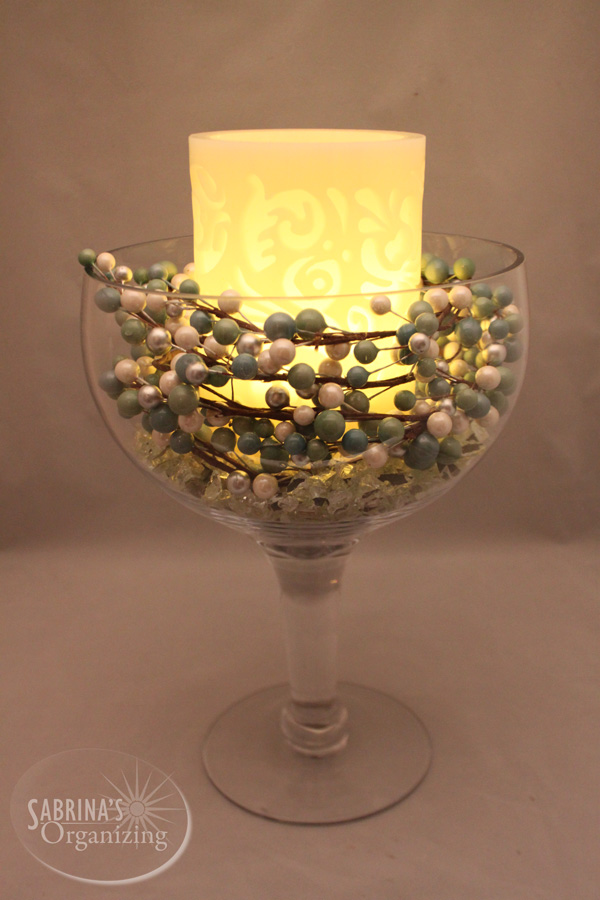
- For the Blue and silver centerpiece: Add the broken glass under the candle. Then add the candle and run the blue and silver garland around the candle.
That's it! What do you think of the finished products?

Please note these are affiliate links through Amazon (affiliate), and at no additional cost to you, I will earn affiliate fees if you decide to make a purchase.
UPDATE DIY holiday centerpiece June 2017:
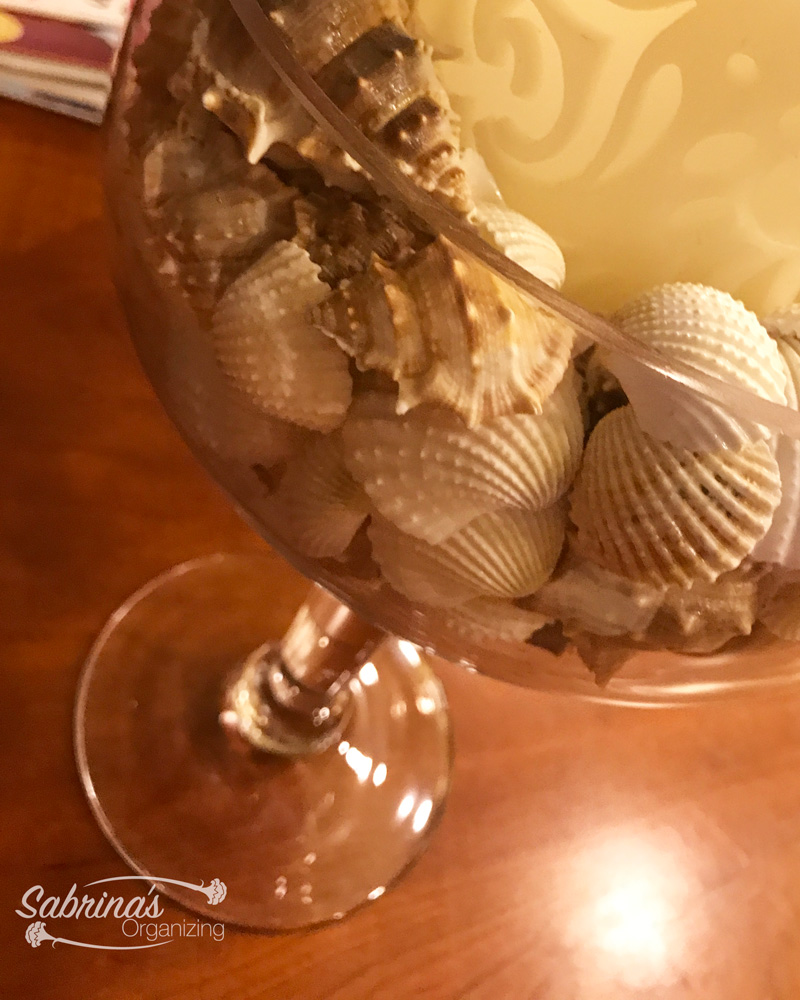
It's now summer, and here's how I decorated my centerpiece. I took out the beads and replaced them with seashells. Check it out. What do you think?
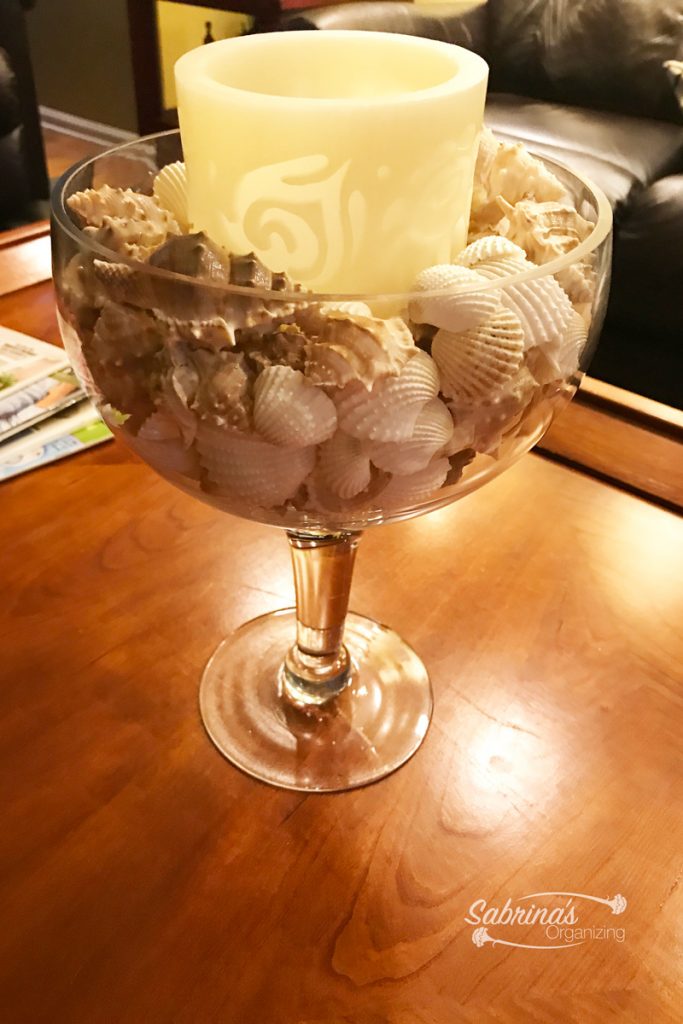
The shells were in a box that I found at Target. But if you collect shells, feel free to use them as well. I like them, and it reminds me of the beach, which is where we will be vacationing this summer.
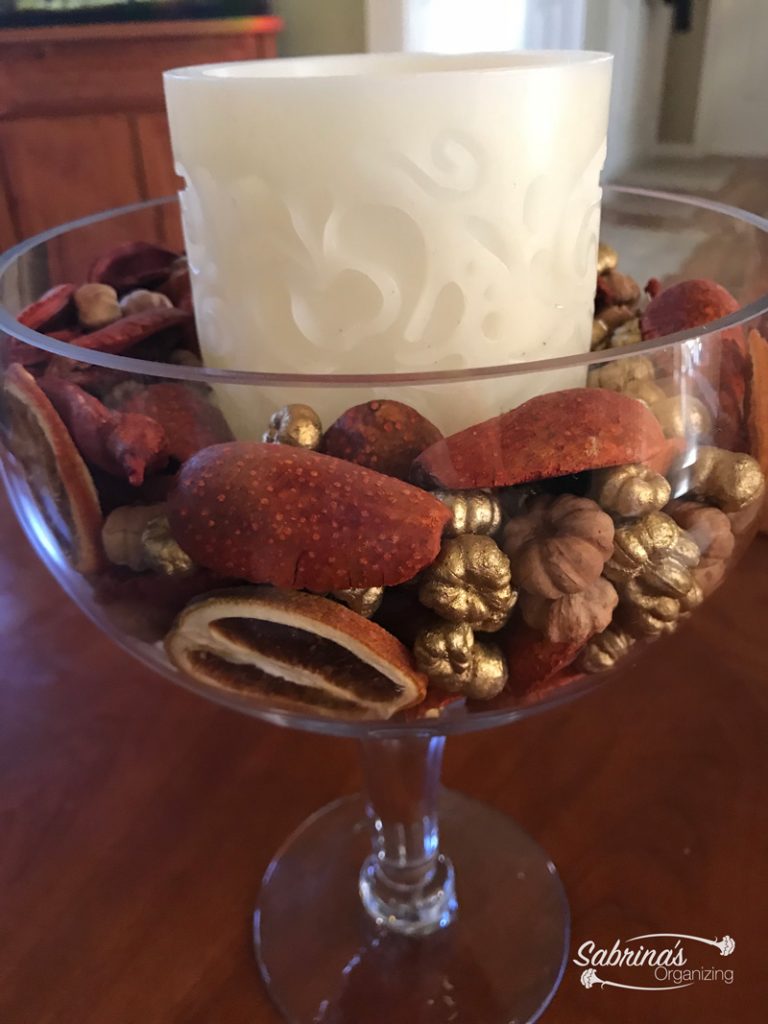
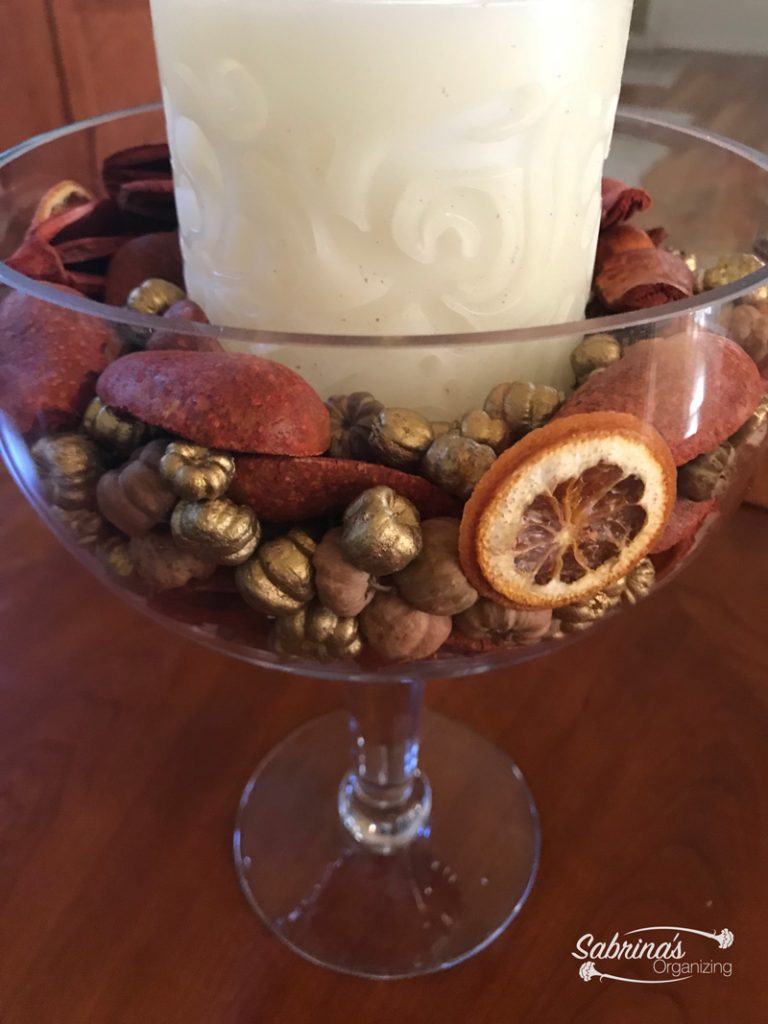
DIY holiday centerpiece Fall season
I purchased some fall-dried fruit this year to update my seasonal centerpiece. Check it out.
Updated 2022 DIY holiday centerpiece video:
Doesn't it look pretty? I love this one a lot. Do you have any decorations that you change out for each season? Please leave a comment below. I would love to hear from you.



Janet Barclay says
You are so clever to come up with all these nifty ideas! I wish I had that talent.
Sabrina Quairoli says
Thanks, Janet. =)