I saw (affiliate) several reversible signs on Pinterest and in catalogs recently and thought I could create a customized version of it for my own home. This DIY Reversible Sign project is more affordable, and I could write whatever I wanted on it. The signs were scrap wood I had from our Stonewall patching project. If you want to read about that DIY post, visit this link.
Feel free to scroll through to see how to make the reversible porch sign and how I updated it.
Jump to:
- Harvest and Joy DIY Reversible Porch Sign
- List of Items needed to make this DIY Reversible Sign.
- Here's how I made this DIY Reversible Sign.
- Use carbon paper to transfer the letters to the wood.
- Subscribe
- Add Accessories to the Sign.
- Display the sign on your porch!
- How much did it cost to make this sign?
- How long did it take to make this reversible porch sign?
- Fall 2022 UPDATE:
- How to Update a DIY Holiday Porch DIY Reversible Sign
- BEFORE:
- Supplies I used to update the DIY Reversible Sign.
- How long it took me to make this update on the DIY Reversible Sign?
- How much did it cost to do this update on the DIY Reversible Sign?
- How I make this adjustment to this DIY Reversible Sign?
- Reveal of the updated DIY Reversible Sign:
Harvest and Joy DIY Reversible Porch Sign
Here's how I created my Harvest and Joy reversible outside decoration sign to add to my decorations. I hope this inspires you to create one for yourself.
There are not many items needed for this project, especially if you enjoy doing DIY projects. I had everything on this list left over from other DIY Projects I had recently done.
List of Items needed to make this DIY Reversible Sign.
The links below are from Amazon (affiliate)(affiliate). If you click below and buy something there, I will receive a small commission at no additional cost. Thanks for supporting my small business!
Carbon paper (Affiliate Link)
Printer (Affiliate Link)
Pencil or pen
8-10 inches wide and 4 feet long piece of spare wood
One Black chalk spray can (Affiliate Link)
One thin-tip paintbrush (Affiliate Link)
One bottle of white acrylic paint (Affiliate Link)
Here's how I made this DIY Reversible Sign.
Spray painted the sign with black chalk spray paint. Added two coats.
I printed out large letters (Click here to pick up the FREE PDF for these words). Then, I added some extra holiday pictures if you want to use them.
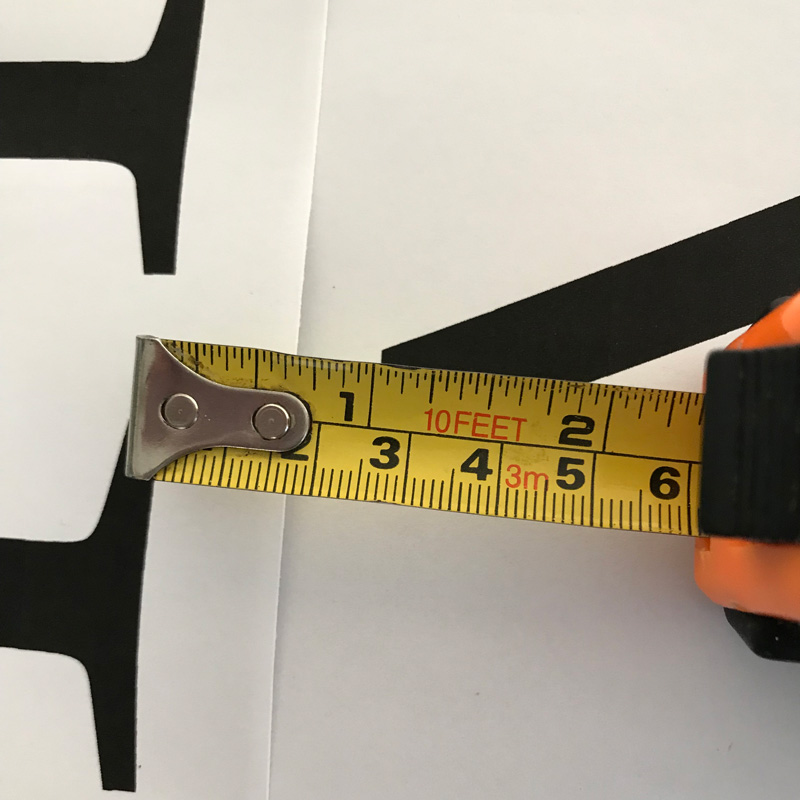
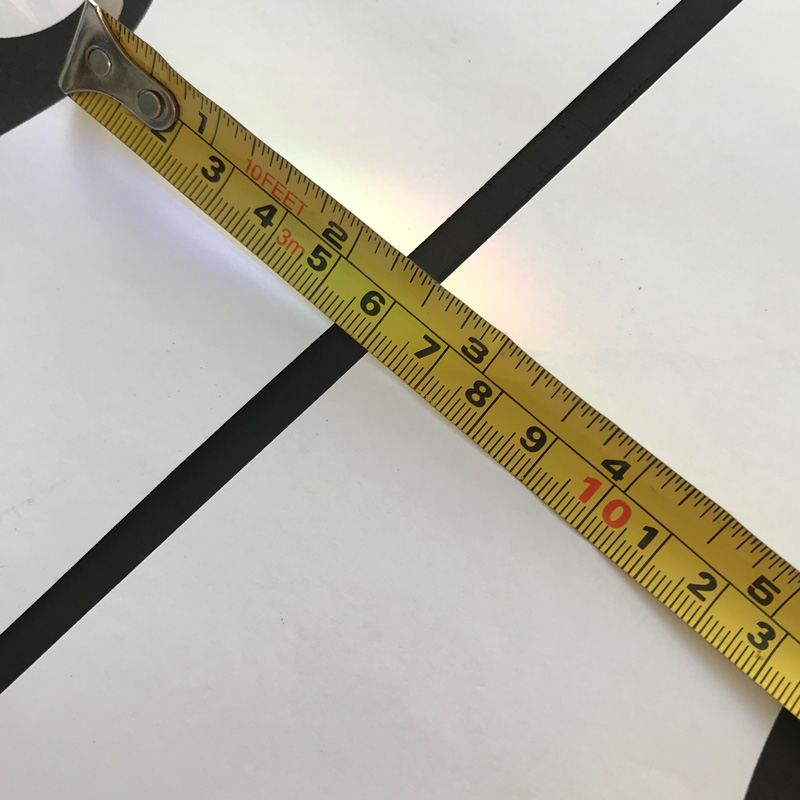
I left about 18 inches from the bottom and then placed the Harvest letters about 1 inch apart from the other. To space it out correctly, I leave about 8 inches from the top for the ribbon.
Use carbon paper to transfer the letters to the wood.
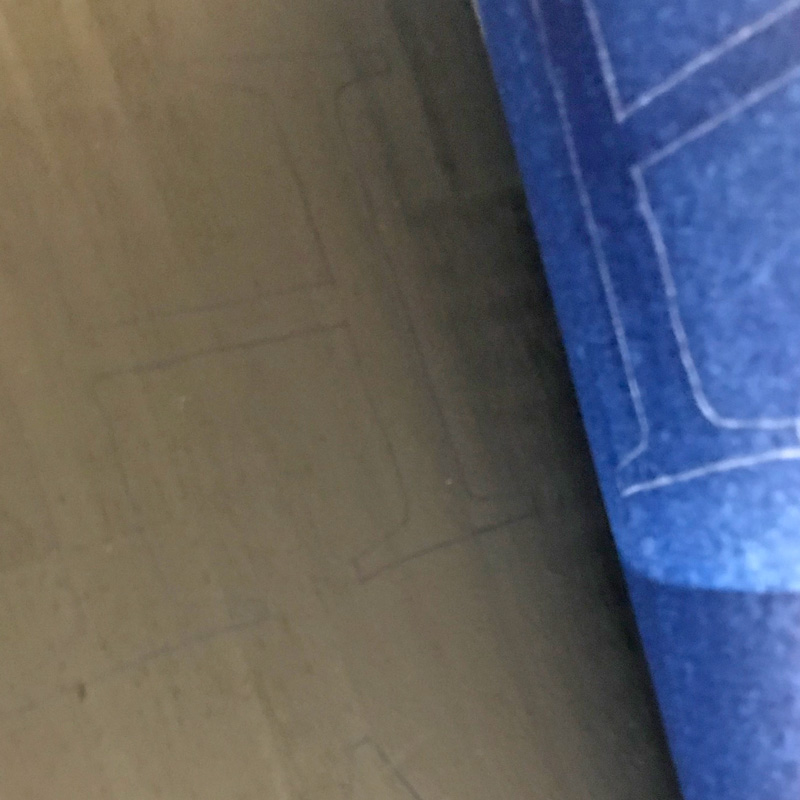
Use Painter's tape (affiliate) and adhere one side of the signs to the board, allowing yourself to lift up one side and slide the carbon paper(aff) under it. This carbon paper will help when tracing the letters.
Trace each letter. Press hard enough to transfer the shape of the letter to the wood.
Use white paint and a thin-tip paintbrush and paint the inside of each letter.
Let dry, and then add a second coat.
Let dry, and do the other (Joy) side.
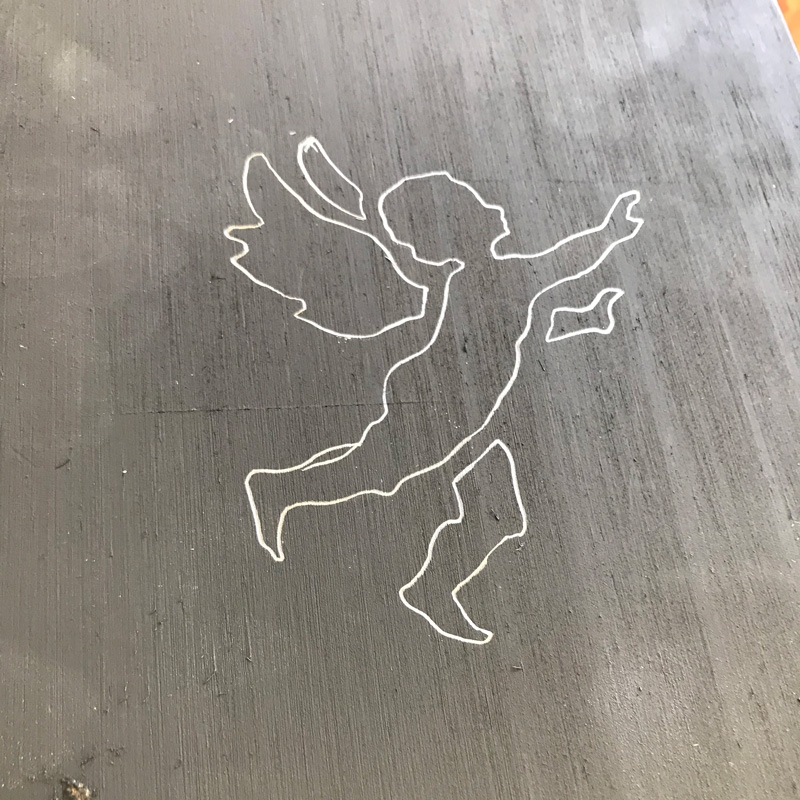
Add the stencil (angel) and then paint the inside.
Retrace the letters with the Joy paper (Steps 4-7) and let dry after you paint.
By signing up for my newsletter, get a copy of these letters to use for the sign and all my other ebooks.
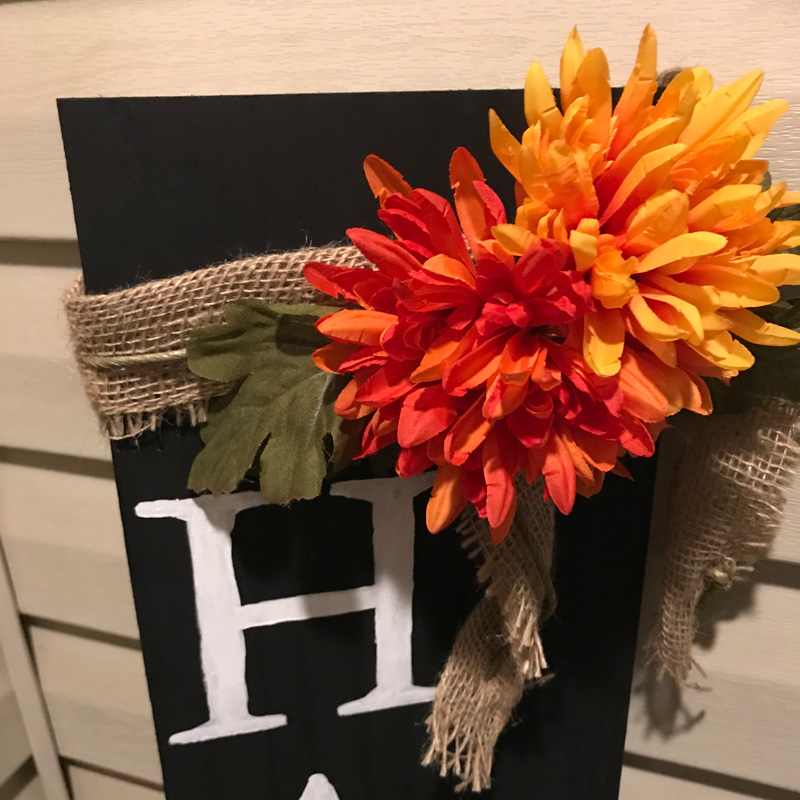
Add Accessories to the Sign.
Optional: Create a ribbon with some fall silk flowers on it. Using the hot glue gun (affiliate), adhere the flowers to the ribbon and wrap the ribbon around the wood.
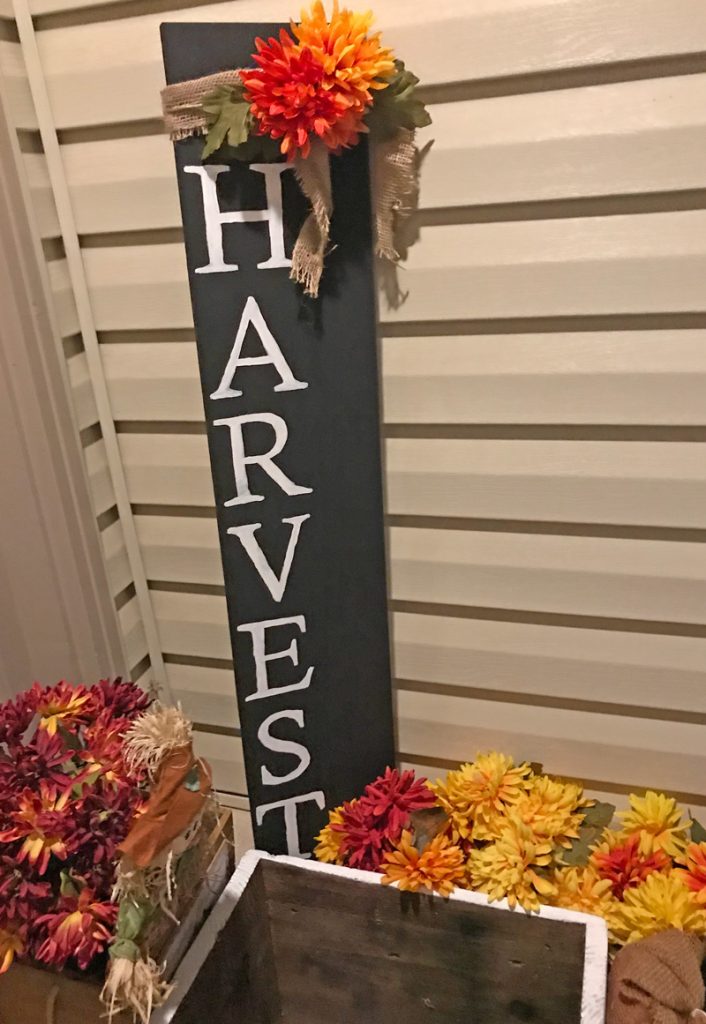
Display the sign on your porch!
Position the sign up against a wall or something sturdy and enjoy. I liked to add decorations to the front of the sign to help keep the sign sturdy.
That's it. What do you think? View the joy sign at the very bottom of this post. I hope this inspires you to make this beautiful sign for your front porch. Now it's your turn. Have you made a sign like this for your front porch? Please leave a comment below. I would love to hear from you.
How much did it cost to make this sign?
The wood was scraped from a prior project. The stencil and carbon paper are used on other home DIY projects. And the paint (black and white) was pulled from our collection of paints. So, this project cost me $0.00! Yay! It is truly an upcycling project we loved because we had everything in the home.
How long did it take to make this reversible porch sign?
Because I had to paint the sign and stencil on both sides, it took me about two days to paint and allow it to dry and another day to add the stencil. So, a total of three days.
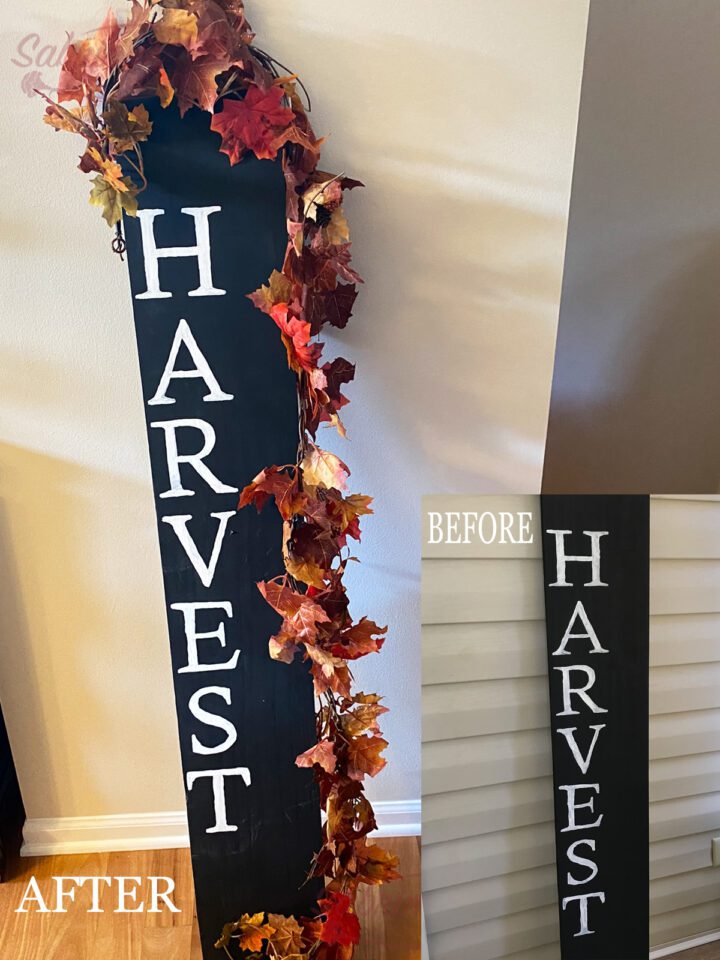
Fall 2022 UPDATE:
How to Update a DIY Holiday Porch DIY Reversible Sign
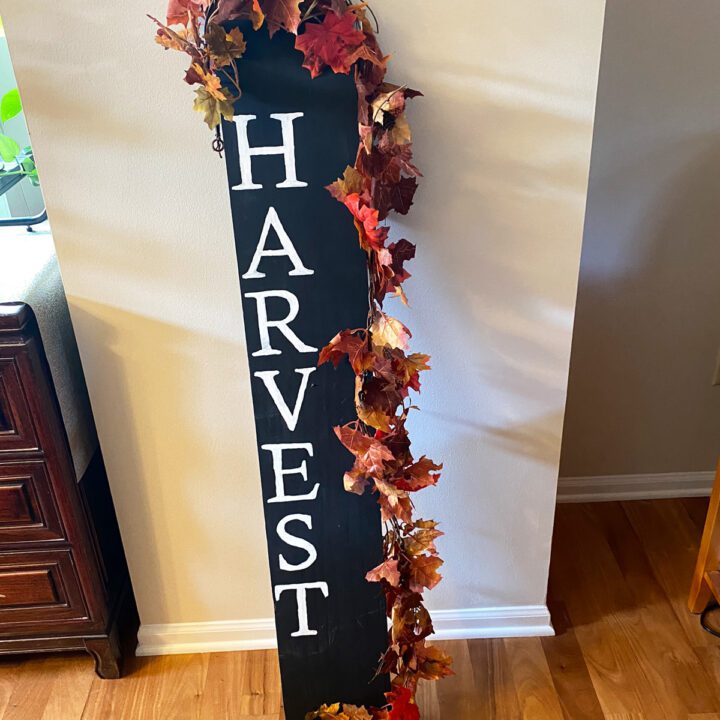
This year, I changed my DIY Reversible Sign to hold a silk ivy around the edge to soften the sign. Here is how it looked before:
BEFORE:
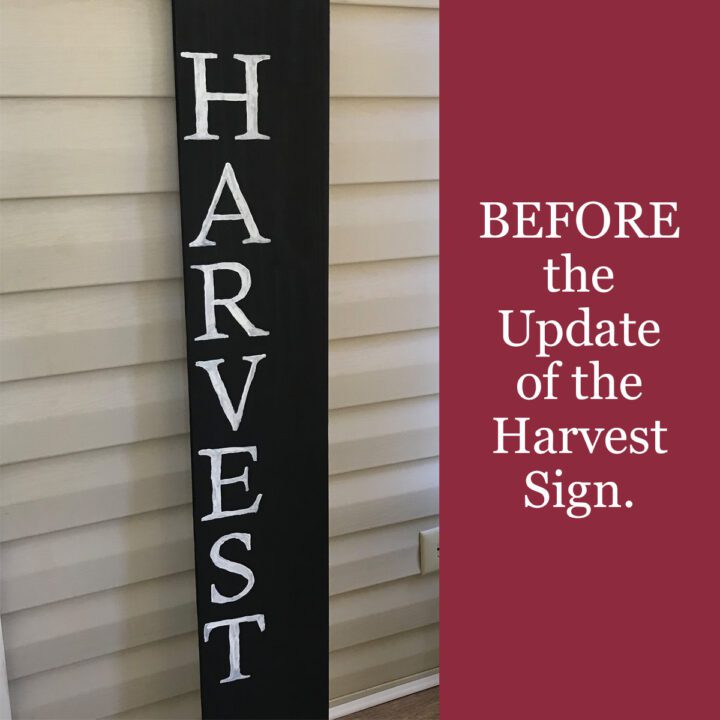
It was cute, but I wanted something more. Something that would flow down the side of the sign and hide the black paint a little more.
Supplies I used to update the DIY Reversible Sign.
2 - leaf ivy garland >> The link is from Amazon (affiliate) (affiliate)
5 to 6 - 4 Command(TM) round cord clips >> this link is from Amazon (affiliate) (affiliate)
How long it took me to make this update on the DIY Reversible Sign?
This adjustment to the sign only took me about 15 minutes to do. And, so far, it is holding up well.
How much did it cost to do this update on the DIY Reversible Sign?
It only cost about $15.00 for the garlands and the clips. I had them both, so I didn't spend a dime. I used the garland from another fall home decor project. If I did buy them, it would cost $15.00 for both.
How I make this adjustment to this DIY Reversible Sign?
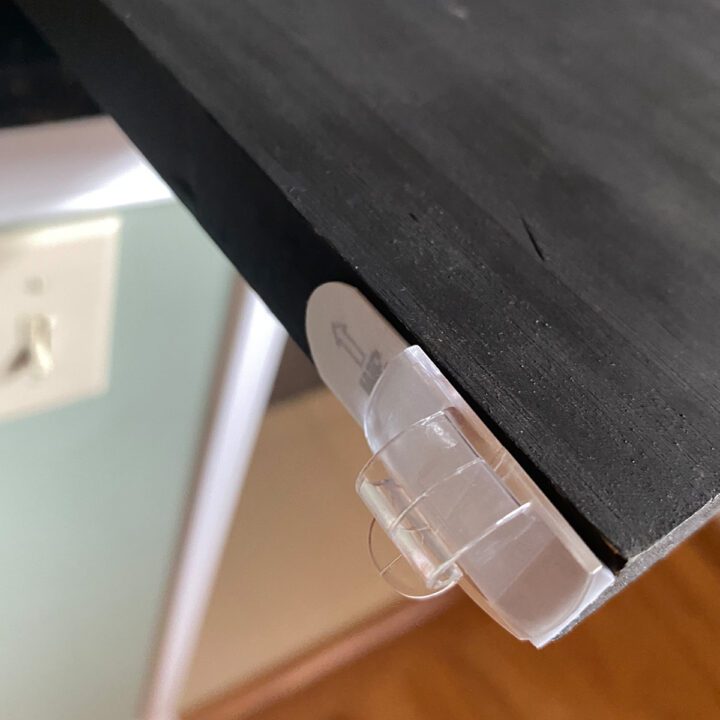
First, I cleaned the wood sign edges with a tack cloth (affiliate) to remove dust. These are the clips I used.

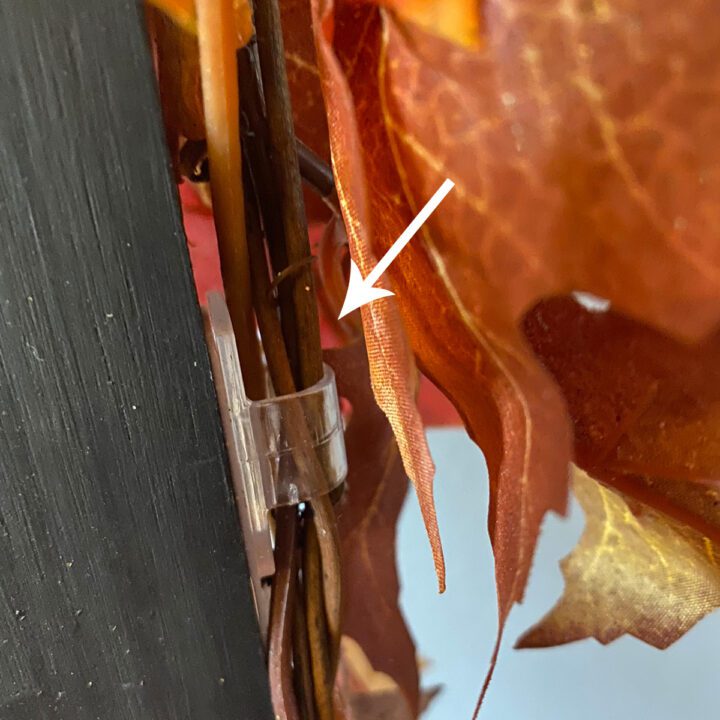
Then, I pressed down the Command(TM) clips to the side of the wood sign evenly spaced and started from the top left corner. I added a clip to the top right corner down the sign where there were no words.
With the other 3-4 clips, I added them evenly down the side of the sign. I wanted to cover the right side of the Harvest side of the reversible sign. Then, let the clips sit for a few minutes before adding the garland.
Starting at the top with the leaf ivy garland, I added them one by one to the clips, making sure they were loosely attached. I started with one garland and worked my way around the sign. Then I added the second garland, being careful not to open the clip too much or it would break.
There was excess garland at the bottom of the sign, which I tucked under the extra plants and pumpkins I had around the sign.
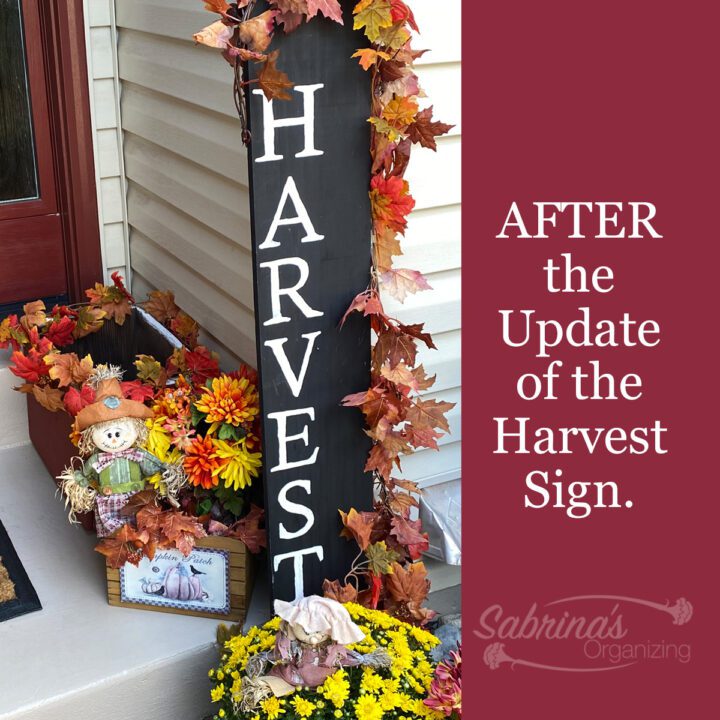
Reveal of the updated DIY Reversible Sign:
Here's what the reversible holiday sign looks like now. Cute, right? I love it. I am so glad I added it to the sign.
Here is what the updated sign looks like on our porch area.
Would you try this on your sign? Please leave a comment below if you do try making this sign and adding the garland leaves. I would love to hear from you.
Please note the links above are affiliate links through Amazon (affiliate), and at no additional cost to you, I will receive affiliate fees if you click through and decide to make a purchase.
Are you looking for some more inspiration? Visit our DIY projects page.


Janet Barclay says
So you just turn it around when fall rolls into the holiday season - meaning you can leave it out there much longer (and not have to store it in the meantime). That is so clever!