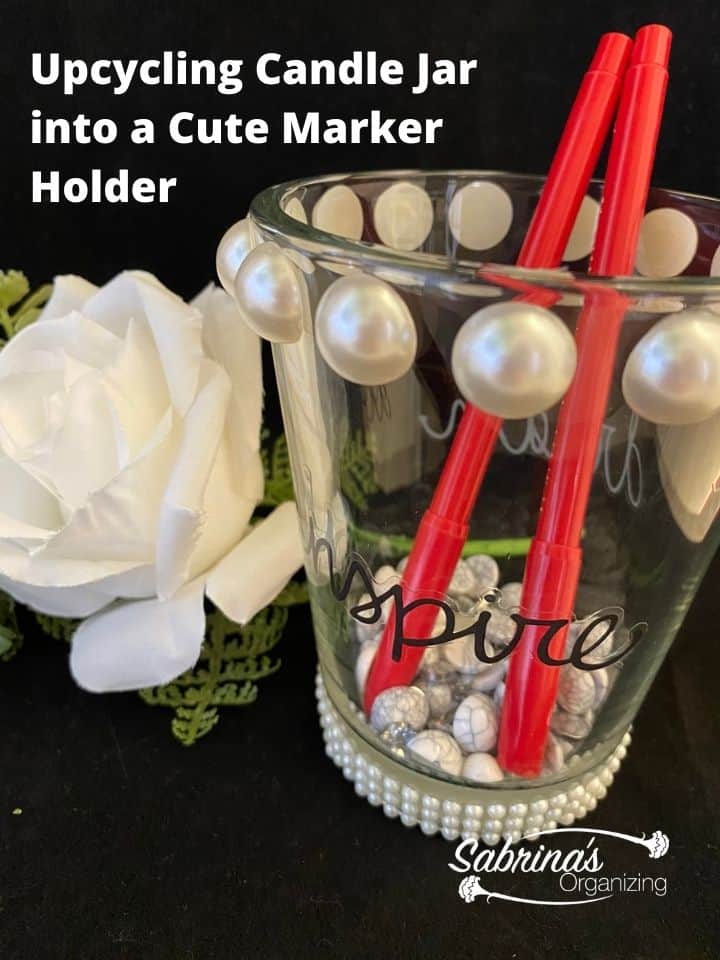
Have you ever loved a glass jar candle, but when the candle was finished, you didn't know what to do with the glass jar? This post will share an upcycling idea for a candle jar to turn it into a cute marker holder.
Jump to:
- Key Takeaways
- What did this jar look like before the upcycling project?
- What tools and supplies were needed for this upcycled candle jar project?
- How much did it cost to do this upcycling project?
- How did I make this upcycling candle jar project?
- How long did it take to make this project?
- The big reveal of this upcycling candle jar project.
- Tips and Tricks when making this project.
- FAQ about my Candle Jar Upcycling Post
Key Takeaways
- This article shares a creative idea for upcycling candle jars into marker holders.
- To start, clean and freeze the jar to remove wax before decorating with half-pearl stickers and labels (affiliate).
- The entire project costs approximately $20, including the candle and supplies from Michael's and Hobby Lobby.
- The project takes about 30 minutes to complete, resulting in an organized, aesthetically pleasing desk organizer.
- Additionally, consider customizing your jar with paint or different stickers for a personal touch.
This candle jar was a Chesapeake Bay Candle(R) - Yankee Candle. My daughter loves candles (affiliate), and she knew I was doing upcycling projects for organizing, and thought I could use this one after she was finished with it. The candle was smooth and cleaned out easily, so I said, "Sure, I will take it. It's a very nice, thick jar and smooth, so it made it easy to upcycle.
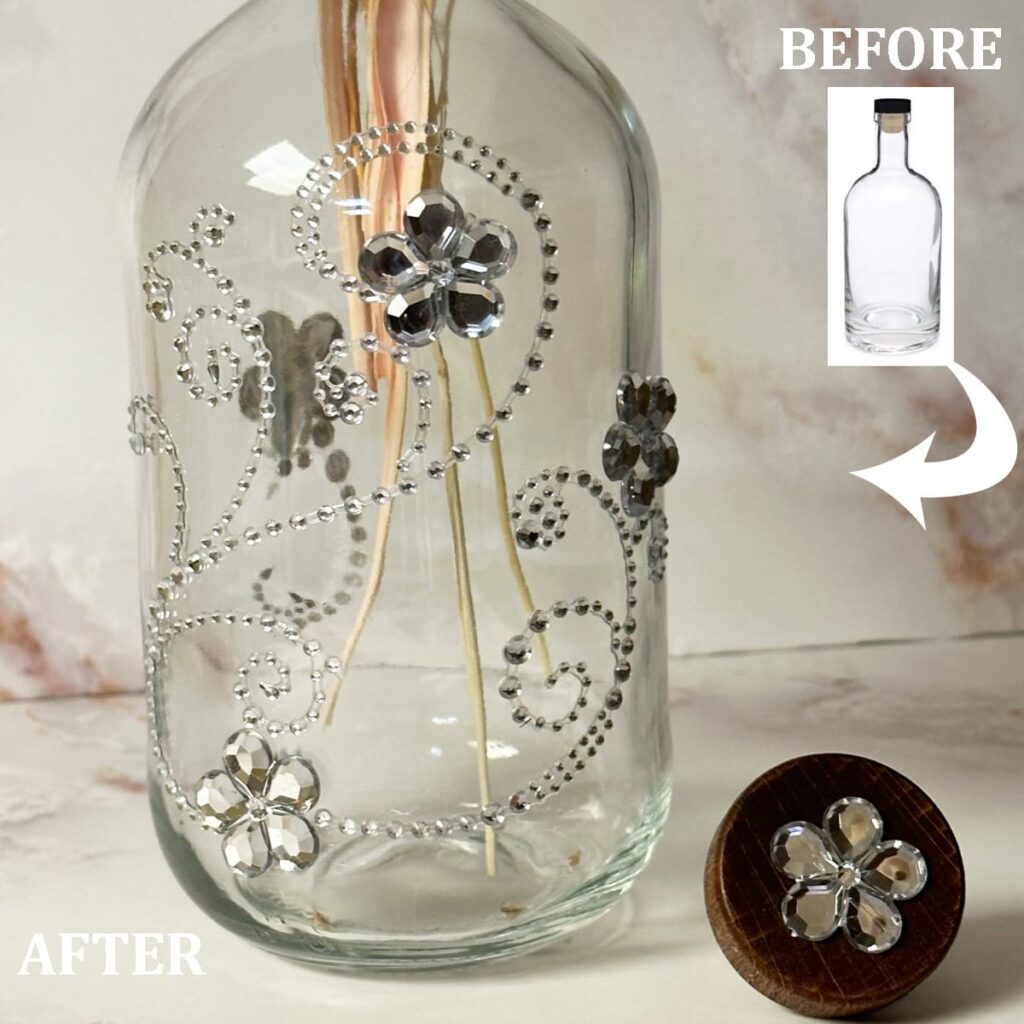
What did this jar look like before the upcycling project?
This candle jar was very simple. It was clear glass, and the label (affiliate) came off easily.
I then placed the jar into the freezer for several hours. Then, I took a butter knife, popped out the hard wax, and washed and dried the candle jar. It was super easy and the wax came out clean.
What tools and supplies were needed for this upcycled candle jar project?
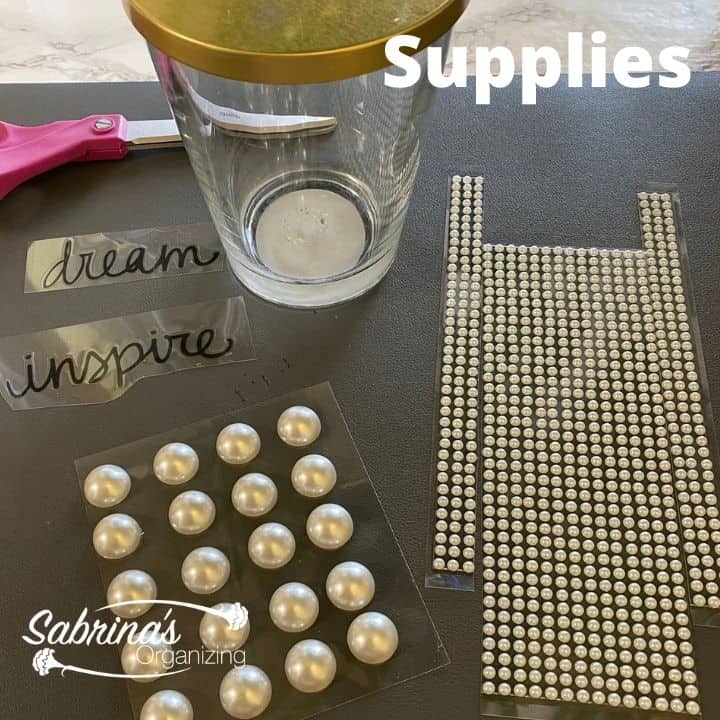
The rest of the supplies were as follows:
Large (affiliate) ½ inch half pearls with a sticker on the back. I found them at Michael's in the scrapbook (affiliate) section.
Pearl Sticker Sheet by Recollections™ I found these also at Michael's in the scrapbook (affiliate) section.
The Inspire and Dream clear sticker came from Hobby Lobby's scrapbook (affiliate) section.
And, a pair of scissors (affiliate)
How much did it cost to do this upcycling project?
It was pretty affordable. All I bought were the pearls, which I have extra and can use for another project. It was about $20.00, this is including the candle. Since the candle jar was discounted at the Yankee Candle outlet store, my daughter spent about $5.00 on it.
How did I make this upcycling candle jar project?
First, I cleaned and dried the jar thoroughly. I froze the jar, then used a knife to cut around the edges of the candle jar and pop out the frozen wax. This process took some time in the freezer.
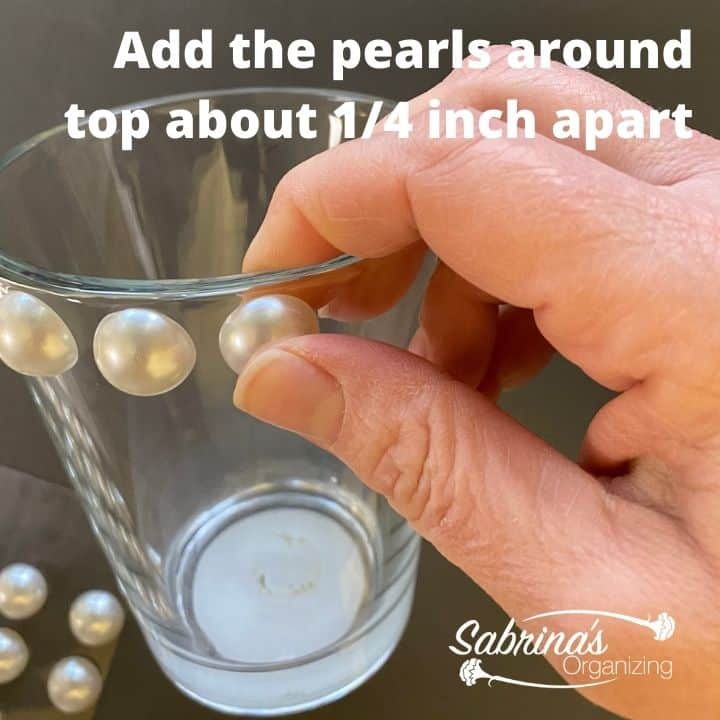
Then, I added the top large (affiliate) pearls, about ¼ inch apart, all the way around the jar. I angled the jar on its side to easily place the pearl stickers, then gradually turned it as I added the pearls.
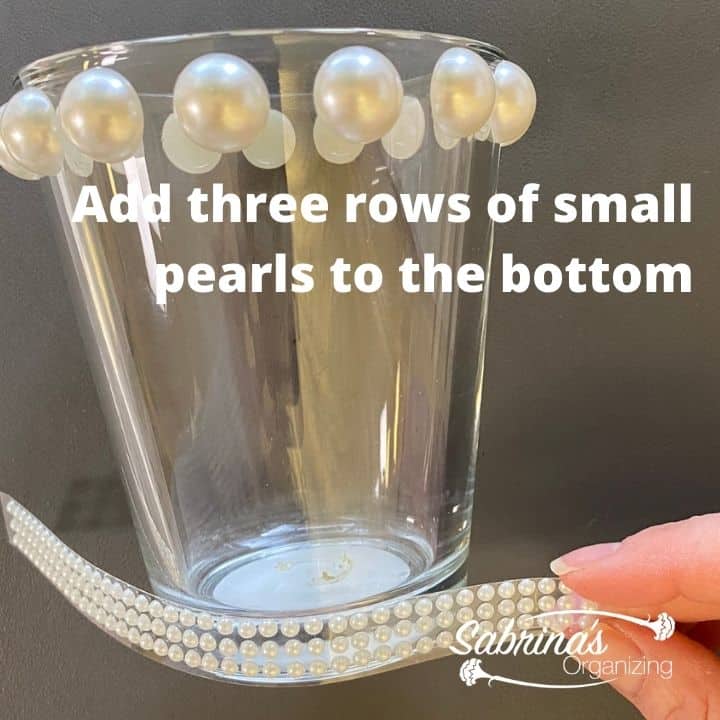
Then I placed the pearl sheet into three-row strips. I used both ends of the sheet so I had a straight line on one side of each sheet.
Then, added the three rows around the bottom of the candle jar, adjusting as I went. I measured the rest of the opening and cut the other stripe of three-row pearls so it would fit in the remaining spot.
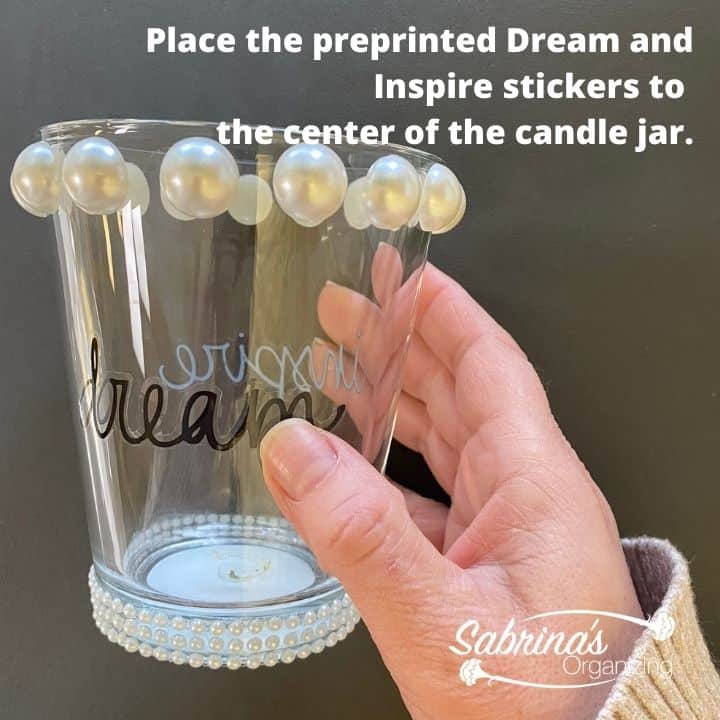
I then added the clear inspired and dream labels (affiliate) on the center opposite from one another.
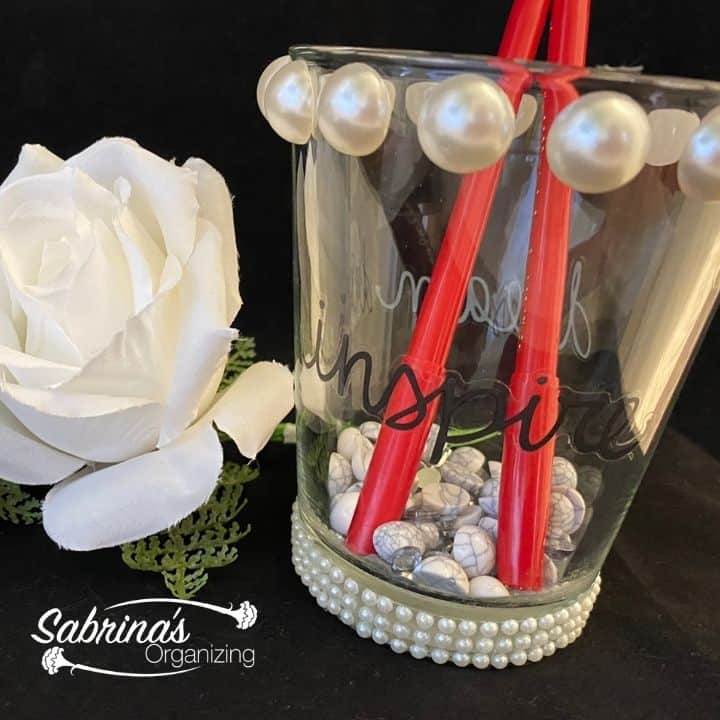
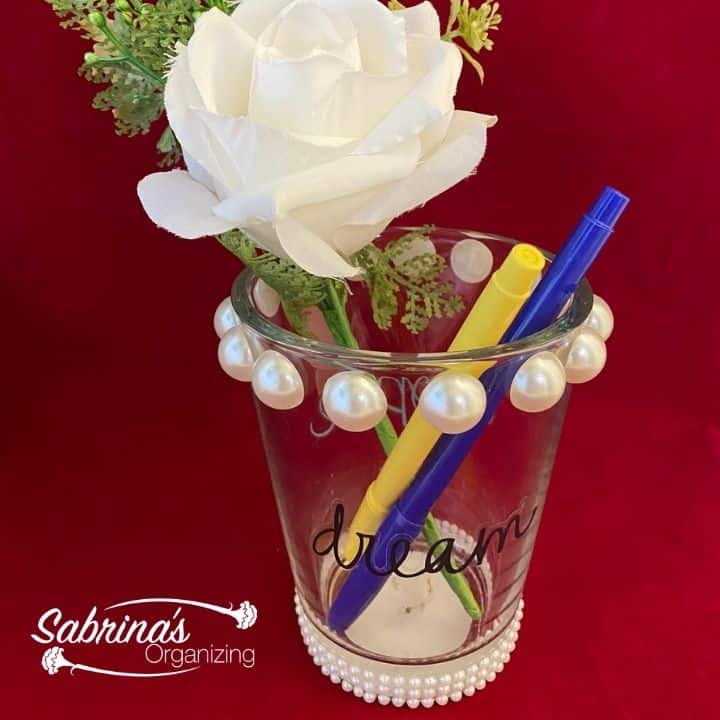
That's it! Now, it was time to organize! I then added my markers and other things to the newly upcycled candle jar. It is now proudly displayed on my desk in my office.
How long did it take to make this project?
This project took about ½ hour to make and is now being used in my office for pens and markers.
The big reveal of this upcycling candle jar project.
Here is how the upcycled candle jar looks now! I love it! What do you think?
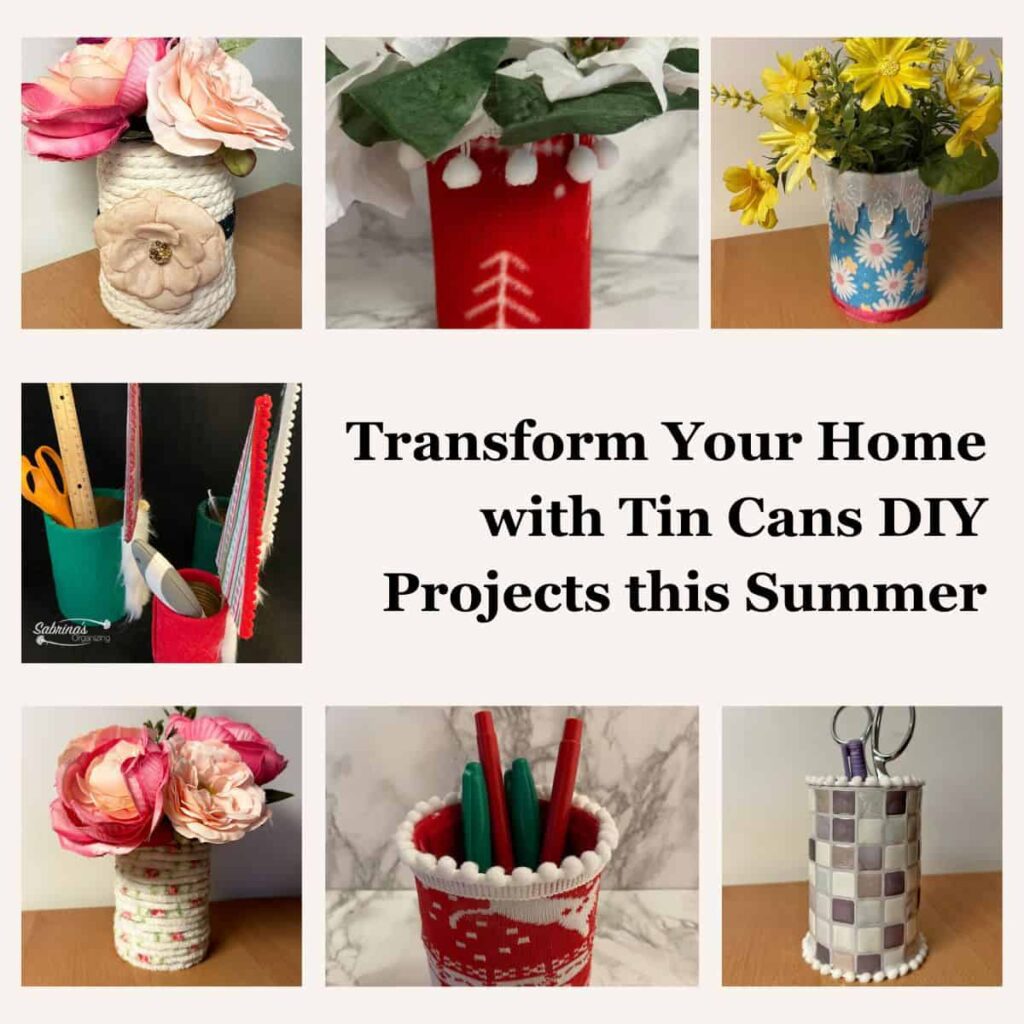
Visit our other DIY upcycling projects below to organize your small things.
HOW TO TURN A SOUP CAN INTO A CUTE CHRISTMAS PEN HOLDER
and, HOW TO MAKE A DESK ORGANIZER ON THE CHEAP
HOW TO CHANGE A PLAIN SOUP CAN INTO A GORGEOUS DIY PENCIL HOLDER
Tips and Tricks when making this project.
If you want you can do an etching paint effect inside the jar so the glass is a little more hidden.
If you want to see our DIY projects and home-organizing tips, keep following our Facebook, LinkedIn, YouTube, and Instagram accounts! These channels are where we share Home Organizing, Recipes, and DIY projects as they become live.
Please note these are affiliate links through Amazon (affiliate) and at no additional cost to you, I will earn an affiliate commission if you click through and decide to make a purchase.
FAQ about my Candle Jar Upcycling Post
Here are 5 FAQ questions and answers for your candle jar upcycling post:
A thick, smooth glass jar works best, like the Chesapeake Bay Candle by Yankee Candle used in this project. The smooth surface makes it much easier to apply pearl stickers evenly, and a sturdy jar will hold up well as a desk organizer.
Place the jar in the freezer for several hours until the wax hardens completely. Then use a butter knife to pop the frozen wax out cleanly. Finish by washing and drying the jar thoroughly before decorating.
The large half-pearl stickers and pearl sticker sheets (by Recollections™) can be found in the scrapbook section at Michaels. The "Inspire and Dream" clear stickers came from Hobby Lobby's scrapbook section. A pair of scissors is all you need beyond that!
This is a very budget-friendly project - the total cost was around $20, which includes the candle itself. Since the candle jar was purchased at a Yankee Candle outlet for about $5, the decorating supplies make up the rest, and you'll have leftover pearls for future projects!
Absolutely! One great tip is to add an etching paint effect on the inside of the jar to give it a more frosted, polished look. You can also swap in different stickers, twine, ribbon, or paint to match your office décor or personal style.
Below are some additional DIY posts!