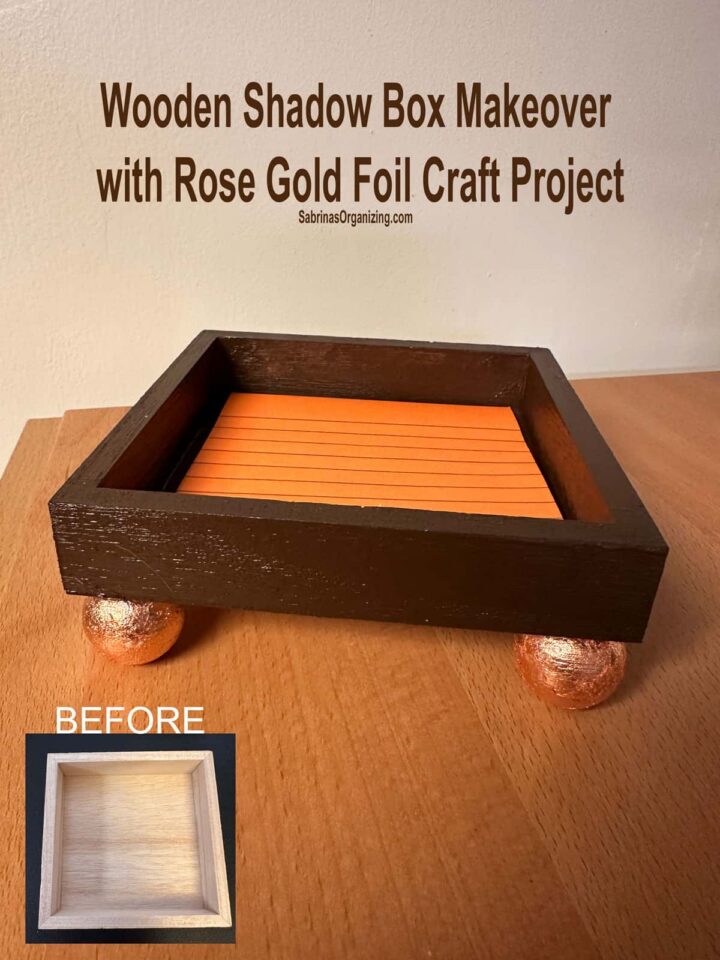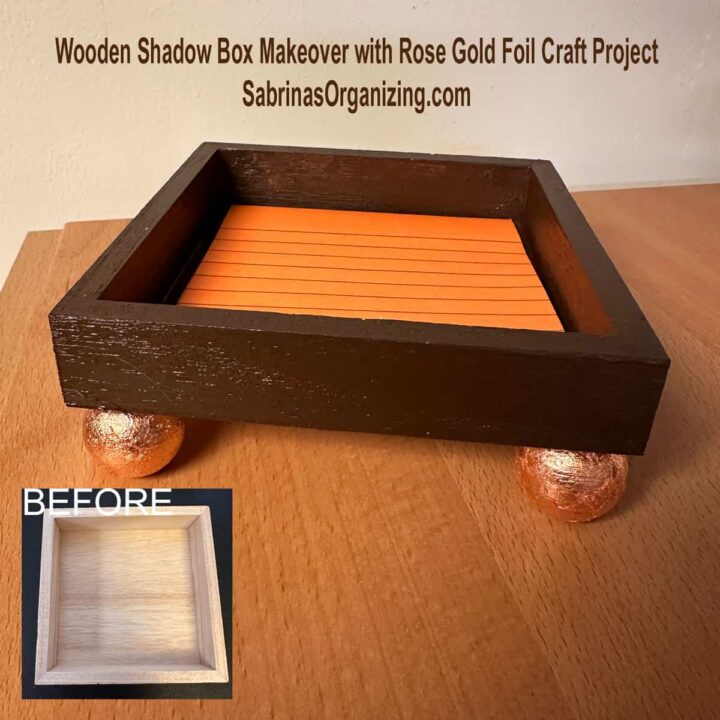
I've upcycled a shadow box before and have purchased several from Michaels to create cute trays to hold and organize my favorite small things. Last time, I organized my daily jewelry (affiliate). This time, I am going to create a tray for my frequently used sticky notes (affiliate). Follow along to see step-by-step instructions on how I made this wooden shadow box makeover.
Jump to:
Key Takeaways
- The article details a DIY project for a Wooden Shadow Box Makeover, focusing on creating a sticky-note tray.
- Supplies needed include a wooden shadow box, acrylic paint, rose gold (affiliate) foil, and tools (affiliate) like hot glue and brushes.
- The project costs around $10 and takes approximately 4 hours to complete, including drying time.
- Key (affiliate) tips include using skewers to apply glue and ensuring the foil adhesive is tacky before applying the foil.
- The final product adds charm and organization to a desk, making it a cute and functional decor item.
Things to know before trying this project
Below are things you should know about this project.
What inspired me to do this Wooden Shadow Box Makeover?
I wanted to get my desk a little more organized. I noticed my sticky notes (affiliate) were scattered around the desk. So, I decided to make a holder for the ones I use regularly. And now my desk is a lot more organized. No small things are scattered around the desk. Yay.
What supplies did I use to make this Wooden Shadow Box Makeover?
- Unfinished wooden shadow box picture frame, 5 inches
- 4 Wooden beads (for feet) about 1 inch in diameter
- Dark brown acrylic paint - I used FolkArt Real Brown 2908CA SATIN
- Rose gold foil sheets - I purchased a variety pack.
- Rose Gold Foil adhesive sizing (foil glue)
- Foam brushes for Acrylic Paint
- Foil Leaf application brushes
- White cotton gloves
- Wooden skewers - go with the ones that fit the hole in the wooden beads
- Hot Glue Gun (affiliate) and hot glue sticks for attaching the feet to the tray
Please note these are affiliate links through Amazon (affiliate), and at no additional cost to you, I will earn an affiliate commission if you decide to make a purchase.
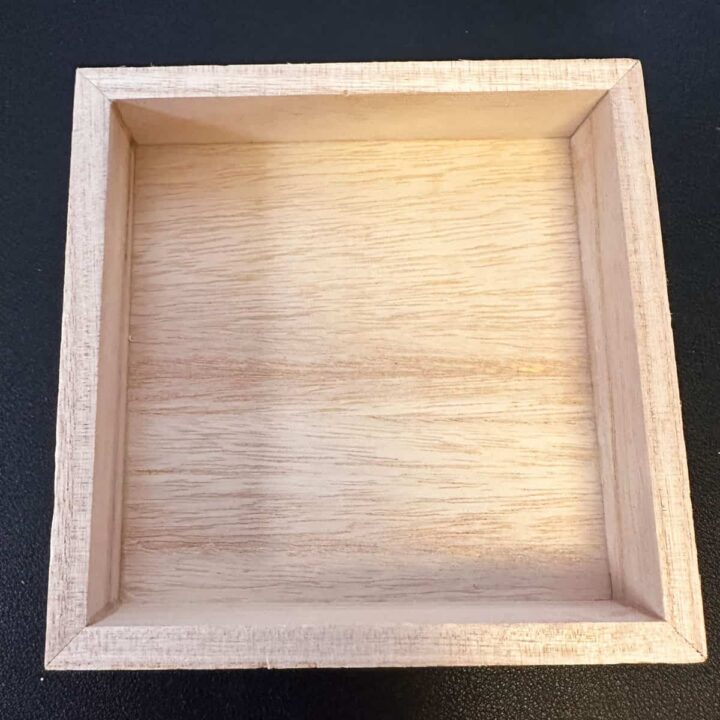
BEFORE Wooden Box
Here is the unpainted, ready-to-paint wooden box before I transformed it. Keep in mind that I removed the string attached to the wooden box, so someone could hang it if they wanted.
How much did it cost to make this wooden shadow box makeover tray?
This project cost me about $10.00 to make since I had everything, and the wooden shadow box was $2.00. I have a lot of supplies left and will be using them for other projects.
How long did it take to make the wooden shadow box makeover?
This project took me about 4 hours to make, including drying time.
Tips on making this wooden shadow box tray makeover
Keep these things in mind before doing this project.
- The skewers help keep the beads from sticking to the table.
- After applying the foil glue, wait 30 minutes to 1 hour for it to become tacky. It should feel like the back of the Super sticky Post-It Notes.
- The foil will split into pieces, so handle it with care.
- Do not have a fan on nearby when applying the rose gold (affiliate) foil. It will fly away.
Steps
Below are the step-by-step instructions for converting this cute and useful wooden shadow box into a tray. Feel free to check them out.
Time needed: 4 hours.
How did I make this wooden shadow box into a tray?
- Paint the base of the shadow box.
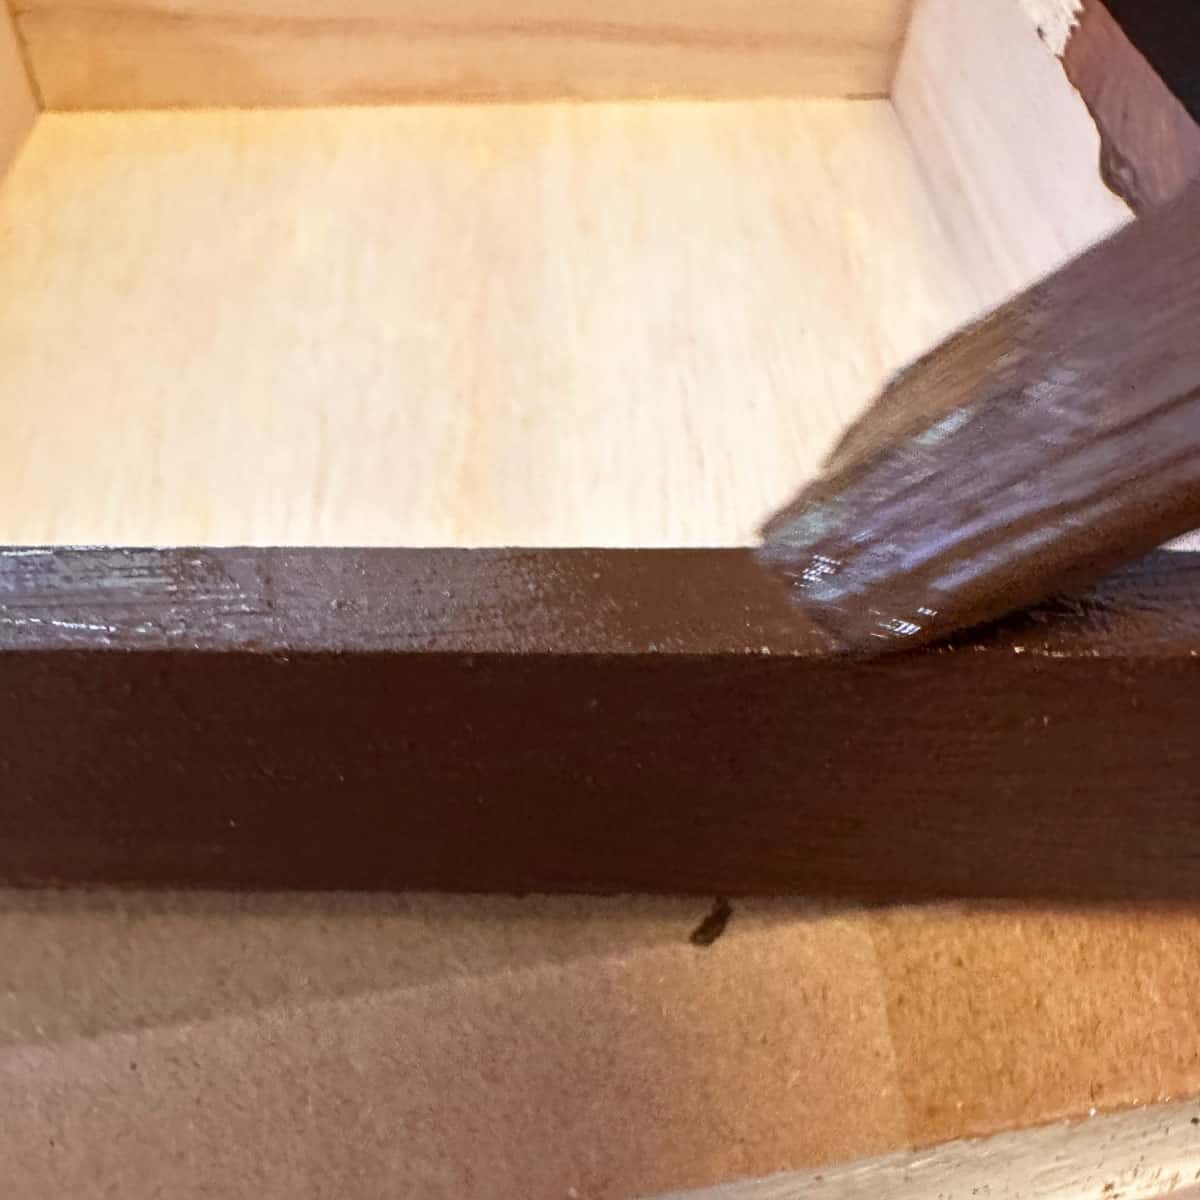
Begin by painting your unfinished wooden shadow box. Use rich, dark brown acrylic paint (SATIN FINISH) to create a sophisticated contrast with the metallic accents. Ensure you get into every corner and let it dry completely. It looks very pretty with the rose gold (affiliate) foil.Apply two coats to reduce streaking. Let dry between coats.

- Prep the Feet
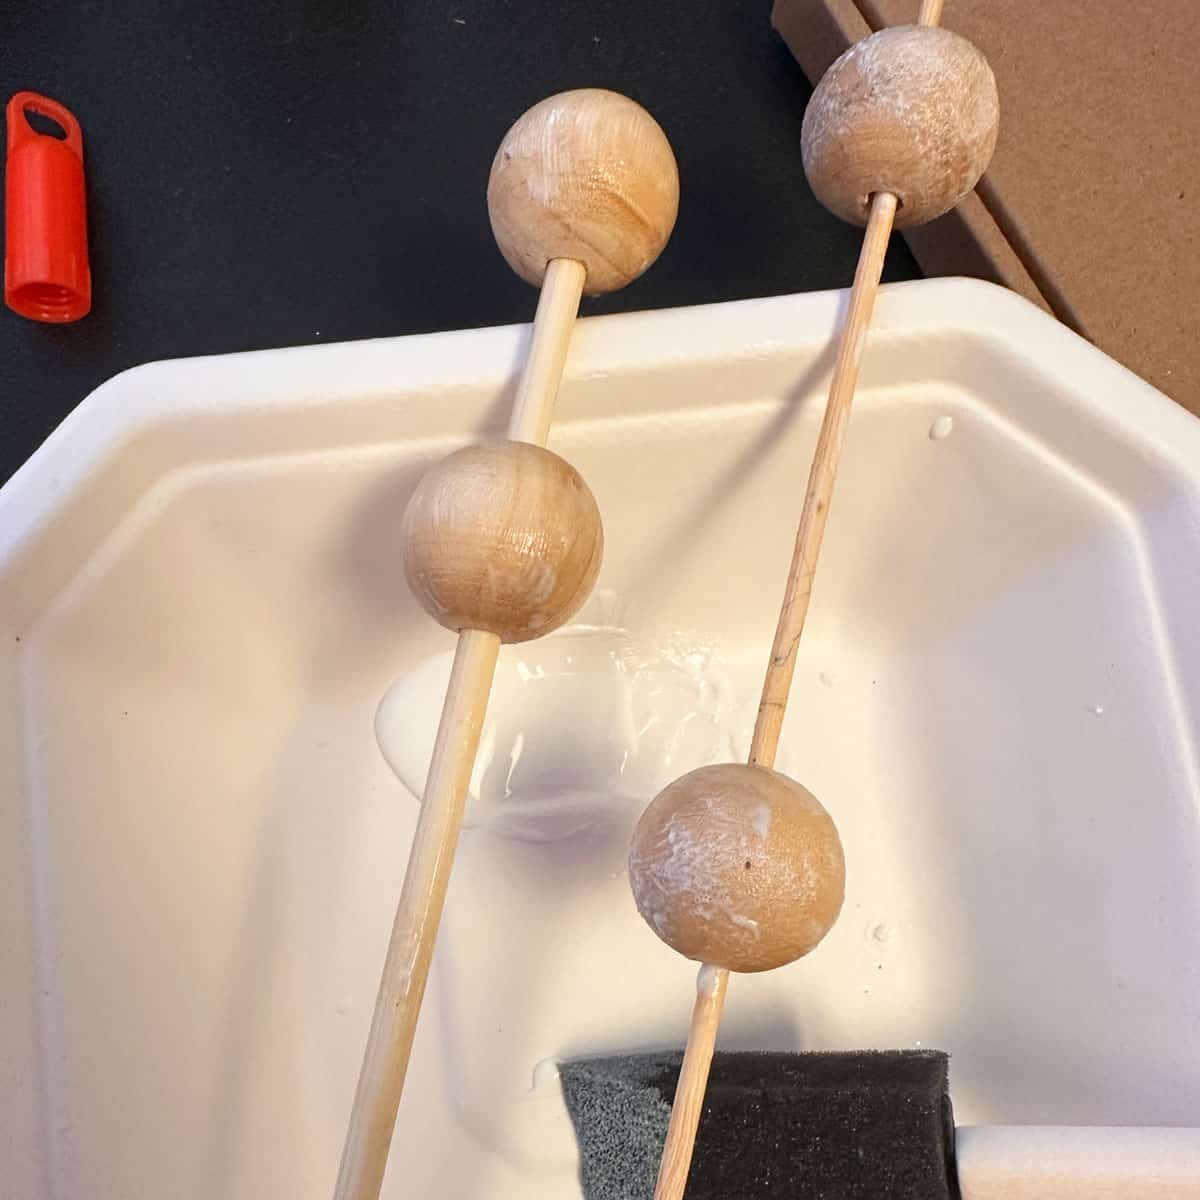
To turn a simple box into a pedestal tray, use wooden beads as feet. These are about 1 inch in diameter. A great tip for easy handling is to slide the beads onto wooden skewers. This allows you to glue them without getting your fingers messy. Be aware that the glue is very sticky.Using a disposable sponge brush (affiliate), paint the wooden beads, then let them sit for 30 minutes to 1 hour.
- Apply Foil Adhesive to the wooden beads
Apply a thin, even coat of adhesive sizing to the beads using a foam brush. It will look white when applied, so make sure you get it everywhere, including all around the beads. When ready, the adhesive will feel tacky, like the super-sticky back of a Post-it note. It will take about 30 minutes to 1 hour. I like to keep it on for 1 hour to make sure it is sticky enough for the rose gold (affiliate) sheets.
- Add the Rose Gold (affiliate) Foil
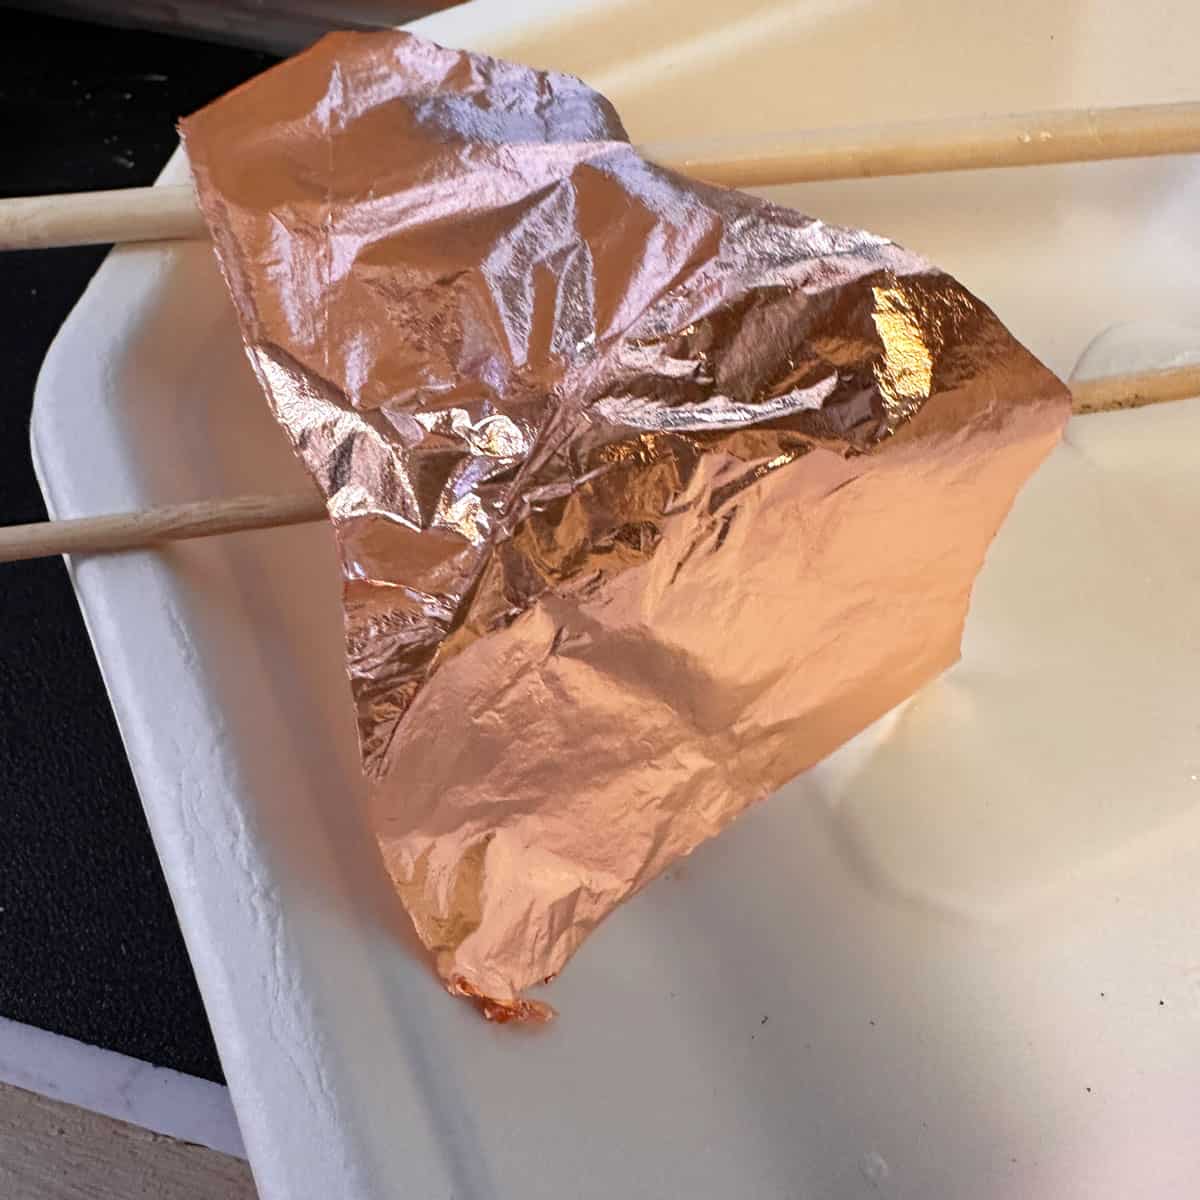
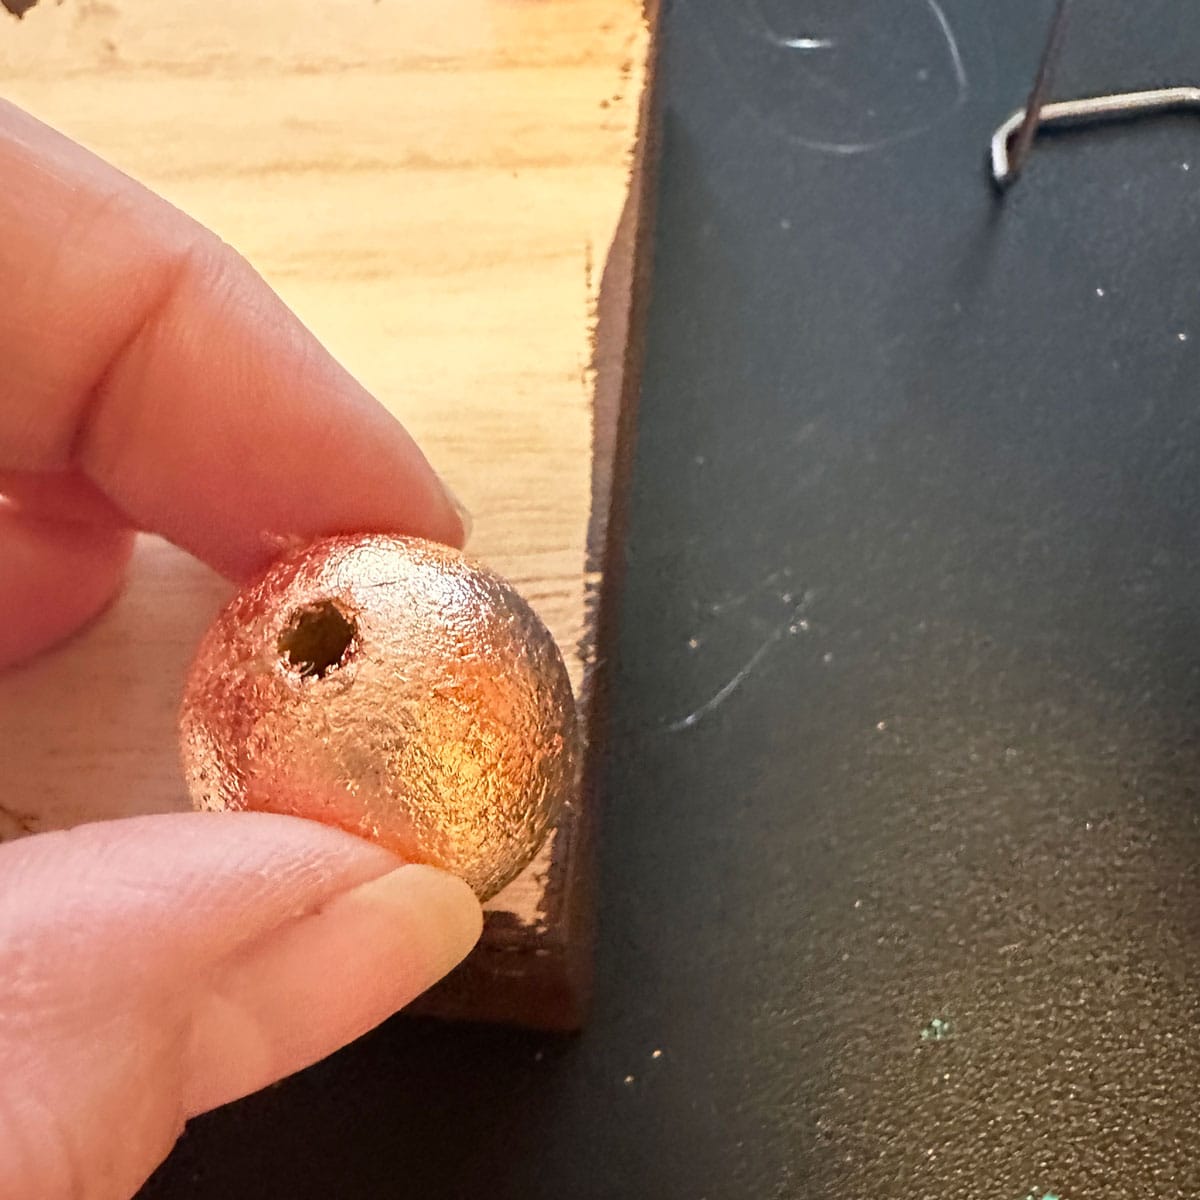
Gently lay the rose-gold (affiliate) foil sheets over the tacky beads using white gloves and tweezers. Try not to touch the white gloves with the glue, as it will transfer the gold leaf to them.Use a soft, dry brush to smooth the foil into the curves. If your gloves are cleaned, you can also use a figure and smooth out the rose gold foil on the bead. Don't worry about minor imperfections; the "crinkled" texture is part of the artisanal charm. Brush away any excess flakes. You can store the flakes in a metal container (affiliate) to use for future projects if you want.
- Assembly & Styling
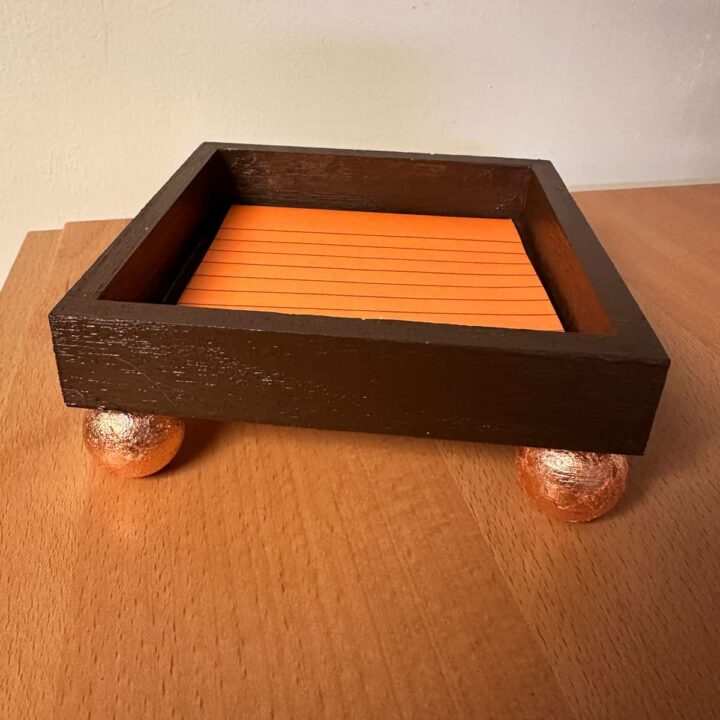
Once dry, glue the foiled beads to the bottom corners of your painted box. I used a hot glue gun (affiliate) and added a dollop of it on each order, and added the rose gold foil-leafed bead to each order. Once the glue has set, your custom pedestal tray is ready! It's perfect for holding index cards, jewelry (affiliate), or office supplies. Optional: add a small piece of felt to the bottom of each gold-leaf bead to prevent the beads from peeling off the foil when placed on a surface for a while.
Expert Foil Application Tips
Below are some additional tips for applying gold leaf foil to surfaces.
- Patience is Key (affiliate): Never apply the foil while the adhesive is still wet. If it's not tacky/clear, the foil will just slide off or turn dull.
- The "Breath" Test: Foil is incredibly light. Avoid working near fans or open windows, as a slight breeze can ruin a sheet.
- Soft Brushing: Use a very soft-bristled brush (such as a makeup brush or a specialized gilding brush) to "burnish" the foil. This creates that high-shine professional finish.
- Natural Contrast: The dark brown base peeking through tiny cracks in the foil (the "distressed" look) makes the rose gold pop even more than a solid coat would.
The Big Reveal
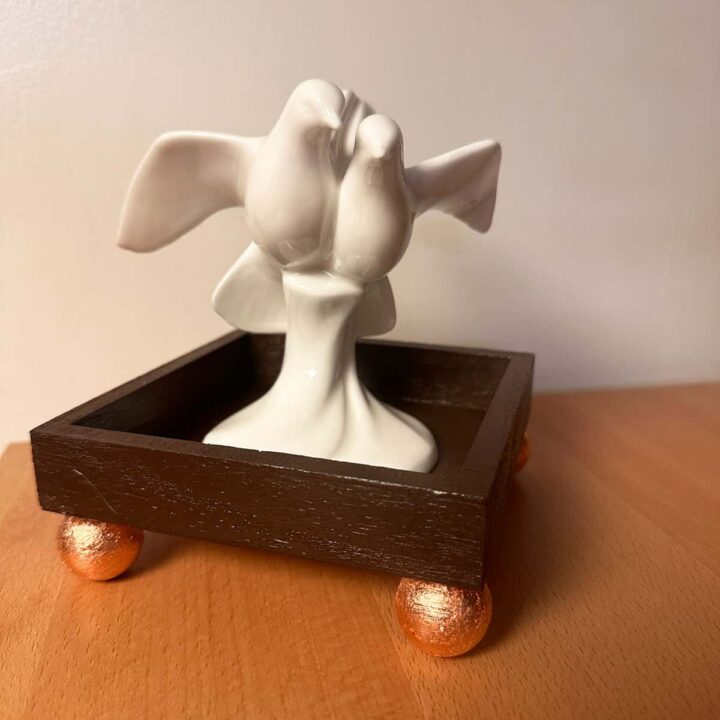
This wooden shadow box makeover looks lovely. I think it is so cute on my desk. What do you think? Would you make it for your home or office? Please leave a comment below.
If you like this project, please share it on Pinterest, Facebook, or Instagram. Feel free to tag me at #sabrinasorganizingDIY
FAQs
Feel free to check out these additional questions for answers. If you have more questions, please leave a comment below, and I will get back to you as soon as possible.
Absolutely! Gold, silver, copper, and variegated foils all work beautifully with the same adhesive sizing. Just keep in mind that lighter foils (like silver) show the dark brown base coat more dramatically through any cracks, while warmer tones (gold, rose gold, copper) blend more softly. Pick the one that matches your decor.
Any acrylic paint finish will work, but I really do recommend satin. Matte paint can look a little flat next to the shiny rose gold, and gloss paint can compete with the foil for attention. Satin gives you just enough sheen on the base to feel polished without stealing the show from the metallic accents.
You have a few options. Small wooden cabinet knobs work great and already have a flat side for gluing. You can also use wooden spools, small wooden cubes, or even skip the feet entirely and leave the shadow box flat on your desk. The feet just give it that little pedestal-tray look.
This almost always means one of two things: the adhesive sizing was either still wet (not tacky enough yet) or it had dried completely past the tacky stage. The sweet spot is when it feels like the sticky back of a Post-it note. If it's wet, the foil slides off and looks dull. If it's too dry, the foil won't grab at all. Wait the full 30 minutes to 1 hour and do a quick finger test before you start.
Once your project is fully dry, you can seal it with a thin coat of clear acrylic sealer or Mod Podge in a matte or satin finish. Spray sealer works best because brushing can disturb the foil. I also recommend adding a small felt pad to the bottom of each foiled bead to prevent friction against your desk surface.
I'd stick to dry dusting with a soft cloth or a barely damp microfiber cloth on the painted areas only. Water and moisture can lift the foil, so avoid wiping the rose gold beads directly. If you sealed the project with acrylic sealer, you'll have a little more flexibility, but I still wouldn't soak it.
So many things! I've used similar trays for everyday jewelry, paper clips, push pins, hair accessories, lip balms, small crystals, business cards, washi tape rolls, and even tea bags on a coffee bar. It's also a sweet little catch-all for a nightstand, holding rings and earrings at the end of the day.
Yes, it really is. The foil application looks fancy, but it's forgiving - the slightly crinkled, distressed look is part of the charm. If you can paint a flat surface and use a hot glue gun, you can absolutely make this. The most important skill is patience while waiting for the adhesive to get tacky.
Definitely. You could stencil a monogram on the inside bottom of the box before applying any foil, or use small alphabet stamps with the rose gold foil to create a foiled name. Another option is to add a printed label or vinyl decal to the back of the box after everything is dry.
Closing:
I hope this post inspires you to try gold foil gilding on wood. It was fun and I will be doing it again soon.
Sharing is caring! If you enjoyed my post, please share it with your friends via email or social media and use the hashtag #sabrinasorganizingDIY. Thank you!
DIY posts
Check out our other most recent DIY craft projects.





Wooden Shadow Box Makeover with rose gold foil craft project
- Total Time: 4 hours
- Yield: 1 tray
Description
I've upcycled a shadow box before and have purchased several from Michaels to create cute trays to hold and organize my favorite small things. Last time, I organized my daily jewelry (affiliate). This time, I am going to create a tray for my frequently used sticky notes (affiliate). Follow along to see step-by-step instructions on how I made this wooden shadow box makeover.
Materials
-
- Unfinished wooden shadow box picture frame
-
- 4 Wooden beads (for feet)
-
- Dark brown acrylic paint - I used FolkArt Real Brown 2908CA SATIN
-
- Rose gold foil sheets - I purchased a variety pack.
-
- Foam brushes for Acrylic Paint
-
- Wooden skewers - go with the ones that fit the hole in the wooden beads
-
- Hot Glue Gun (affiliate) and hot glue sticks for attaching the feet to the tray
Instructions
- Begin by painting your unfinished wooden shadow box. Use a rich, dark brown acrylic paint (SATIN FINISH) to create a sophisticated contrast with the metallic accents. Ensure you get into every corner and let it dry completely. It looks very pretty with the rose gold foil.
- To turn a simple box into a pedestal tray, use wooden beads as feet. These are about 1 inch in diameter. A great tip for easy handling is to slide the beads onto wooden skewers. This allows you to glue them without getting your fingers messy. Be aware that the glue is very sticky.Using a disposable sponge brush (affiliate), paint the wooden beads, then let them sit for 30 minutes to 1 hour.
- Apply a thin, even coat of adhesive sizing to the beads using a foam brush. It will look white when applied, so make sure you get it everywhere, including all around the beads. When ready, the adhesive will feel tacky, like the super-sticky back of a Post-it note. It will take about 30 minutes to 1 hour. I like to keep it on for 1 hour to make sure it is sticky enough for the rose gold sheets.
- Gently lay the rose-gold foil sheets over the tacky beads using white gloves and tweezers. Try not to touch the white gloves with the glue, as it will transfer the gold leaf to them. Use a soft, dry brush to smooth the foil into the curves. If your gloves are cleaned, you can also use a figure and smooth out the rose gold foil on the bead. Don't worry about minor imperfections; the "crinkled" texture is part of the artisanal charm. Brush away any excess flakes. You can store the flakes in a metal container (affiliate) to use for future projects if you want.
- Once dry, glue the foiled beads to the bottom corners of your painted box. I used a hot glue gun (affiliate) and added a dollop of it on each order, and added the rose gold foil-leafed bead to each order. Once the glue has set, your custom pedestal tray is ready! It's perfect for holding index cards, jewelry (affiliate), or office supplies. Optional: add a small piece of felt to the bottom of each gold-leaf bead to prevent the beads from peeling off the foil when placed on a surface for a while.
- Prep Time: 1 hour
- Category: DIY, Tray
- Method: Assembly, Step-by-Step