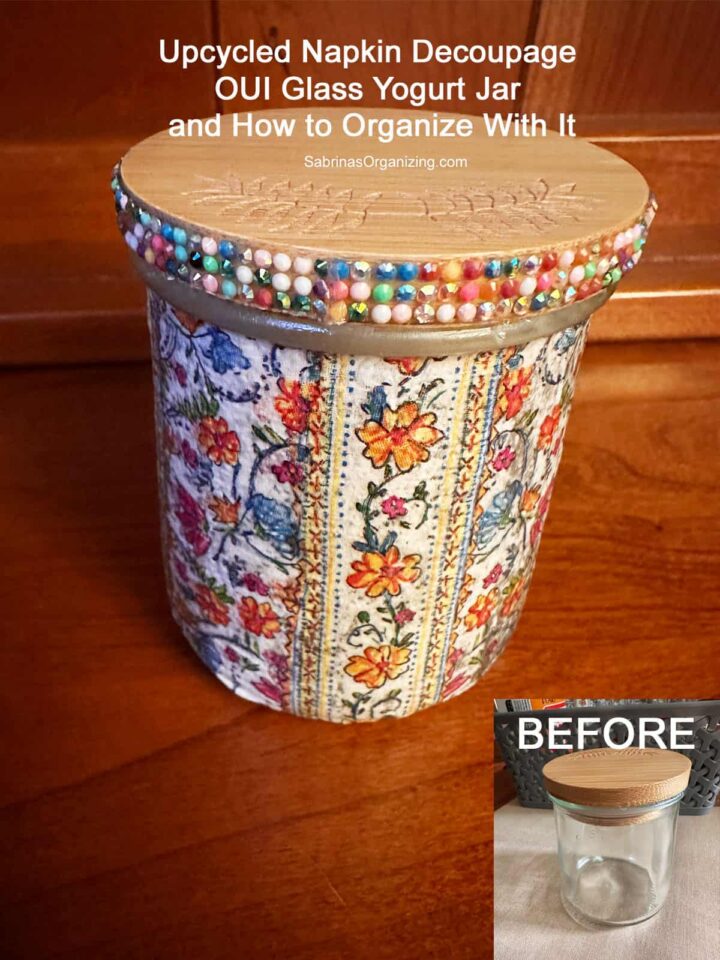
If you love those charming little glass Oui yogurt jars as much as I do, you know how hard it is to throw them away. They are the perfect size for storage, but plain glass doesn't always match your home decor (affiliate). With a beautiful decorative napkin (affiliate), some Satin Mod Podge (affiliate), and a little bit of sparkle, you can transform a simple grocery item into a gorgeous, high-end organizing container. Here's another Upcycled Napkin Decoupage Oui Glass Yogurt Jar project that shows you a step-by-step process to use those unused jars.
Jump to:
- Key Takeaways
- Things to know before trying this project
- How to Upcycle a Glass Yogurt Jar into A Gnome Storage
- DIY Glass Yogurt Jar Sock Gnome Storage Bin
- How to Make Oui Yogurt Decorative Jars
- A Fun Oui Jar with Jute DIY Project
- BEFORE
- Step-by-Step Instructions
- Creative Ways to Organize with Your Upcycled Jar
- The Big Reveal
- FAQs
- Closing:
- Upcycled Napkin Decoupage OUI Glass Yogurt Jar
Key Takeaways
- Transform glass Oui yogurt jars into decorative storage containers with Upcycled Napkin Decoupage.
- You'll need a clean jar, decorative napkins (affiliate), Satin Mod Podge (affiliate), and rhinestone trim for embellishment.
- The project takes about 2 hours and costs around $10, with plenty of supplies left for future projects.
- Use the jars to organize office supplies, bathroom items, or jewelry (affiliate) while enhancing your decor.
- This project lets you repurpose and beautify jars, making them practical and stylish for home organization.
Things to know before trying this project
Below are things you should know about this OUI Jar project.
What inspired me to do this Upcycled Napkin Decoupage OUI Glass Yogurt Jar?
These OUI glass jars are so cute and durable and great to use for something else. So, when I had a bunch of them, I decided to make a variety of things to decorate them to help me get my small things more organized. Below are other posts where I used these jars.
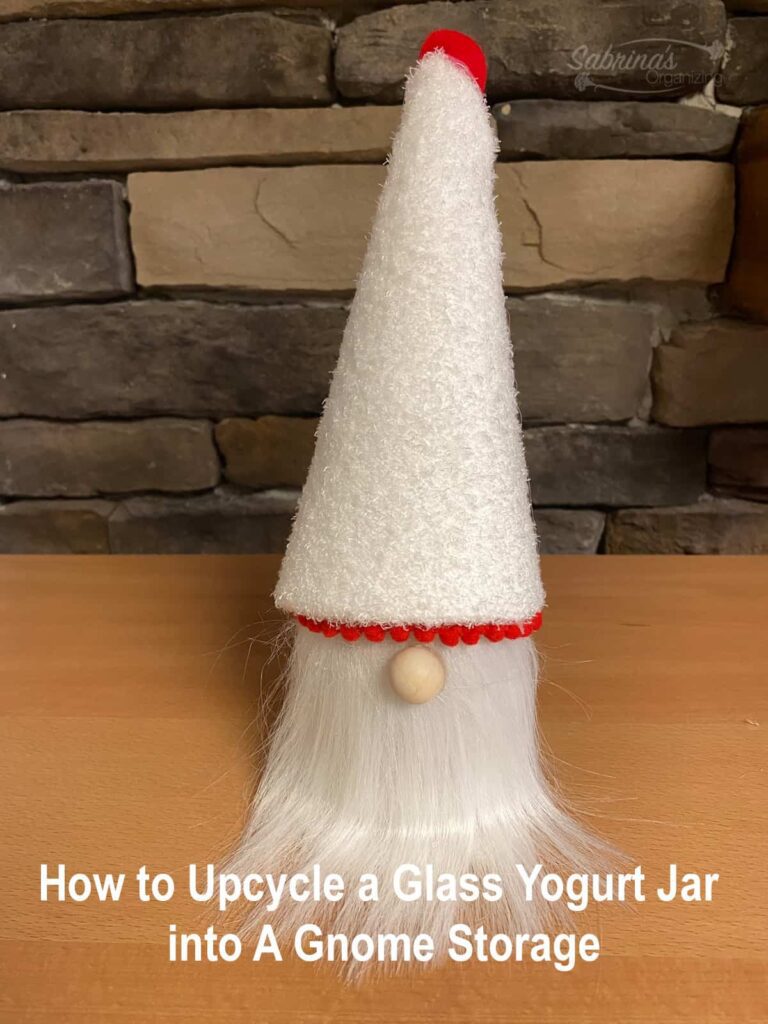
How to Upcycle a Glass Yogurt Jar into A Gnome Storage
Have you heard of Glass Yogurt Jars? We have them all the time. The jars are adorable and easy to clean up to repurpose somewhere else. So, that is what I decided to do. I will upcycle a glass yogurt jar into a Gnome. The hat is removable, so I can easily fill it will
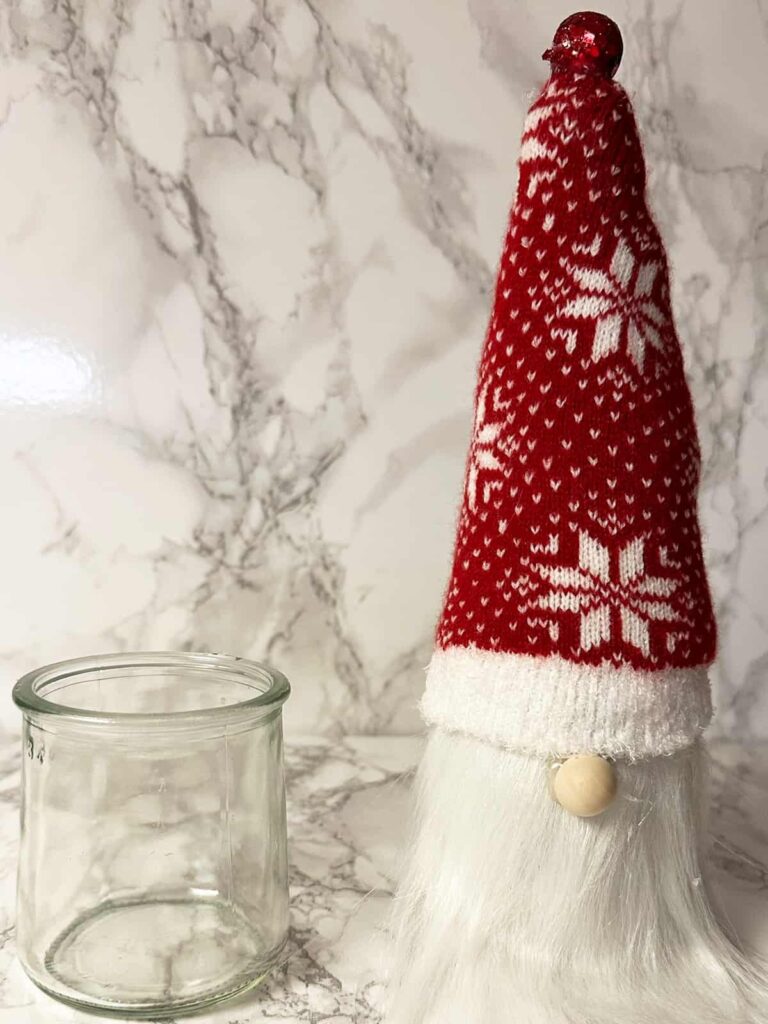
DIY Glass Yogurt Jar Sock Gnome Storage Bin
Reusing glass yogurt jars is a great way not to allow them to go into the landfill. Sure, you can recycle them, but what's the fun of that? This DIY upcycling project shows you how to make a sock gnome glass jar storage bin for the holidays. Follow along and check out the easy steps.
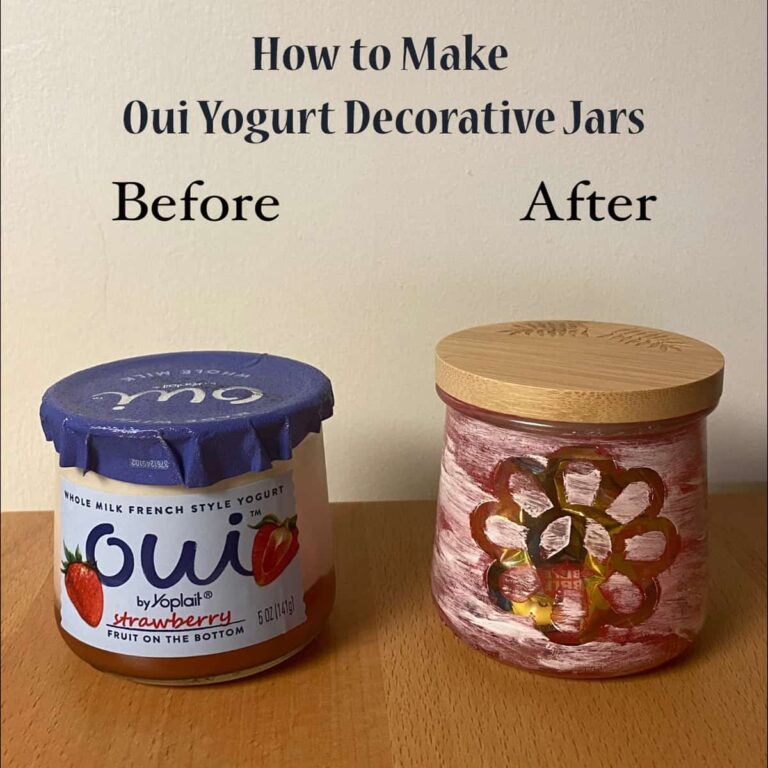
How to Make Oui Yogurt Decorative Jars
My family eats Oui Yogurts all the time, and I, thinking they are so cute, have to do something with them and not just recycle them. This is one of my projects with my Oui Yogurt Decorative Jars.
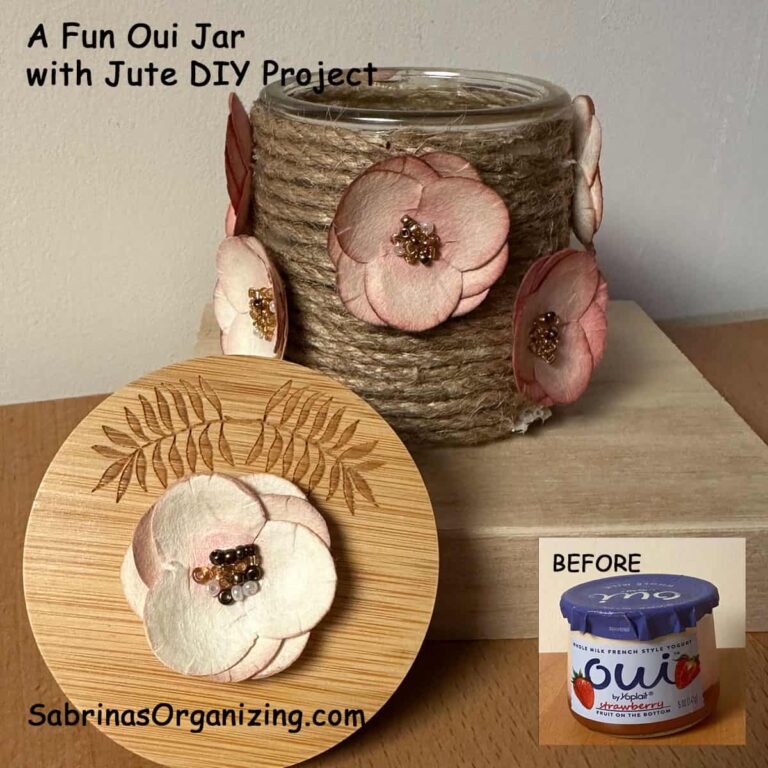
A Fun Oui Jar with Jute DIY Project
An easy way to organize is to upcycle food jars you already have in your home. Soup cans, yogurt jars, and lots of other things can be used to organize your small things.
BEFORE
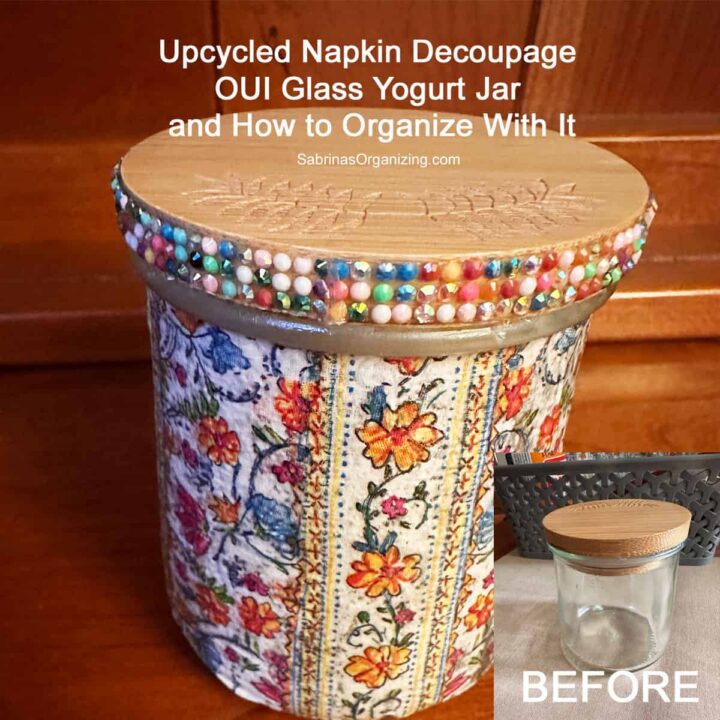
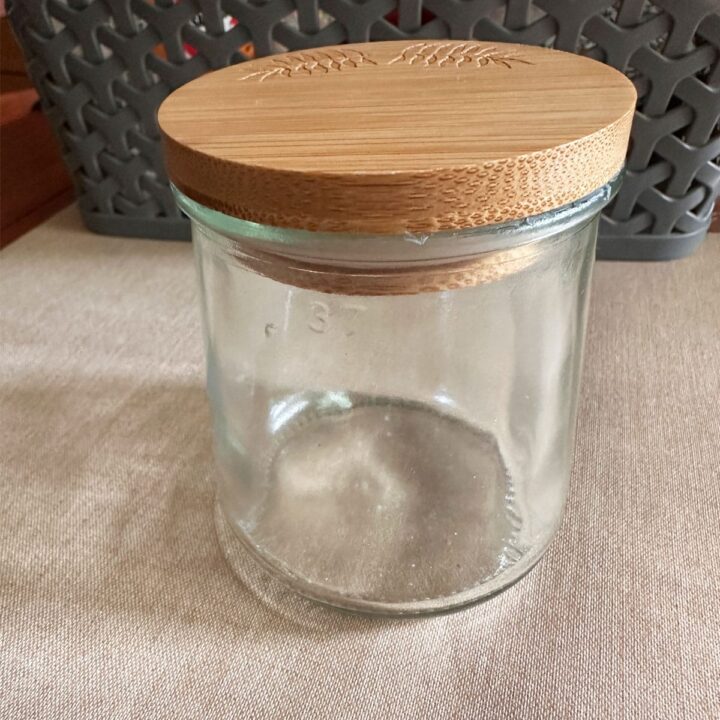
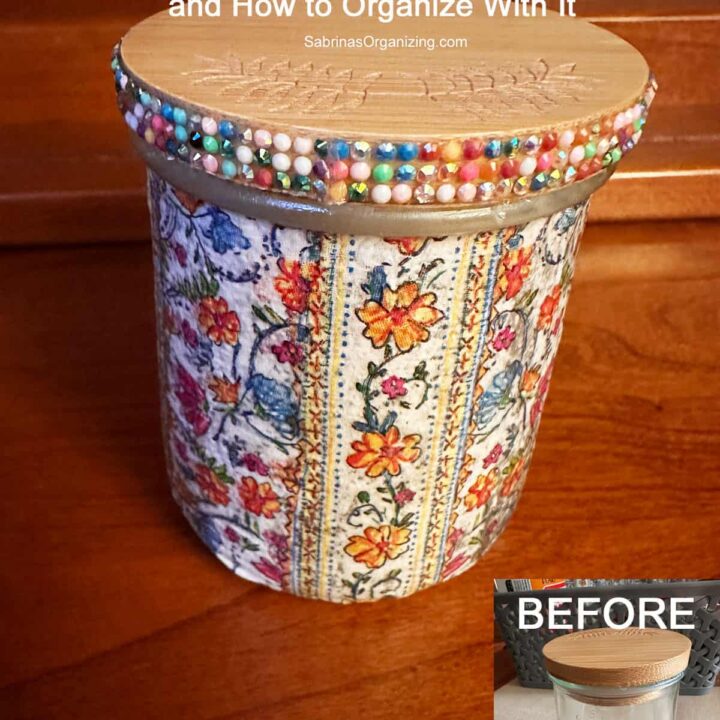
And this is what the Oui Jar looked like before I updated it. Keep in mind that I needed to remove the label (affiliate) and all the glue residue. I found that adding a little warm water to the inside of the jar, then using a scraper and coconut oil to rub around the glass and along the top edge, works wonderfully.
The Oui Lid was purchased separately on Amazon (affiliate).
Supplies Needed
The supplies are pretty simple for this DIY project. Check them out below.
- Clean glass yogurt jar (with a matching wooden or Oui bamboo lid bought on Amazon (affiliate))
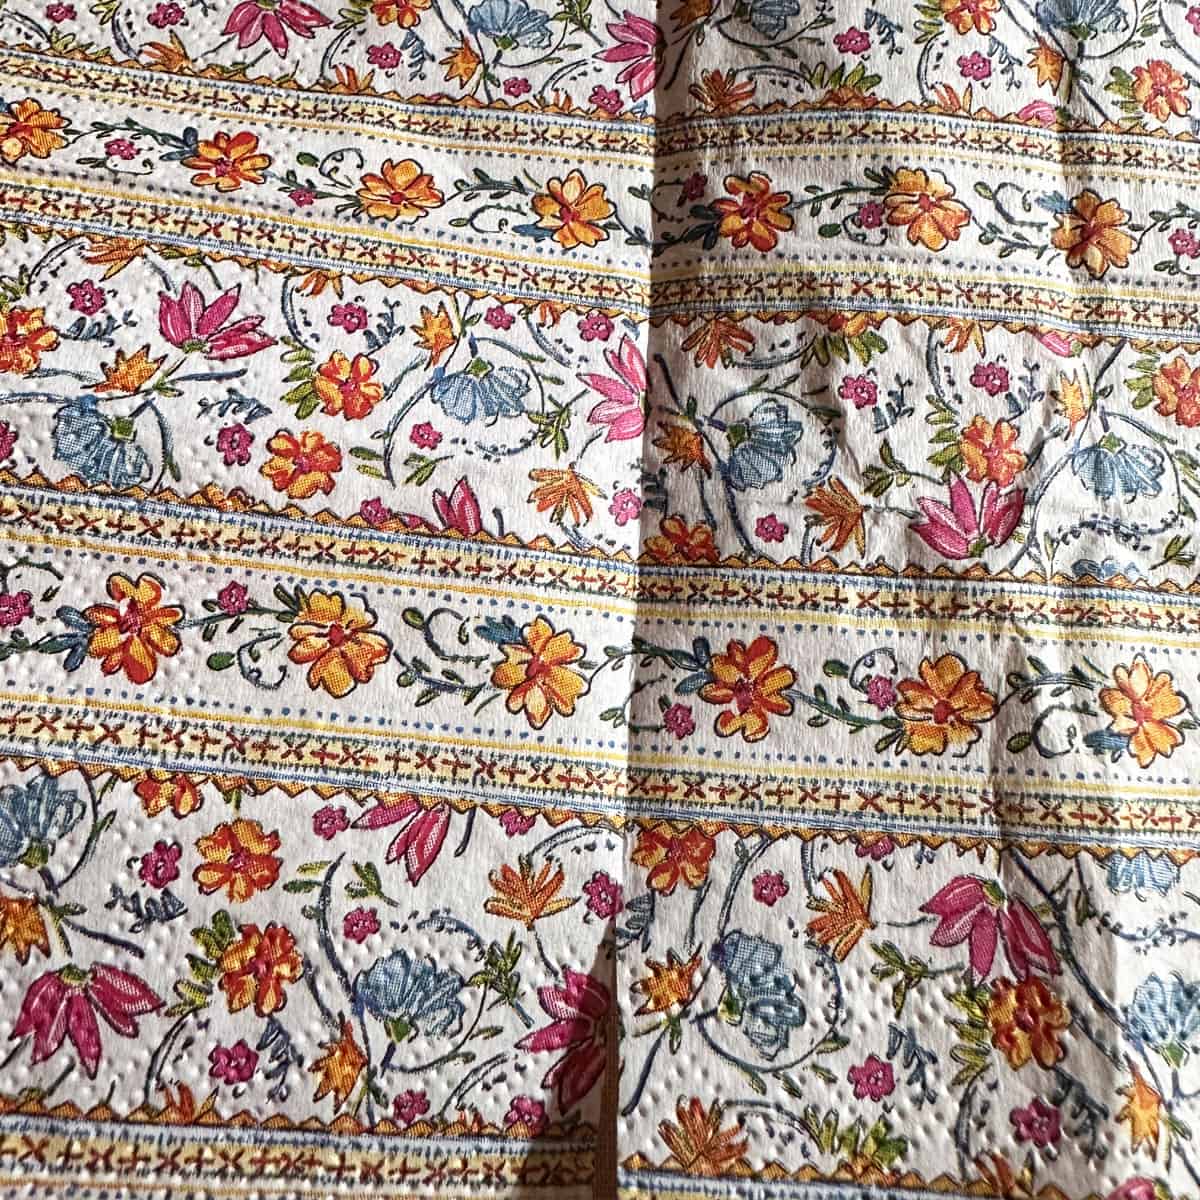
- Decorative paper napkin (affiliate) with a pattern you love - I bought this one at Sur La Table store.
- Satin Mod Podge (affiliate)
- Flat paintbrush (affiliate) or foam brush
- Scissors (affiliate)
- Self-adhesive rhinestone trim or gem strips (affiliate)
- Small bowl or paper dish to hold your glue
Please note these are affiliate links through Amazon (affiliate), and at no additional cost to you, I will earn an affiliate commission if you decide to make a purchase.
How much did it cost to make this Upcycled Napkin Decoupage OUI Glass Yogurt Jar?
This project cost me about $10.00 to make, and I still have extra supplies for future projects.
How long did it take to make Upcycled Napkin Decoupage OUI Glass Yogurt Jar?
This Project took me about 2 hours to complete from start to finish.
What to know when doing this project
Some things you need to know before doing this project.
- Add a thin layer to the glass before adding the napkin.
- Be sure to have decorative napkins (affiliate) that are one layer.
- Purchase higher-quality decorative napkins. It glues a lot better.
Pro Tip for Napkins (affiliate): Most decorative napkins (affiliate) are 2-ply or 3-ply. Carefully separate the layers, and use only the topmost printed layer for your project. If you leave the white backing layers on, the napkin will wrinkle, bunch up, and slide off the jar.
Step-by-Step Instructions
Below are the step-by-step instructions to make this cute OUI Glass Yogurt Jar. Feel free to check them out.
Prep and measure your napkin.
Time needed: 2 hours.
How did I update this Oui Yogurt Jar? Check out the steps below.
- Prep and Measure Your Napkin
First, ensure your glass jar is completely clean and free of any sticky label (affiliate) residue. Unfold your decorative napkin (affiliate) to look at the pattern orientation. Place your jar on the napkin to gauge the height and width needed, then use your scissors (affiliate) to cut a strip of the napkin that wraps perfectly around the jar's circumference with a slight overlap.

- Apply the Base Coat
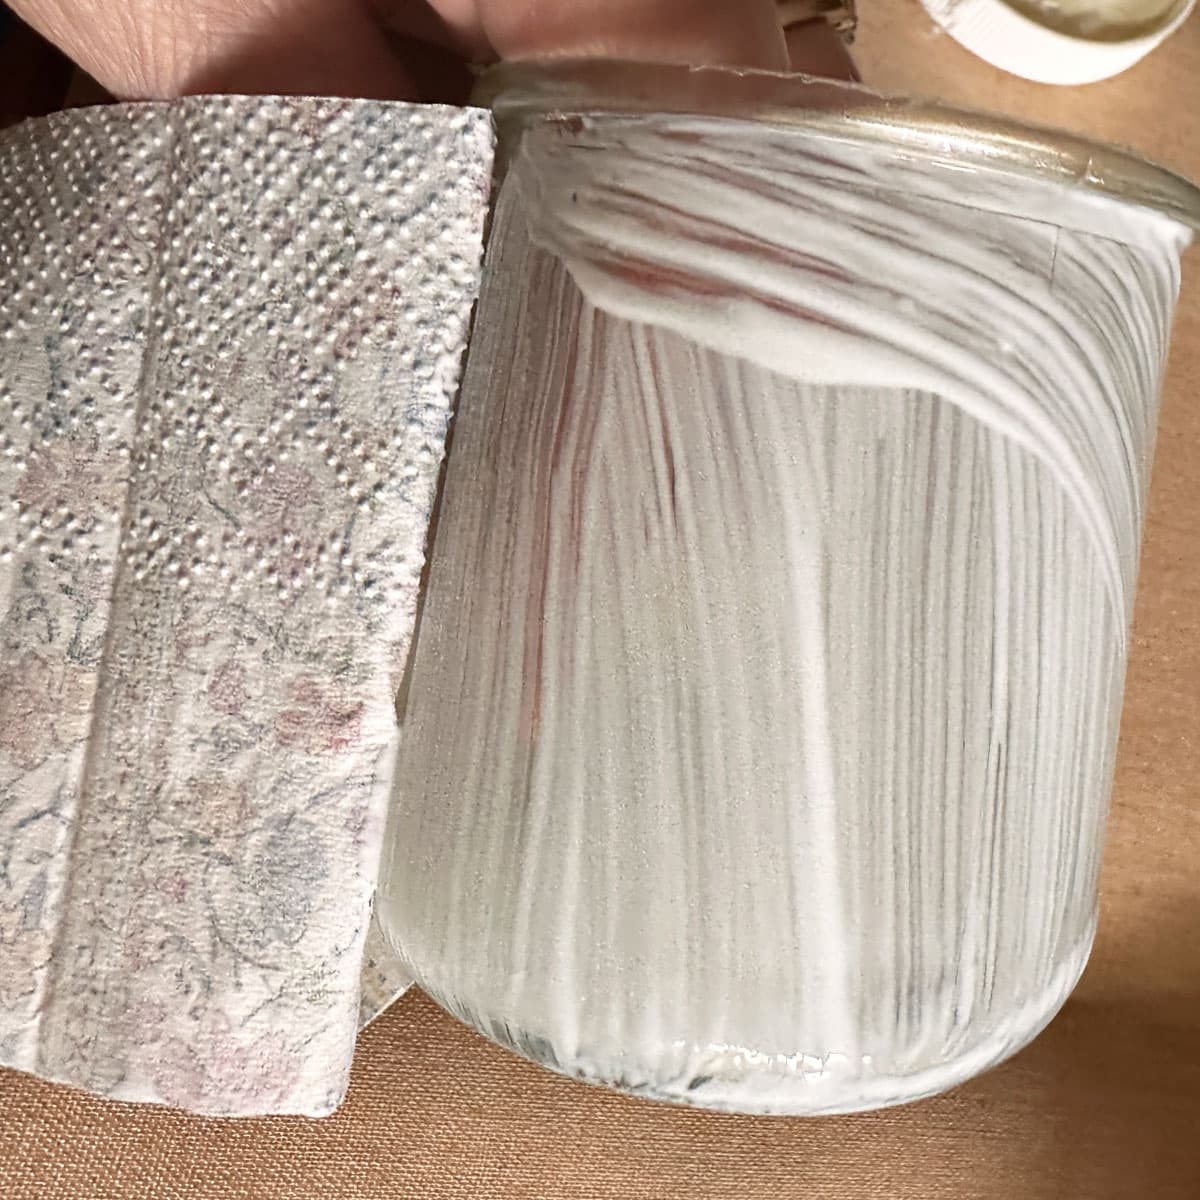
Then, pour a small amount of Satin Mod Podge (affiliate) into a paper bowl. Using your paintbrush (affiliate), apply a thin, even coat of Mod Podge (affiliate) directly onto the exterior glass surface of the jar. You want enough glue to hold the napkin, but not so much that it puddles.
- Wrap and Smooth the Napkin
Now, gently wrap your cut napkin layer around the wet jar. Because napkin paper is incredibly thin, use a very light touch to smooth out any large (affiliate) air bubbles, working from the center outward. Small wrinkles are normal and will add a lovely, faux-ceramic textured look once dry!
- Finish the Bottom Edge
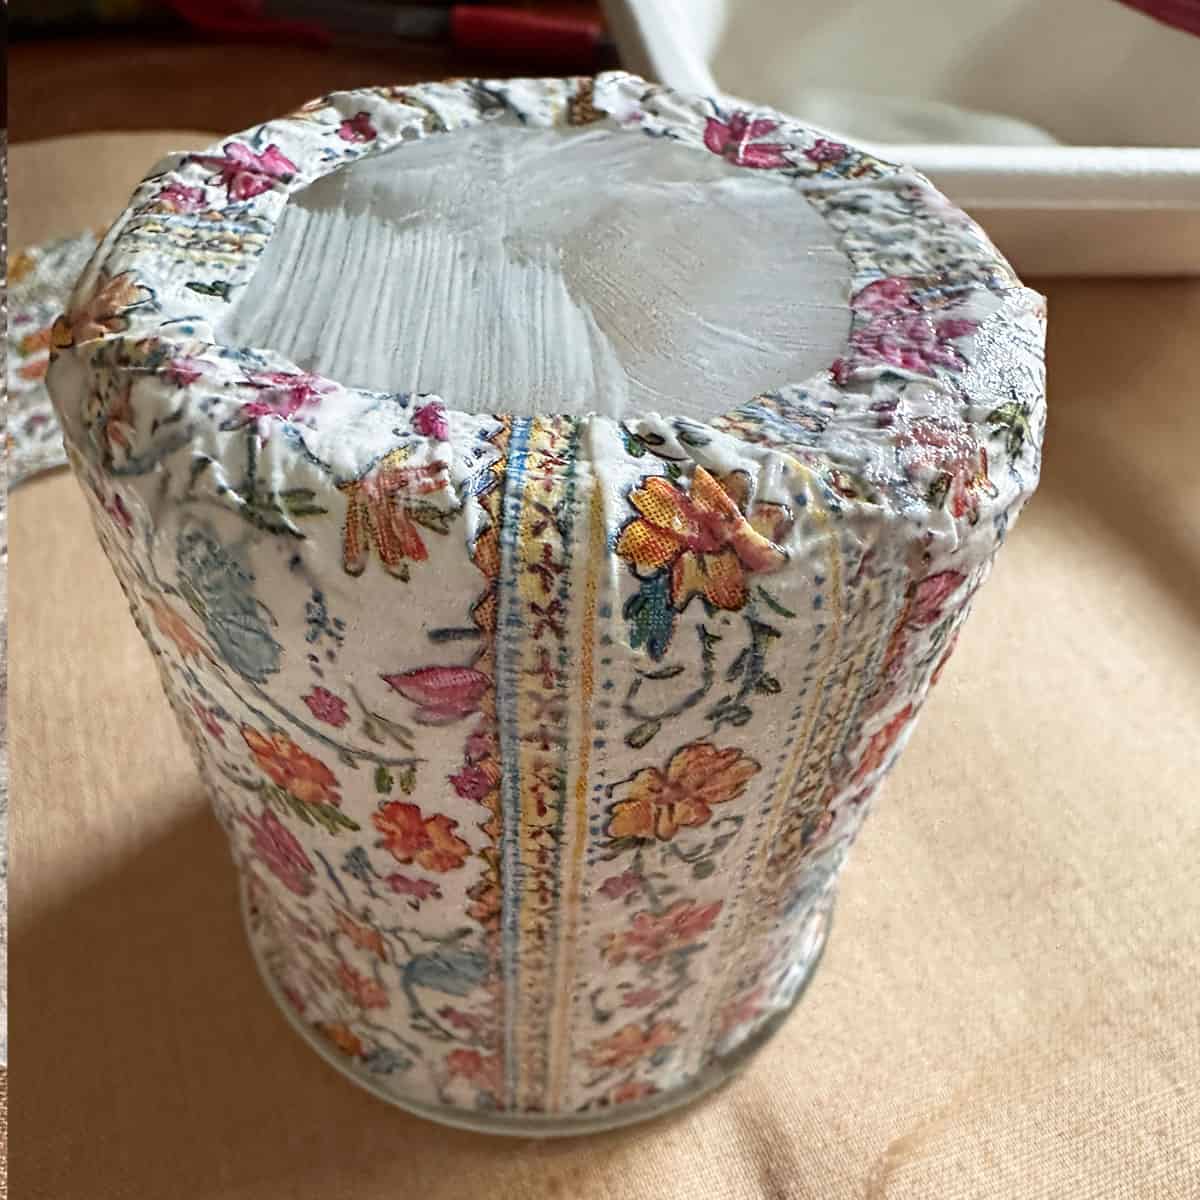
Next, turn the jar upside down. Carefully fold the excess napkin edges over the jar's rim, pressing them flat against the base with your brush and a little extra Mod Podge (affiliate). Leave the very center of the bottom glass clear so the jar sits completely flat. Let this dry for about 15-20 minutes, then brush a final, protective top coat of Satin Mod Podge over the entire napkin to seal it.
- Embellish the Lid
While the jar is drying, grab your bamboo or wooden lid. Take your strip of colorful, self-adhesive rhinestones and carefully wrap it around the outer rim of the lid, pressing firmly to secure it. Trim off any excess rhinestone length.
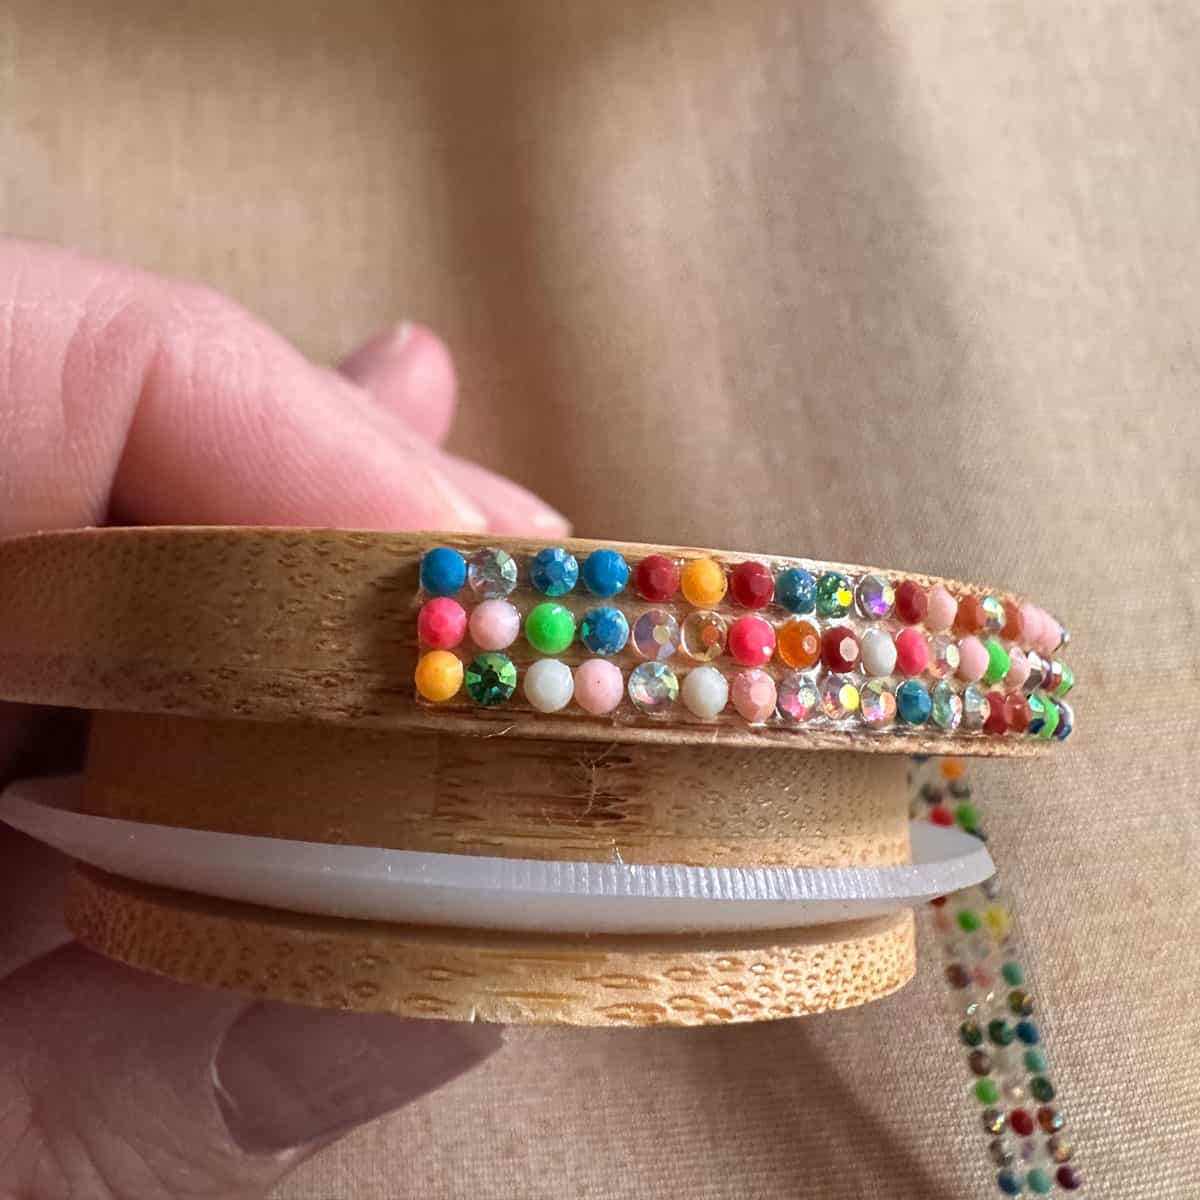
Once your jar is completely dry, pop the embellished lid on top, and your gorgeous upcycled container is ready to use.
Creative Ways to Organize with Your Upcycled Jar
Now that your jar is beautiful, it's time to put it to work! Here are some stylish ways to use your new container around the house:
Desk & Office Organizer: Use it on your desktop without the lid to hold paperclips, binder (affiliate) clips, or pushpins. Alternatively, keep it covered to store extra staple refills or rubber bands (affiliate).
Vanity & Bathroom Storage: This jar is the perfect size for holding cotton rounds, cotton swabs, or reusable makeup eraser pads. The airtight lid keeps everything dust-free.
Craft Room Sorting: Perfect for organizing small notions such as buttons, safety pins, embroidery floss, and beads. Because it looks so pretty, you can display it right on your open shelving (affiliate).
Jewelry (affiliate) Holder: Keep it on your nightstand (affiliate) to safely hold your rings, earrings, or dainty bracelets at the end of the day.
Earthy Vitamin or Pill Jar: Keep your daily supplements close at hand on the kitchen counter without having to look at ugly plastic medicine bottles.
The Big Reveal
I'm so excited that I created this Upcycled Napkin Decoupage OUI Glass Yogurt Jar. It is so cute, and I love that I can use it for organizing things in my office.

FAQs
Feel free to check out these additional questions for answers. If you have more questions, please leave a comment below, and I will get back to you as soon as possible.
No, use only high-quality, patterned decorative napkins, and be sure to separate and use just the top printed layer. Leaving the extra white backing layers on will cause wrinkling and bunching. It could tear, and you will have ruined the craft project.
Fill the jar with warm water, then use a scraper along with a bit of coconut oil to rub away the residue from the glass and rim.
The lid isn't included with the yogurt; it's purchased separately (the post sources theirs on Amazon).
Let the base coat dry about 15-20 minutes, then apply a final protective top coat of Satin Mod Podge and let it fully cure before using.
t's great for office supplies (paperclips, staples), bathroom items (cotton rounds/swabs), craft notions (buttons, beads), jewelry, or even vitamins/pills.
Closing:
This is a wonderfully easy project for dressing up any yogurt jar. I hope it inspires you to recycle these cute jars. I keep them nearby so I can easily clean them for a quick organizing project. =)
Sharing is caring! If you enjoyed my post, please share it with your friends via email or social media and use the hashtag #sabrinasorganizingDIY. Thank you!
DIY posts
Check out the posts below about glass bowls and jars.
Upcycled Napkin Decoupage OUI Glass Yogurt Jar
- Total Time: 40 minutes
- Yield: 1
Description
If you love those charming little glass Oui yogurt jars as much as I do, you know how hard it is to throw them away. They are the perfect size for storage, but plain glass doesn't always match your home decor (affiliate). With a beautiful decorative napkin (affiliate), some Satin Mod Podge, and a little bit of sparkle, you can transform a simple grocery item into a gorgeous, high-end organizing container.
Materials
Clean glass yogurt jar (with a matching wooden or Oui bamboo lid bought on Amazon (affiliate))
Decorative paper napkin (affiliate) with a pattern you love - I bought this one at Sur La Table store.
Satin Mod Podge
Flat paintbrush (affiliate) or foam brush
Scissors (affiliate)
Self-adhesive rhinestone trim or gem strips (affiliate)
Small bowl or paper dish to hold your glue
Instructions
First, ensure your glass jar is completely clean and free of any sticky label (affiliate) residue. Unfold your decorative napkin (affiliate) to look at the pattern orientation. Place your jar on the napkin to gauge the height and width needed, then use your scissors (affiliate) to cut a strip of the napkin that wraps perfectly around the jar's circumference with a slight overlap.
Then, pour a small amount of Satin Mod Podge into a paper bowl. Using your paintbrush (affiliate), apply a thin, even coat of Mod Podge directly onto the exterior glass surface of the jar. You want enough glue to hold the napkin, but not so much that it puddles.
Now, gently wrap your cut napkin layer around the wet jar. Because napkin paper is incredibly thin, use a very light touch to smooth out any large (affiliate) air bubbles, working from the center outward. Small wrinkles are normal and will add a lovely, faux-ceramic textured look once dry!
Next, turn the jar upside down. Carefully fold the excess napkin edges over the jar's rim, pressing them flat against the base with your brush and a little extra Mod Podge. Leave the very center of the bottom glass clear so the jar sits completely flat. Let this dry for about 15-20 minutes, then brush a final, protective top coat of Satin Mod Podge over the entire napkin to seal it.
While the jar is drying, grab your bamboo or wooden lid. Take your strip of colorful, self-adhesive rhinestones and carefully wrap it around the outer rim of the lid, pressing firmly to secure it. Trim off any excess rhinestone length.
- Prep Time: 10 minutes
- Category: DIY, Oui Yogurt Jar Craft
- Method: Step-by-Step