• Skip to primary navigation
  • Skip to main content
  • Skip to primary sidebar
Sabrinas Organizing
  • Home Organization
  • Healthy Recipes
  • DIY Home Projects
  • Browse Gift Ideas
  • Donate Stuff
  • Recycling Events 2022
  • Solution Consultations
  • Virtual Organizing
menu icon
go to homepage
  • Home Organization
  • Healthy Recipes
  • DIY Home Projects
  • Browse Gift Ideas
  • Donate Stuff
  • Recycling Events 2022
  • Solution Consultations
  • Virtual Organizing
search icon
Homepage link
  • Home Organization
  • Healthy Recipes
  • DIY Home Projects
  • Browse Gift Ideas
  • Donate Stuff
  • Recycling Events 2022
  • Solution Consultations
  • Virtual Organizing
×

Home » Home Organization » DIY Projects For The Home » Repurposing Projects » How to Upcycle a Glass Yogurt Jar into A Gnome Storage

How to Upcycle a Glass Yogurt Jar into A Gnome Storage

Last Modified: December 13, 2022 Sabrina Quairoli This blog uses cookies. It also has affiliate links. We earn sponsored content income.

****Visit our "Disclosure Policy and Cookies" for details.****

Have you heard of Glass Yogurt Jars? We have them all the time. The jars are adorable and easy to clean up to repurpose somewhere else. So, that is what I decided to do. I will upcycle a glass yogurt jar into a Gnome. The hat is removable, so I can easily fill it will treats as a favor gift for a party I am throwing. Here's how I made them.

How to Upcycle a Glass Yogurt Jar into a Gnome Storage container
Jump to:
  • What inspired me to do this Upcycle Glass Yogurt Jar Gnome?
  • What supplies did I use to make this Upcycle a Glass Yogurt Jar Gnome?
  • How much did it cost to make this Upcycle Glass Yogurt Jar Gnome?
  • How long did it take to make this Upcycle Glass Yogurt Jar Gnome?
  • How did I make this Upcycle Glass Yogurt Jar Gnome?
  • The Big Reveal
  • How to use Glass Yogurt Jar Gnome?
  • Tips on making this Upcycle a Glass Yogurt Jar Gnome

What inspired me to do this Upcycle Glass Yogurt Jar Gnome?

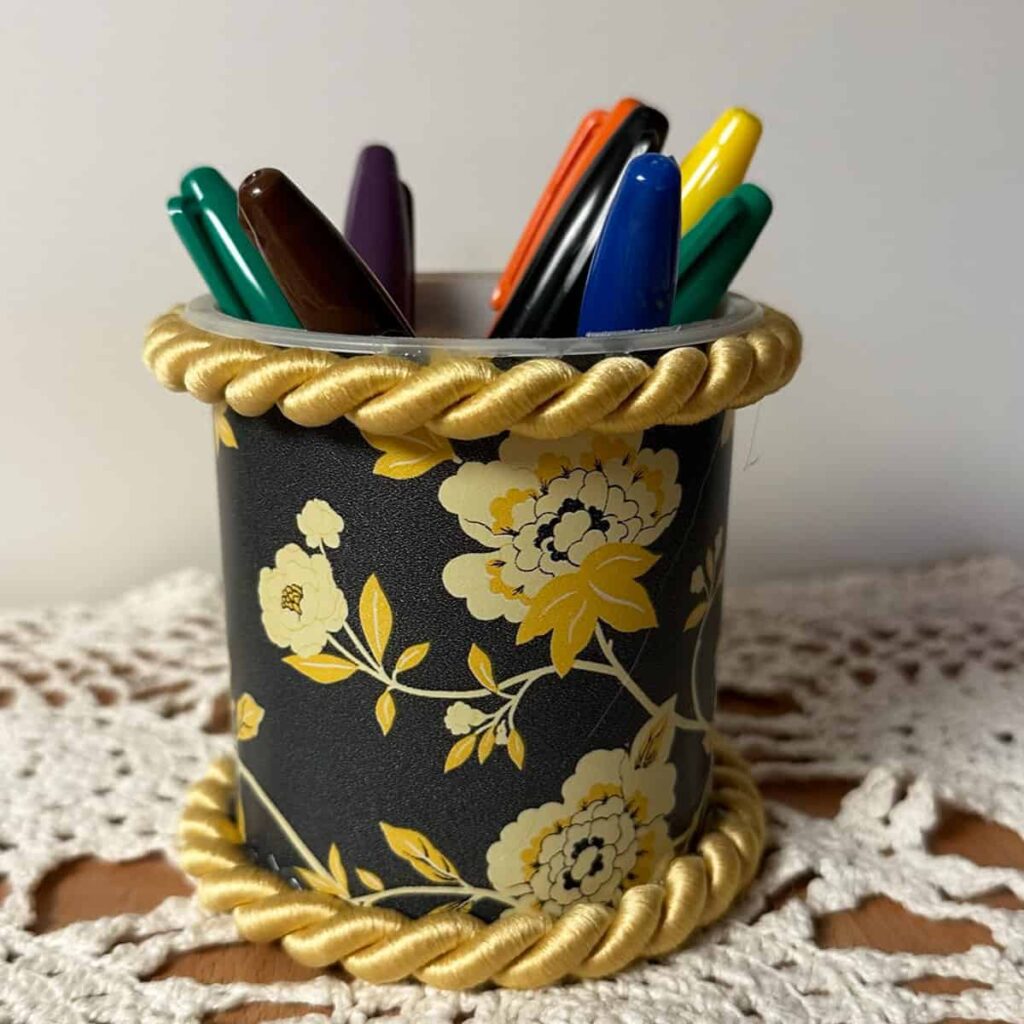
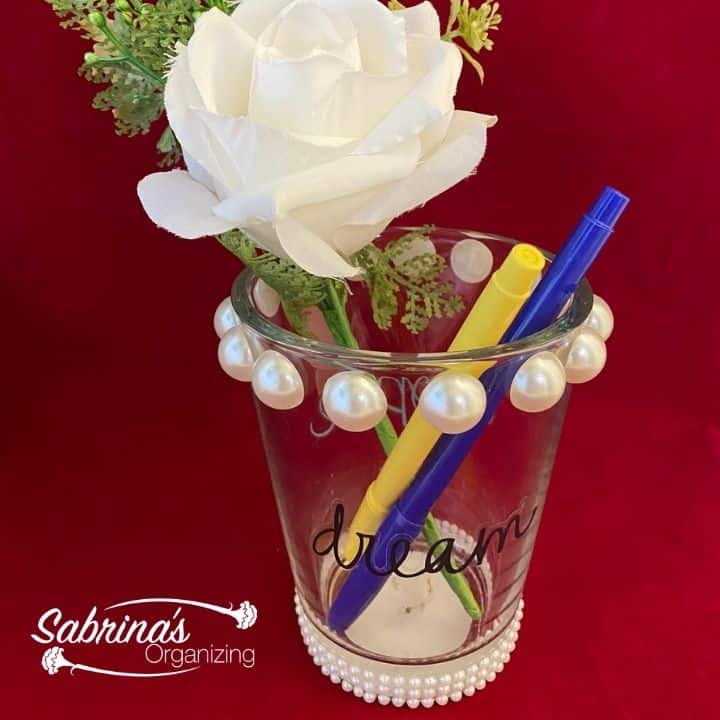
I was inspired to do another gnome storage project from the one I made last year. It became very popular. I guess I am not the only one that loves gnomes. =) Here is the post here. I loved that I could add a storage area instead of having gnomes serving no purpose but making me happy. With a smaller home, I need to maximize all the space for storage I can, so making these gnomes a small things holder worked perfectly.

What supplies did I use to make this Upcycle a Glass Yogurt Jar Gnome?

I used some supplies from prior year projects, so the list here is pretty short. Below are links from Amazon. If you click through and buy something on Amazon, I will receive a small referral commission. Happy shopping!
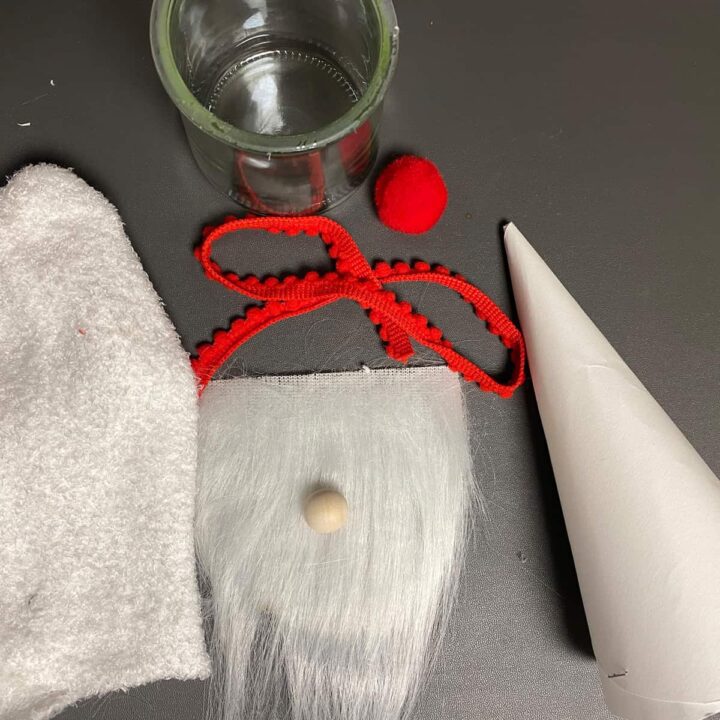
**AD from Cricut Maker**

Supplies used:

  • Cardstock - white made into a cone to fit the top of the jar
  • A Gnome beard - I found these on Amazon.
  • A wooden ball for the nose
  • A cotton ball ribbon I found a roll of this ribbon at Marshall's.
  • A red cotton ball for the top of the cone.
  • A fuzzy sock from a previous sock upcycling project. I cut off the excess and kept the food part.
  • Glass Yogurt Jar - I cleaned this jar and removed the label. It came off very easily.
  • Hot glue gun with a low and high setting
The supplies needed to make the glass gnome

How much did it cost to make this Upcycle Glass Yogurt Jar Gnome?

This project cost me about $2.00 since all I bought was the glass yogurt jar.

AD from Boutique Rugs: Take 15% off already discounted prices. Use code PRES15. Valid February 6-25, 2023.


How long did it take to make this Upcycle Glass Yogurt Jar Gnome?

It took me about 3 hours to make this glass yogurt jar gnome. I had to glue the cone, so that took a few hours to dry. I let it sit overnight to make sure it was secured. The rest of the steps only took an hour.

How did I make this Upcycle Glass Yogurt Jar Gnome?

Now that I had all the items in one place, here is how I made them.

**AD**MasonJars.com - Shop Pantry Foods

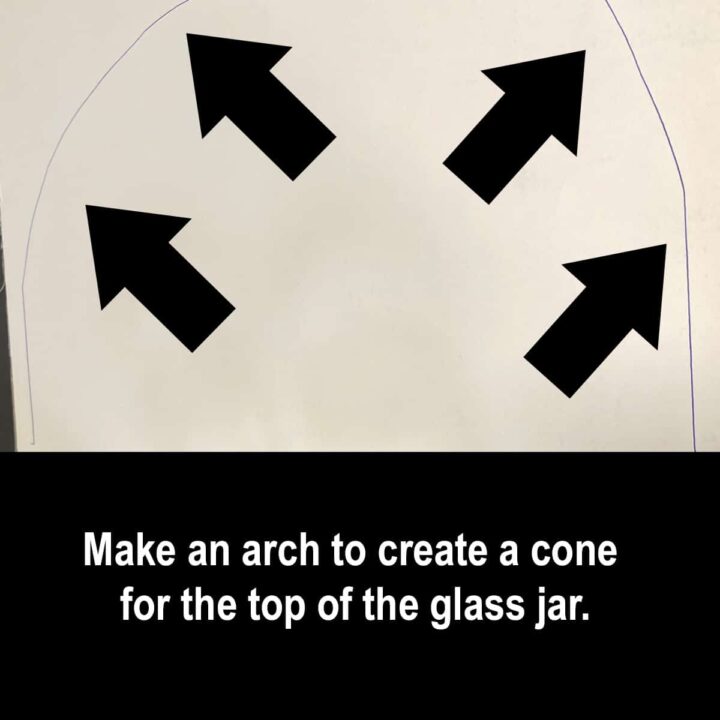
First, I made the cone out of cardstock (white). Before doing this, I made sure the cone fits over the glass yogurt jar. The shape ended up like a half-moon.

Create an arch to make the cone on a piece of card stock

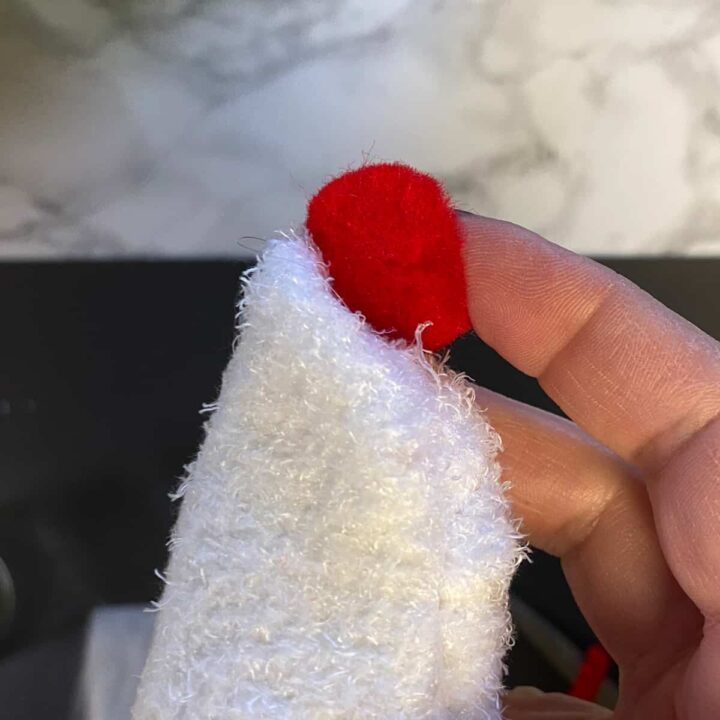
Then, I wrapped the sock over the cone and hot glued it to the card stock inside it. The sock was pretty thin, even though it was a fuzzy sock. I hot glued the excess of the sock on itself at the top part of the cone. I used the low setting on the hot glue gun.

**AD from Cricut Maker**
Add fuzzy sock and use hot glue to the side to make sock secure to the cone.

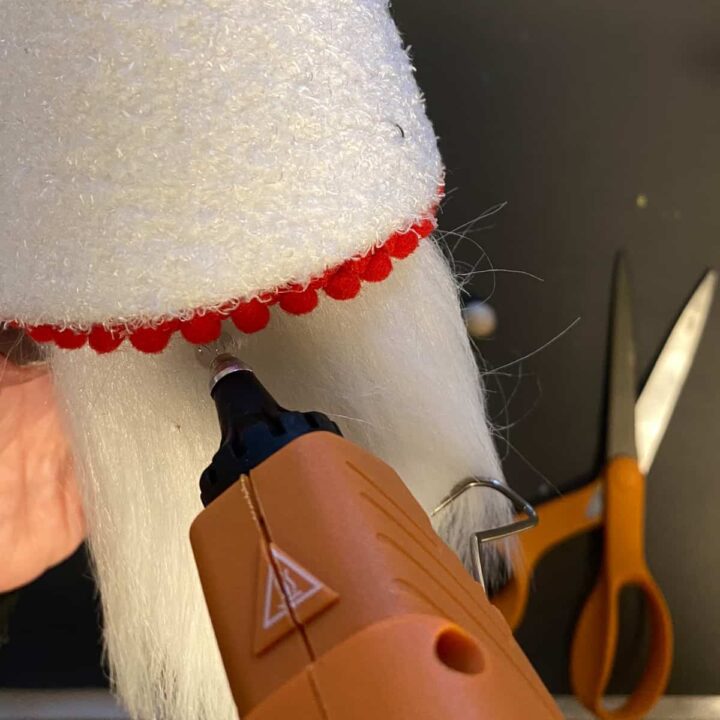
Now, I added the cotton ball ribbon around the base of the cone with the low setting of the hot glue gun and cut off the edging. And I added the red cotton ball to the top using a little hot glue (low setting).

Add cotton ball to the top of the sock

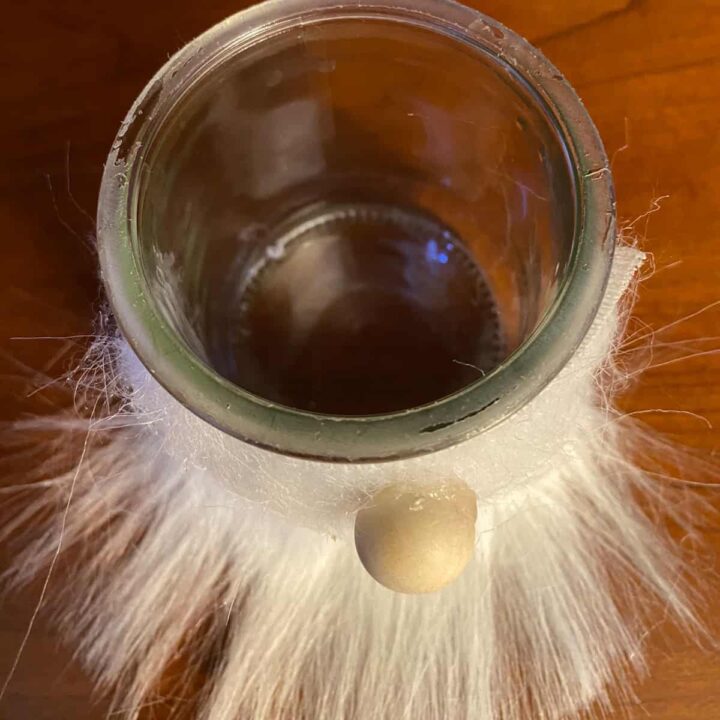
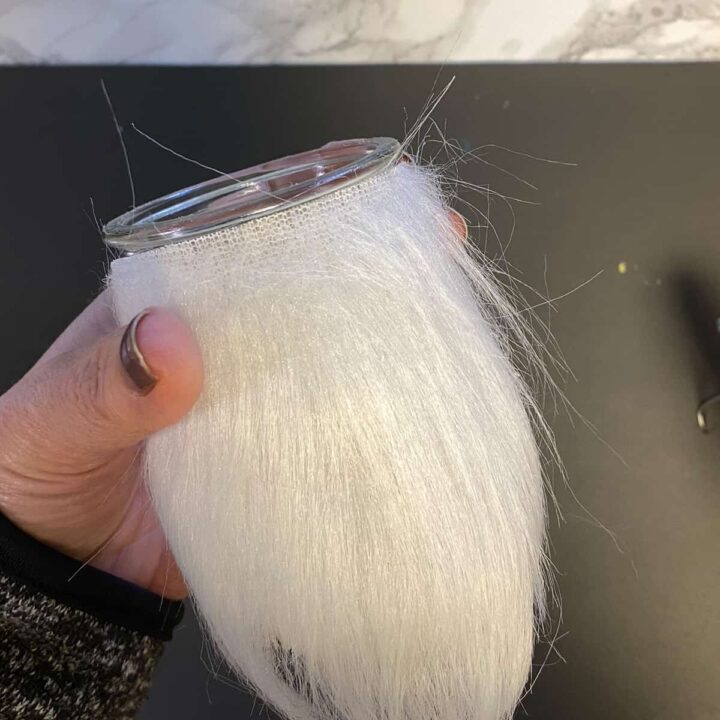
Next, I added the gnome beard to the glass jar using the high setting, trimming a little of the hairs as needed. Then added the nose.
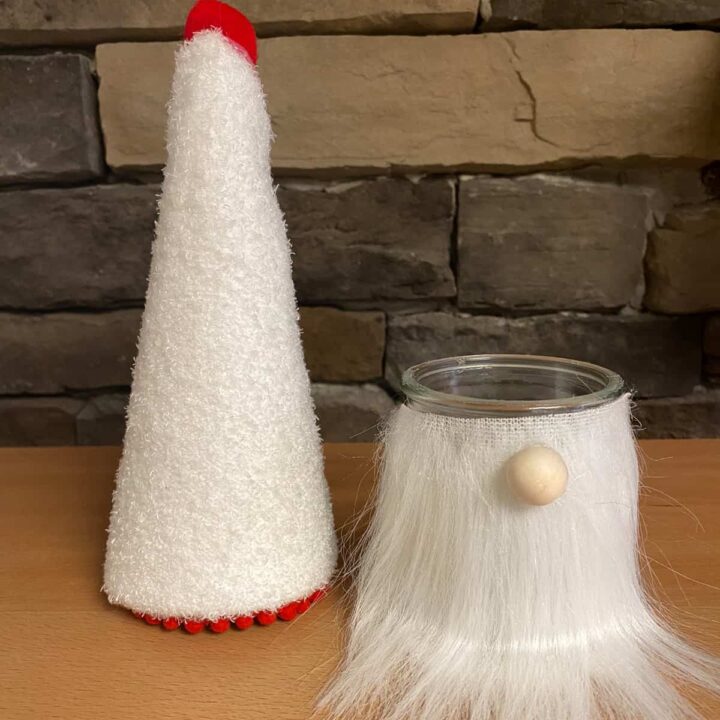
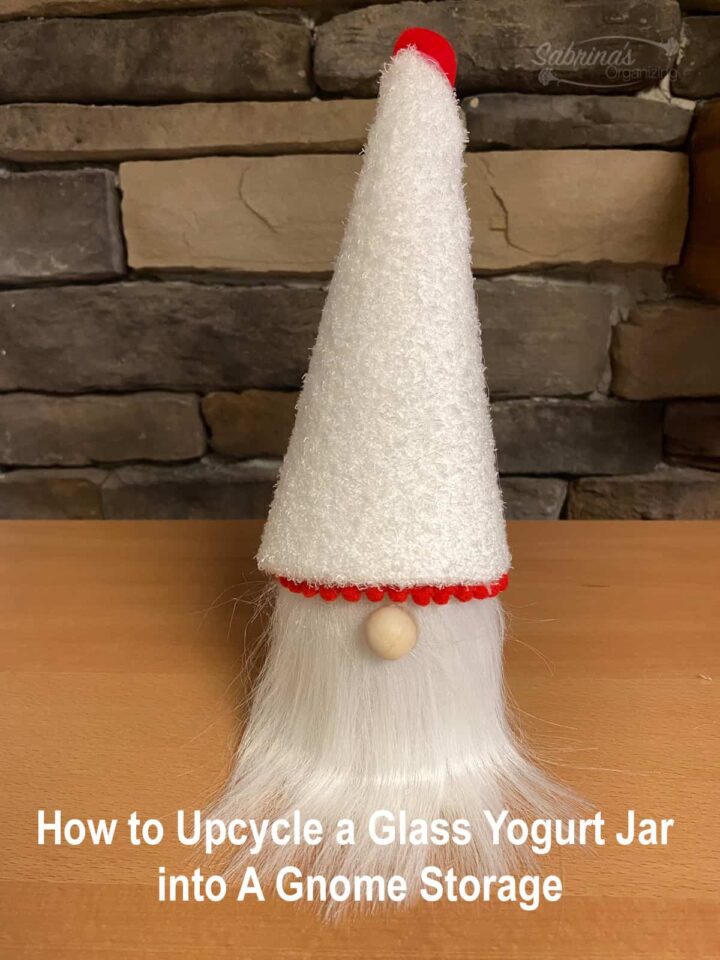
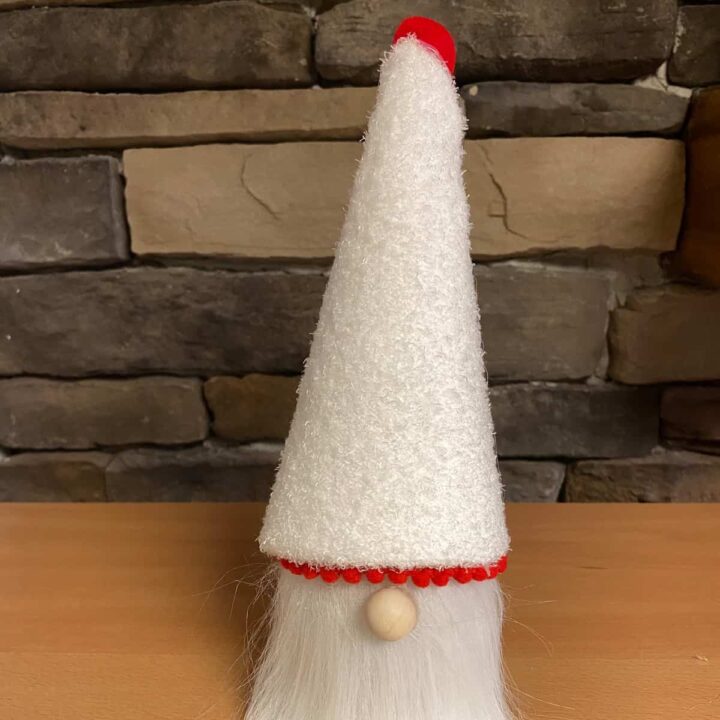
Add hot glue to the back of the beard to adhere to the glass jar.
Add hot glue to glue the wooden nose on the beard.

The Big Reveal

This Upcycle Glass Yogurt Jar Gnome looks lovely. What do you think?

The finished gnome jar square image

How to use Glass Yogurt Jar Gnome?

This DIY project is great for holiday theme parties. Depending on the size of your jar, you can even use it for gift cards and gifts for kids. You can change it up and use it for favor gifts for your kid's Gnome party.

Tips on making this Upcycle a Glass Yogurt Jar Gnome

If your hot glue gun has settings (high and low), use them. The paper would probably not burn on high, but it's better to be safe than sorry.

Check out the video on YouTube!

I hope this DIY project helps you get inspired to upcycle your yogurt jars. What project will you be doing next? Please leave a comment below. I would love to hear from you.

Visit our other Christmas DIY Projects:

  • How to Easily Declutter and Organize Holiday Decorations
  • How to Make Cute Christmas Place Cards
  • How to Upcycle Small Metal Buckets into Holiday Centerpieces
  • How to Organize Christmas Gifts Easily
Removing the gnome lid
The glass jar finished and gnome hat finished next to each other in the picture.
The open top of the gnome jar
(Visited 41 times, 5 visits today)
Do you live in South Eastern Pennsylvania? Don't know where to start organizing in your home? Need a plan? Check out our Sabrina's Organizing Solutions ConsultationsAre a DIYer and just need accountability to get through the mess in your home and life? Check out our Sabrina's Organizing Virtual Organizing Services

Connect with Me on Social Media!

Facebook - Instagram - Twitter - Linkedin - Pinterest

More Repurposing Projects

  • How to Create a Well Organized Craft Zone Cabinet
  • How to Make a Cute Guest Welcome Basket for the Holidays
  • DIY Upcycling Leftover Currency into Coasters
  • How to Make A DIY Holiday Porch DIY Reversible Sign

About Sabrina Quairoli

I love sharing my passion for organizing life and home. I hope you get inspired when visiting my home organizing tips, quick weeknight recipes, party planning ideas, and DIY organizing projects. Visit the About Me page to read my story.

Primary Sidebar

Sabrina Quairoli Owner of Sabrinasorganizing

Hi, I'm Sabrina! Thanks for stopping by and checking out my blog, where you can find Home Organizing, Quick Weeknight Recipes, and DIY Craft Home Organizing Projects. Feel free and browse around to get motivated to improve your home life!

Read more about me →

Get your free copy of our 12 months of easy decluttering challenges ebook

Popular Home Life Posts

  • Places To Donate Jewelry You Do Not Want
  • 7 Games to Help Kids Understand How to Organize
  • This Year's Recycling Locations and Shredder Events
  • What to Keep in Your Shed
  • The Most Important Things to Keep in Your Linen Closet
  • Air Fried Pepperoni Chips Recipe


Get your free copy of our Home Management binder ebook

Check Boutique Rugs new arrivals here sorted by rug type and size!


Get our Holiday Season Planner to help you save money and time with free checklists and Printables to make this season amazing
Have a small business? NEED SMALL BUSINESS ADMIN SERVICES? Visit our blog and services by clicking below.
Sabrina's Admin Services

Amazon Disclosure


Sabrina's Organizing blog is a participant in the Amazon Services LLC Associates Program, an affiliate advertising program designed to provide a means for sites to earn advertising fees by advertising and linking to Amazon.com.

Sabrina’s Organizing Web Stories

Footer

↑ back to top

About

  • About Me
  • Privacy Policy
  • Disclosure Policy and Cookies
  • Google Analytics Privacy Statement and Opt-Out Option

Newsletter and Associations

  • Sign Up for emails and updates
  • 2023 NAPO Business Stamp of Approval

Contact

  • Contact
  • Solution Consultations
  • Virtual Organizing Consults
  • Write for Us
Creative Commons License

As an Amazon Associate, I earn from qualifying purchases.

Copyright © 2011-2023 Sabrina's Organizing Blog content by Sabrina Morresi-Quairoli is licensed. Based on a work at Sabrina’s Organizing blog, social media content, newsletters shared, permissions beyond the scope of this license may be available when contacting me.