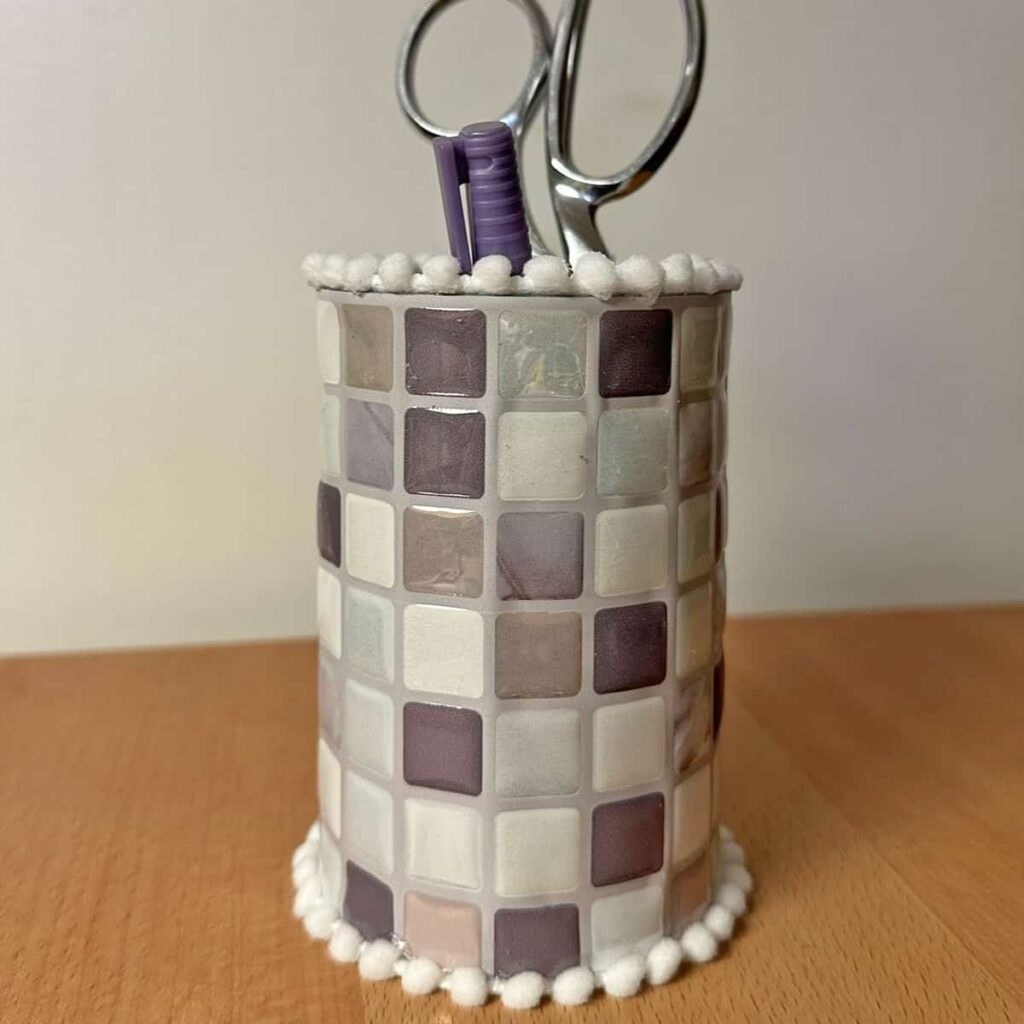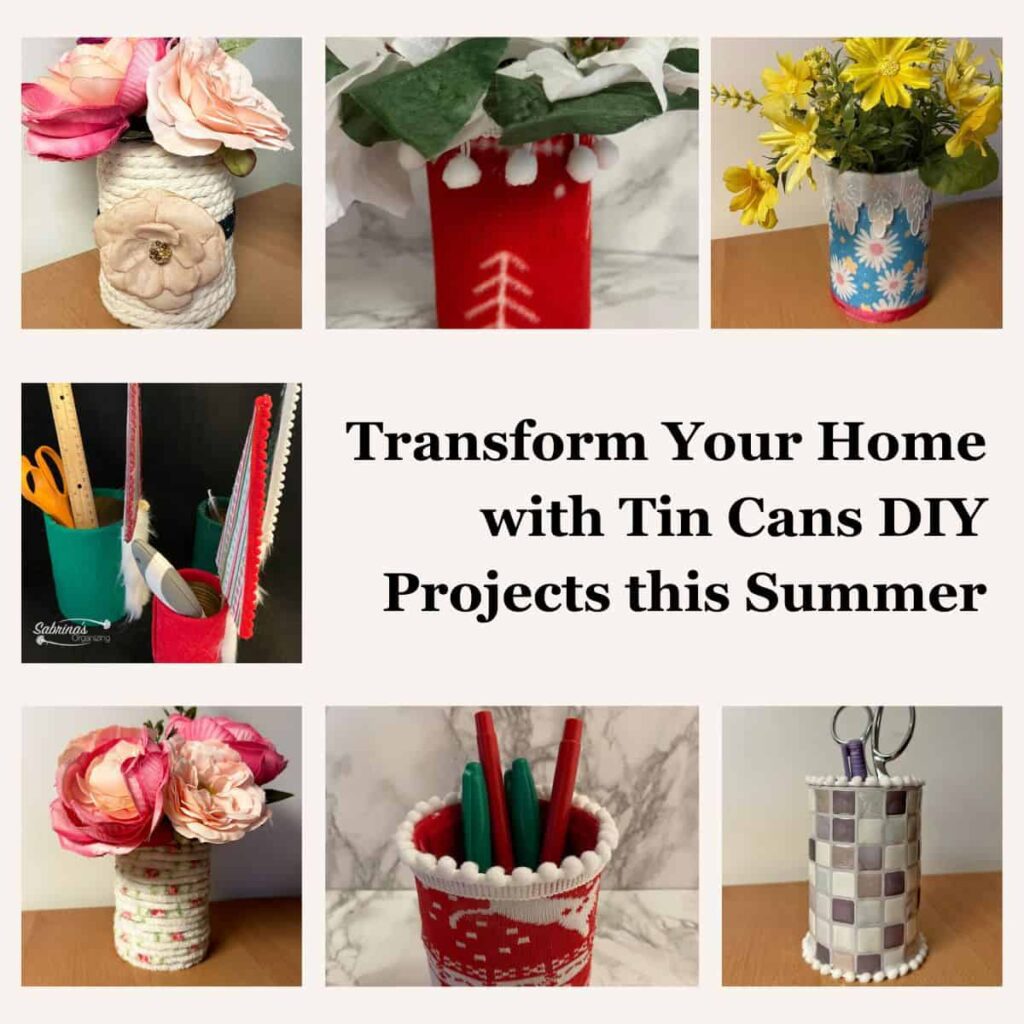
Have you ever looked at an empty tea tin or coffee (affiliate) container and thought, "I just can't bring myself to throw this away"? Me too! With a little creative upcycling, those sturdy metal cans can easily transform from kitchen clutter into a usable organizer tool or home decor (affiliate).
In this post, I'm sharing how to take a simple thrifted or leftover tea tin and elevate it into a gorgeous rose gold (affiliate) leaf storage container. Whether you want to add a touch of glamour to your desk, bathroom counter, or craft table, this budget-friendly project is quick, fun, and totally customizable.
Jump to:
- Key Takeaways
- Things to know before trying this project
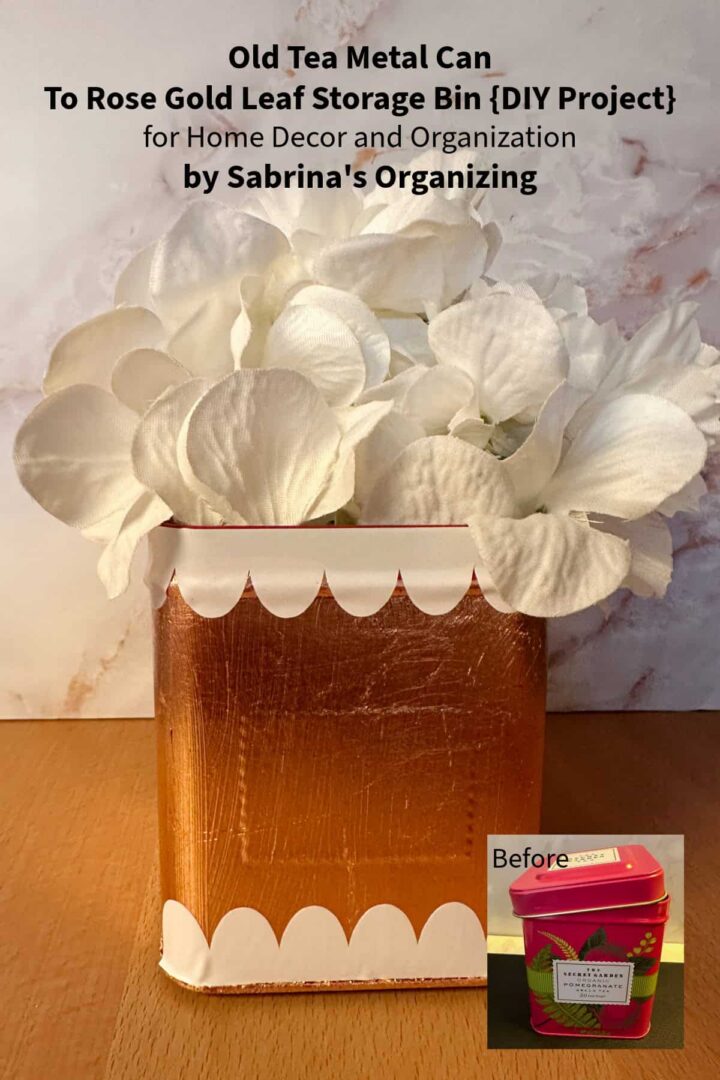
- Before You Begin: The "Before" Look
- Tips on making this DIY tea tin upcycle
- Gold & Rose Gold Leaf Application Tips
- Steps
- The Big Reveal
- 8 Creative Ways to Organize with Your Updated Tin
- FAQs
- Old Tea Metal Can to Rose Gold Leaf Storage Bin {DIY Tutorial}
Key Takeaways
- Transform an old tea tin into a stylish storage container with a DIY tea tin upcycle project.
- Gather supplies like metal gilding adhesive, rose gold (affiliate) leaf sheets, and gloves.
- The upcycling process takes about 2 hours and costs around $6.00, making it budget-friendly.
- Use the upcycled tin for organizing small items or as a decorative piece in your home.
- Follow tips for successful gold (affiliate) leaf application and enjoy various creative uses for your updated tin.
Things to know before trying this project
Below are things you should know about this project.
What inspired me to do this DIY tea tin upcycle?
I had this pretty tin can that I loved for years. It was given to me by a family member, and the tea was delicious. I wanted to use the tin can to help organize my small things, so I decided to update this can by covering it with rose gold (affiliate) foil.
What supplies did I use to upcycle this DIY tea tin?
Supplies Needed
- An old square metal tea tin (clean and completely dry)
- Metal gilding adhesive / Mod Podge (affiliate)
- Rose gold (affiliate) leaf sheets
- Cotton gloves (essential for handling foil without sticking!)
- Soft bristle brush (or dry foam brush)
- White scalloped trim vinyl from Cricut (here is my link with my patterns on it if you have a Cricut Design Account or 1-inch ribbon scalloped edges
- Self-adhesive large ¾ inch or 20 MM or 30 MM wide pearl sticker feet (optional, for the bottom)
Please note these are affiliate links through Amazon (affiliate), and at no additional cost to you, I will earn an affiliate commission if you decide to make a purchase.
Before You Begin: The "Before" Look
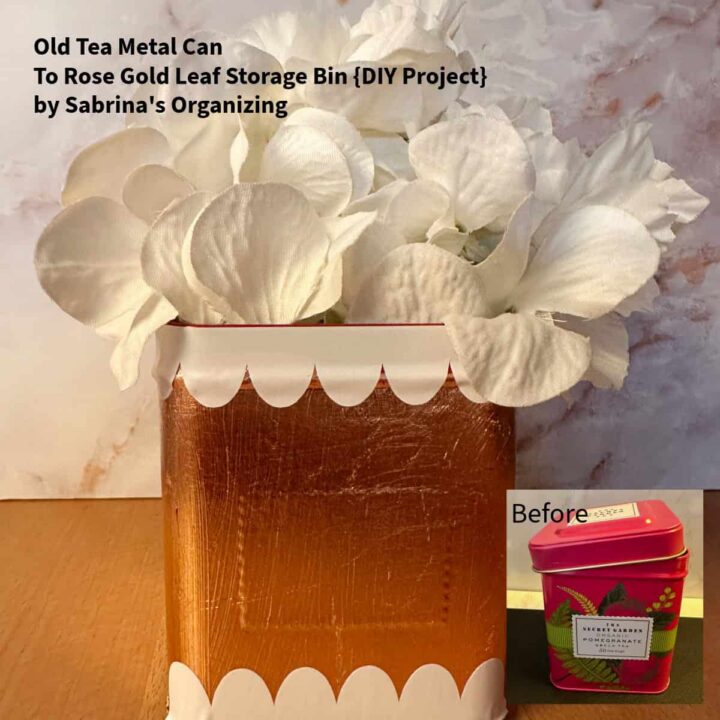
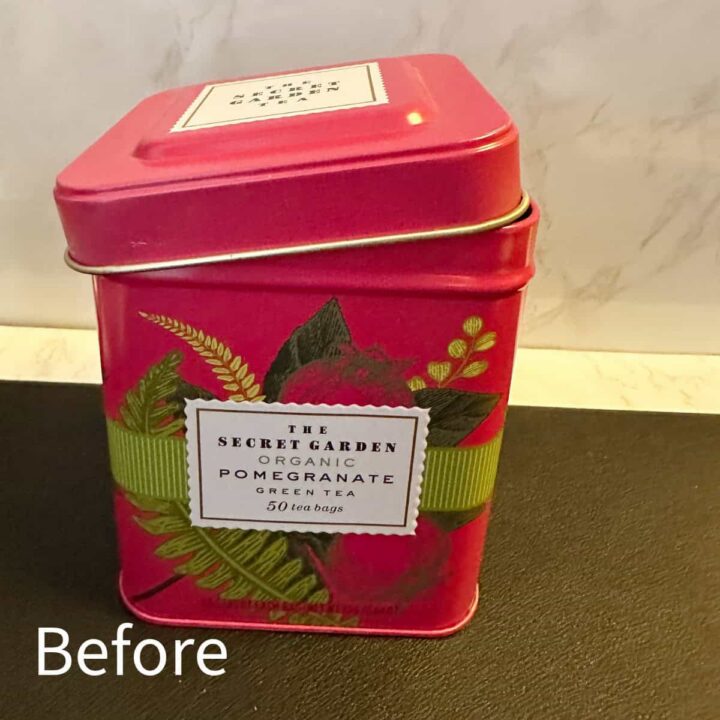
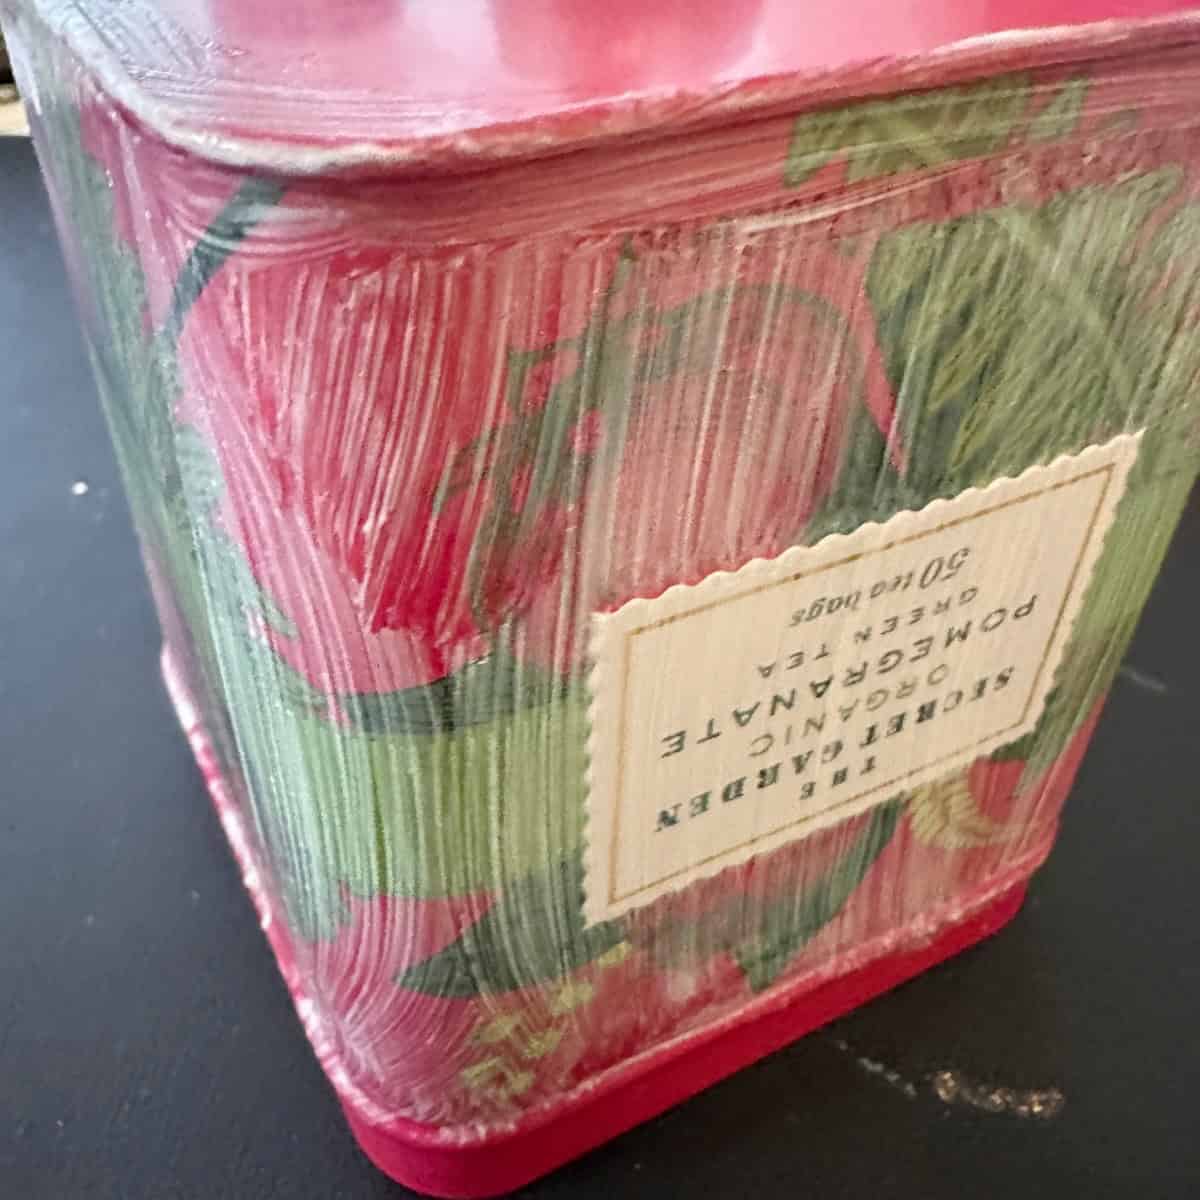
Here is the original empty tea tin before its makeover:
It was a cute pink tea tin, but the bright graphics and branding didn't quite fit the cohesive, chic look I wanted for my space.
How much did it cost to upcycle this DIY tea tin project?
This project cost me about $6.00 when I purchased the tea tin can.
How long did it take to upcycle this DIY tea tin project?
This project took me 2 hours start to finish, including dry time.
Tips on making this DIY tea tin upcycle
Below are my favorite tips on making this project.
- Secure the tin gently in a workbench vice or clamp to keep it steady and hands-free while applying glue and leaf sheets!
- Use a tin that has straight sides and a minimal textured surface for your favorite.
Gold & Rose Gold Leaf Application Tips
Below are tips for gold (affiliate) leaf application.
- Always Wear Gloves: Your natural skin oils can prevent foil from adhering smoothly and can cause discoloration over time. Lightweight cotton craft gloves work best.
- Work in a Draft-Free Space: Metal leaf sheets are whisper-thin and will blow away with the slightest breeze or fan movement. Turn off overhead fans before opening your foil package.
- Don't Rush the Adhesive: Wait until the glue transitions from wet/milky to clear and tacky before laying down the foil sheet-if it's too wet, the leaf will tear and bunch up.
- Embrace the Texture: Don't stress about minor seams or overlapping lines! The overlapping texture gives metal leaf its authentic, handcrafted charm.
Steps
Below are the step-by-step instructions to make this cute DIY tea tin upcycle. Feel free to check them out.
Time needed: 2 hours.
- Prep and Prime the Metal Can
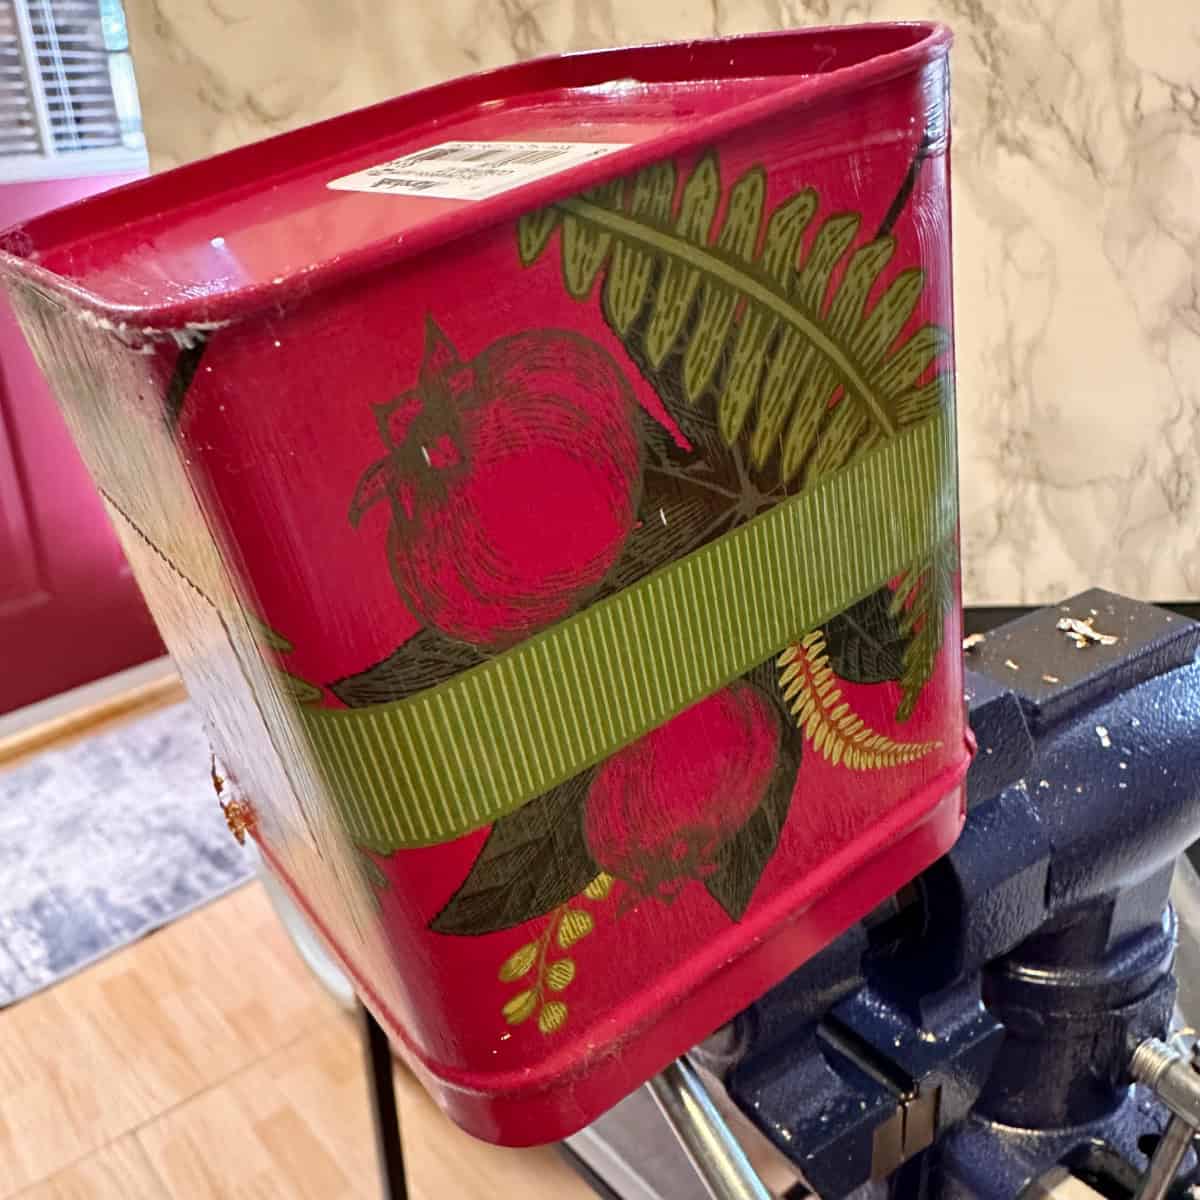
Start by cleaning the inside and outside of your tin thoroughly. Next, brush a thin, even coat of gilding adhesive (or Mod Podge (affiliate)) across the exterior sides of the tin. Discard the lid. Allow it to sit until it becomes tacky according to the package directions.

- Wait about 1 hour to dry partially
Allow it to dry until it is fully sticky. This is what it looks like when it is dry.
- Apply the Rose Gold Leaf to the outside of the metal tin
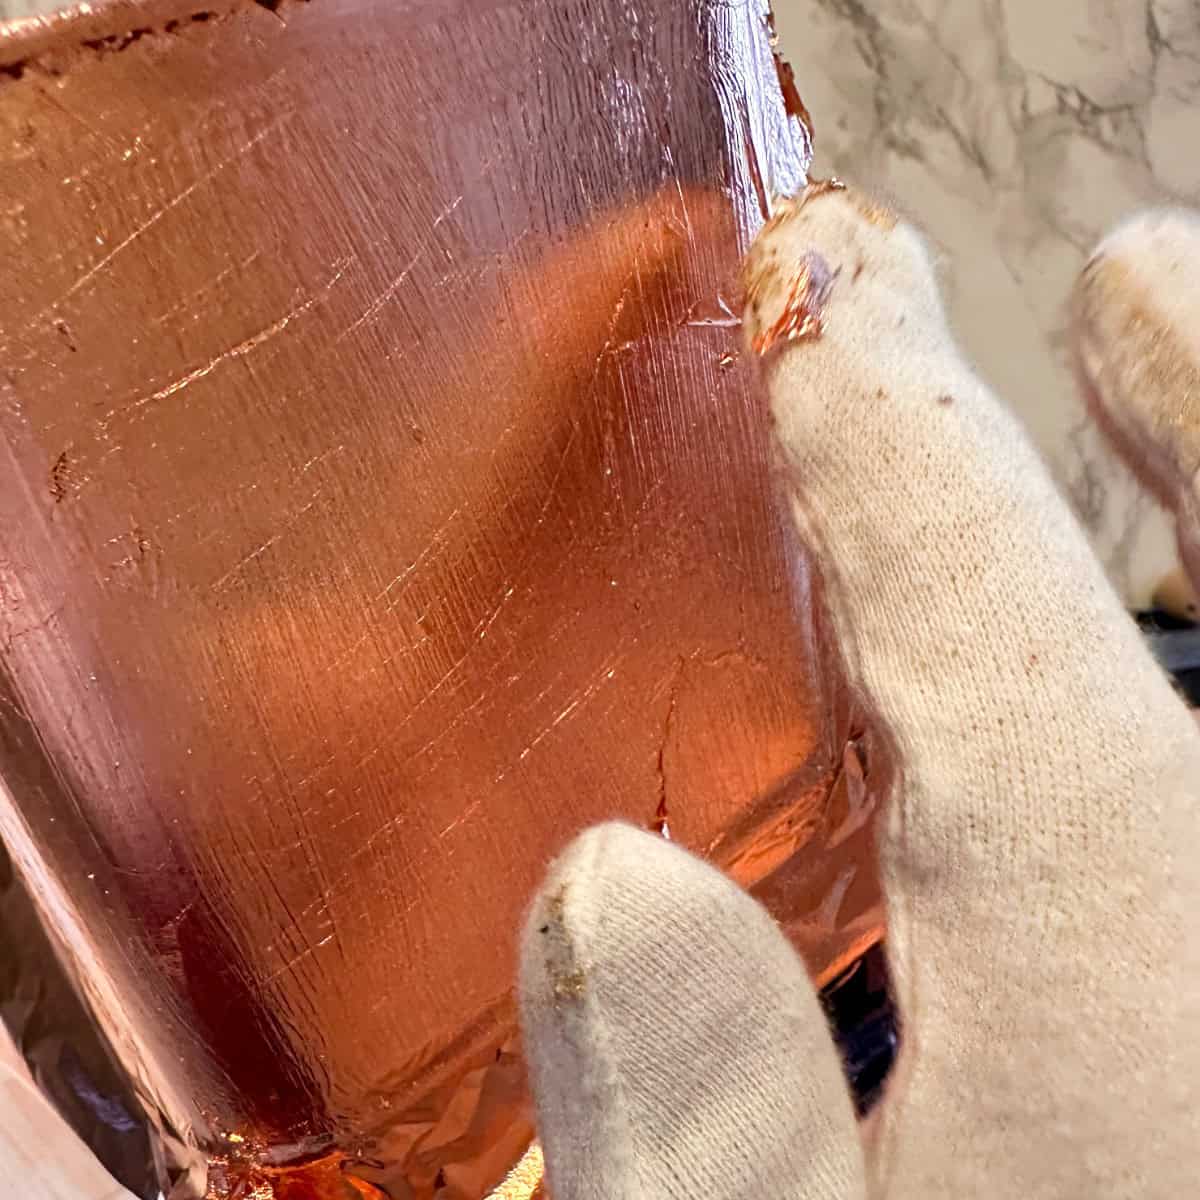
Put on your cotton gloves! Gently place the rose gold leaf sheet onto the tacky surface. Use your gloved fingers or a soft brush to smooth the foil down, pressing it evenly onto all sides. Once fully covered, use a soft, dry brush to sweep away any excess foil flakes. Feel free to go to the very top or stop where I stopped since I was covering the top edge. Optional: Seal the foil with a light coat of clear acrylic finish to prevent tarnishing or peeling over time.
- Add the Finishing Touches
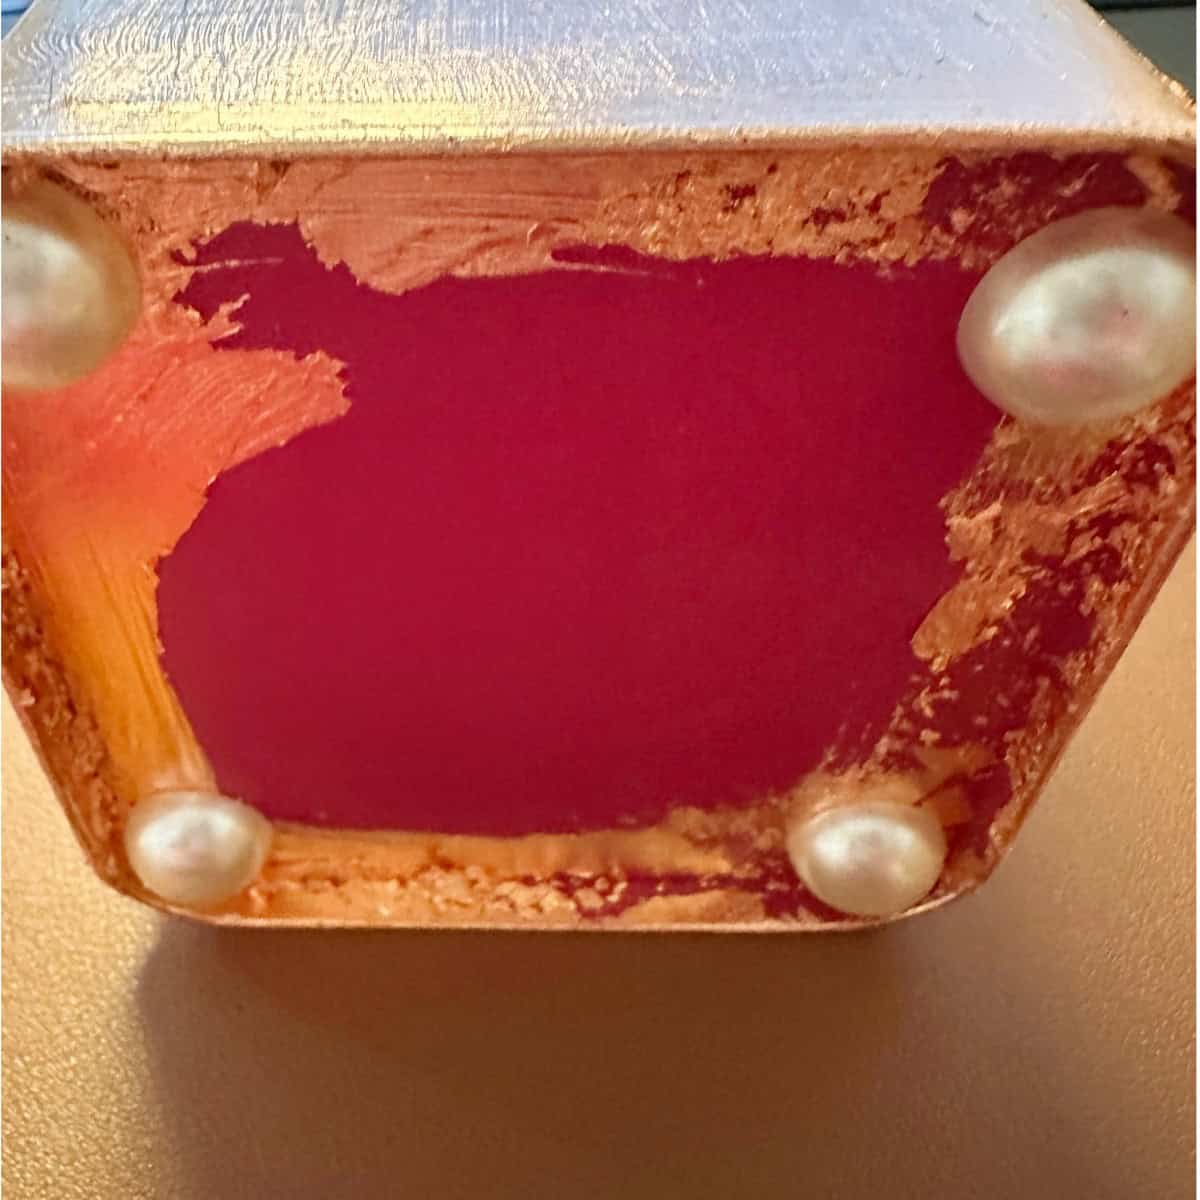
To give the container a finished look and elevate it off surfaces, attach small adhesive bumper feet to the four corners of the bottom. This helps keep the gold leaf from sticking to the surface. It raises the can just enough without being seen.
- Add the Vinyl or Ribbon
Then add the finishing touches. You can use a Vinyl Cricut maker (affiliate) and make a scalloped edge for the top, or you can just add the ribbon. Here is my link with my patterns on it if you have a Cricut Design Account, or add a ¾ to 1 inch high ribbon with a little hot glue to wrap around the top. If you want, you can add the vinyl scallop around the bottom too.
The Big Reveal
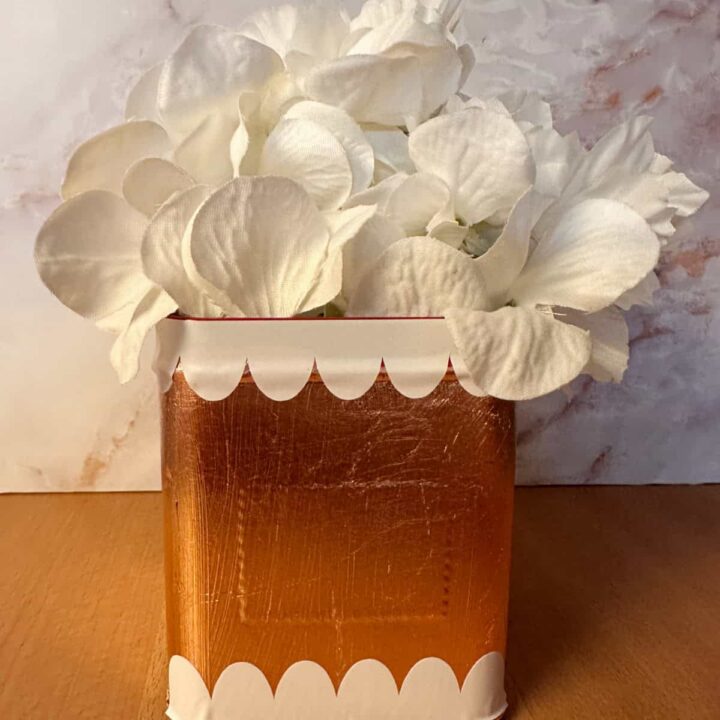
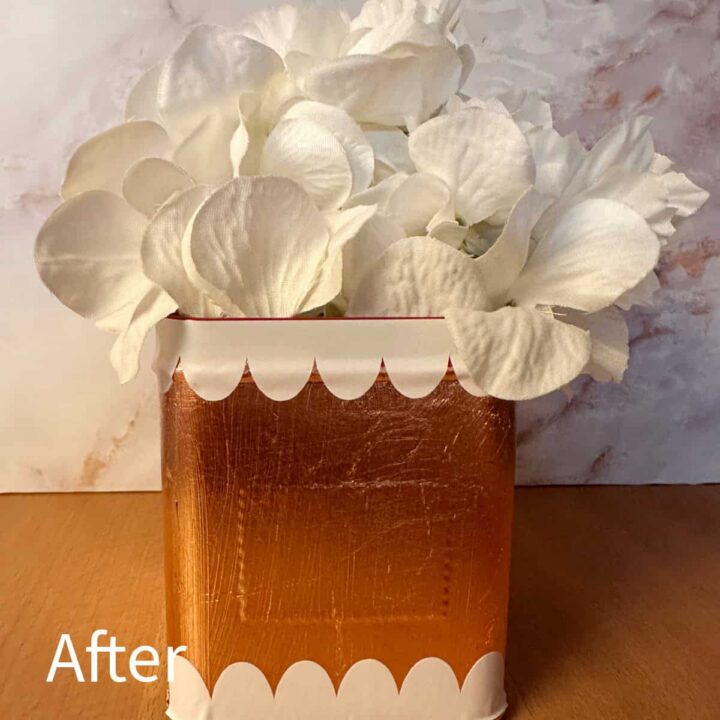
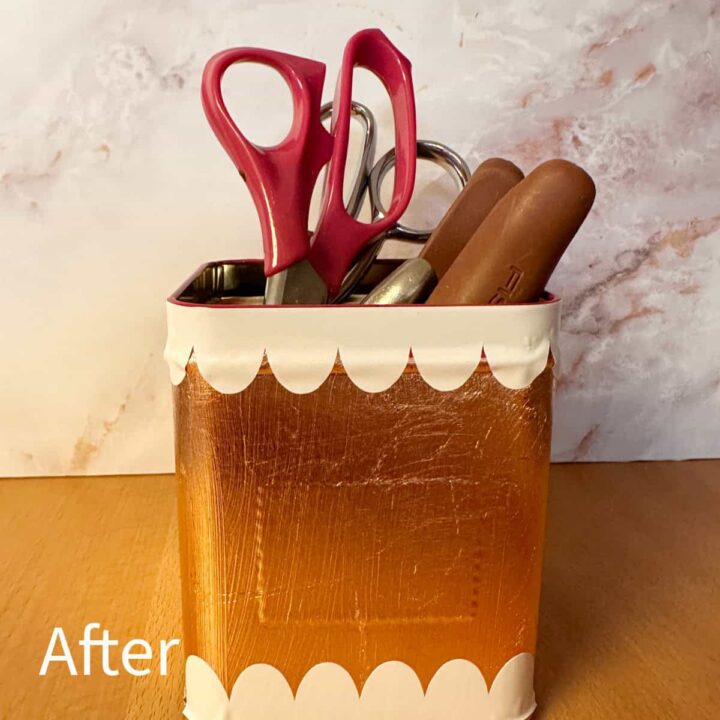
This DIY tea tin upcycle looks lovely. Here are two ways to style it.
Option 1: Decorative Faux Floral Planter
Place faux hydrangea blossoms inside to create an elegant centerpiece or bookshelf (affiliate) accent. If you want to use real flowers, make sure you add a glass jar inside to hold the water. It is not leak-proof.
Option 2: Desktop Craft & Utility Organizer
Keep scissors (affiliate), bone folders, and crafting tools (affiliate) organized and within arm's reach on your workspace. Great to organize small things in a craft room.
8 Creative Ways to Organize with Your Updated Tin
Once your tin is finished, you can use it all around the home to clear desk clutter and stay organized:
Planner Accessories: Keep bookmark clips, rolls of washi tape (affiliate), and sticker sheets neatly grouped.
Craft & Office Supplies: Scissors (affiliate), rulers, pens, paintbrushes (affiliate), and markers.
Makeup Brushes: Keep makeup brushes upright on a vanity.
Kitchen Counter Utensils (affiliate): Store tea bags, coffee (affiliate) scoops, or small measuring spoons (affiliate).
Bathroom Essentials: Hold cotton swabs, hair ties, or nail files.
Desk Cable Storage: Tuck away small charging cords, earbuds (affiliate), and USB drives out of sight.
Floral Vase: Drop in silk flowers or place a small glass inside for fresh-cut blooms.
Pewter & Metal Hardware: Store loose screws, craft wire rolls, or picture hanging kits.
FAQs
Feel free to check out these additional questions for answers. If you have more questions, please leave a comment below, and I will get back to you as soon as possible.
To ensure proper adhesion, always clean the surface thoroughly with soap and water or rubbing alcohol to remove grease.
Applying a thin, even layer of dedicated gilding size (adhesive) or Mod Podge gives the metal leaf the tackiness it needs to grip the metal surface securely.
Yes! Metal leafing, especially rose gold or copper leaf, can oxidize and tarnish over time when exposed to air and natural skin oils.
Applying a light coat of clear acrylic sealer spray or water-based polyurethane varnish protects the finish from tarnishing, scratching, and peeling.
Because metal tins can rust over time when filled with water, it's best to use faux silk flowers directly inside the tin.
If you want to display real flowers, simply place a small glass jar or plastic container inside the metal tin to hold the water and stems safely!
Goo Gone, rubbing alcohol, or a drop of olive oil rubbed over the sticker residue will easily break down the adhesive.
Let it sit for a few minutes, gently scrape it off with a plastic scraper, and wash the tin with dish soap before starting your craft.
While standard white craft glue can work in a pinch if thinned slightly with water, dedicated gilding size or Mod Podge yields much better results.
Standard glue dries too quickly or unevenly, which can cause the delicate leaf sheets to clump or tear.

Old Tea Metal Can to Rose Gold Leaf Storage Bin {DIY Tutorial}
- Total Time: 1 hour 40 minutes
- Yield: 1
Description
In this post, I'm sharing how to take a simple thrifted or leftover tea tin and elevate it into a gorgeous rose gold leaf storage container. Whether you want to add a touch of glamour to your desk, bathroom counter, or craft table, this budget-friendly project is quick, fun, and totally customizable.
Materials
-
- An old square metal tea tin (clean and completely dry)
-
- Metal gilding adhesive / Mod Podge (affiliate)
-
- Rose gold leaf sheets
-
- Cotton gloves (essential for handling foil without sticking!)
-
- Soft bristle brush (or dry foam brush)
-
- White scalloped trim vinyl from Cricut (here is my link with my patterns on it if you have a Cricut Design Account or 1-inch ribbon scalloped edges
-
- Self-adhesive large ¾ inch or 20 MM or 30 MM wide pearl sticker feet (optional, for the bottom)
Instructions
Start by cleaning the inside and outside of your tin thoroughly. Next, brush a thin, even coat of gilding adhesive (or Mod Podge (affiliate)) across the exterior sides of the tin. Discard the lid. Allow it to sit until it becomes tacky according to the package directions.
Allow it to dry until it is fully sticky. This is what it looks like when it is dry.
Put on your cotton gloves! Gently place the rose gold leaf sheet onto the tacky surface. Use your gloved fingers or a soft brush to smooth the foil down, pressing it evenly onto all sides. Once fully covered, use a soft, dry brush to sweep away any excess foil flakes. Feel free to go to the very top or stop where I stopped since I was covering the top edge. Optional: Seal the foil with a light coat of clear acrylic finish to prevent tarnishing or peeling over time.
To give the container a finished look and elevate it off surfaces, attach small adhesive bumper feet to the four corners of the bottom. This helps keep the gold leaf from sticking to the surface. It raises the can just enough without being seen.
Then add the finishing touches. You can use a Vinyl Cricut maker (affiliate) and make a scalloped edge for the top, or you can just add the ribbon. Here is my link with my patterns on it if you have a Cricut Design Account, or add a ¾ to 1-inch-high ribbon with a little hot glue to wrap around the top. If you want, you can add the vinyl scallop around the bottom too.
- Prep Time: 10 minutes
- Category: DIY, Gold Foil Projects
- Method: Step-by-Step
I love this project; I hope this inspires you to keep those tin cans out of the trash pile and reuse them to help you get organized.
Sharing is caring! If you enjoyed my post, please share it with your friends via email or social media and use the hashtag #sabrinasorganizingDIY. Thank you!
DIY posts
Check out my other DIY posts where I updated other Tin Cans.