When you go to a thrift store, you can find a ton of cut or engraved glass bowls that are just sparkling on the shelves (affiliate), waiting to be used. Let's update one of these glass bowls, shall we! Today, I am going to share with you one way to do a thrift glass bowl makeover that is super easy and fun too.
Jump to:
- Key Takeaways
- FAQs for This DIY Project
- Before Glass Bowl Makeover
- How did I make this Thrift Glass Bowl Makeover?
- The Big Reveal
- Tips on making this Thrift Glass Bowl Makeover
- FAQs
- How to Make a Cork Fabric Glass Cylinder DIY Project
- Orange and Yellow Glass Gem Craft on Mason Jar
- Flat Red Gem Craft with Glass Cylinder DIY Project
- Glass Vase and Repurpose Vintage Crochet DIY Project
Key Takeaways
- The Thrift Glass Bowl Makeover involves using Sharpie (affiliate) markers to personalize a thrifted glass bowl, making it suitable for casual home decor (affiliate).
- You can complete the makeover for about $20, which includes reusing the markers for other projects.
- It takes approximately 3 hours to complete the makeover due to the multiple layers of drawing involved.
- Pick a bowl with a suitable design, and plan your design before starting to ensure the best results.
- Feel free to use paint instead of markers, as long as it's compatible with glass surfaces.
FAQs for This DIY Project
This glass bowl was sitting in my living room under my coffee table (affiliate) for years. It was not seen or used often. It just collected dust. So, to update it and make it usable and displayed again in a proper place, I wanted to make it less formal and more casual for our home.
Supplied used.
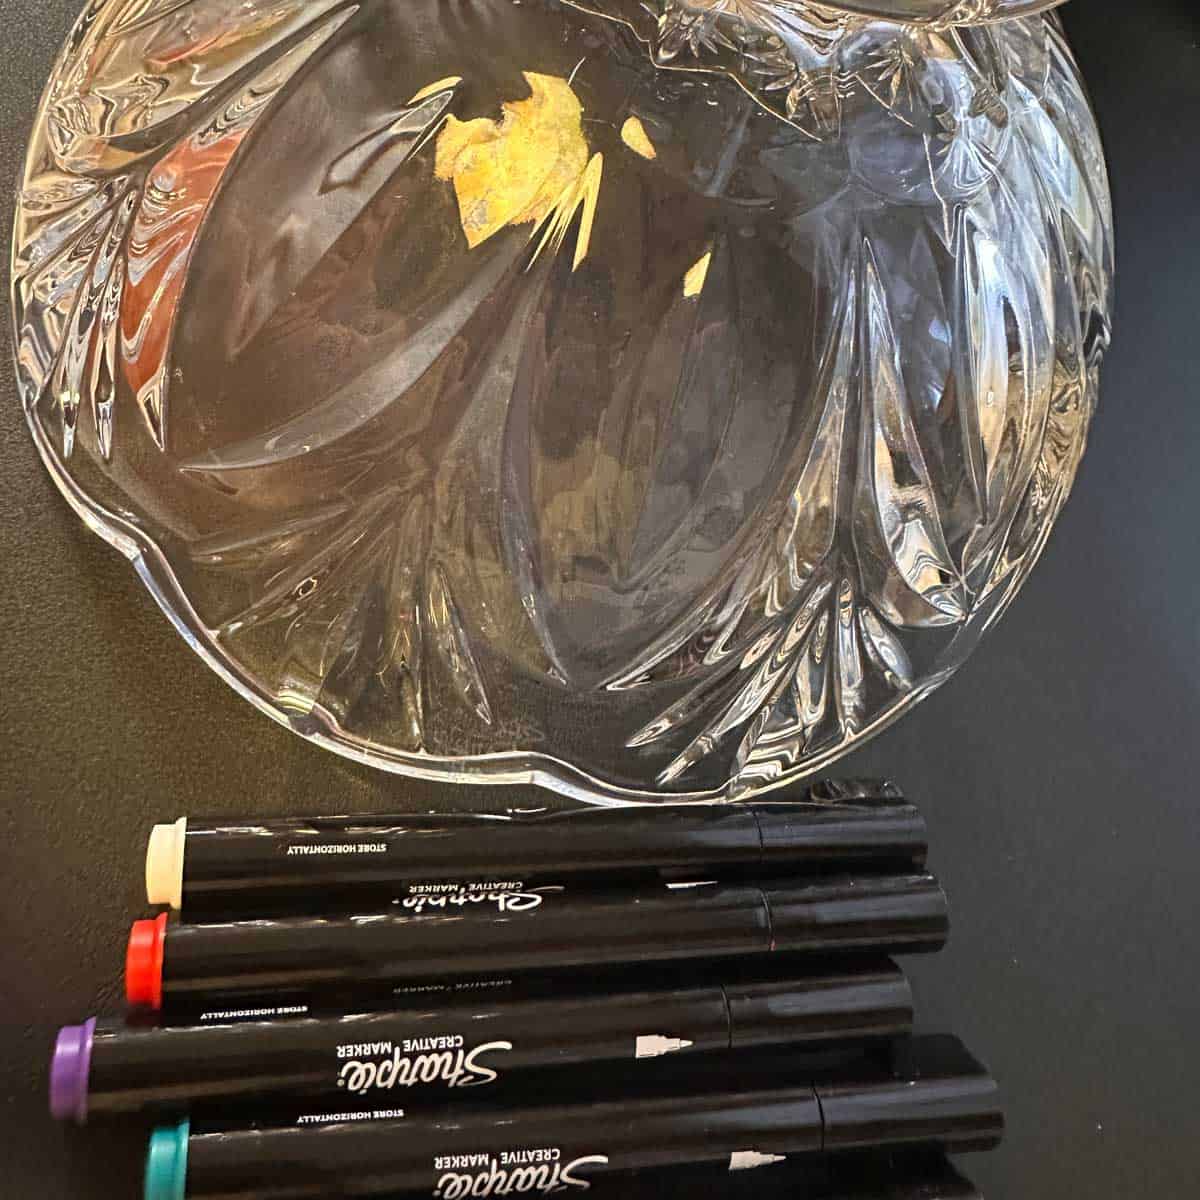
Sharpie Creative Markers (in various colors like purple, green, and pink)
Cut glass serving bowl from a thrift store (the link here is from Amazon (affiliate) that shows the type of bowl I used)
Please note these are affiliate links through Amazon (affiliate), and at no additional cost to you, I will earn an affiliate commission if you decide to make a purchase.
This bowl and markers cost me about $20.00, but I can reuse the markers for other projects.
Since I had to do several layers of drawing with these markers and work my way around the bowl, it took me 3 hours to make.
Before Glass Bowl Makeover
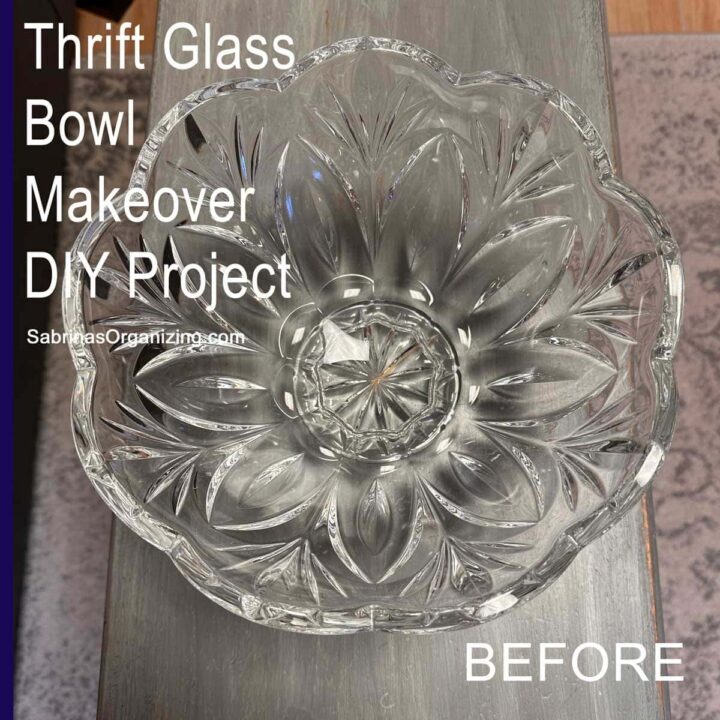
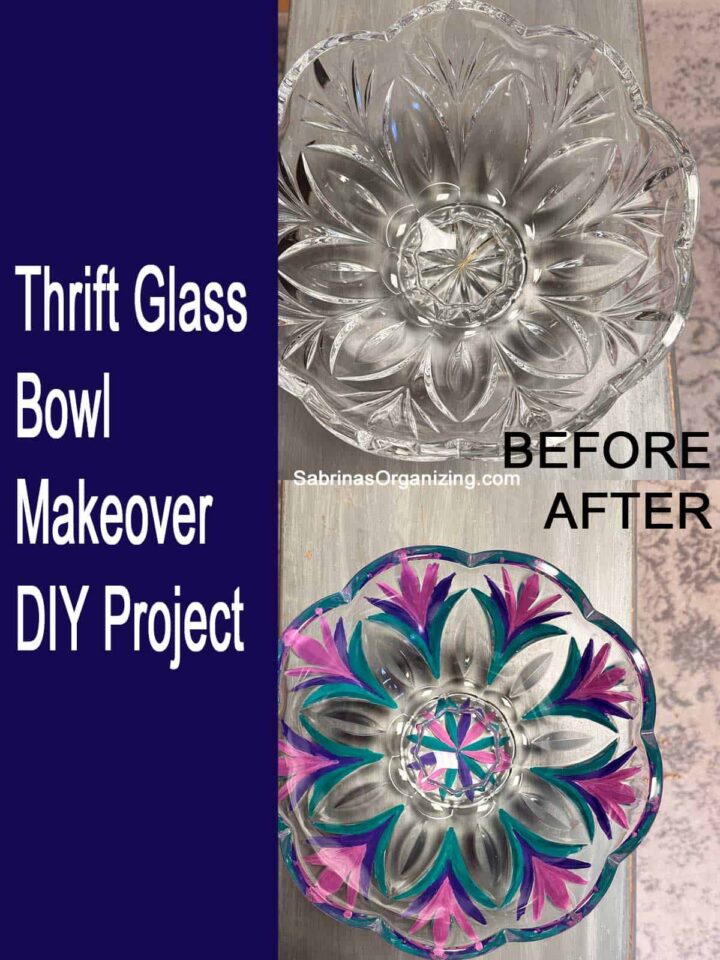
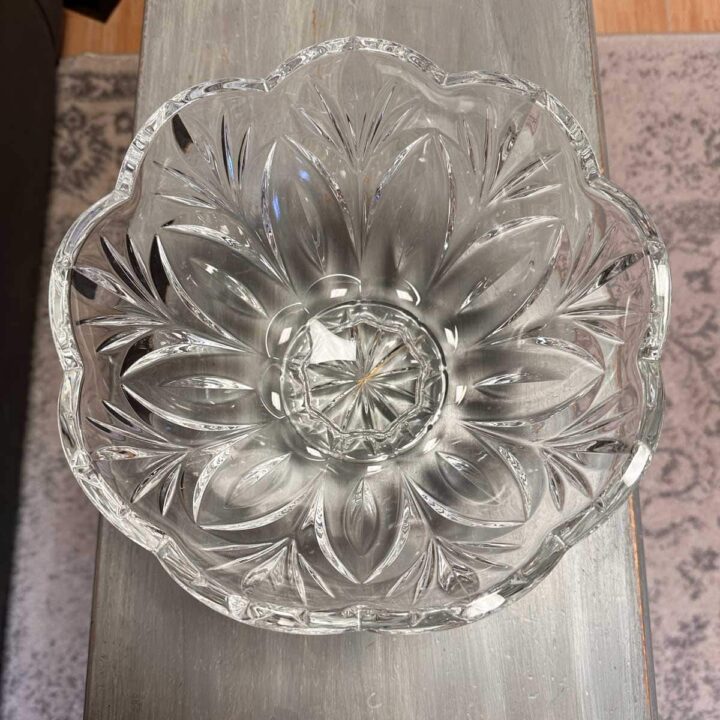
Just so you can see what this bowl looked like before, I added the image below. It's nice, but it is too fancy for my casual home.
How did I make this Thrift Glass Bowl Makeover?
Time needed: 3 hours.
It is super easy, but it does take some time.
- Clean the bowl
First, you should clean the bowl and remove any stickers or other items. Then, let it dry completely. With all the cut pieces, it may take a little time to dry. Mine did.
- Pick the colors and markers
Then, I went on the hunt for the right markers (affiliate) and picked 3 colors: green, purple, and pink.

- Figure out what design you want to make with the cut glass on your bowl
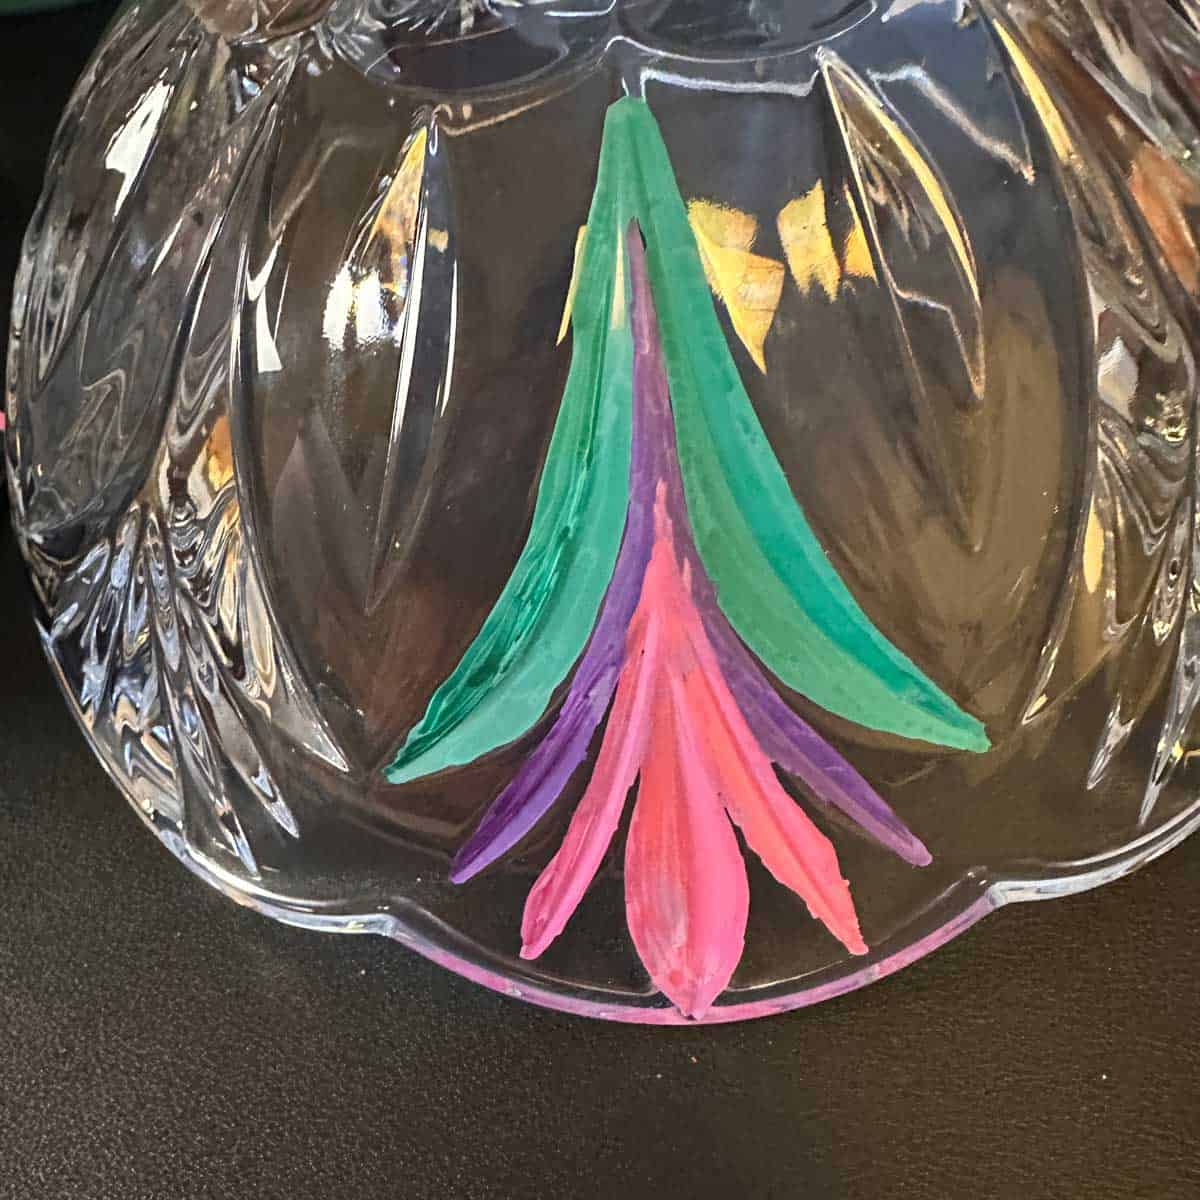
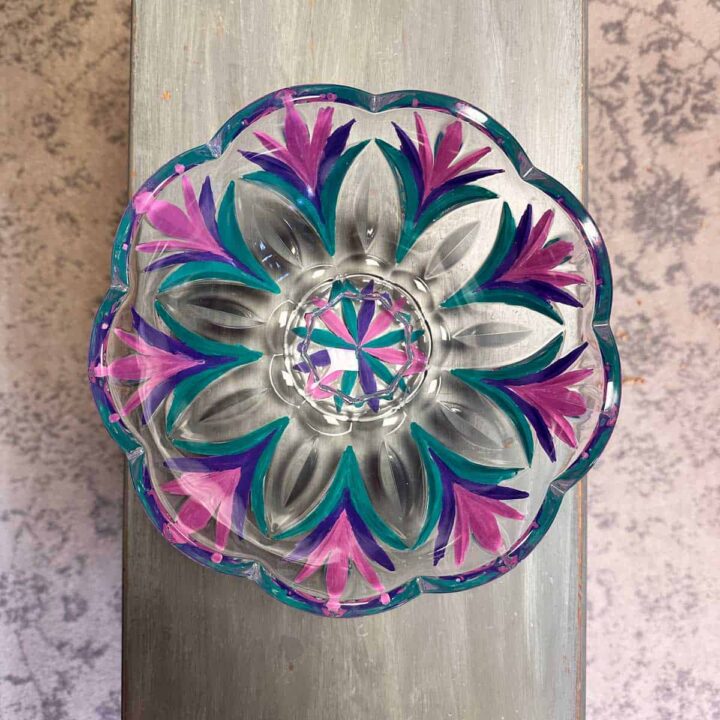
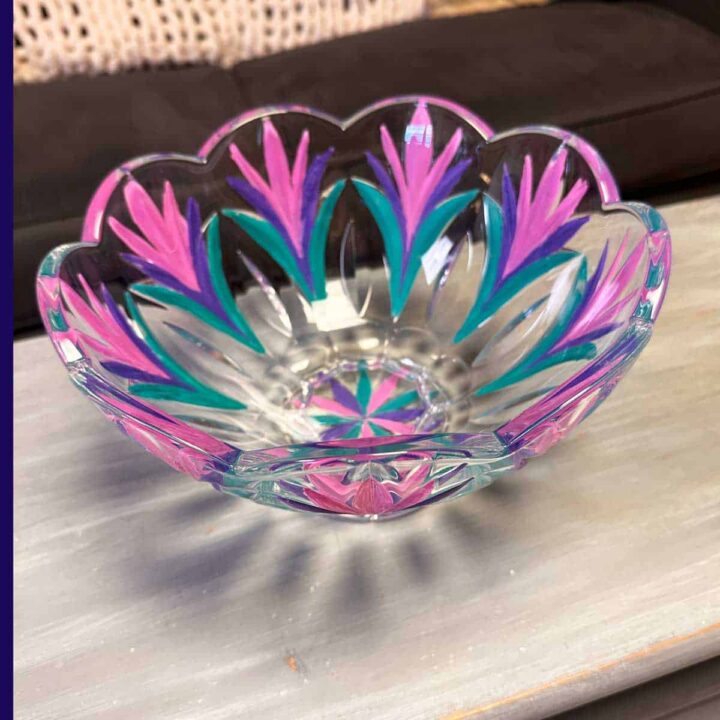
Now, you can find inspiration online, in books, or you can even create your own unique design. I took a look at the bowl and thought the cut glass looked like flowers. Green was used for the leaves, and purple and pink for the flowers. It does look like a flower after it was finished. I was planning on using more marker colors, but I figured three colors were enough.
- Color in the cut glass areas to create the pattern.
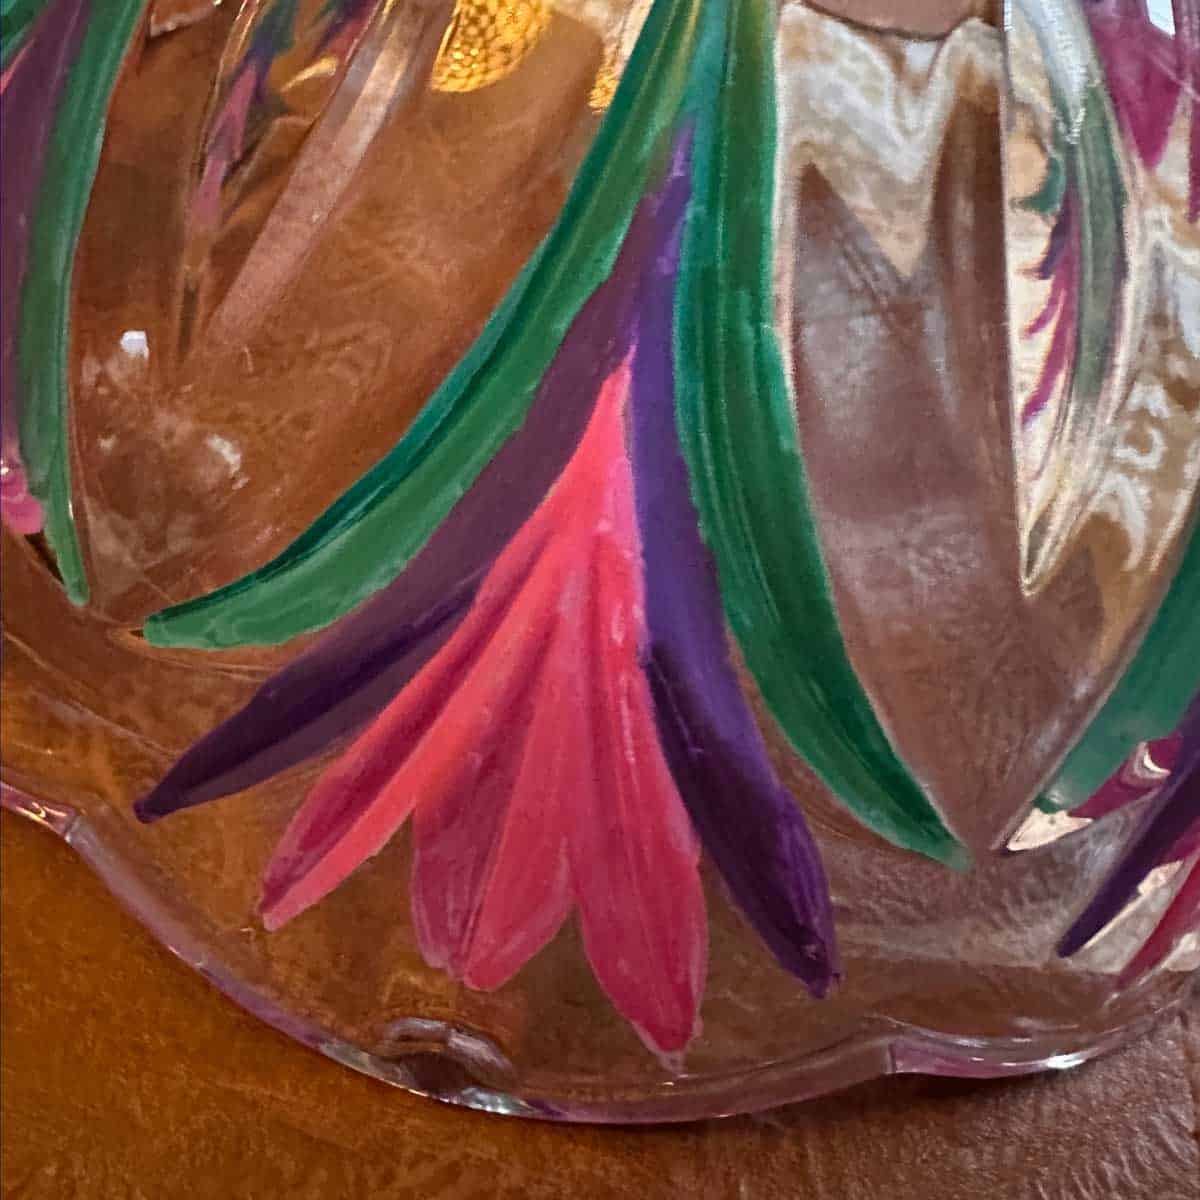
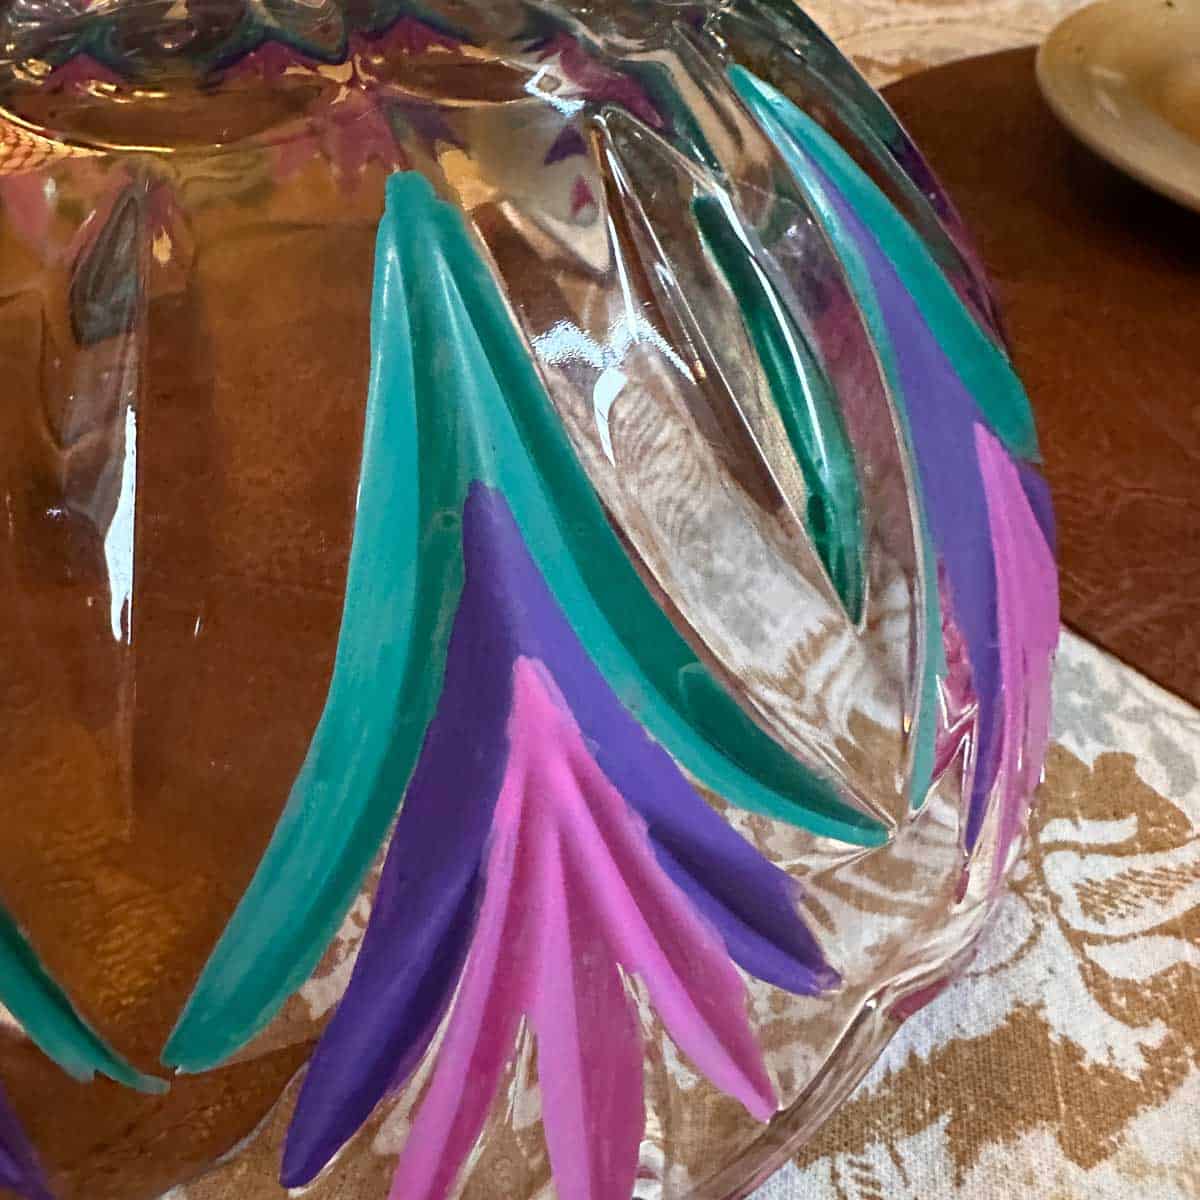
Next, turn the bowl over and use the Sharpie (affiliate) Creative Markers to fill in the cut design, starting with green, then adding purple, and finally pink. Be sure to dry between colors so they do not blend. It's a good idea to start with one color and then add others to create your desired look. This is layer one! As you can see, it is very streaky. I then went around and added colored flowers to the rest of the bowl to finish up the first layer. Let it dry completely. It took about 30 minutes to paint all the flowers for the first coat.
- Then add another layer
Then, I worked on doing the second coat. Another 30 minutes or so it took me. And I let it dry.
- Repeat one more time
Repeat painting the flowers with the markers. Be patient; letting the marker design dry is an important part. Each layer made it look less streaky. Optional: Add a sealant to the outside of the bowl, then complete and let it dry. I did not do this step. This will help protect your design from fading and scratching.
The Big Reveal
This Thrift Glass Bowl Makeover looks lovely. I love how the colors just pop through the glass bowl. What's great is that I don't need to worry about the marker being near my food, since the markings are on the outside of the bowl. Yay!
Tips on making this Thrift Glass Bowl Makeover
Below are some additional tips to help you with this personalized glass bowl project.
- Pick a bowl with a large (affiliate) enough design to use these Sharpie (affiliate) markers. The tips are on the fat side.
- Have a plan before you start: When purchasing a bowl, check the design and figure out what you want to make with it. Do you want a flower to pop on the glass? Do you want it to be full of different colors?
FAQs
Feel free to check out these additional questions and answers for this Thrift Glass Bowl Makeover. If you have more questions, please leave a comment below, and I will get back to you as soon as possible.
You can use these Sharpie markers or paint with a fine tip. Just be sure the item or paint states that it works well with glass.
I hope this thrift glass bowl makeover updates an older bowl you may have in your home and gives it new life. I know mine did. Happy DIYers!
Sharing is caring! If you enjoyed my post, please share it with your friends via email or social media and use the hashtag #sabrinasorganizingDIY. Thank you!
DIY posts
Check out our other recent posts below.
And check out these specific posts!
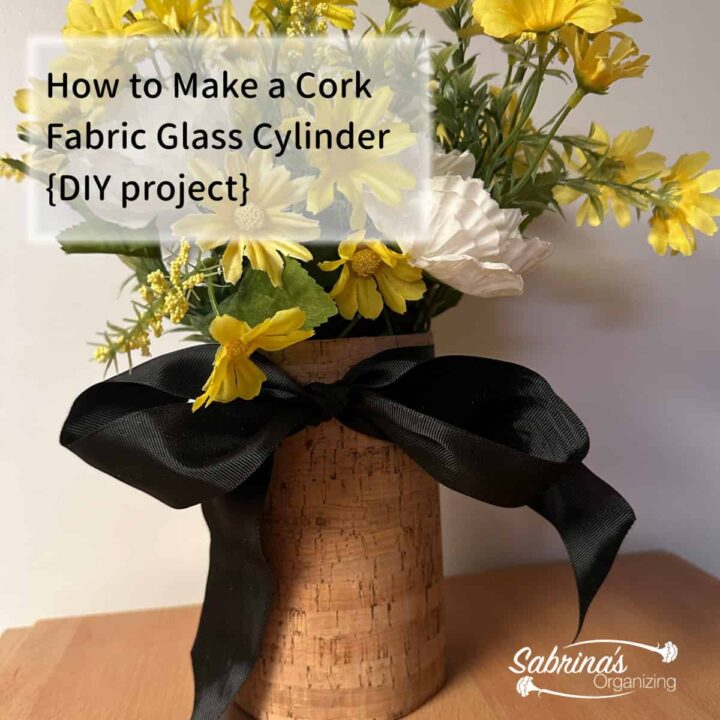
How to Make a Cork Fabric Glass Cylinder DIY Project
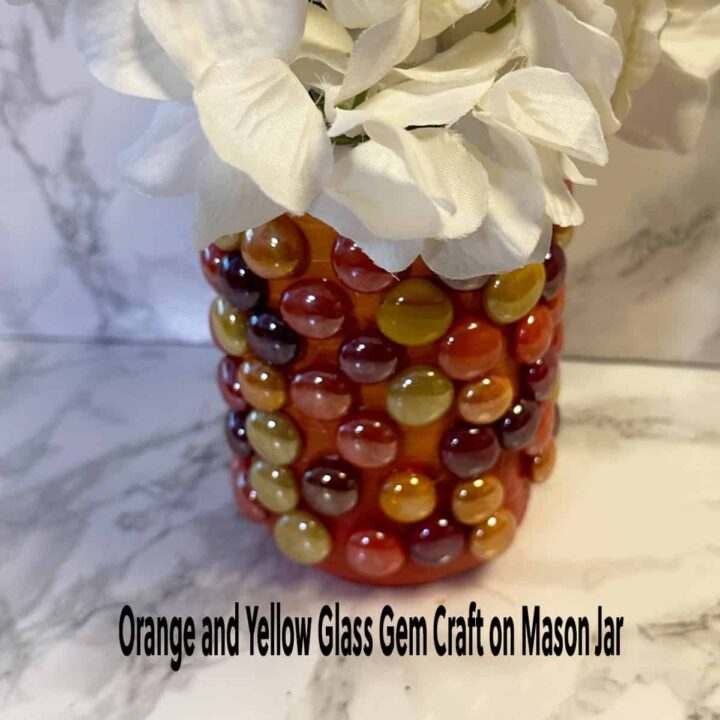
Orange and Yellow Glass Gem Craft on Mason Jar
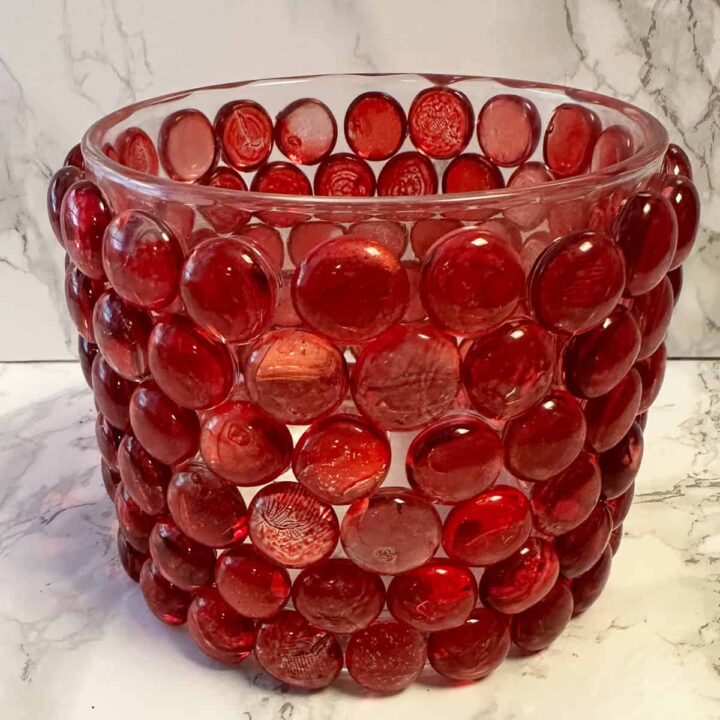
Flat Red Gem Craft with Glass Cylinder DIY Project
Glass Vase and Repurpose Vintage Crochet DIY Project