
I love to decorate the center of my dining room and peninsula during the fall season. It is a focal point in my open-floor-plan house, and each year, I love to update these centerpieces to make them more attractive for us and when company comes over during Thanksgiving. Follow along and see how I assembled our Fall Apothecary jars (affiliate) so you can make your own.
Jump to:
- Key Takeaways
- What inspired me to do these Fall Apothecary Jars?
- What are Apothecary Jars?
- What supplies did I use to make these Fall Apothecary Jars?
- How much did it cost to make these Fall Apothecary Jars?
- How long did it take to make these Fall Apothecary Jars?
- How did I make these Fall Apothecary Jars?
- The Big Reveal
- Tips on making these Fall Apothecary Jars
- Popular Affordable DIY Posts:
Key Takeaways
- The article shares how to create beautiful Fall Apothecary Jars (affiliate) for seasonal decoration.
- It lists the supplies needed, including apothecary jars (affiliate), ribbons (affiliate), and fall decor items.
- The total cost for making the jars was about $15, with some materials repurposed from previous projects.
- The assembly process takes a few hours and involves layering decorations and tying ribbon bows.
- Finally, the article encourages readers to personalize their jars and visit other DIY projects for inspiration.
What inspired me to do these Fall Apothecary Jars?
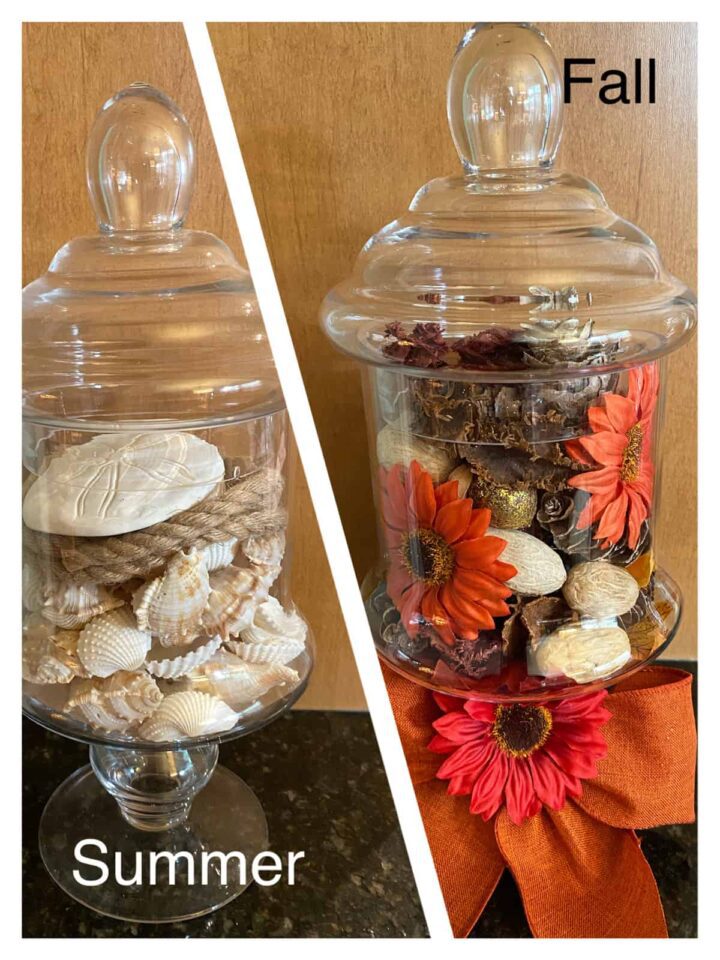
I have had these apothecary jars (affiliate) for at least five years now. I've put a variety of things in them. I recently added shells and rope for the summer look, but wanted to make them unique for fall. Below is what the summer apothecary jars (affiliate) look like.
BEFORE:
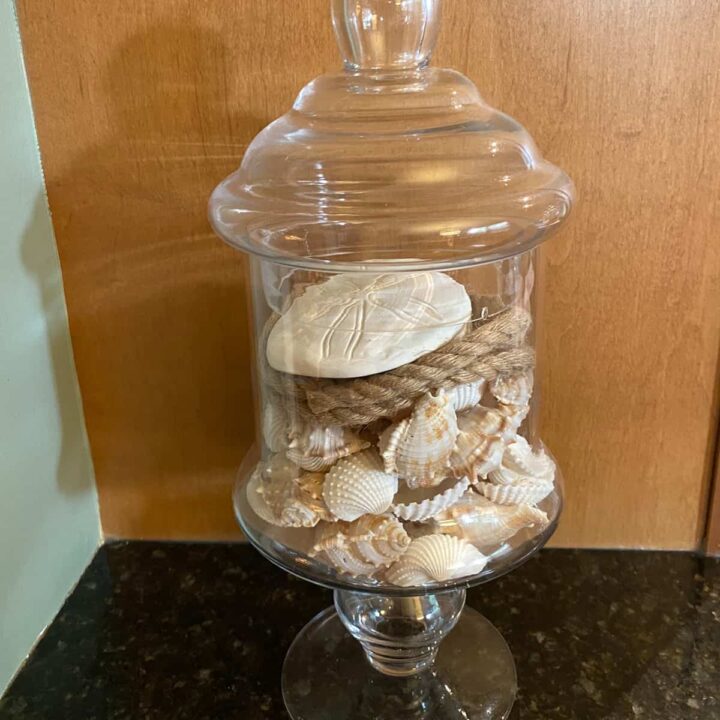
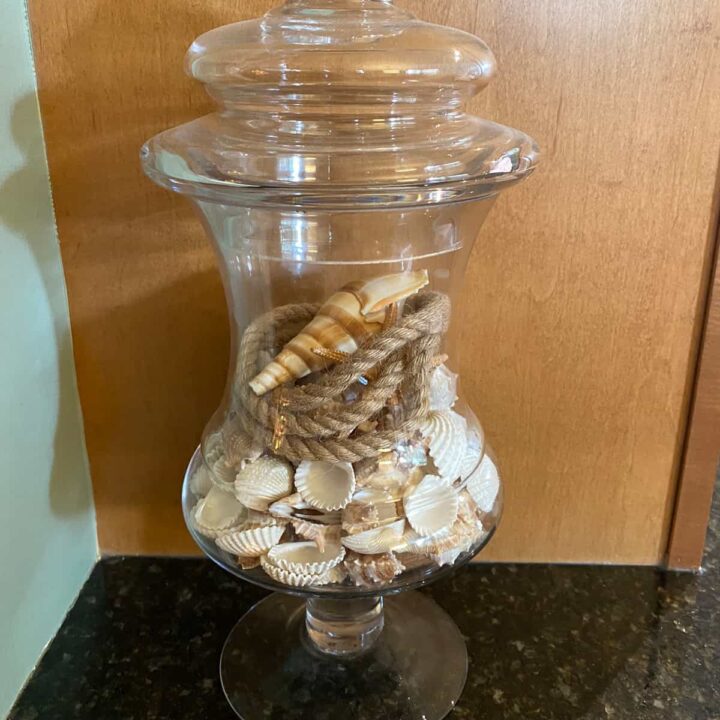
I put all the shells and rope in a zipper baggie and stored them for next year.
What are Apothecary Jars?
Apothecary jars (affiliate), also known as medicinal jars, were used to hold liquid and dry medicines in bulk for doctors. Now, they have become glass canisters for decorative pieces you can add to table centerpieces. They have a variety of sizes. The two I have are medium and tall, about 16 inches to 1 foot tall. They are simple ideas for seasonal decorating.
What supplies did I use to make these Fall Apothecary Jars?
Check out the list below if you want to make these apothecary jars.
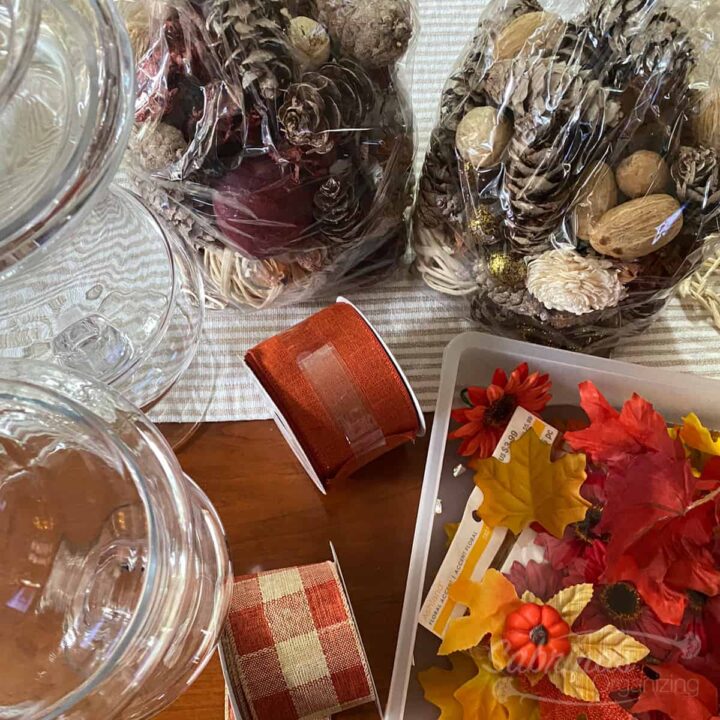
- 1 medium apothecary jar - Purchased at HomeGoods
- 1 large (affiliate) apothecary jar (affiliate) - Purchased at HomeGoods; other places to buy them are Hobby Lobby
- 2-inch fall wire ribbon plaid - orange (affiliate) and beige - Michael's (craft store)
- 2-inch fall wire ribbon solid orange (affiliate)
- Fall potpourri, acorn, pine cones, and other fall-dried seeds - purchased at HomeGoods.
- Flat Silk flowers
- Flat Silk leaves
Please note these are affiliate links through Amazon (affiliate), and at no additional cost, I will earn an affiliate commission if you decide to make a purchase.
How much did it cost to make these Fall Apothecary Jars?
I bought new pine cones and fall potpourri bags. They were about $15.00. I repurposed the rest of what I used from other projects and my craft supplies.
How long did it take to make these Fall Apothecary Jars?
This project took me about a few hours to assemble. Mainly because I didn't know what I wanted to do with them; now that I have them together, you should be able to do it quickly.
How did I make these Fall Apothecary Jars?
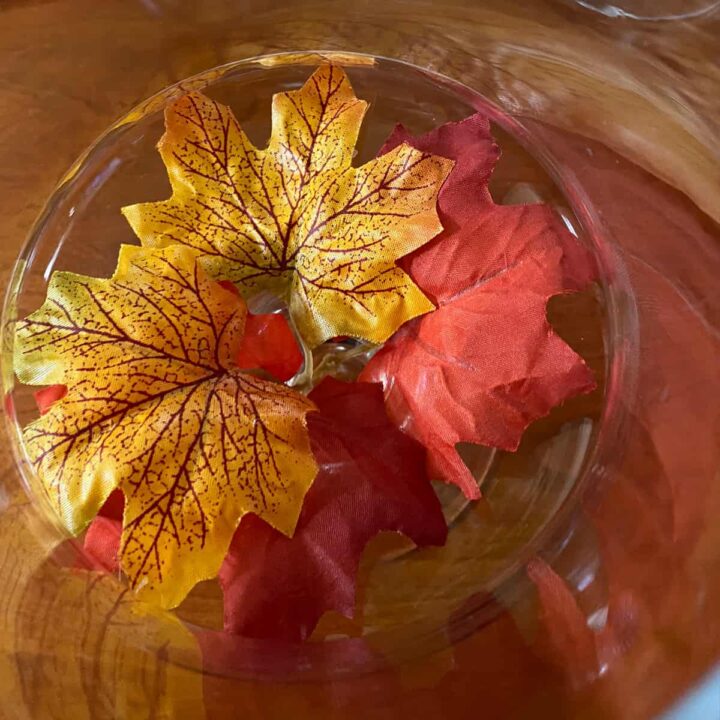
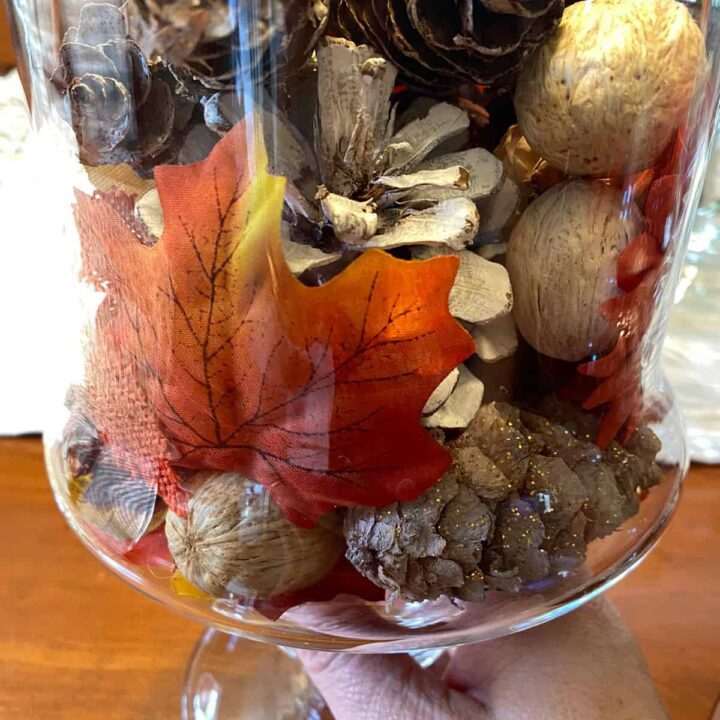
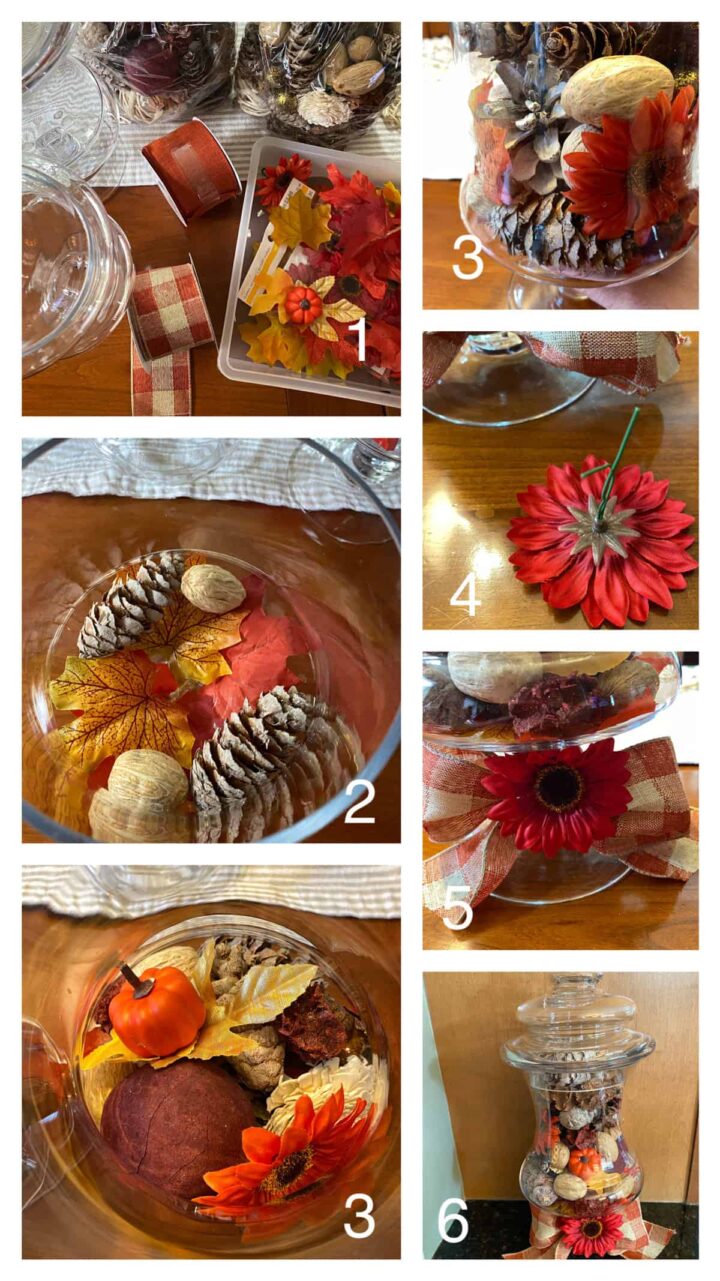
First, I cleaned the apothecary jars and let them dry thoroughly. Then, I added the flat silk leaves to the bottom inside. This blocked the hole in the jar and prevented other small items from falling in.
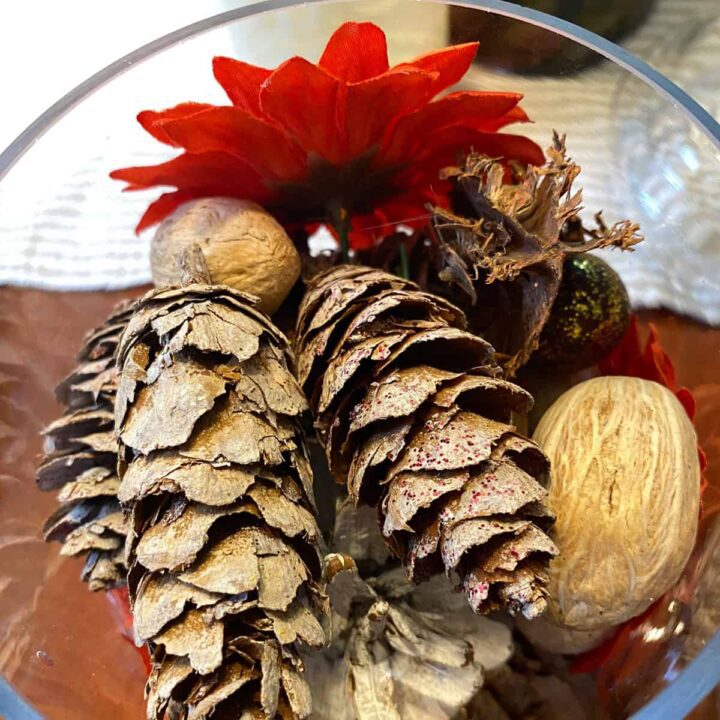
Then, I added the pine cones and nuts around the edges and worked my way up with different dried fall decor and silk flowers while examining the sides and ensuring it was pretty on all sides of the jar. I finished when I got about ½ inch from the top edge.
Here is what it looks like from the top.
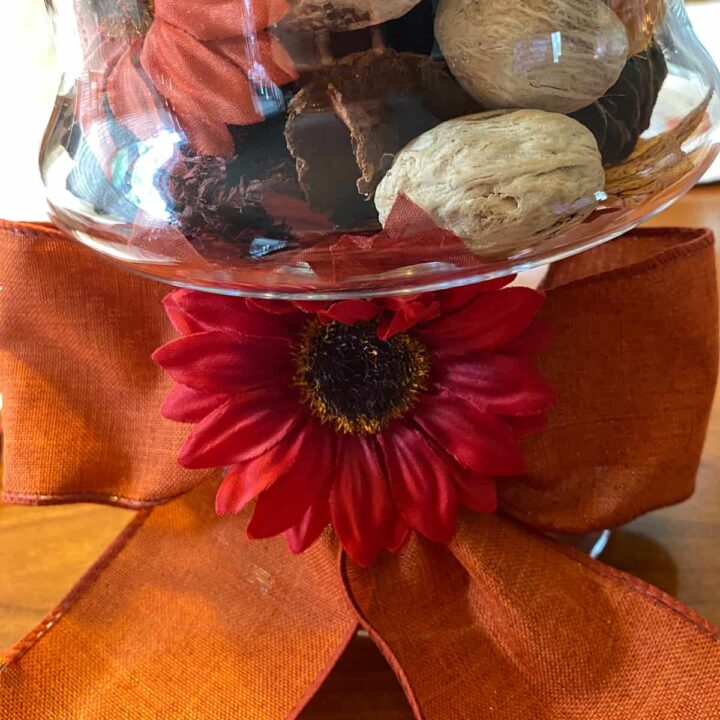
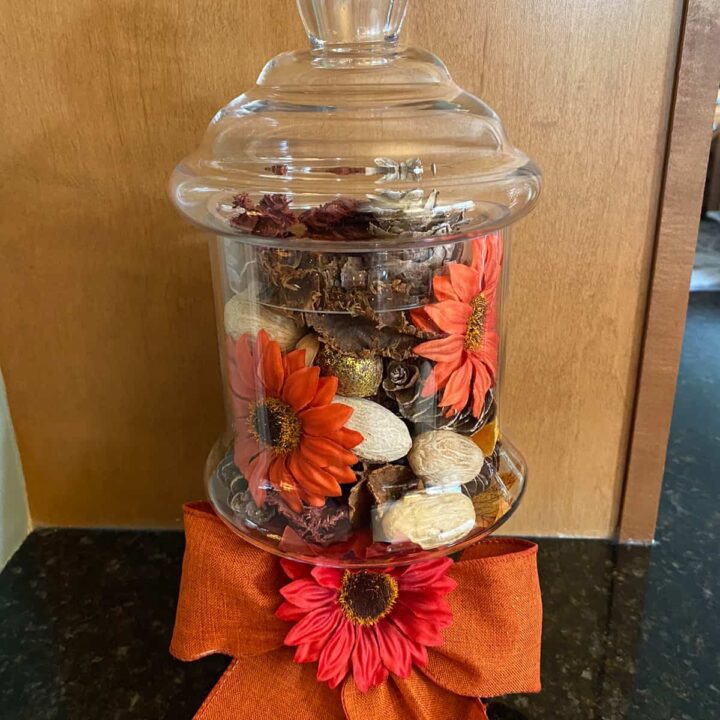
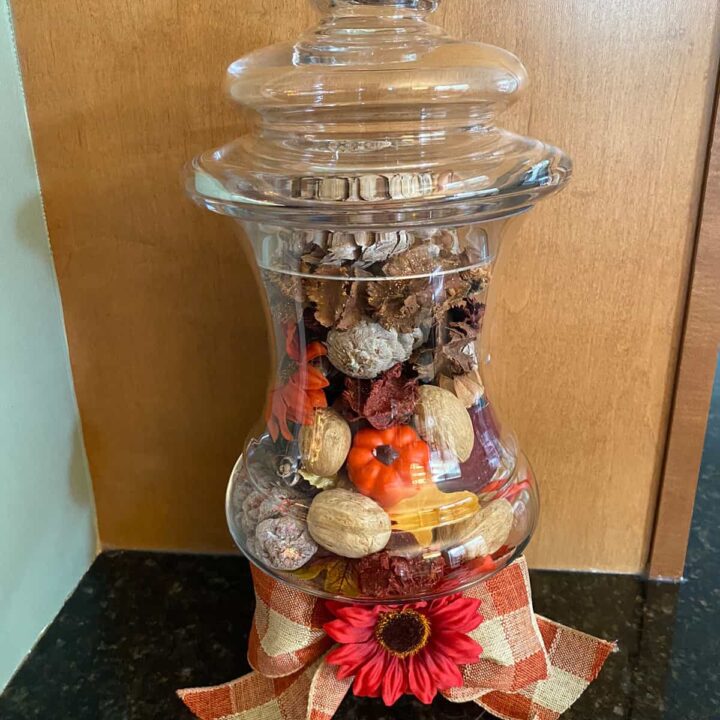
Now, it was time to add the ribbon. I cut the ribbon to about 3 feet and tied it around the stems of the jars. It was a regular bow.
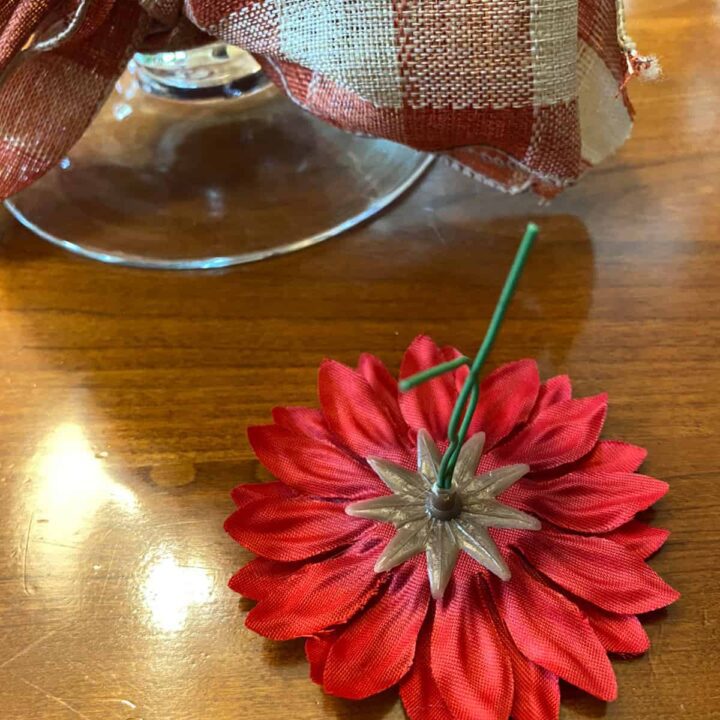
Next, I took a silk flower with a wire attached and ran it through the center of the bow to cover the knot. I'm not a fan of the knot in the bow, so I wanted to cover it. Here's how it looked.
The Big Reveal
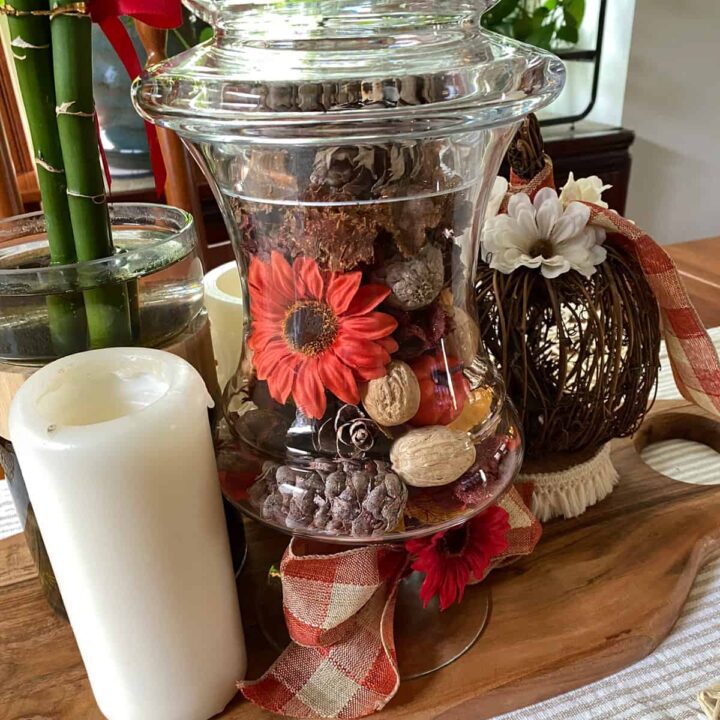
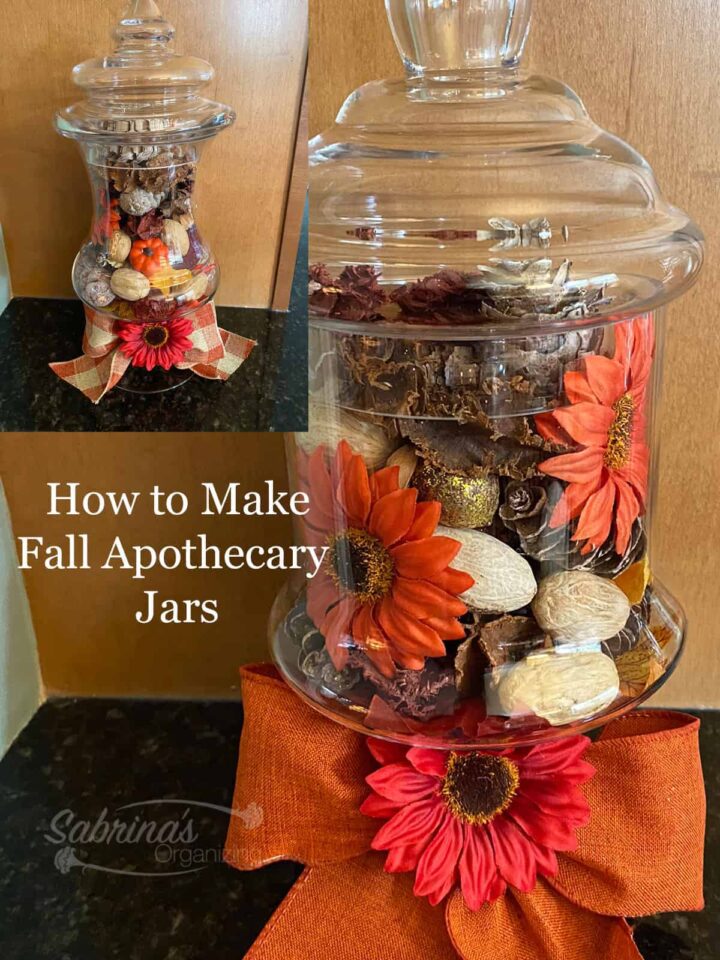
These Apothecary Jars look so adorable. I am happy with the results. I placed each on a wood centerpiece board I found at Marshall's for $16 each. And added candles (affiliate) (electric (affiliate) and regular), autumn bouquets, my bamboo plant vases (affiliate), and my fall pumpkins. What about you? Would you make them? Please leave a comment below.
Tips on making these Fall Apothecary Jars
Depending on the jar size, you can add larger fall pieces.
If you know how to make other types of bows, you can replace the simple bow above with one of yours.
Feel free to visit our other DIY projects below for more inspiration.
Popular Affordable DIY Posts:



Leave a Reply