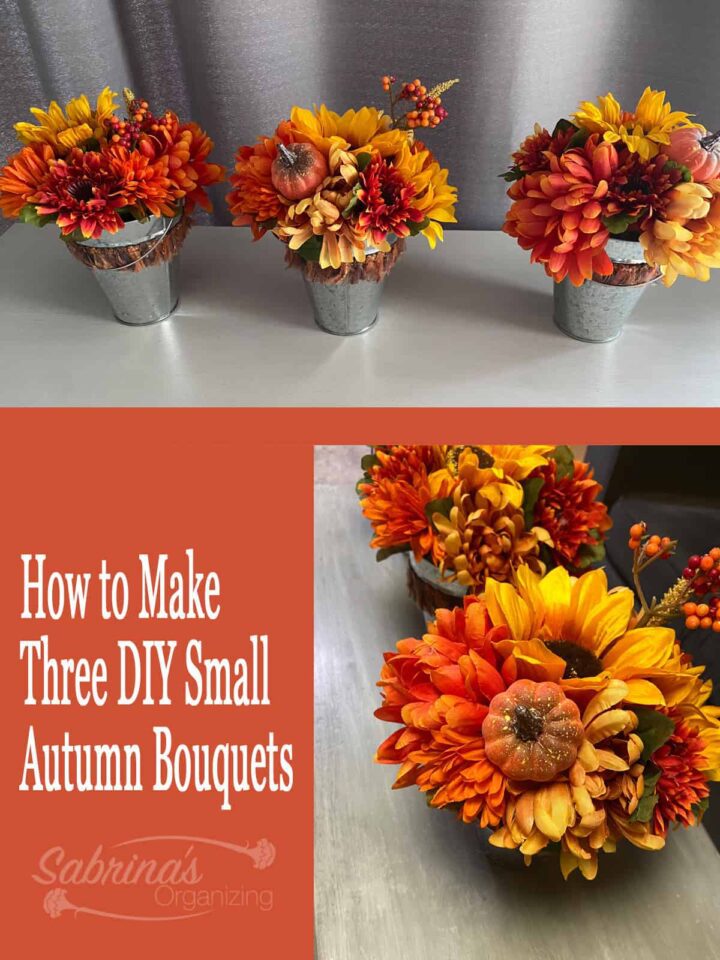
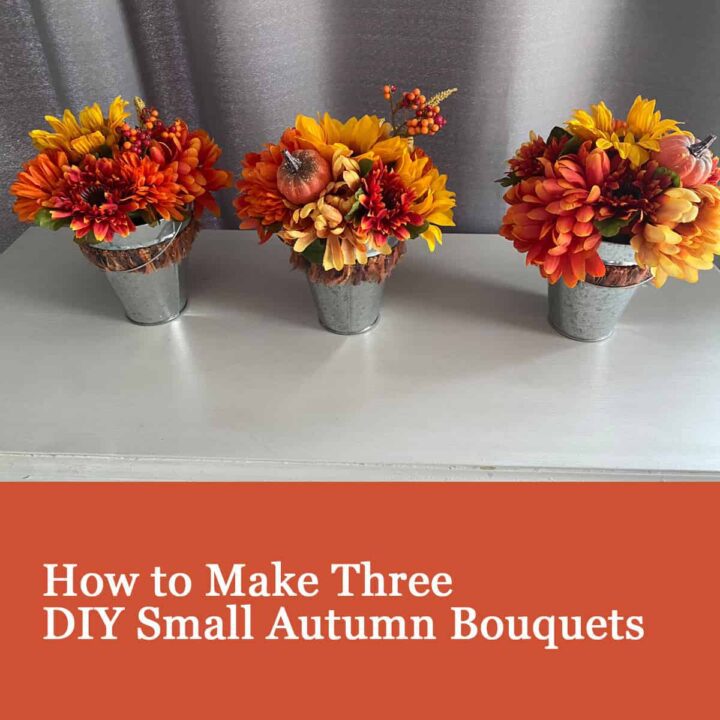
Autumn bouquets are super lovely, especially in a small home. I made three with craft supplies I already had from other craft projects and party decorations. Follow along to see how I did this craft project.
Jump to:
- What inspired me to do these DIY Autumn Bouquets?
- What supplies did I use to make these DIY Autumn Bouquets?
- How much did it cost to make these DIY Autumn Bouquets?
- How long did it take to make this DIY Autumn Bouquet?
- How did I make these Autumn Bouquets?
- The Autumn Bouquets Reveal
- Tips on making these Autumn Bouquets
- Places to use these Autumn Bouquets
- Popular DIY posts:
What inspired me to do these DIY Autumn Bouquets?
I have always loved the fall decor colors in my home. We have many natural wood tones, and the orange and red colors pop in my space.
What supplies did I use to make these DIY Autumn Bouquets?
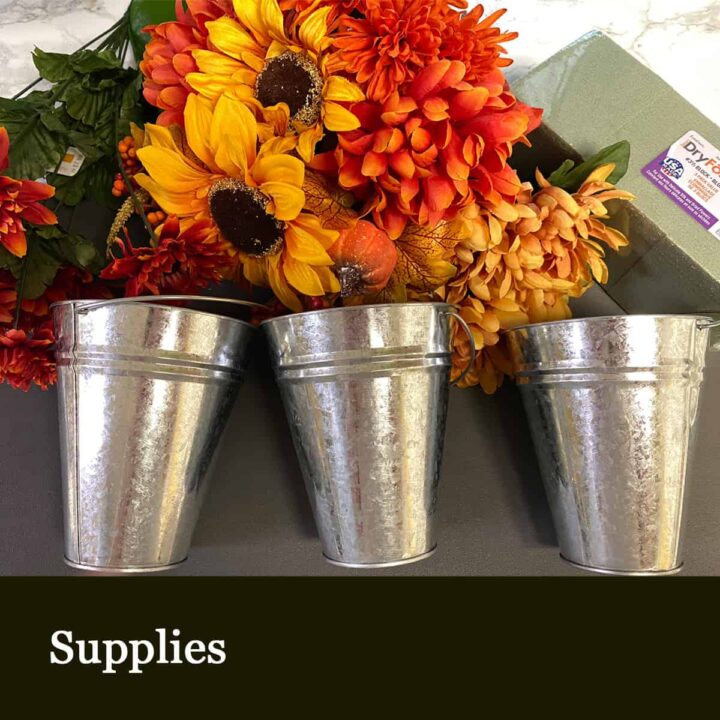
Supplies used:
- 3 - small metal buckets
- 1 dry foam brick
- 1 fall color ribbon 1 yard long - optional
- Hot glue gun and glue stick
- 2 featured fall bouquets of silk flowers with pumpkin and sunflower
- 2 plain bouquets of silk flowers - autumn colors
Please note these are affiliate links through Amazon (affiliate), and at no additional cost to you, I will earn an affiliate commission if you decide to make a purchase.
How much did it cost to make these DIY Autumn Bouquets?
It only cost me $10.00 for the extra bouquets of flowers at Michaels. They were running a sale. The other flowers were from last year's craft project and weren't completely used. The baskets were from my son's high school graduation party, and I have wanted to use them for another project. This project would be perfect!
How long did it take to make this DIY Autumn Bouquet?
It only took me about 1 hour to make all three of them.
How did I make these Autumn Bouquets?
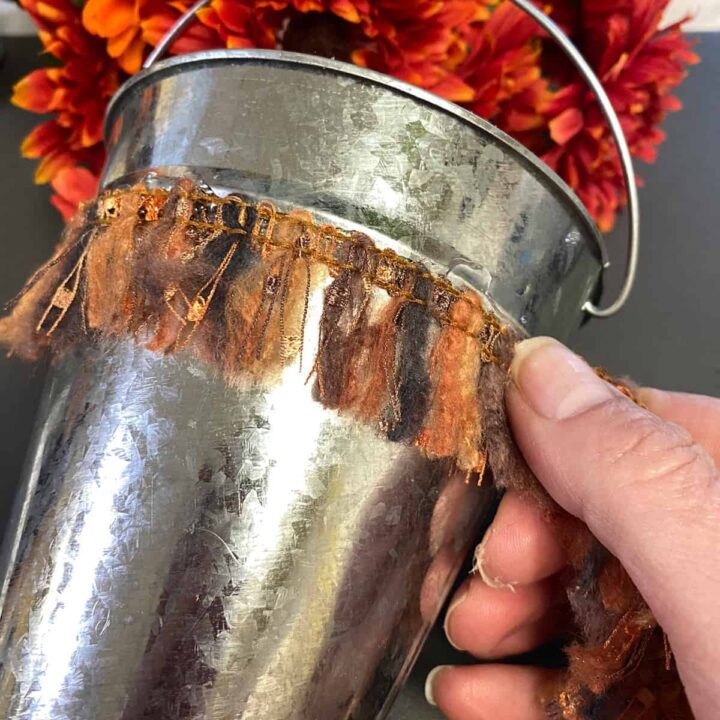
Step 1: First, measure the ribbon around the basket. Then, cut them to length for all three baskets. Add the ribbon to the baskets with hot glue. Run a bead of glue around the metal baskets and add the ribbon as you go along. Be careful, it could be hot.
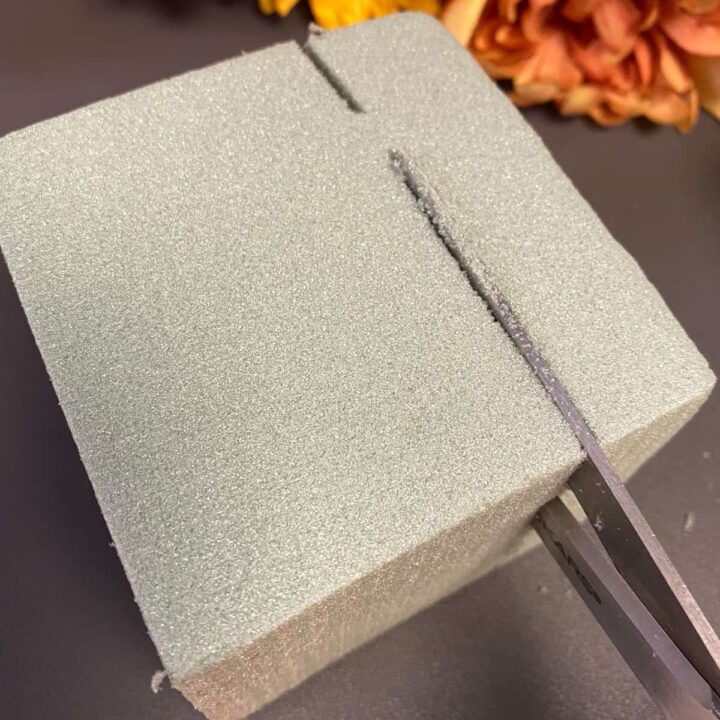
Step 2: Cut the foam and fit it inside the metal baskets. I used scissors to cut the foam. It worked pretty well. You could try a knife instead of scissors if you want.
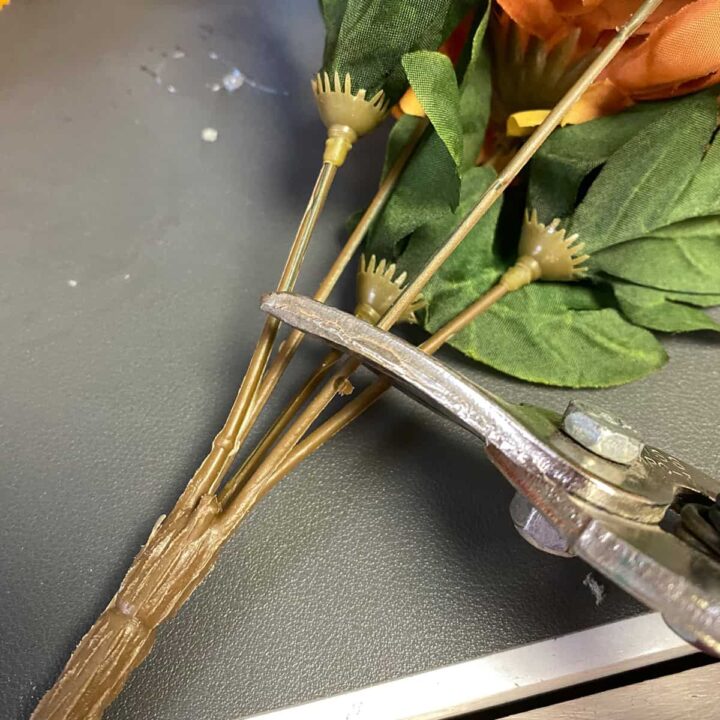
Step 3: Cut the flowers using tin snips or something that can cut wire since the follower stems have wires in them.
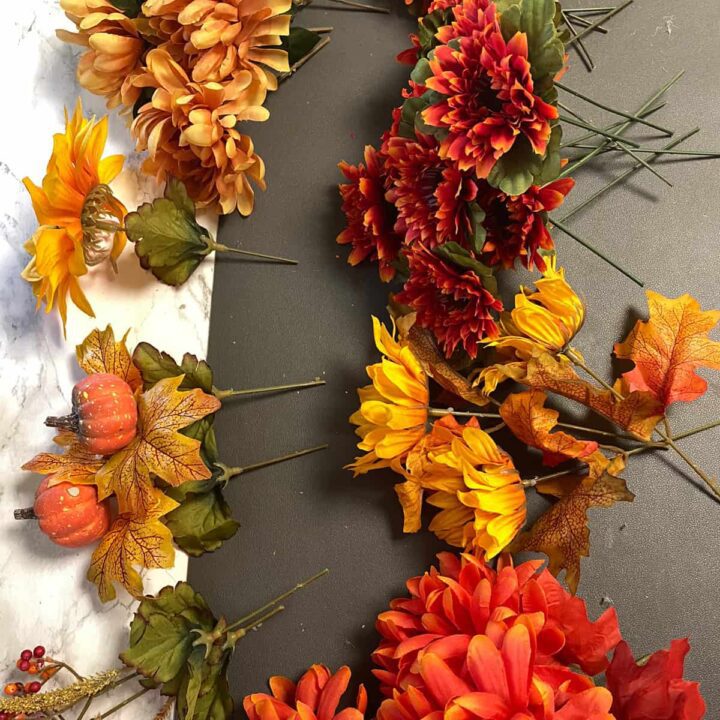
Below is a photo of all the silk flowers I used. It was a total of 4 bouquets - two fancy and two plain.
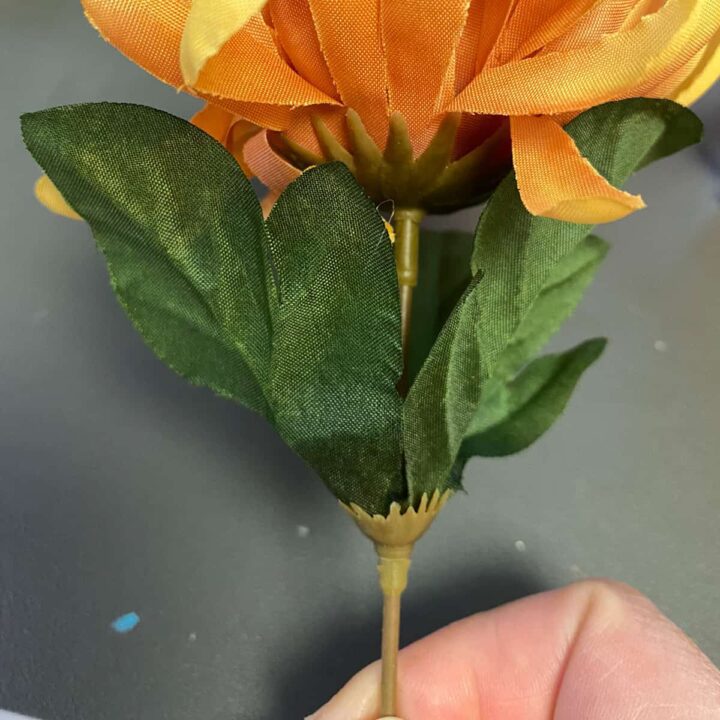
Note: I also noticed that the leaves were pushed down from the flowers. So, I pressed them up toward the flowers to make them look fuller. That was something I had never even noticed before. Some flowers' leaves are separate from the flowers. Pressing them up together makes the silk flowers look full. Yay!
Step 4: I started pressing the stems into the foam, starting at the outer part of the baskets.
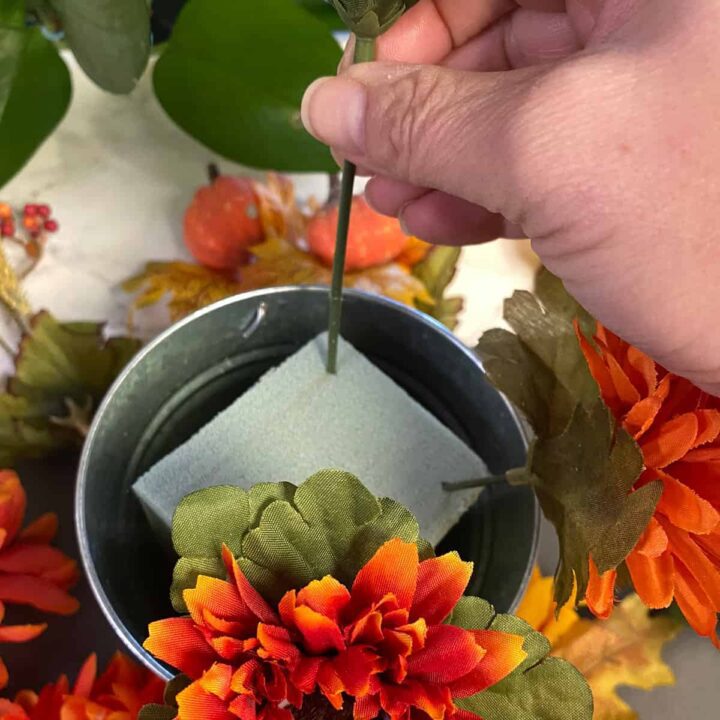
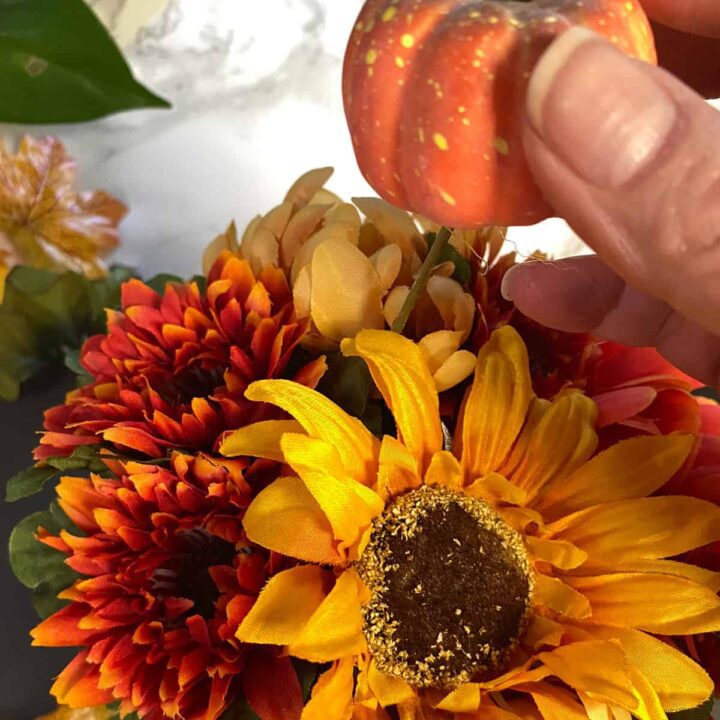
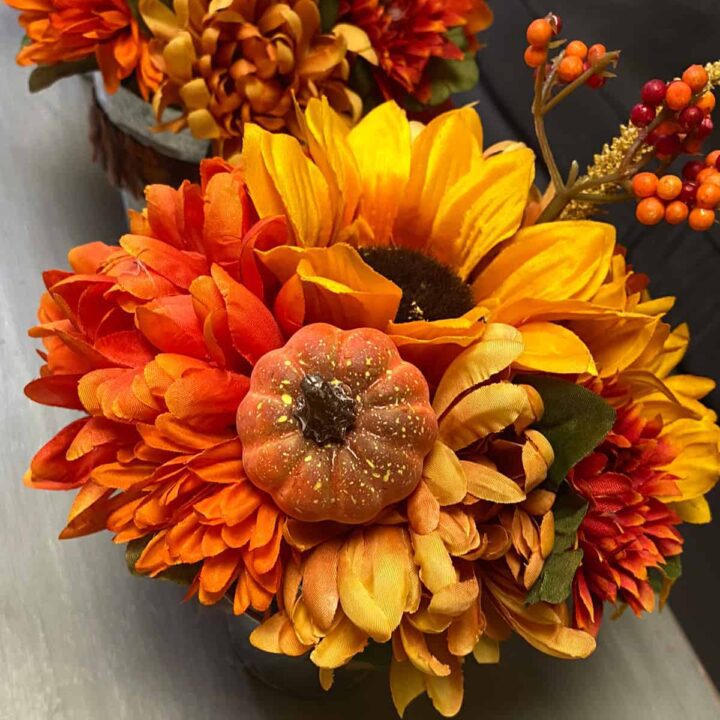
I worked my way around and added the sunflower and pumpkin to the top of the bouquets for a finished look.
The Autumn Bouquets Reveal
These autumn bouquets look lovely. I love them. I can move them around or keep them together. FYI - these bouquets are the first ever bouquets I made. I hope you like them and they motivate you to try making some for yourself.
Tips on making these Autumn Bouquets
Hot glue dries fast, so be sure to add the ribbon right away to the metal.
Work from the outside in when creating a full bouquet in a basket.
Places to use these Autumn Bouquets
These bouquets can be used for a variety of things.
- Wedding centerpieces
- Thanksgiving party decor
- Kid table at a fall party
- Halloween party accent decor
- The centerpiece of a dinette table
- A part of a centerpiece in the dining room
- Placeholders for dinner guests.
I hope this easy DIY project motivates you to make some for yourself and your family. Below are some other DIY projects you may like; feel free to check them out. If you do try this project, please come back and leave a comment on how it went. I would love to hear from you.
Popular DIY posts:
Please note these are affiliate links through Amazon (affiliate), and at no additional cost, I will earn an affiliate commission if you click through and decide to make a purchase.


Leave a Reply