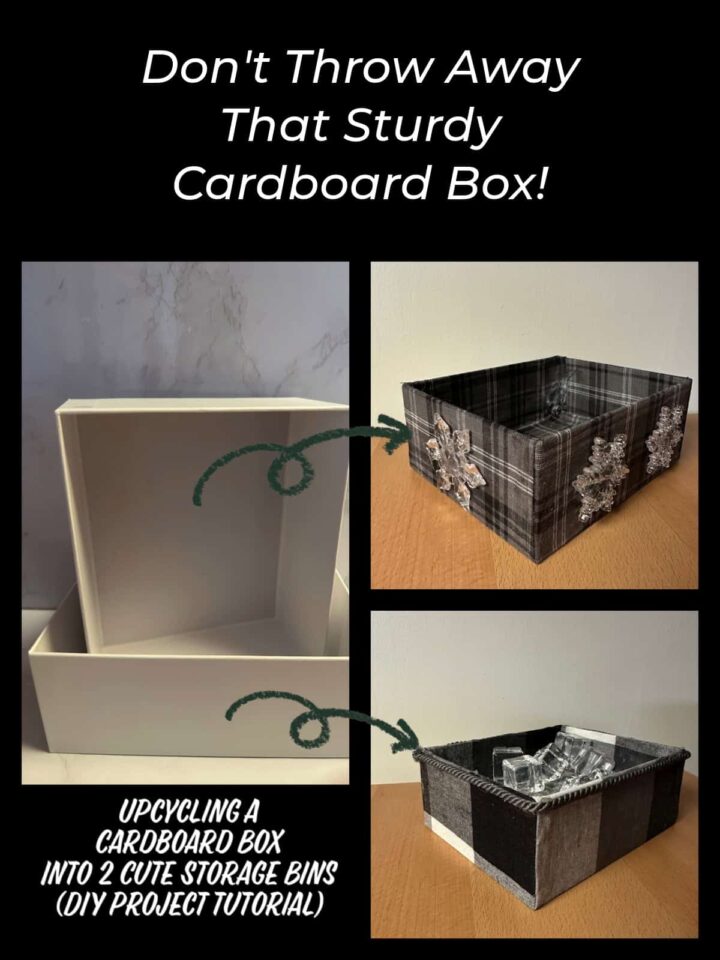
Cardboard box (affiliate) crafts are great for getting organized. The best part of upcycling a cardboard box (affiliate) is that you can easily decorate it any way you want-no holding back. Upcycling material is the cheapest way to create a statement piece and keep these well-designed items from landfills. Today, I will show you how I am upcycling a cardboard box (affiliate) into TWO proper storage bins to organize various small items in your home. Follow along and see how easy it is to make one, or two.
Jump to:
- What inspired me to do this Upcycling a Cardboard Box DIY project?
- BEFORE
- What supplies did I use to make this Upcycling a Cardboard Box DIY project?
- How much did it cost to make this Upcycling a Cardboard Box?
- How long did it take to make Upcycling a Cardboard Box?
- Project 1 DIY steps
- How did I make this Upcycling a Cardboard Box - DIY Project 1?
- End Result of Project 1
- Project 2 DIY steps
- How did I make this Upcycling a Cardboard Box - DIY Project 2?
- End Result of Project 2
- Tips on making these DIY projects.
What inspired me to do this Upcycling a Cardboard Box DIY project?
My kids received headphones for Christmas, and my daughter's box was very sturdy and could store small items in my craft cabinet. So, I decided to decorate it. The top and bottom were useful, so I figured I would make two open boxes (affiliate) with different decorations.
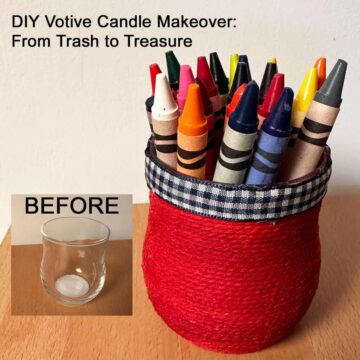
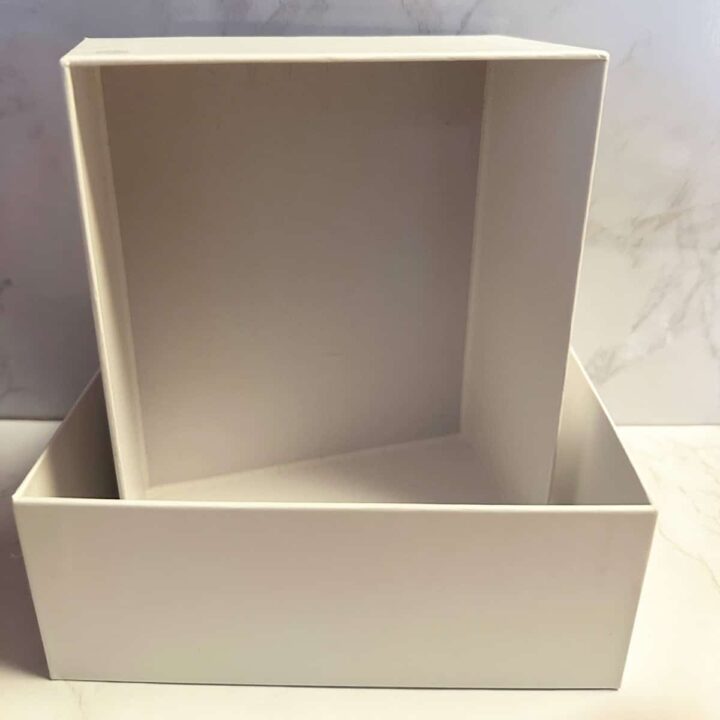
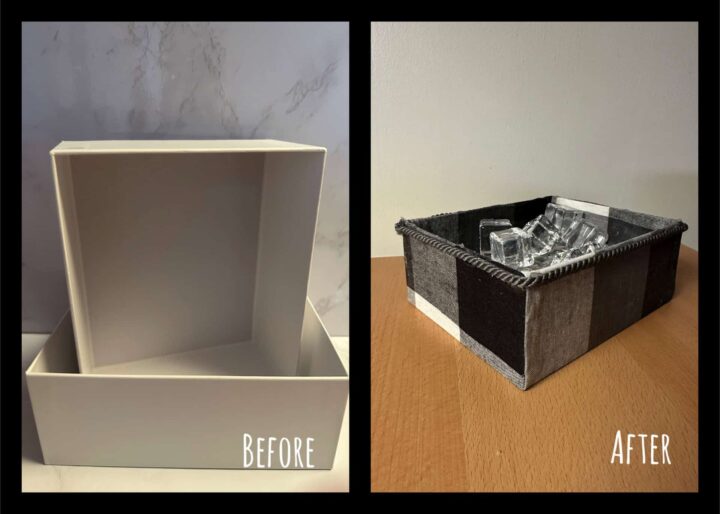
BEFORE
Here is what the image of the cardboard boxes (affiliate) looked like before. These boxes (affiliate) were from Shokz (Amazon (affiliate) Affiliate Link).
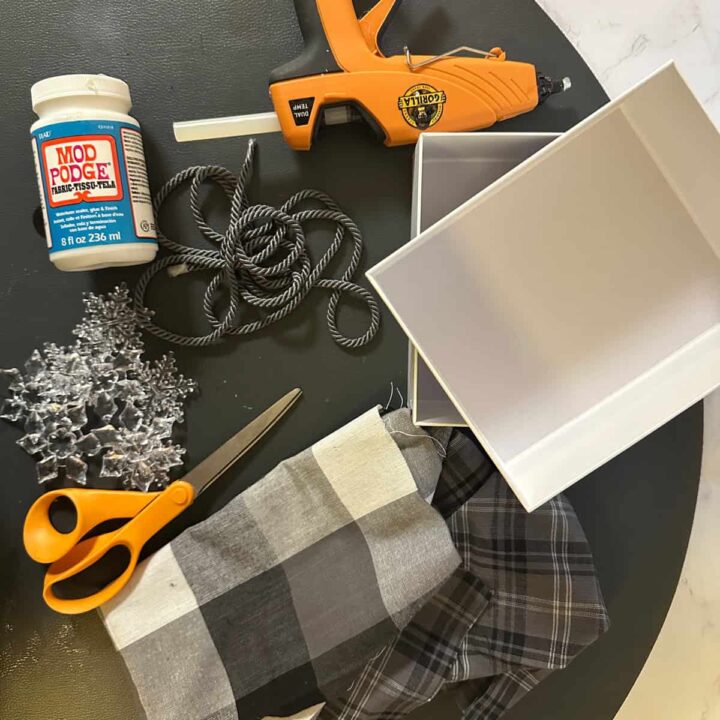
What supplies did I use to make this Upcycling a Cardboard Box DIY project?
Below are the simple supplies I used to make this project.
Supplies used for BOTH upcycling Cardboard box projects
- Scissors (affiliate)
- Cardboard box (affiliate) - top and bottom
- Mod Podge (affiliate) Fabric glue
- Disposable sponge
- Hot glue gun (affiliate) and glue sticks
Upcycling Box version 1 Supplies:
- 3mm grey rope (Amazon (affiliate) Affiliate)
- Quilted 18 in x 21 inch pieces in black and white plaid - I used Homespun Cotton Fabric Bundle by Loops & Threads™.
Upcycling Box version 2 Supplies:
- Plastic snowflakes - found these on Amazon (affiliate) that are similar.
- Quilted 18 in x 21 inch pieces in black and white plaid - different pattern - I used Homespun Cotton Fabric Bundle by Loops & Threads™.
Please note that these are affiliate links through Amazon (affiliate). If you decide to make a purchase, I will earn an affiliate commission at no additional cost.
Below is an image of both supplies for these two DIY projects.
How much did it cost to make this Upcycling a Cardboard Box?
Excluding the headset purchase price, it cost me $10.00 each to make this with supplies I already had. So for two, it costs $20.00 in total.
How long did it take to make Upcycling a Cardboard Box?
Each project took me about 4 hours, including drying time.
Project 1 DIY steps
I'm going to show you the DIY project with the rope first.
How did I make this Upcycling a Cardboard Box - DIY Project 1?
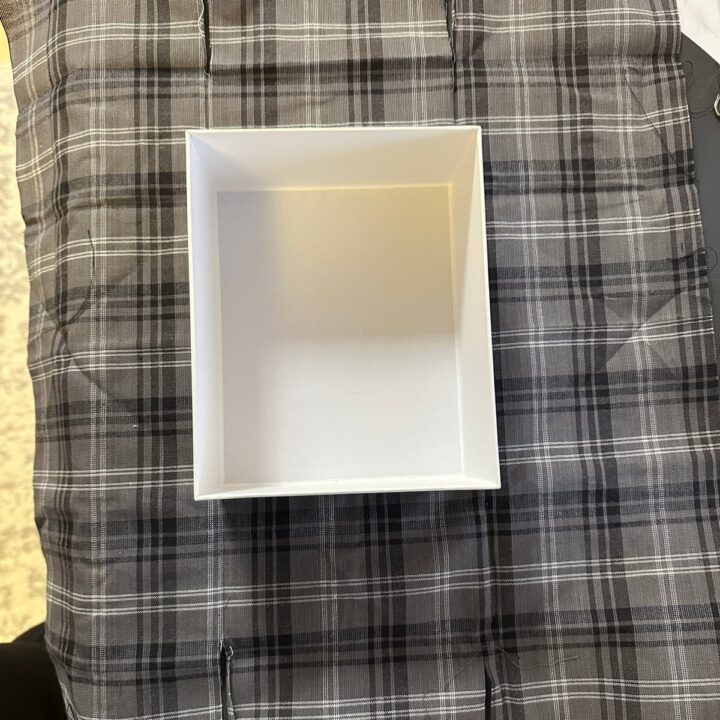
First, measure the inside of the box width and length and cut a piece of fabric for the inside. Then set aside.
Now, start laying out the fabric so that enough can fold inside the sides of the box until it touches the bottom. Ensure that all four sides have enough fabric to touch the bottom of the inside of the box. Cut one slit on each corner so that it will overlap the other side's glued fabric.
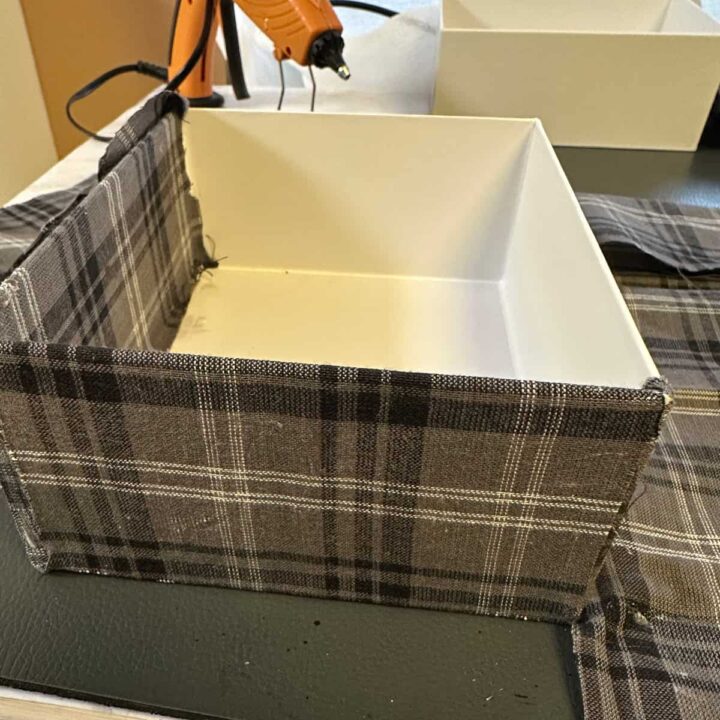
Then, add Mod Podge (affiliate) with a disposable sponge brush (affiliate) on the outside and inside, as well as the sides of the box, folding up and wrapping the corners around if there is excess fabric.
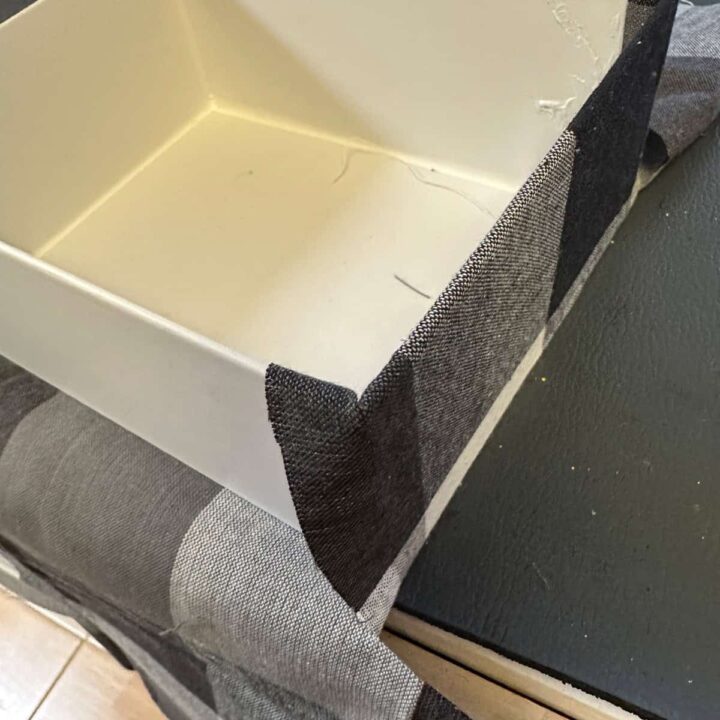
Then, add the box sides over the fabric sides and extra Mod Podge (affiliate) to the corners to seal the fabric edges. This will help the fabric not fray. All four sides should be covered inside and out.
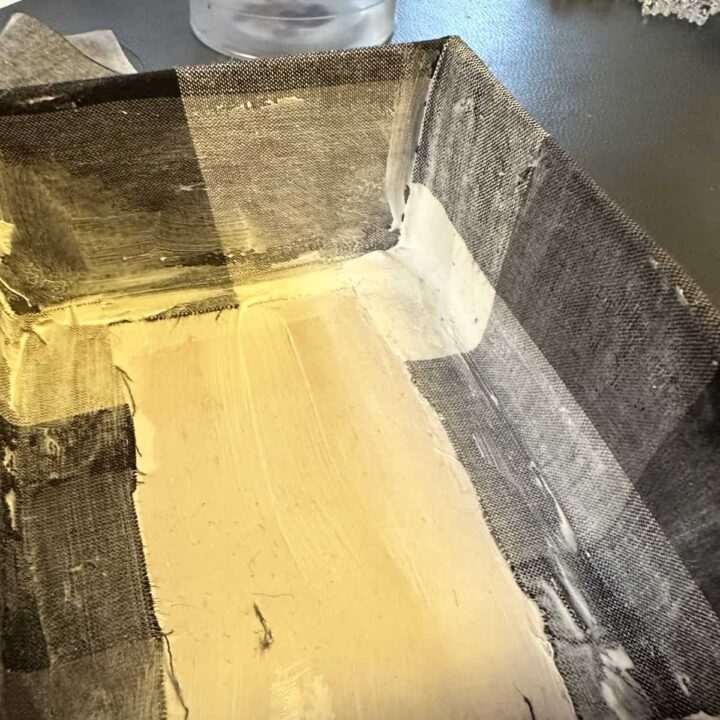
Add Mod Podge (affiliate) to the bottom of the inside box and the already-cut fabric to cover the loose thread.

Next, seal the fabric by adding a thin layer of Mod Podge (affiliate) to the inside, sides, outside, and bottom. Then let dry completely. Add glue for touch-up as needed.
Lastly, add the decorative rope around the top edge of the outside of the box with the hot glue on low setting. Cut off the excess rope and add a dab of hot glue to seal the rope from fraying.
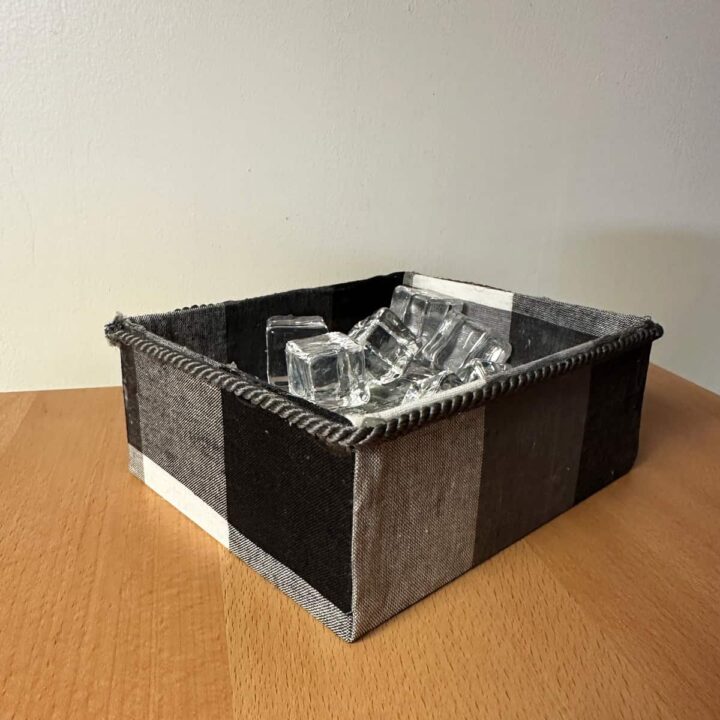
End Result of Project 1
This is what Project 1's DIY Cardboard box (affiliate) looks like. It's so simple, with a rope around it.
Project 2 DIY steps
In the next DIY project, I will show you how I made the boxes (affiliate) with simple plastic snowflakes.
How did I make this Upcycling a Cardboard Box - DIY Project 2?
Like Project 1, first measure the inside of the box's width and length and cut a piece of fabric for the inside. Then, set it aside.
Now, start laying out the fabric so that enough can fold inside the sides of the box until it touches the bottom. Ensure that all four sides have enough fabric to touch the bottom of the inside of the box. Cut one slit on each corner so that it will overlap the other side's glued fabric.
Then, add Mod Podge (affiliate) with a disposable sponge brush (affiliate) on the outside, inside, and sides of the box, folding up and wrapping the corners around if there is excess fabric.
Then, add the box sides over the fabric sides and extra Mod Podge to the corners to seal the fabric edges. This will help the fabric not fray. All four sides should be covered inside and out.
Add Mod Podge to the bottom of the inside box and the already-cut fabric to cover the loose thread.
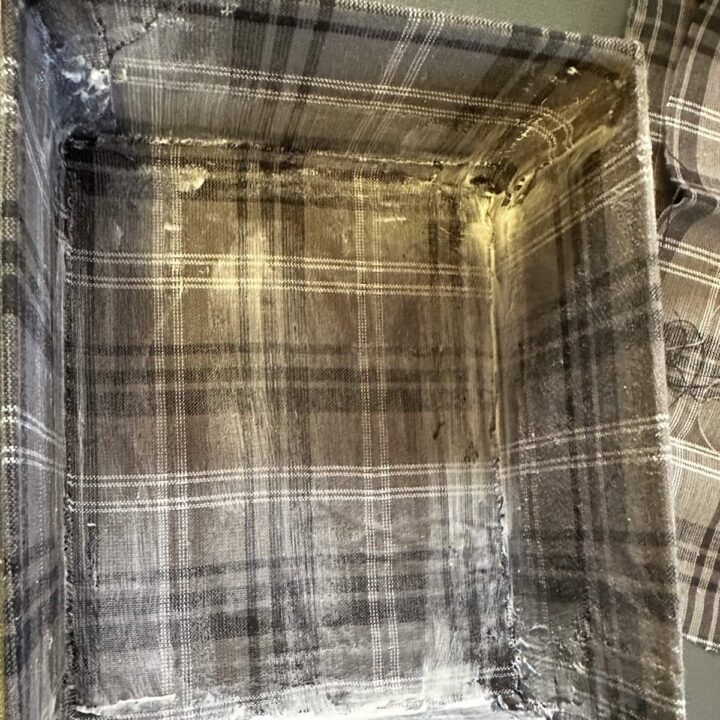
Next, seal the fabric by adding a thin layer of Mod Podge to the inside, sides, outside, and bottom. Then let dry completely. Add more glue to any area as needed.
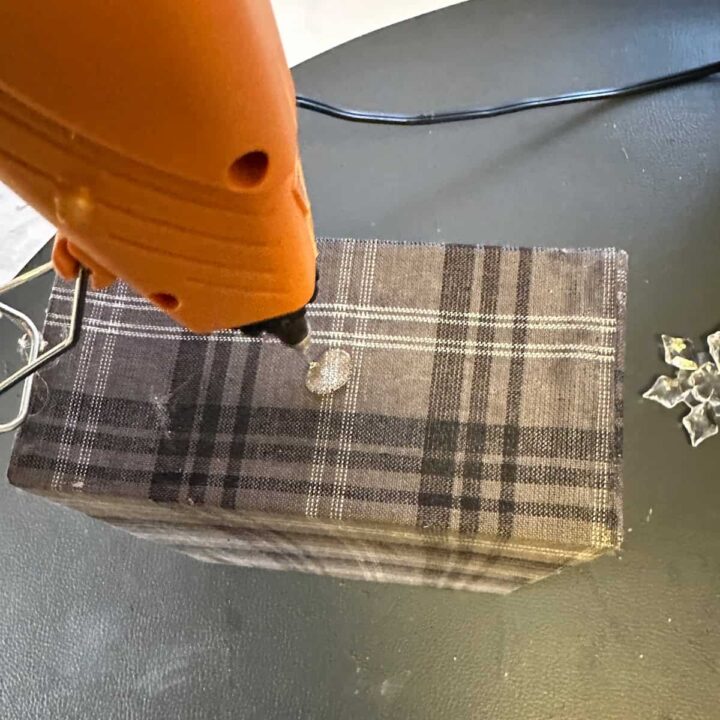
Lastly, using low hot glue gun (affiliate) setting, I add the decorative plastic clear snowflakes to the outside of the boxes (affiliate). I placed two evenly spaced on each side.
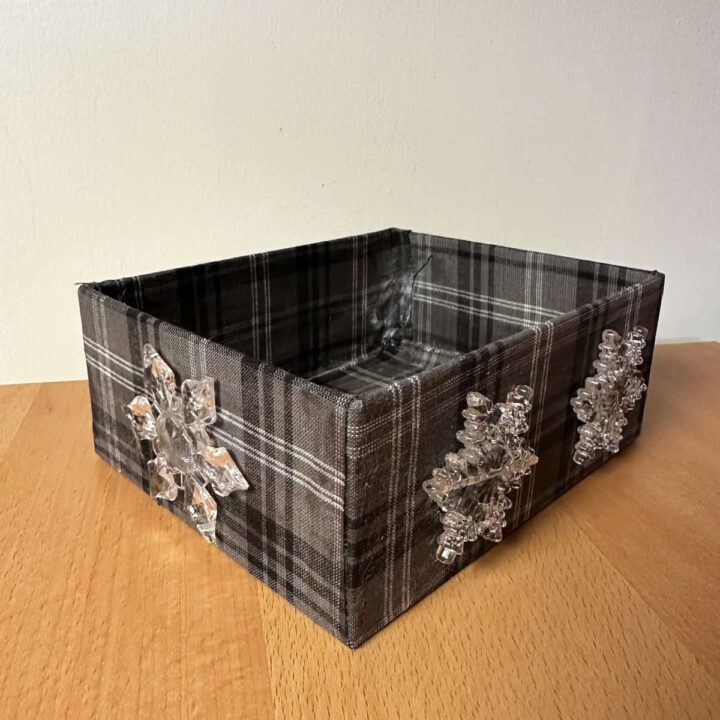
End Result of Project 2
Here is what the Project 2 DIY Cardboard box (affiliate) upcycling project looks like. This one is so cute with snowflakes on it. What do you think?
Tips on making these DIY projects.
There are only a few tips for these projects.
- Pick thin fabric. Thick fabric will have an issue laying flat on the corners and edges.
- Use liberal amounts of fabric glue on the bottom, sides, and top of the fabric to seal the fabric and any cut edges.
- Cut the piece for the inside of the box before laying out the rest of the fabric to ensure you have enough to finish the inside.
I hope these DIY projects, such as upcycling cardboard boxes (affiliate), motivate you to give extra care to sturdy boxes and turn them into storage to help you stay organized.
Visit my other DIY projects!