
This post shares a new way to repurpose a medium-shallow yogurt container into an adorable decorative flower pot. These yogurt containers hold plain yogurt. This project brings a little touch of spring with little to no cost. Follow along and make one today.
Estimated reading time: 6 minutes
Jump to:
- Key Takeaways
- What inspired me to repurpose this yogurt container?
- What supplies did I use to do this DIY project?
- How much did it cost to make this repurposed yogurt container into a flower pot?
- How long did it take to transform this Yogurt Container into a flower pot?
- How did I repurpose the yogurt container into a flower pot?
- The Big Reveal
- Tips on doing this DIY project
- How else can you repurpose Yogurt containers?
Key Takeaways
- This article shows how to repurpose a yogurt container into a decorative flower pot on a budget.
- Use basic supplies like a hot glue gun (affiliate), rectangular wood pieces, and ribbon.
- The total cost is about $5, and it takes about 1 hour to complete.
- Tips include ensuring the container is sturdy and mixing ribbon with flowers for style.
- You can also explore other creative uses for yogurt containers, such as organizing or planting seeds.
What inspired me to repurpose this yogurt container?
I usually recycle these old yogurt containers. While cleaning them for recycling, I realized how lovely and sturdy they were, so I decided to reuse them for my home office.
What supplies did I use to do this DIY project?
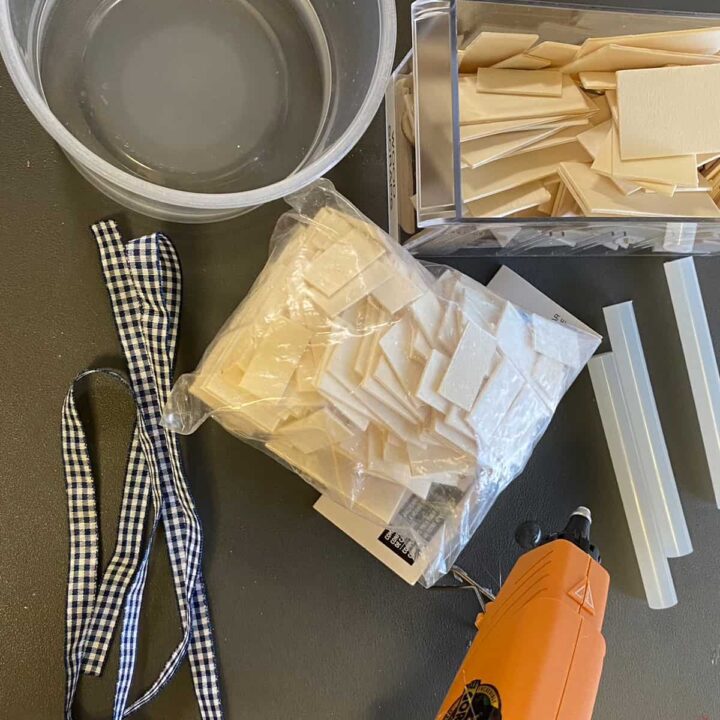
The supplies below are simple. I had rectangular wood pieces for a while, but I found some six-sided pieces on Amazon (affiliate) (affiliate).
Supplies used:
- 16 oz. Medium yogurt container
- Hot glue gun and glue sticks
- Wood rectangle pieces - random sizes
- Exacto knife
- Black-and-white checker ribbon (½ or 1 inch): Enough to go around the container's widest part and enough to make a bow.
Optional: silk flowers bouquet and silk flower foam.
How much did it cost to make this repurposed yogurt container into a flower pot?
I had the wood rectangle pieces, exacto knife (affiliate), and glue gun (affiliate)/glue sticks. So, I only spent $5.00 for the yogurt container.
How long did it take to transform this Yogurt Container into a flower pot?
It took me about 1 hour to do this entire project.
How did I repurpose the yogurt container into a flower pot?
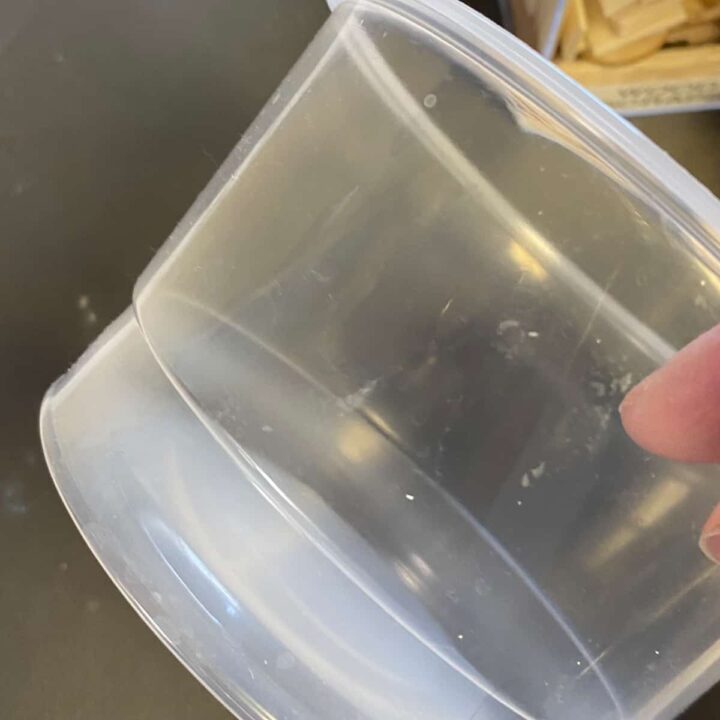
First, I cleaned the yogurt container and dried it thoroughly. Remove all the glue and paper labels (affiliate) for a clean surface.
Then, use hot glue on low, add a dab to the plastic, and add the rectangular wood pieces, layering them slightly on top of one another as you go around the yogurt container. Be careful; the hot glue could make the plastic hot.
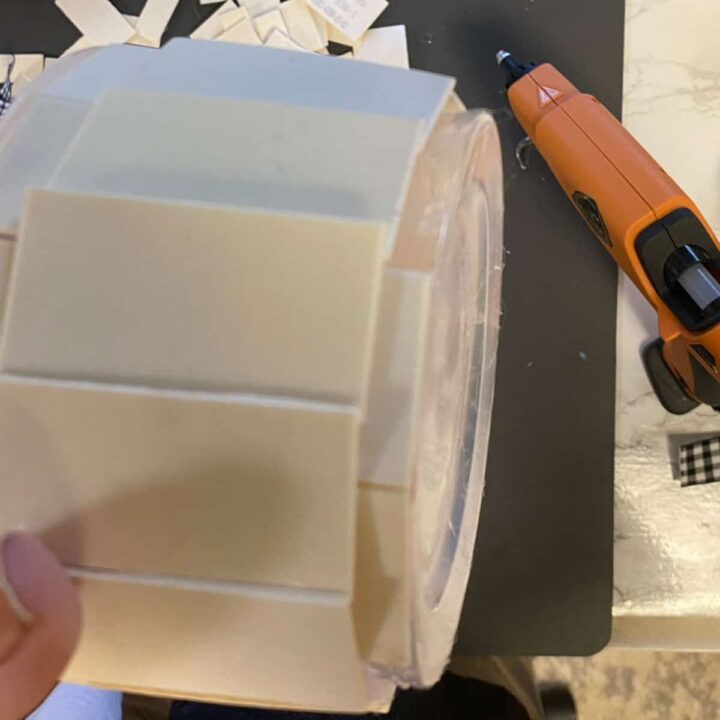
Now add a second layer the same way as the top, overlapping them a little to fill the gaps.
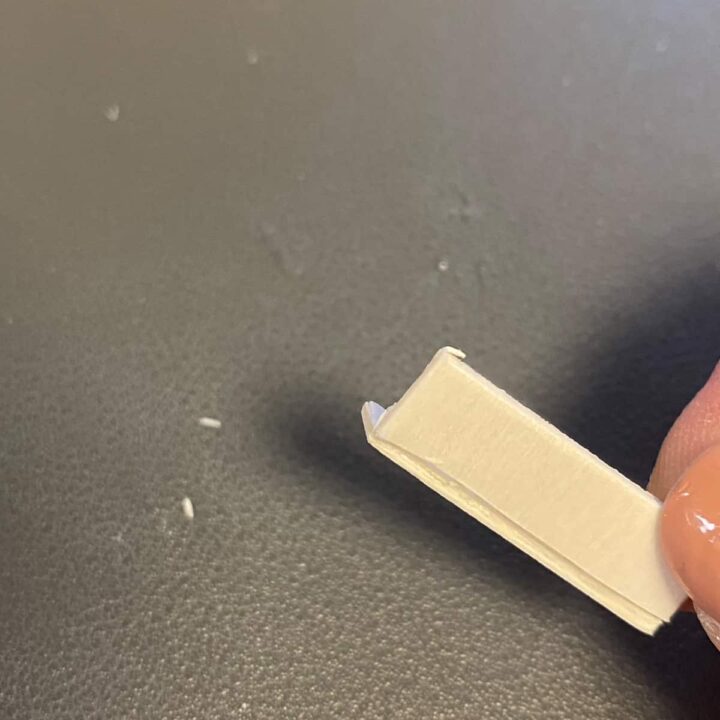
Next, while my pieces were a little short to cover the entire container, I cut the small ones down to fill ¼ inch at the bottom. I cut the rectangular pieces longways into smaller ¼ inch pieces, and hot glued them under the second layer of rectangular pieces to cover the edges.
Using the exacto knife (affiliate), I scored the wood and then snapped it in half. This created two of them.
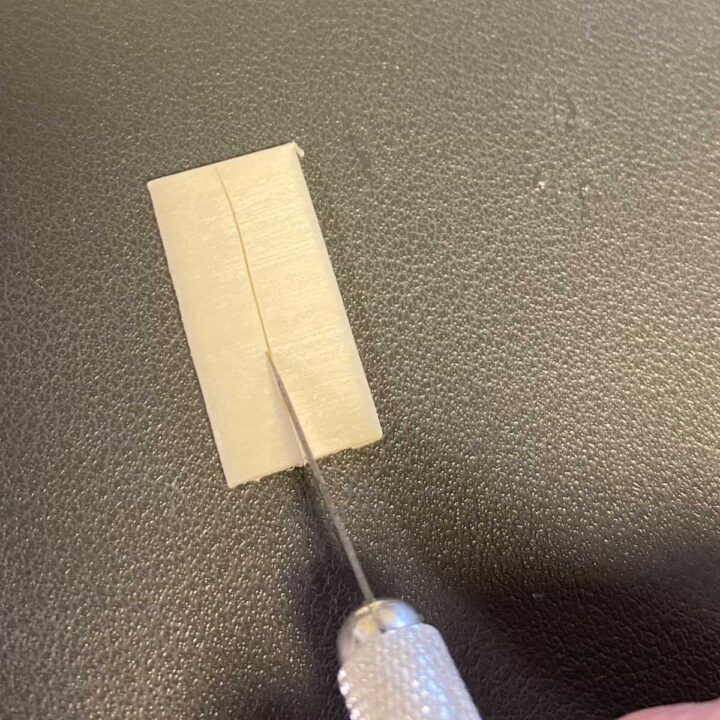
I added glue to the bottom wood pieces to fill the gap.
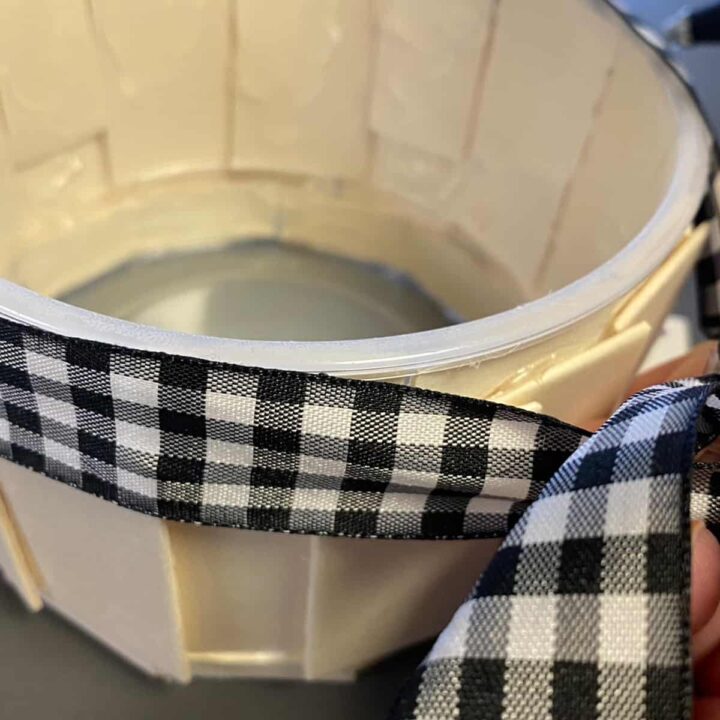
Lastly, I added dabs of glue around the top part right below the rim to hold the ribbon in place. Then made a bow.
Optional:
I placed the silk flower foam in the container and added pieces of silk flowers to create a beautiful arrangement.
The Big Reveal
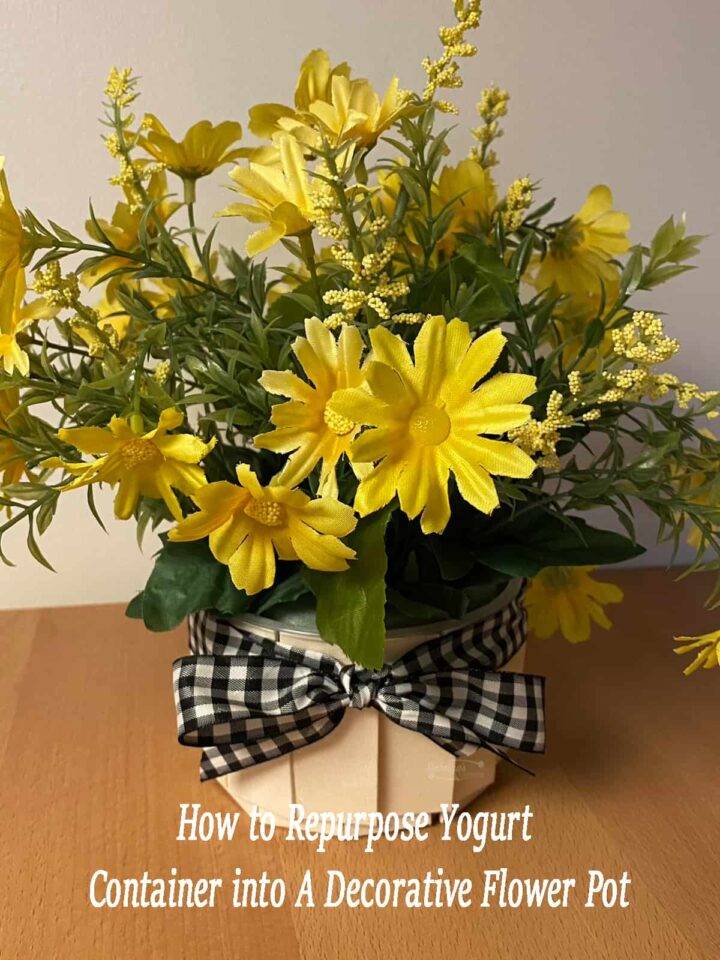
And this is how my finished springtime flower pot yogurt container looks now! What do you think? It turned out so cute and was easy to make! Will you try this too?

Tips on doing this DIY project
Make sure that the plastic yogurt container is sturdy and thicker. A shallow container lets you add pretty silk flowers without using too much foam.
Also, mix and match the ribbon with the silk flowers to make your own style for your home.
Be careful not to add too much glue to the plastic; heat may go through it and burn you.
You can use different ribbon thicknesses. I found that a one-inch ribbon worked better for my flower pot.
If you want to use real flowers, you can poke holes in the bottom for drainage and use the lid as a saucer to catch the water.
How else can you repurpose Yogurt containers?
You can repurpose yogurt containers in many ways. Whether you are organizing things around the house or using them for other projects, there are many different ideas for using these containers without throwing them in the trash. Here are a few I came up with.
- Turn it into a place to sprout vegetable seeds.
- Transform it into a catch-all bin near your front door.
- Use it in your craft area to organize your small things.
- Make it into a usable craft supplies bin.
- Store hot glue sticks in them.
- Use it to store leftovers or take home food to give to loved ones.
- Store cotton balls or cotton swabs in it.
- Add hair accessories to the repurposed container.

I hope this project inspires you to repurpose your yogurt containers and help keep these items out of landfill. Please share your project below if you've repurposed one of these before. I would love to hear from you!
Popular DIY affordable home decor posts:
Feel free to check out my other affordable home decor (affiliate) posts, where I upcycled random items around the home to make these cute things.


Leave a Reply