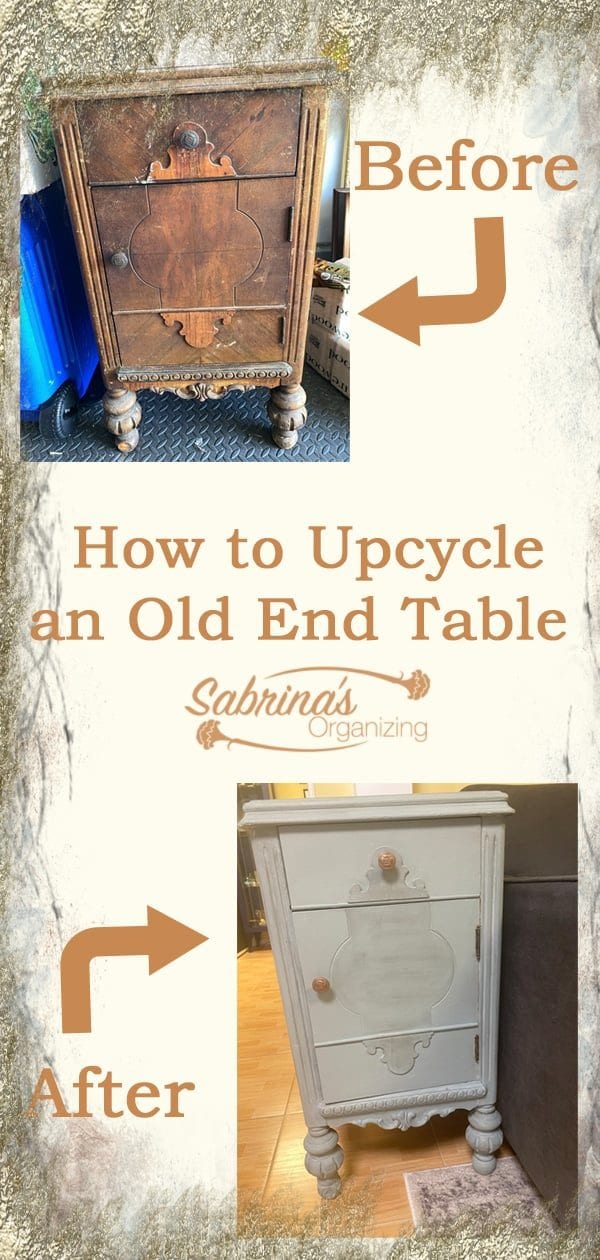
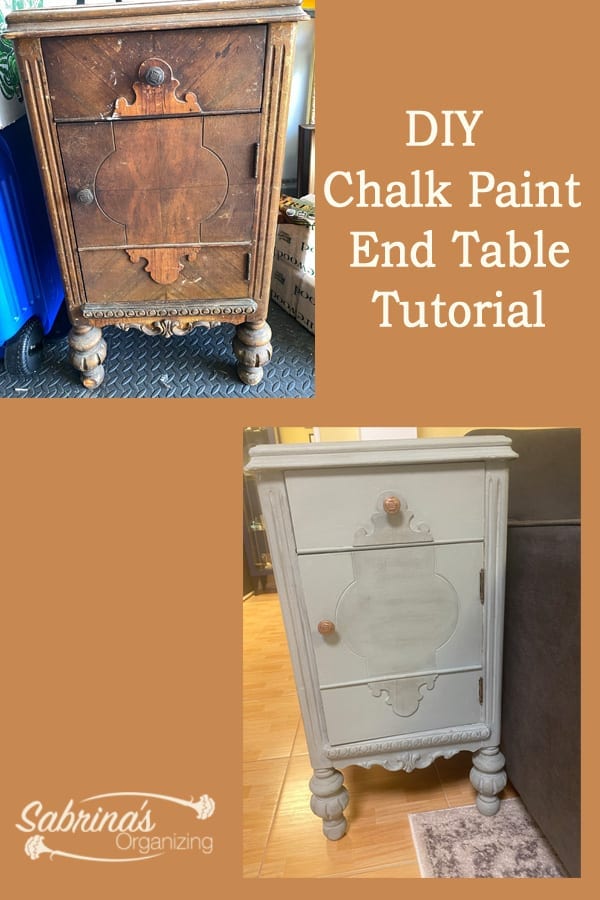
I recently acquired an end table from my mother-in-law's home. It was from my husband's father's mother. The end table was in the garage (affiliate), collecting dust for years since she passed in the early 2000s. It was unique in style and had many decorative accents that I thought would be a great DIY chalk paint project I could try with Annie Sloan Duck Egg Blue chalk paint. It is a blue-green color and will be used in my small family room as an end table. Check out how I updated this end table. Here is how I did this chalk paint project in one weekend! It took two days.
Jump to:
- Supplies needed for this Chalk Paint End Table
- Tools needed for this chalk paint end table project
- How to make this DIY Chalk Paint End Table Before and After?
- Clean the end table a few times and let dry.
- Repair areas that need some attention.
- Clean the knobs and spray paint.
- Paint the cabinet, starting with the sides.
- Add the peel-and-stick wallpaper liner.
- Add a thin layer of paint to the inside to lighten it up and hide stains.
- Add a little rustic look to the accents.
- Now, it is time to add clear wax.
- Add the dark wax on the curves and edges.
- The Big Reveal
Supplies needed for this Chalk Paint End Table
Old End Table
1 liter of Duck Egg Blue by Annie Sloan
1 liter of Old Ochre by Annie Sloan
Decorative peel-and-stick wallpaper (affiliate): Below is some peel-and-stick wallpaper (affiliate) I found on Amazon (affiliate).com(affiliate) that would work well with these paint colors. (If you click through and buy something on Amazon (affiliate), I will receive a small commission fee at no additional cost to you. Happy shopping! )
Tools needed for this chalk paint end table project
Chalk paint paintbrushes (affiliate) - 1 regular (medium) size and 2 small detailed brushes
Rags - disposable box
Wood putty
Sandpaper and brick
Gorilla glue (affiliate)
Wax Cream
Dark Wax Cream
Aged Copper Rust-oleum Universal Metallic Spray paint
Lemon and baking soda to clean the hardware and hinges
Oil to loosen the hinges
Tape measure (affiliate)
Exacto knife (affiliate)
Scissors (affiliate)
220 grip sandpaper
How to make this DIY Chalk Paint End Table Before and After?
Now that you have all the supplies and tools (affiliate) in one place follow the steps below for an easy project this weekend.
Here is the before image of the end table. It was quite shabby.
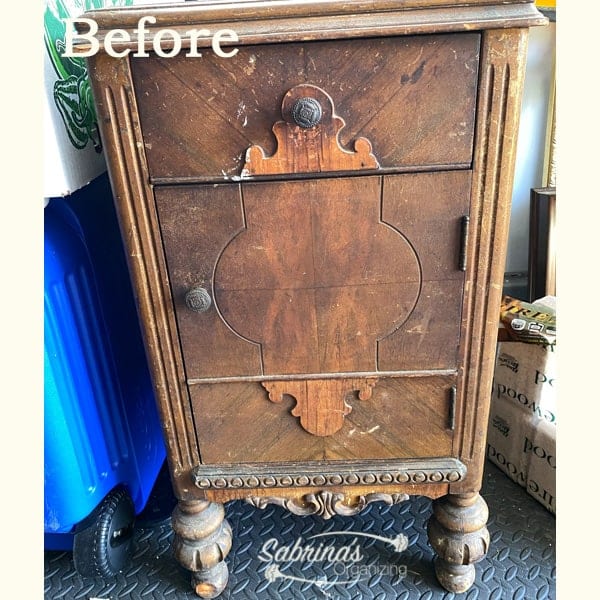
Clean the end table a few times and let dry.
First, I cleaned the end table. It was stored in a garage (affiliate) and wasn't looked at for over 10 years. It was super dusty and had to be cleaned a few times to take off the layers of dust.
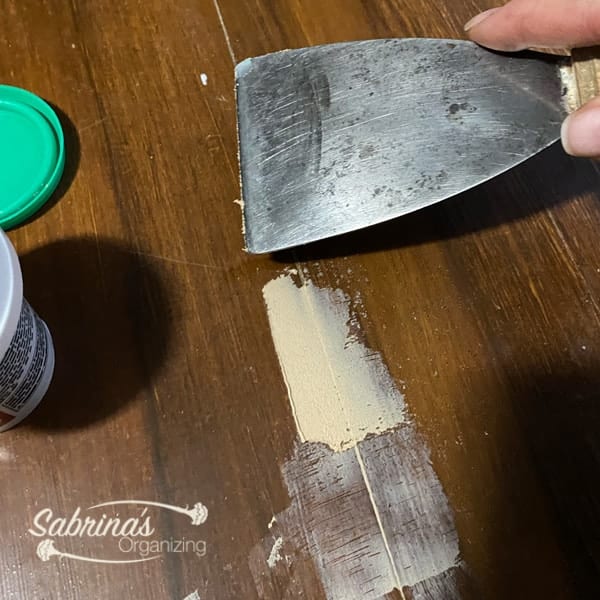
Repair areas that need some attention.
Then, I had to patch the large (affiliate) crack at the top of the end table. I used wood sparkle. It took a few hours to dry. Then, I sanded it down a bit to smooth it.
I then took off the drawer and cabinet, as well as the knobs.
Clean the knobs and spray paint.
I cleaned the knobs with lemon juice and a sprinkle of baking soda. I added the knobs to the mixture and let it sit in it for a few hours. Then with a brush, I cleaned off the knobs.
Below is a picture of the before and after knobs.
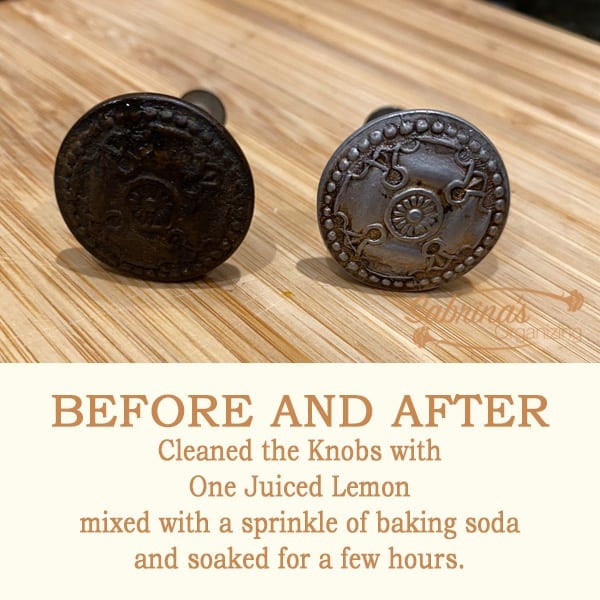
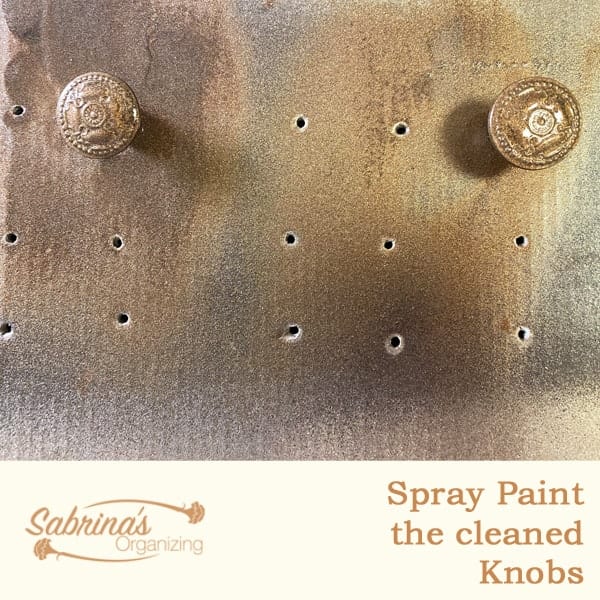
One was totally worn and the other was never used so they looked completely different. Ugh. So, I decided to spray paint them an Aged Copper. And, let dry.
I also cleaned the hinges and used to loosen the hinges and let it sit.
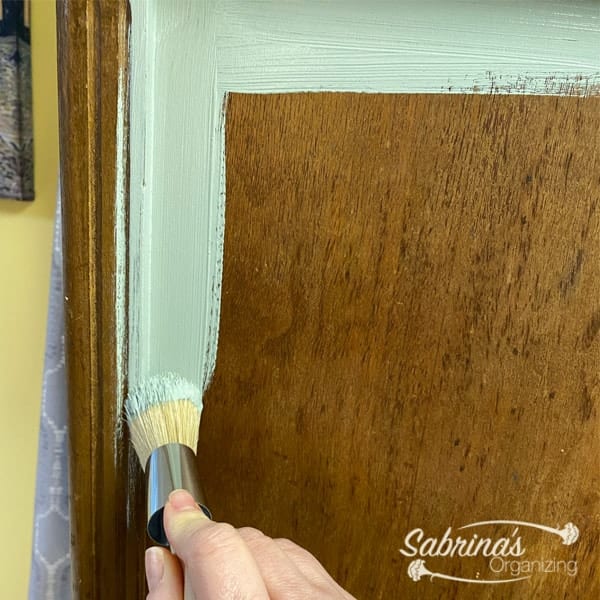
Paint the cabinet, starting with the sides.
Then, I started painting with chalk paint. I did the sides first and worked my way around, and finished at the top. I used two types of paintbrushes (affiliate), one was for large (affiliate) surfaces, and the other was for detailed sections. There were a lot of detailed areas of this end table.
Add the peel-and-stick wallpaper liner.
While it was drying, I added a peel and stick wallpaper liner to the inside of the drawer. I cut it ¼ inches wider and then I used an Exacto knife (affiliate) to cut off the excess. Here's what it looks like finished. What do you think?
I also added the peel-and-stick wallpaper (affiliate) to the sides of the drawers as well.
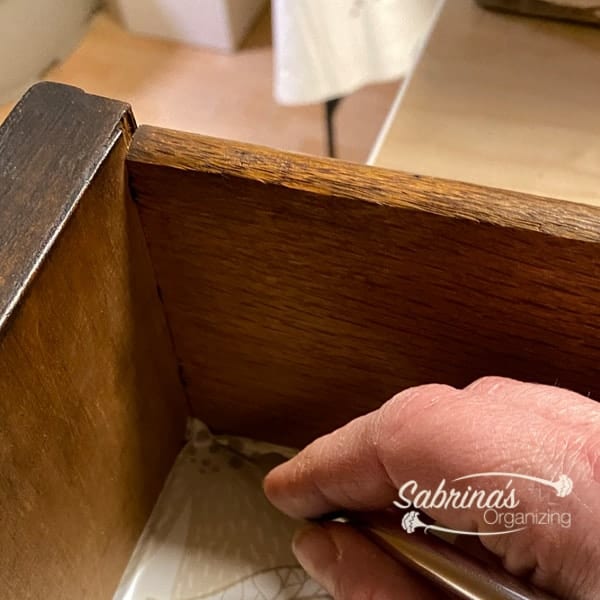
Add a thin layer of paint to the inside to lighten it up and hide stains.
Painting inside was next. I just painted it and then waxed it. The inside was a little shabby so I wanted to add some color. It was a thin layer since the door was super snug and would chip the paint if I added too many layers.
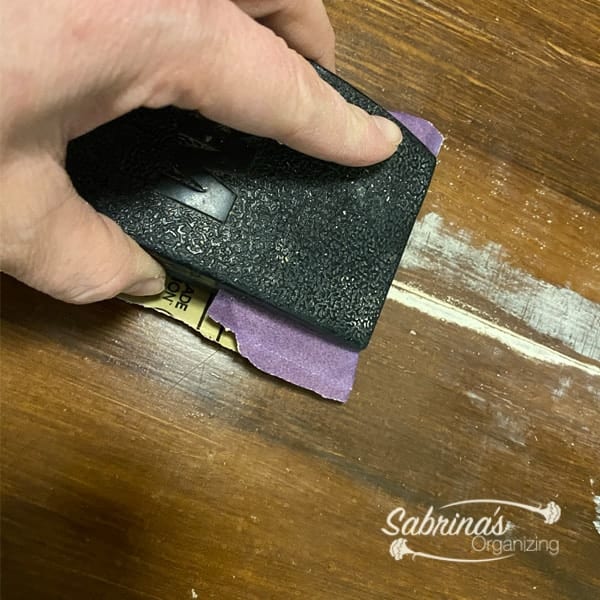
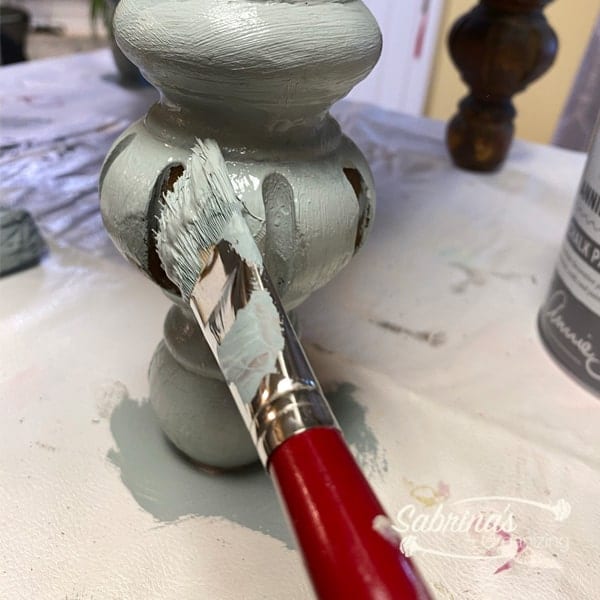
Add a little rustic look to the accents.
I used sandpaper and rubbed some of the paint off the curved areas.
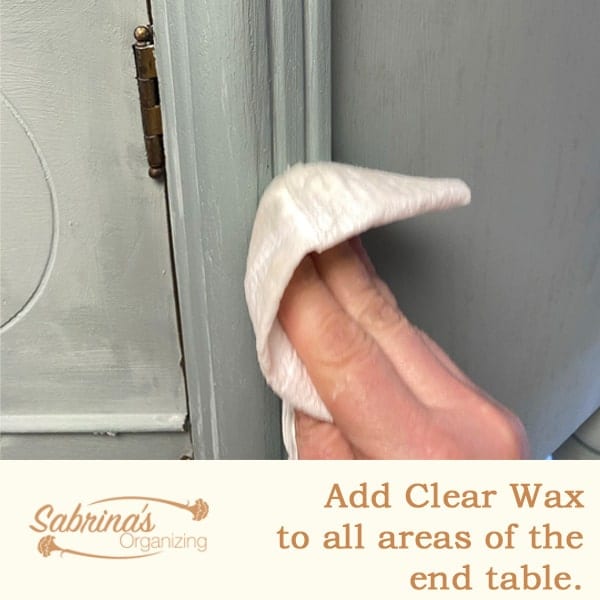
Now, it is time to add clear wax.
I added the clear wax with a disposable cloth and let it dry fully. You can tell if the furniture (affiliate) is not waxed because the paint color looks dull.
Add the dark wax on the curves and edges.
Then, I added the dark wax to the curves on the legs and corners, just to make the pattern stand out in the front.

I then added the spray-painted knobs and added some peel and stick wallpaper to the inside of the door.
The Big Reveal
And here you have it! The finished cabinet. Amazing, right? I love it. What do you think? Please leave a comment below.

Watch the video below to see the before and after and share!!!!
Visit our other chalk paint projects here for even more inspiration!
CHALK PAINT ARMOIRE DIY PROJECT TUTORIAL
TRANSFORMING COFFEE TABLE WITH GRAY CHALK PAINT
HOW TO TRANSFORM A TABLE FROM A VANITY BACK TO A CONSOLE TABLE
Disclosure: if you click through and buy something on Amazon (affiliate), I will receive a small commission at no additional cost to you. Happy Shopping!