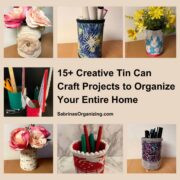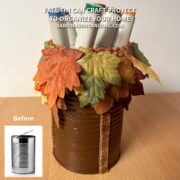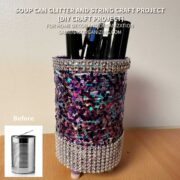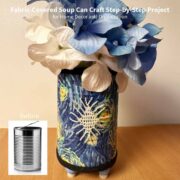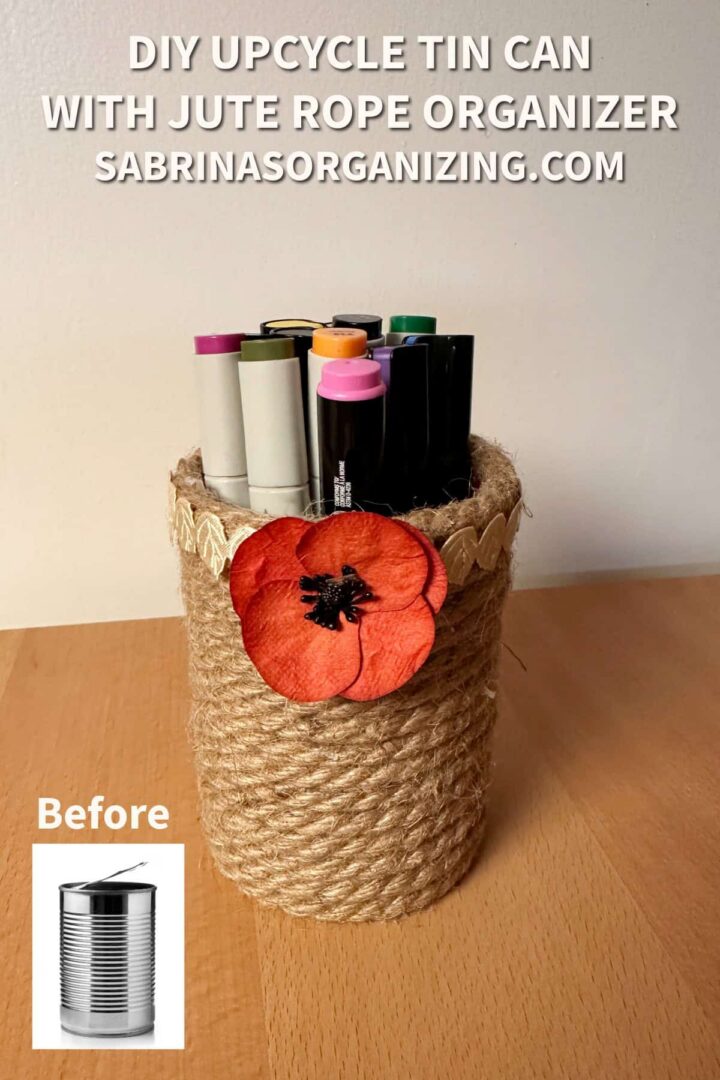
Upcycling everyday household items into stylish, functional decor is one of the easiest ways to declutter and organize your space on a budget. This DIY tin can organizer project transforms an empty metal tin can into a charming, rustic holder for pens, markers, or craft supplies using thick jute rope, leaf ribbon, and a decorative fabric flower. Scroll down to see how easy it is to update a soup can/tin can to help you organize your home or your kids' room. I also share the best way to use hot glue on metal and tips for using this can to organize small items.
Key Takeaways
- Upcycling household items like the DIY Upcycle Soup Can with jute rope helps declutter your space on a budget.
- Gather materials such as a clean metal tin can, jute rope, acrylic paint, and a hot glue gun for your project.
- This project only costs around $5 and takes approximately 3 hours to complete, including drying time.
- Use your upcycled can for organizing pens, craft supplies, or even kitchen utensils (affiliate) to keep your space tidy.
- Follow the provided tips for using hot glue on metal and ensure a successful crafting experience.
Jump to:
Things to know before trying this project
Here are the key (affiliate) things you should know about this project.
What inspired me to do this DIY Upcycled Soup Can with jute rope?
If you haven't stopped by before, you may not know that I love to upcycle things, especially tin cans that are perfectly fine after I use the contents in a weeknight recipe I am making for a blog post. I like to reuse these perfect cans for storing small items in a home or basically anywhere that needs a little tidying up. This one was created with extra supplies I had in my craft cabinet.
Materials Needed
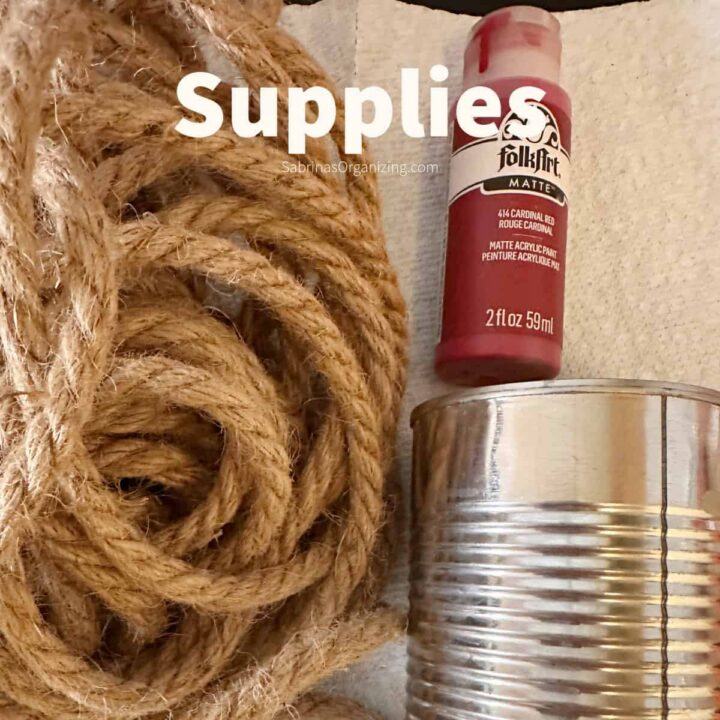
To create this project, gather the following supplies:
• Clean Metal Tin Can
• Thick 8MM Jute Rope
• Matte Acrylic Paint (e.g., FolkArt 414 Cardinal Red)
• Paintbrush (affiliate)
• Hot Glue Gun & Glue Sticks (affiliate)
• Beige Leaf Ribbon - this ribbon was part of a sample pack of ribbons (affiliate)
• Decorative Paper Flower Accent (e.g., red poppy or autumn flower)
• Scissors (affiliate)
• Paper Towels (affiliate) or Craft Mat (to protect your workspace)
Please note these are affiliate links through Amazon (affiliate), and at no additional cost to you, I will earn an affiliate commission if you decide to make a purchase.
How much did it cost to make this DIY Upcycled Soup Can with jute rope?
This project cost me only $5.00 to make the soup can. I repurposed the rest of the supplies from my crafting area.
How long did it take to make a DIY Upcycled Soup Can with jute rope?
This project took about 3 hours and 15 minutes, including drying time. Keep it in a well-ventilated area to help it dry faster. If the room doesn't have a fan nearby, it may take longer to dry.
Pro Tips for Working with Hot Glue Guns
Hot glue can be tricky on metal cans. Below are some tips for working with a hot glue gun. Mine had two heat options, and I liked being able to adjust the heat for different surfaces.
- Work in Small Sections: Hot glue sets quickly on metal. Apply glue in 1- to 2-inch strips along the can. Then press the rope down immediately before the glue cools and hardens.
- Protect Your Fingers: Pressing thick jute rope into fresh hot glue can push heat through the fibers. Use a silicone finger protector (affiliate). Use the flat end of a wooden popsicle stick or your scissors (affiliate) handle to press the rope firmly into place.
- Tackling Glue Strings: After it cools, clear away fine hot glue "spiderweb" strings using a hairdryer on a low/warm setting. The heat will melt the fine strands away without damaging the project.
- Keep the Base Level: When you start your first row at the bottom of the can, make sure the rope rests flush against the bottom. This finished cup stands completely upright without wobbling.
Steps
Below are step-by-step instructions for making this cute DIY Upcycled Soup Can with jute rope. Feel free to check them out.
Print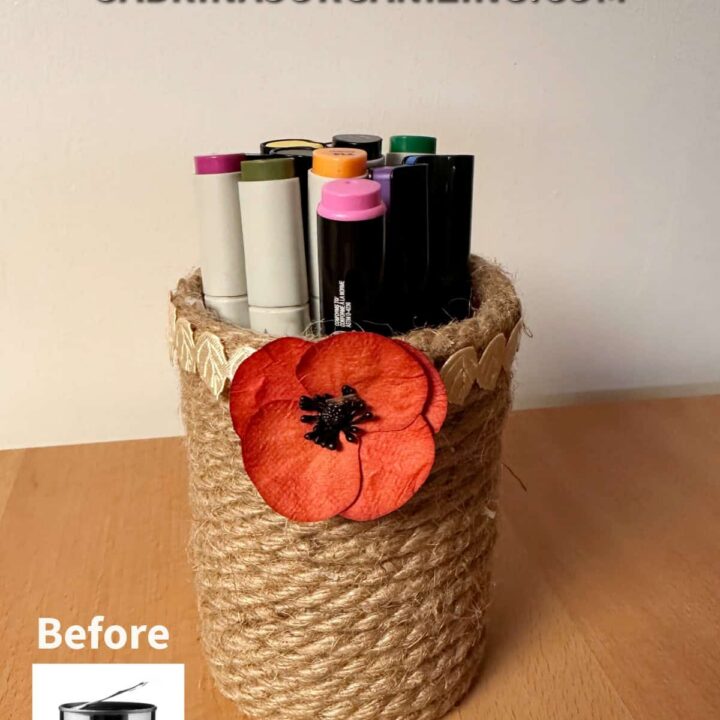
DIY Upcycled Soup Can with jute rope Tutorial
- Prep Time: 15 minutes
- Total Time: 3 hours 15 minutes
- Yield: 1 updated soup can
- Category: DIY, soup can, Tin can
- Method: Step-by-Step
Description
Upcycling everyday household items into stylish, functional decor is one of the easiest ways to declutter and organize your space on a budget. This DIY project transforms an empty metal tin can into a charming, rustic holder for pens, markers, or craft supplies using thick jute rope, leaf ribbon, and a decorative fabric flower.
Materials
Clean Metal Tin Can
Matte Acrylic Paint, FolkArt 414 Cardinal Red
Paintbrush
Thick Jute Rope
Scissors
Hot Glue Gun & Glue Sticks
Leaf Ribbon/Trim
Fabric Flower Accent like a red poppy
Paper Towels or Craft Mat
Instructions
Step 1: Prepare and Paint the Interior
- Thoroughly clean and dry your metal tin can, ensuring no sharp edges remain along the rim.
- Place the can on a paper towel (affiliate) or protective mat.
- Using a paintbrush (affiliate), apply a layer of matte acrylic paint (such as Cardinal Red) to the inside of the tin can to give it a finished look. Let the paint dry completely.

Step 2: Begin Wrapping the Jute Rope
- Plug in your hot glue gun and allow it to heat up fully. I used high heat.
- Starting near the bottom rim of the tin can, apply a line or small bead of hot glue directly onto the metal.
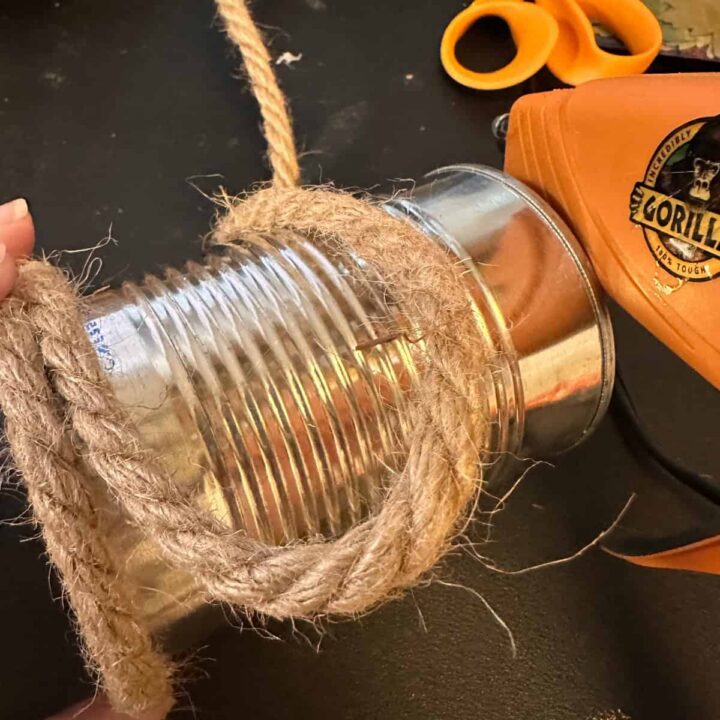
- Carefully press the end of the jute rope into the hot glue to anchor it.
- Wrap the rope firmly around the can's circumference, applying small sections of hot glue along the way to keep the coil tight and secure.
Step 3: Wrap to the Top Edge
- Continue coiling the rope upward around the can, ensuring each layer sits snugly against the previous one without gaps.
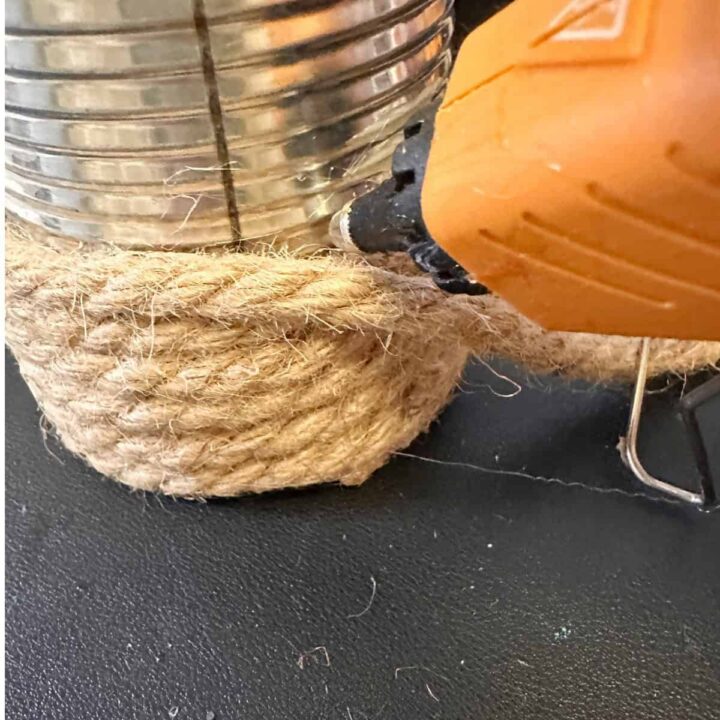
- Apply glue continuously as you go, especially near the top rim, to keep the coils from slipping.
- Trim the excess rope once you reach the top edge and glue the final end down securely inside or along the top inner rim.
Step 4: Add Decorative Leaf Trim
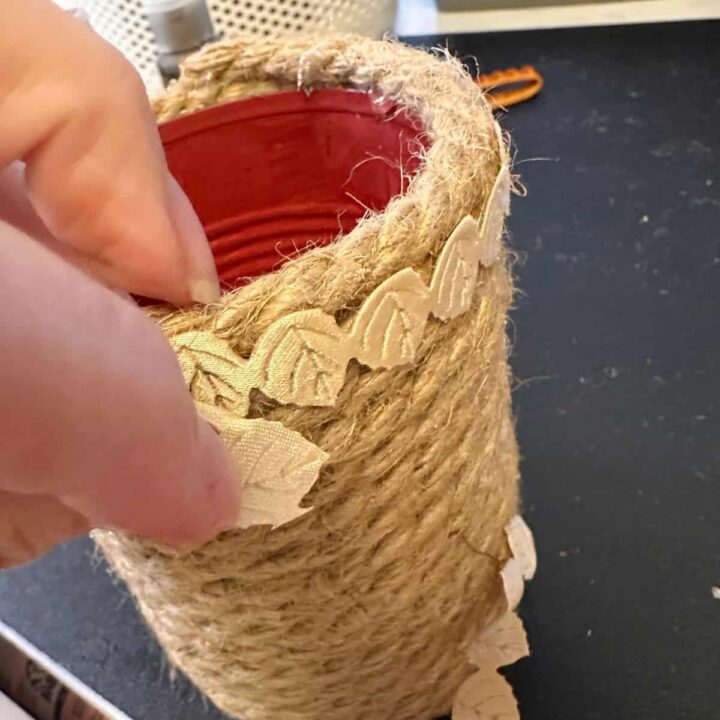
- Take your leaf ribbon/trim and measure it around the top circumference of the rope-wrapped can.
- Apply small dots of hot glue along the top row of rope and press the leaf trim down into place, creating a decorative border.
Step 5: Attach the Accent Flower
- Choose a focal point on the front of the organizer.
- Apply a generous dab of hot glue to the back of your decorative paper or fabric flower.
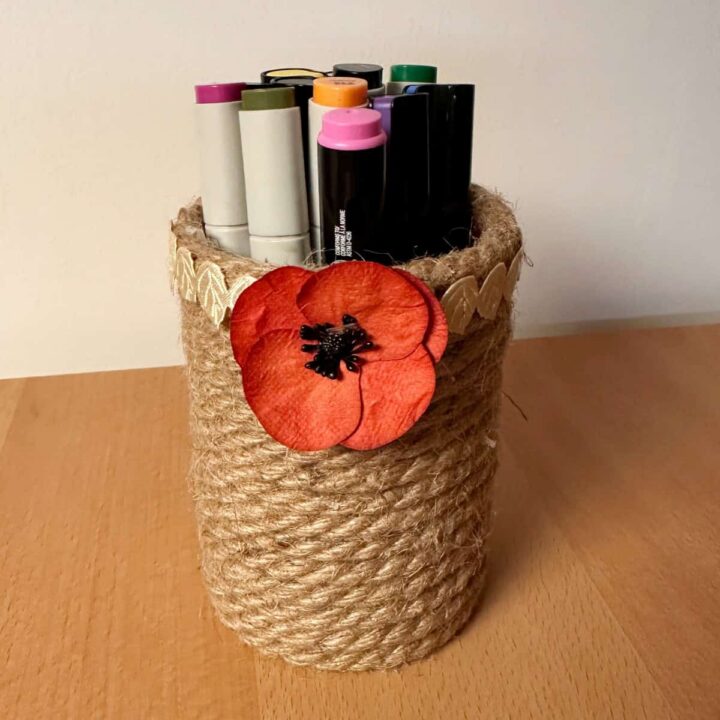
- Press the flower firmly onto the upper front edge of the leaf border and hold for a few seconds until the glue sets.
The Big Reveal
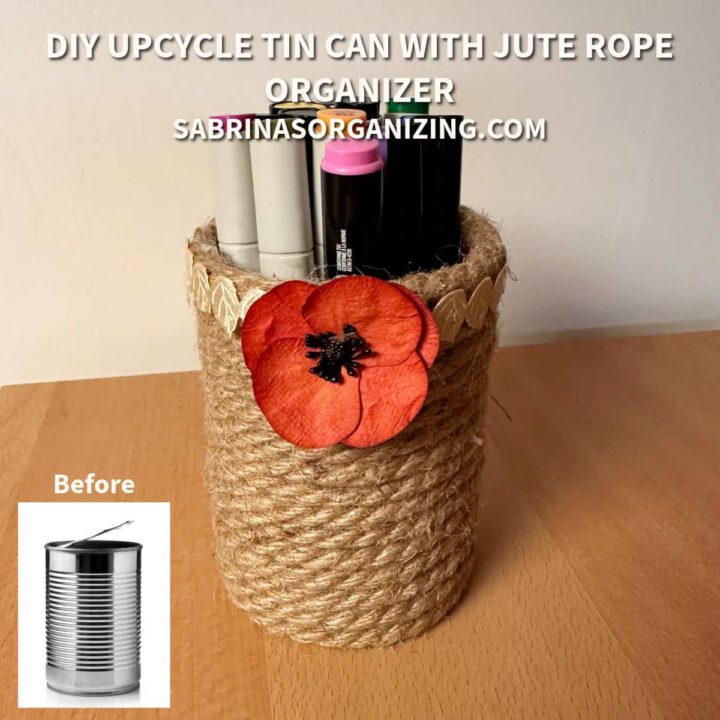
This DIY Upcycled Soup Can with jute rope looks lovely. It was a simple, quick DIY project that was easy to make with just a few supplies.
How to Organize Your Space with This Craft
Now that you have created your DIY soup can project, here are ways to help you organize your things.
- Desk & Office Station: Use it on your desk to hold pens, permanent markers (affiliate), highlighters (affiliate), or scissors (affiliate) to keep your workspace clutter-free.
- Craft Room Storage: Group 3 or 4 cans of varying heights on a tray to hold paintbrushes (affiliate), rulers, crafting tools (affiliate), and crochet hooks.
- Vanity & Bathroom Makeup Holder: Use the cup to store makeup brushes, nail files, or combs.
- Kitchen Utensil Caddy (affiliate): Make a larger version using a family-sized soup or vegetable can to hold wooden spoons and spatulas on the countertop (affiliate).
FAQs
Feel free to check out these additional questions for answers. If you have more questions, please leave a comment below, and I will get back to you as soon as possible.
You need a clean metal tin can, thick 8mm jute rope, matte acrylic paint (I used FolkArt Cardinal Red) and a paintbrush. You also need a hot glue gun and glue sticks, leaf ribbon trim, a paper or fabric flower, scissors, and paper towels or a craft mat.
Keep the can somewhere with good airflow, ideally near a fan. Without a fan, it may take longer to dry.
Yes, but it sets quickly on metal. Work in small 1- to 2-inch sections and press the rope down right away, before the glue cools.
It gives the can a finished look, especially on a desk where you see inside it from above.
Desk: pens, markers and highlighters
Craft room: paintbrushes, rulers and crochet hooks
Vanity: makeup brushes, nail files or combs
Kitchen: use a family-sized can to hold wooden spoons and spatulas
Yes! Group 3 or 4 cans of different heights on a tray for craft storage, or use a family-sized soup or vegetable can as a kitchen utensil holder.
Closing
I hope this DIY upcycling tin can project motivates you to organize your small items using the easy soup cans you probably have in your recycling bin (affiliate) right now. What will you get inspired to make to organize your things? Please leave a comment below. I would love to hear from you.
Sharing is caring! If you enjoyed my post, please share it with your friends via email or social media and use the hashtag #sabrinasorganizingDIY. Thank you!
DIY posts
Check out the posts below about tin can upcycling projects.