
Upcycle clean tin cans into charming desk organizers or decorative vases with this simple, budget-friendly way to clear clutter and add personal flair to your space. Here is how to turn an everyday soup can into a lovely craft container in nine simple steps! And scroll to the bottom to see how you can use this fabric-covered soup can for organizing! Happy Crafting!
Estimated reading time: 10 minutes
Jump to:
- Key Takeaways
- Things to know before trying this craft project
- BEFORE
- How much did it cost to make this Fabric covered soup can?
- How long did it take to make Fabric covered soup can?
- Tips on making this Fabric covered soup can
- Steps
- The Big Reveal
- Ways to Organize with this soup can
- FAQs
- Closing
- Fabric-Covered Soup Can Craft
Key Takeaways
- Upcycling a soup can into a fabric-covered soup can is easy and budget-friendly, taking about 3 hours and costing about $5.
- Gather supplies like a clean soup can, patterned fabric, Mod Podge (affiliate), and paints to create the DIY project.
- Follow nine simple steps to transform the ordinary can into a charming desk organizer or decorative vase.
- Tips include sanding sharp edges, keeping the fabric taut, and sealing it with topcoats for durability.
- Use the finished container for organizing desk supplies, craft items, or even as a decorative vase for faux flowers.
Things to know before trying this craft project
Below are things you should know about this project.
BEFORE
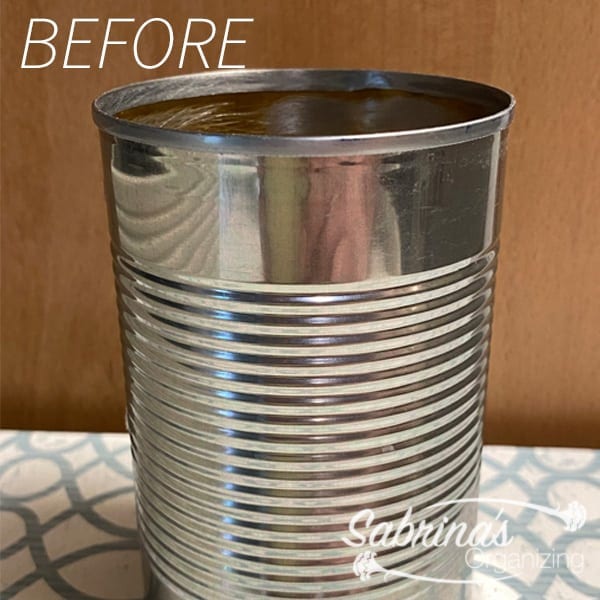
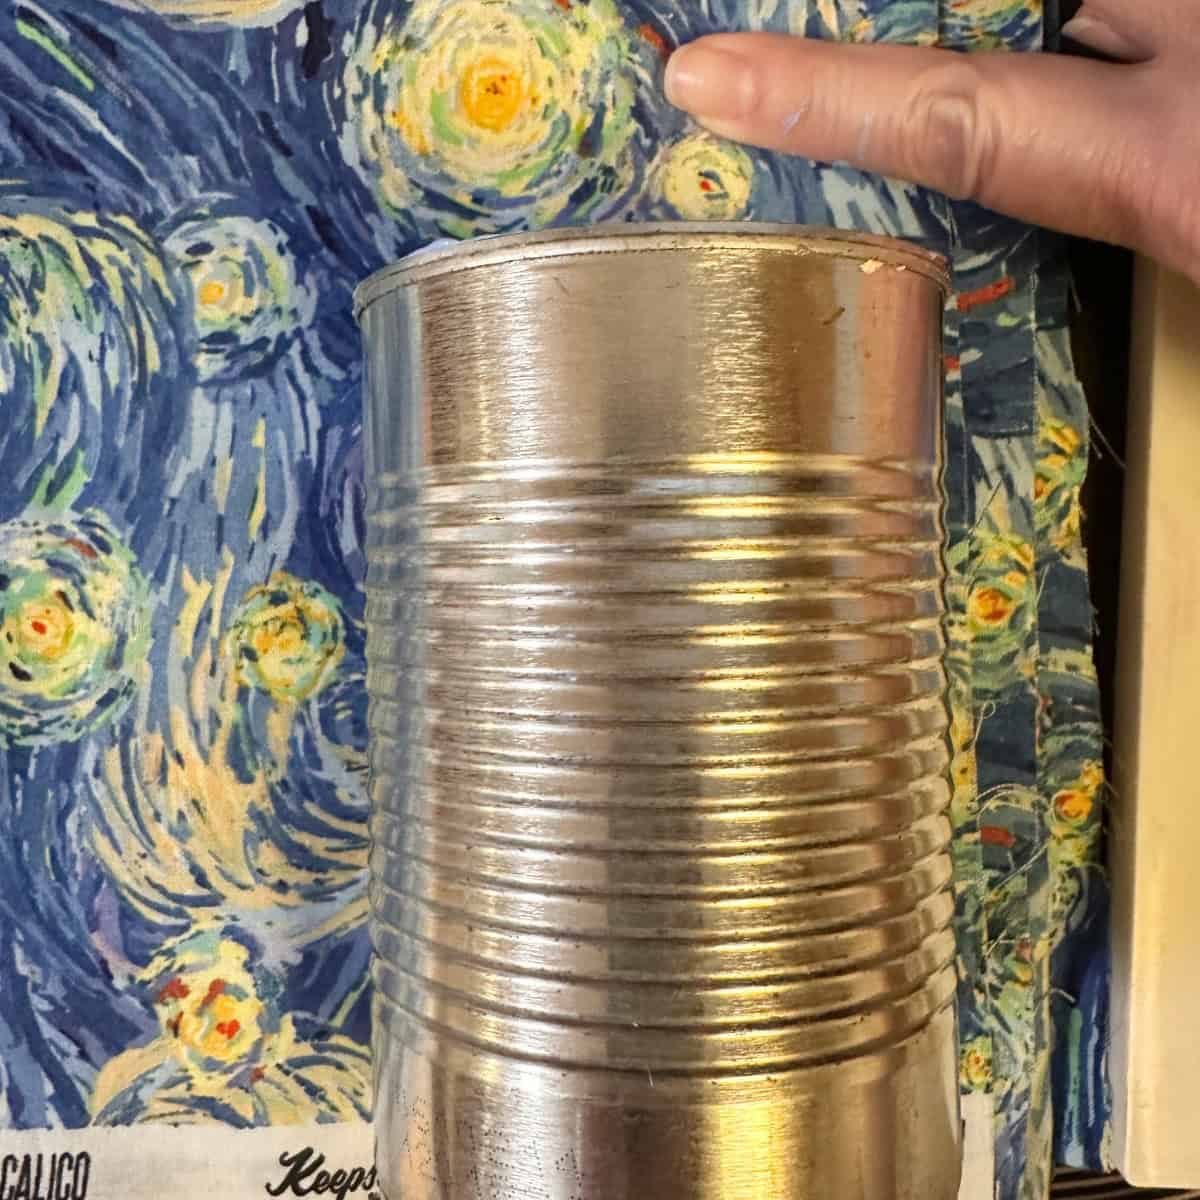
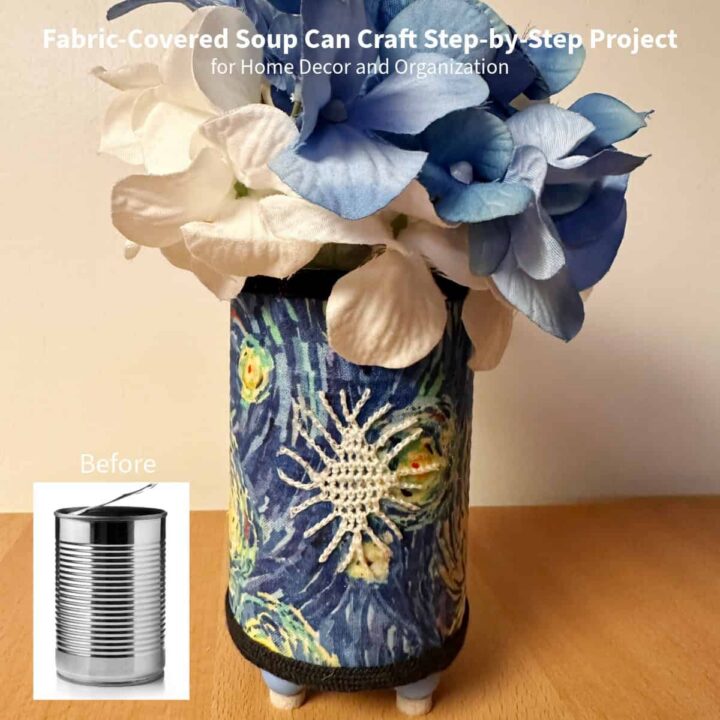
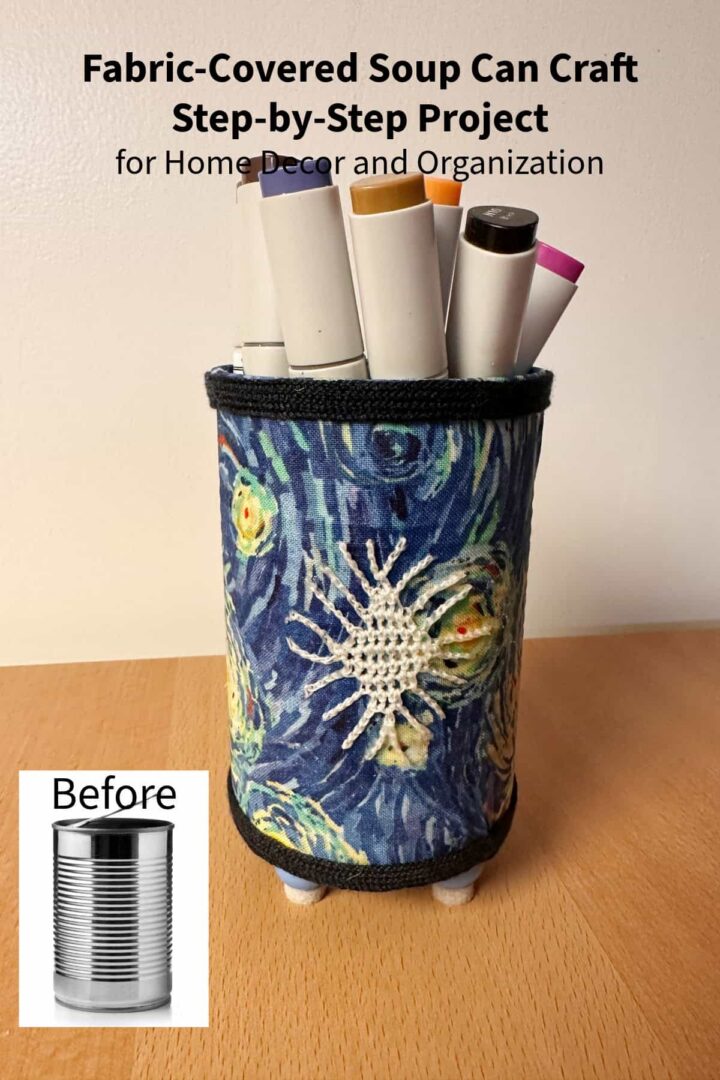
Below is what the can looked like before I updated it. It's your basic run-of-the-mill soup can. I may use soup can and tin can interchangeably, but I mean the same thing. I have several DIY tin can craft projects on my site; you can check them out here.
What inspired me to do this Fabric covered soup can?
I am a fan of upcycling soup cans (tin cans). Some time ago, I had a special fabric with Vincent van Gogh's Starry Night (affiliate) imprinted on it and wanted to use it on this can to help organize my supplies. I also had a pretty crochet runner that I wanted to put on top without completely covering the fabric.
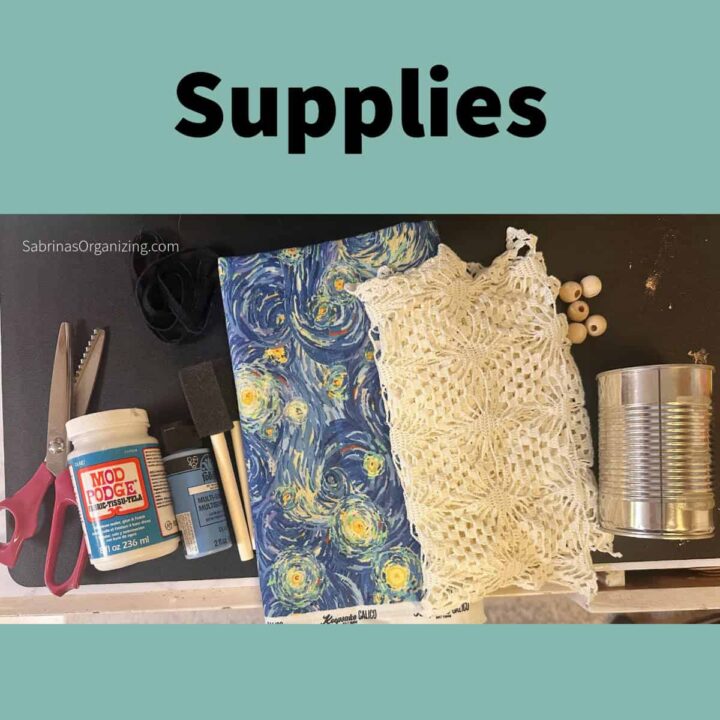
What supplies did I use to make this Fabric covered soup can?
Empty, clean soup can
Patterned cotton fabric - I used Van Gogh Starry Night fabric I bought some time ago.
Fabric Mod Podge
Satin acrylic paint (light blue)
Foam paintbrush & wooden skewers - pick a size that fits in the hole of the wooden bead
Wooden beads for feet - ½ inch in diameter
Fabric shears & scissors (affiliate)
Crochet vintage doily piece
Dark blue or black shoelace ribbon for trim
Hot glue gun (affiliate) and glue stick (affiliate)
Felt surface pads (optional)
Please note these are affiliate links through Amazon (affiliate), and at no additional cost to you, I will earn an affiliate commission if you decide to make a purchase.
How much did it cost to make this Fabric covered soup can?
It only cost $5.00 using upcycled cans and basic craft stash items.
How long did it take to make Fabric covered soup can?
It took me about 3 hours, including drying time.
Tips on making this Fabric covered soup can
Below are some tips to help you with this DIY craft project.
- Sand Inner Metal Edges First: Run sandpaper along the inner top rim of the soup can before painting to smooth down any rough metal burrs.
- Use Skewers for Easy Bead Painting: Slide wooden beads onto a wooden skewer to keep your fingers clean and get a 360-degree angle for painting.
- Fold Cut Fabric Edges: Tuck under or fold cut ribbon and fabric edges before gluing down to prevent fraying and give your container a seamless finish.
- Maintain Steady Fabric Tension: Keep a light, consistent pull on your fabric as you smooth it over the Mod Podge (affiliate) base, so rows sit flush without bunching, air bubbles, or wrinkles.
- Don't Skip the Top Sealing Coat: Apply a top coat of Mod Podge (affiliate) over your decorative fabric and trim to lock everything securely into place
Steps
Below are the step-by-step instructions for making this cute fabric-covered soup can. Feel free to check them out.
Time needed: 3 hours.
How did I make this fabric covered soup can?
- Clean the can.
Before turning your ordinary tin can into a decorative container, start with a thoroughly cleaned, empty soup can. Remove the original paper label (affiliate) and wash out any residue to get a clean slate ready for paint, fabric, and embellishments. If needed, sand down any raised edges from when you opened the can.

- Paint wood beads
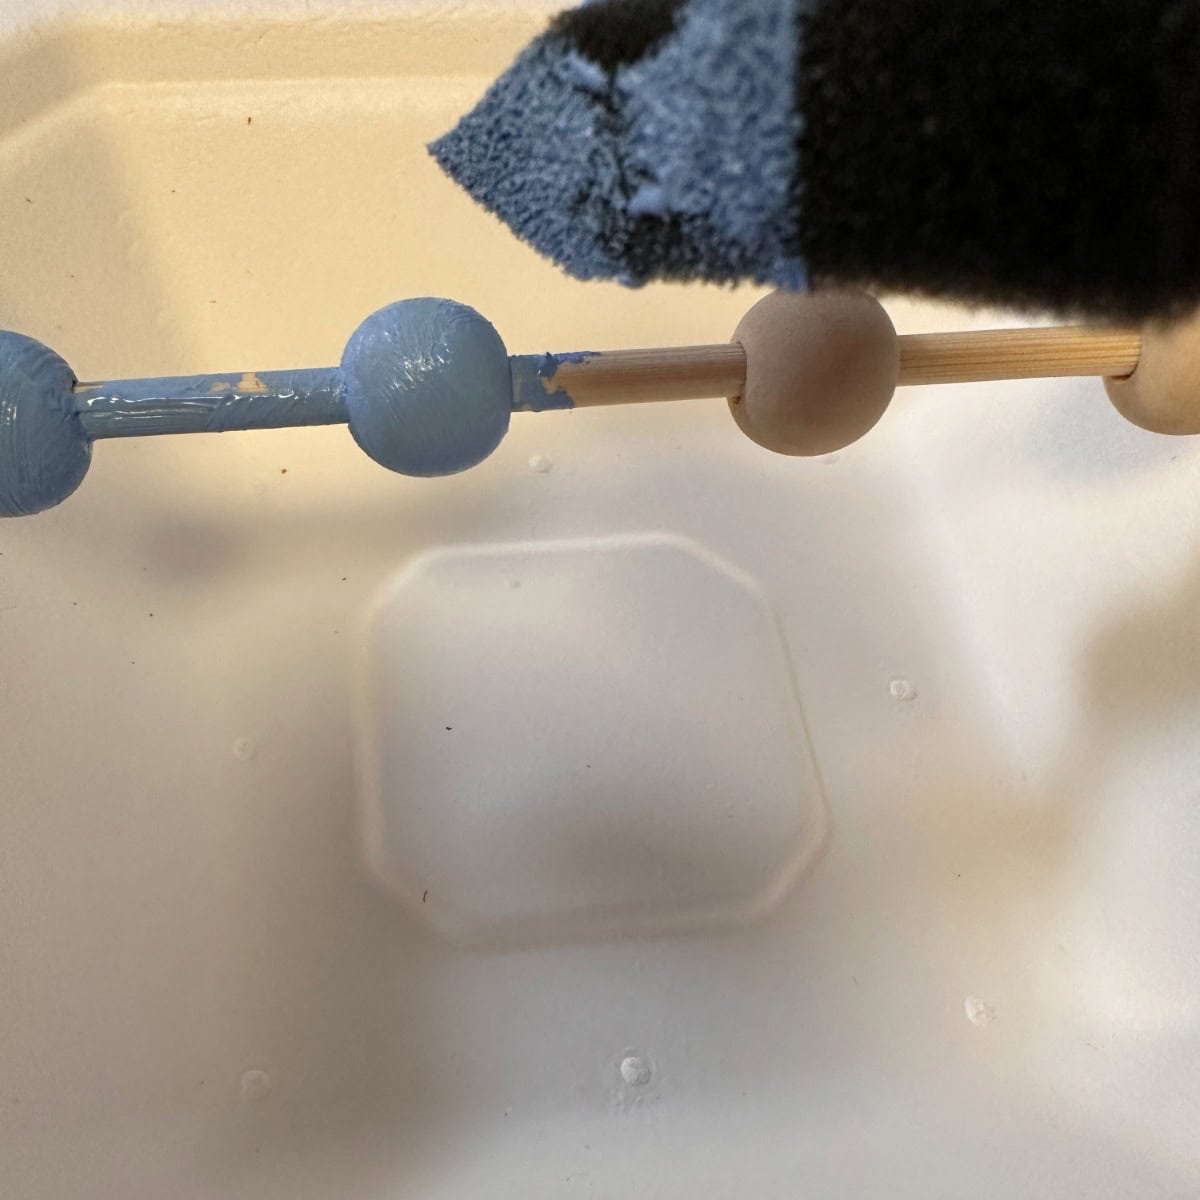
Then, slide wooden beads onto a wooden skewer to keep them steady. Use a foam brush to paint each bead with light blue satin acrylic paint. Set aside to dry.

- Paint 2 coats on the inside of the can.
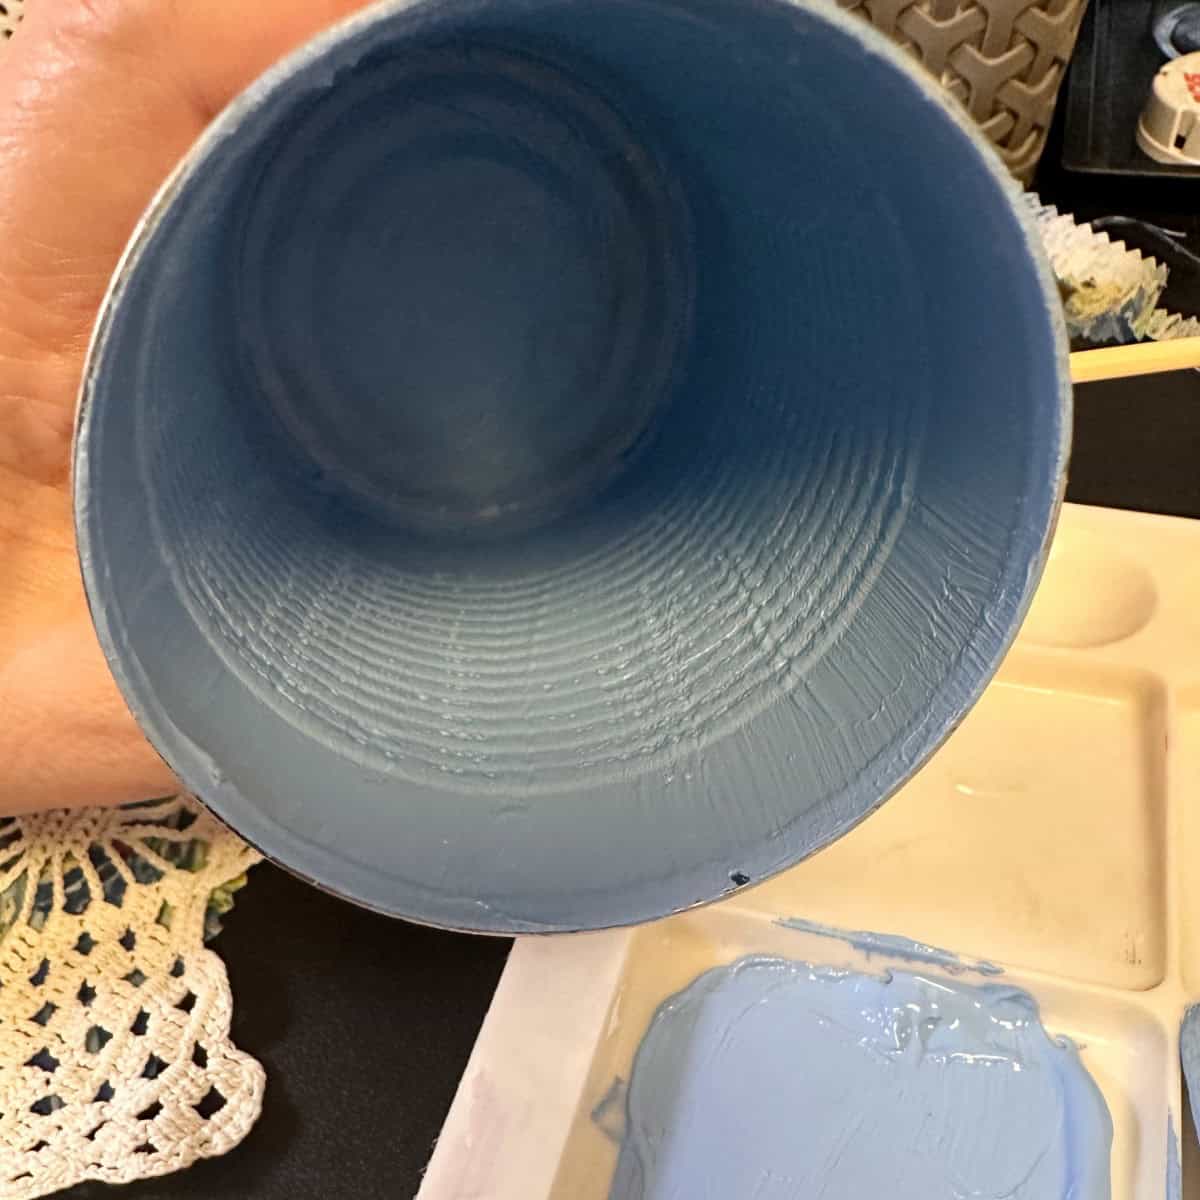
Now, apply two full coats of acrylic paint to the inside of the clean soup can to give it a smooth, finished interior. Let it dry between coats.
- Cut the fabric 1 inch larger at the top and bottom of the can.
Next, measure your fabric around the soup can. Cut the fabric so it extends about 1 inch beyond the top and bottom of the can.
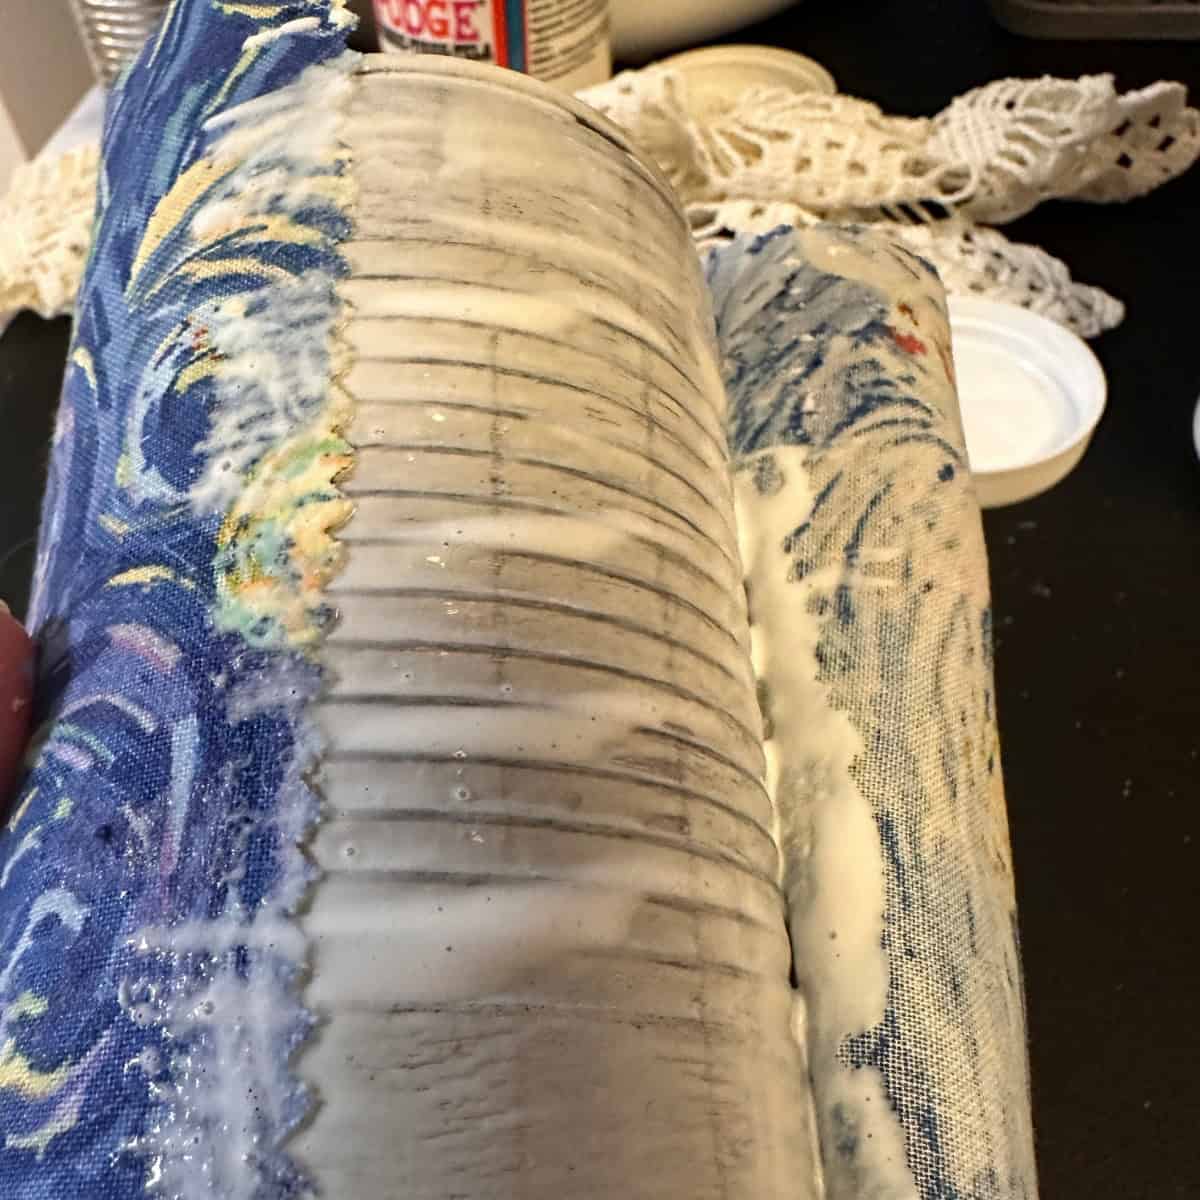
- Add Mod Podge (affiliate) to the soup can
Brush a layer of Fabric Mod Podge (affiliate) over the can's exterior. Smooth the fabric neatly around the container, folding (affiliate) the excess 1-inch fabric over into the top opening and onto the bottom base.
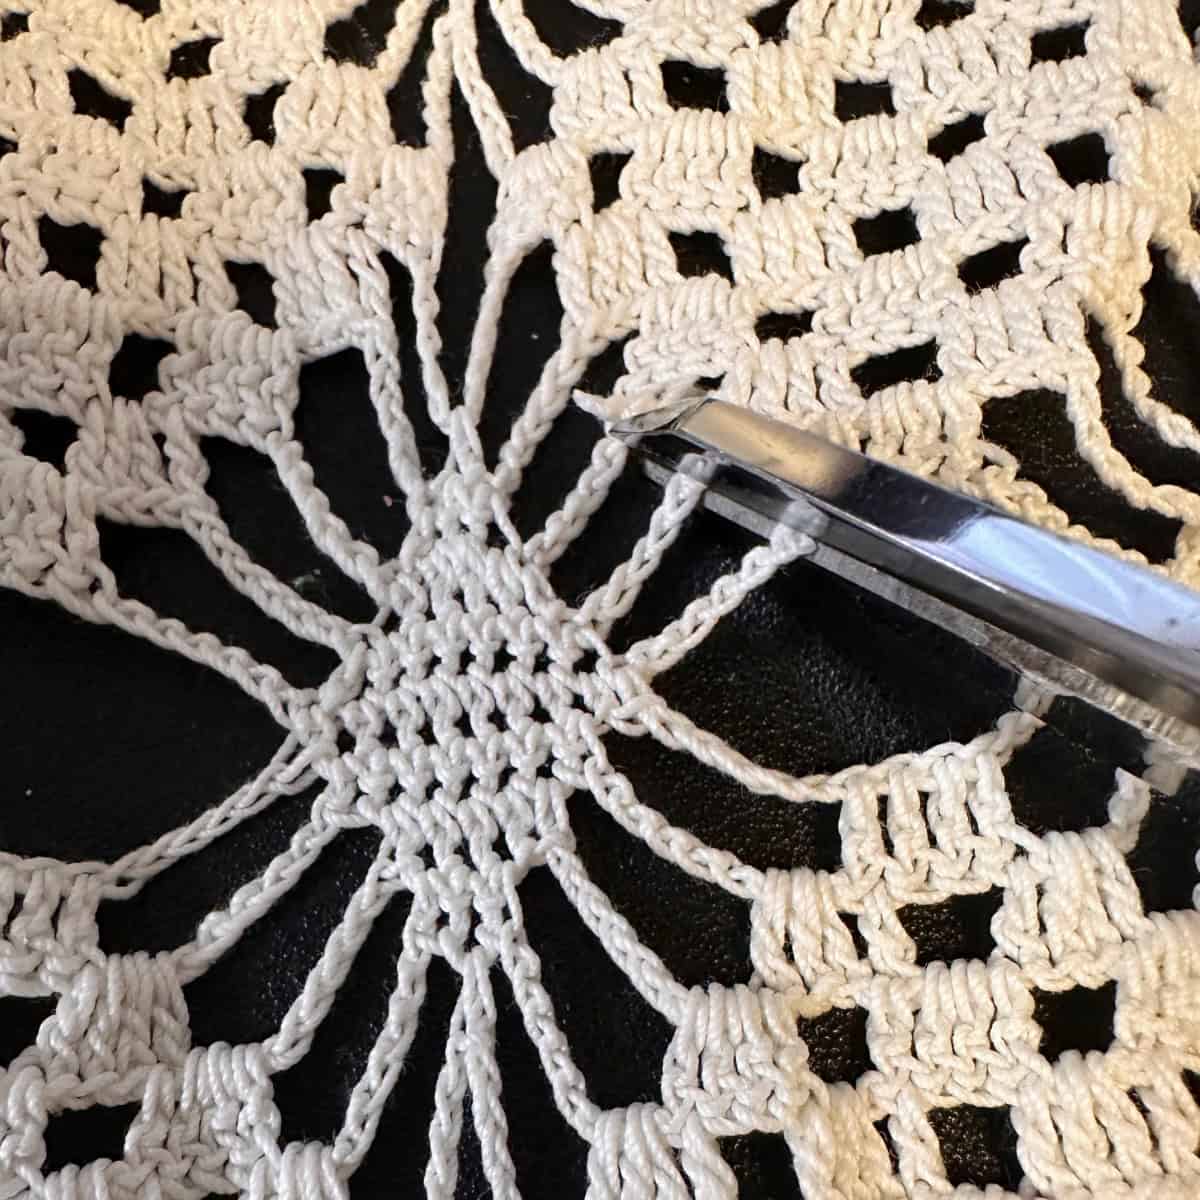
- Cut a part of a crochet
Pick a pattern you like on the vintage crochet. Using sharp scissors (affiliate), carefully trim a small decorative accent motif out of your crochet doily.
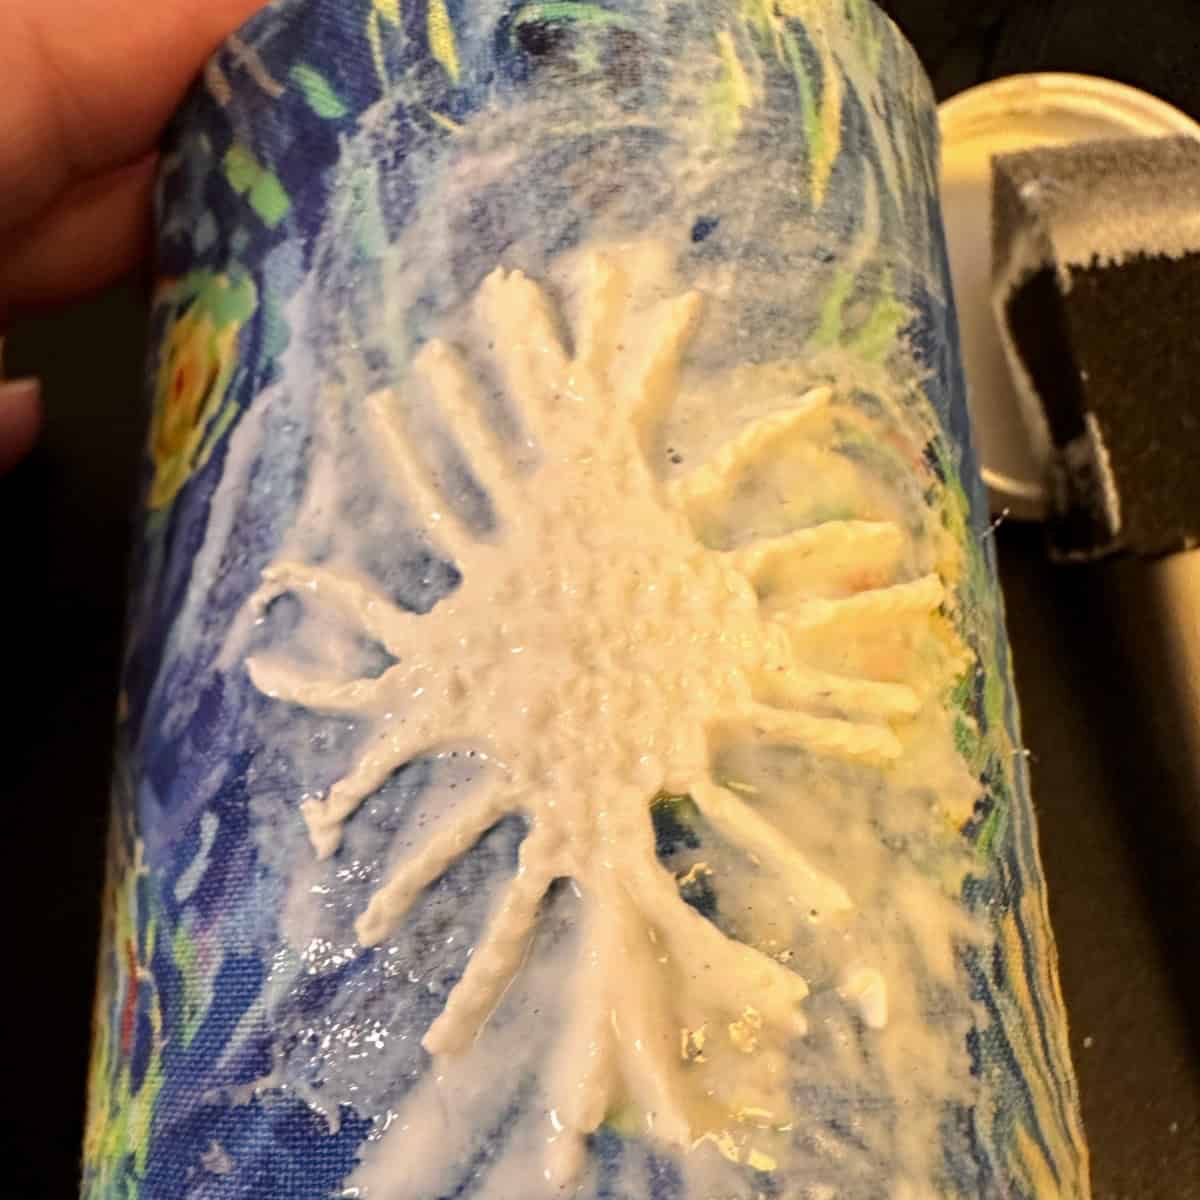
- Add Mod Podge (affiliate) to fabric, add crochet to fabric
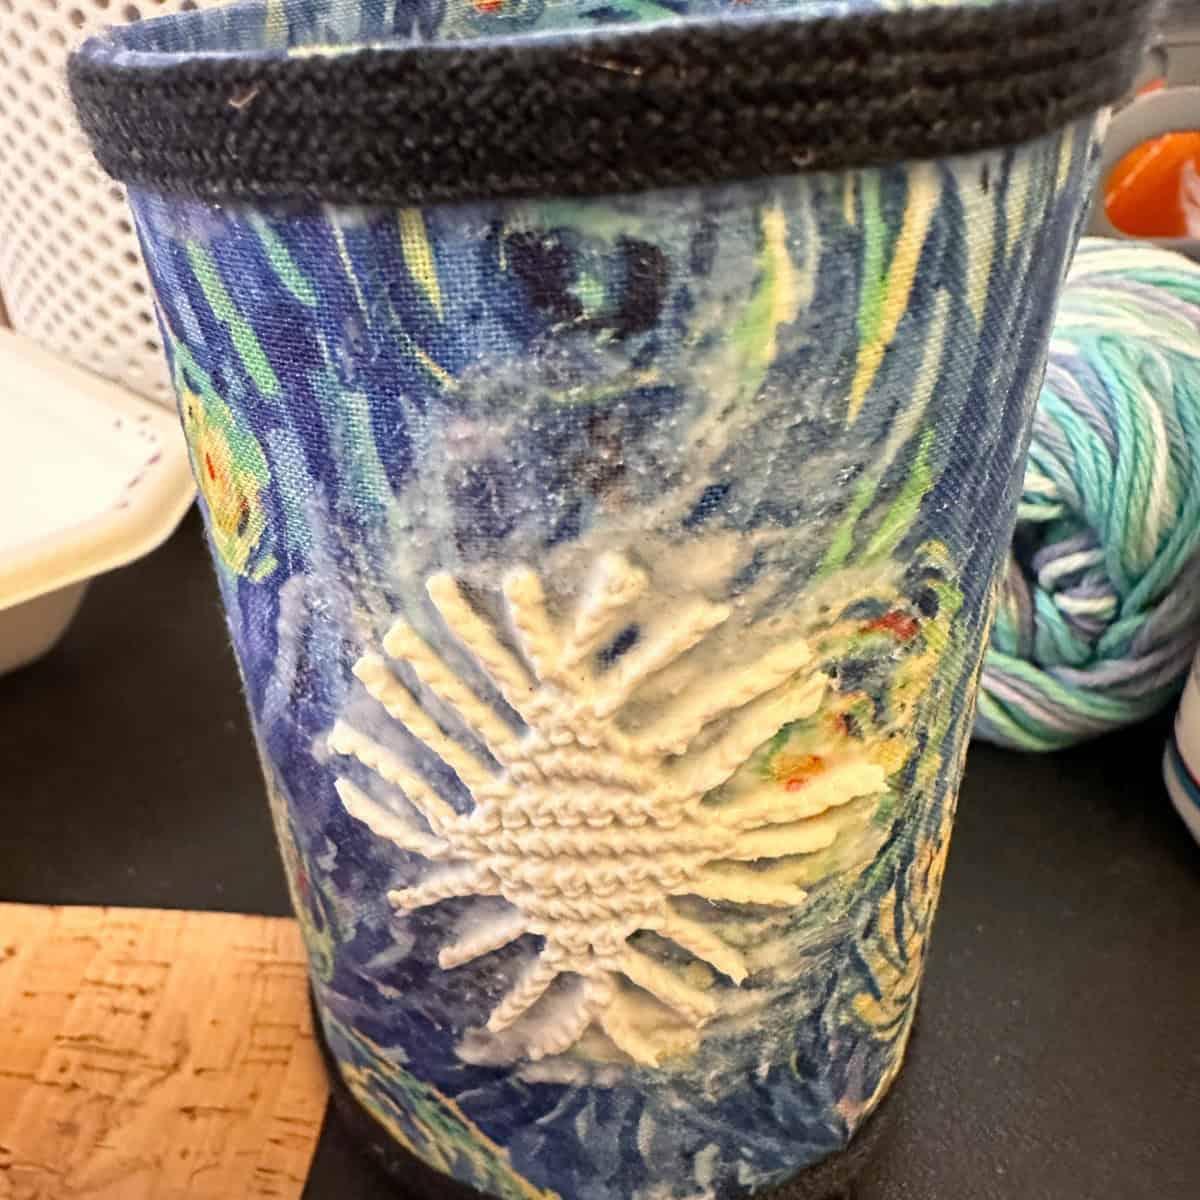
Apply a coat of Mod Podge onto the front face of your fabric-wrapped can. Press the crochet piece firmly into place, then coat it with more Mod Podge to seal it down. Separate the string pieces so they are evenly spaced.
- Let dry, then add ribbon to top and bottom of soup can
Allow the Mod Podge to dry completely. Glue dark ribbon trim around the upper rim and bottom rim of the soup can to create clean, defined edges.
- Add the wood feet.
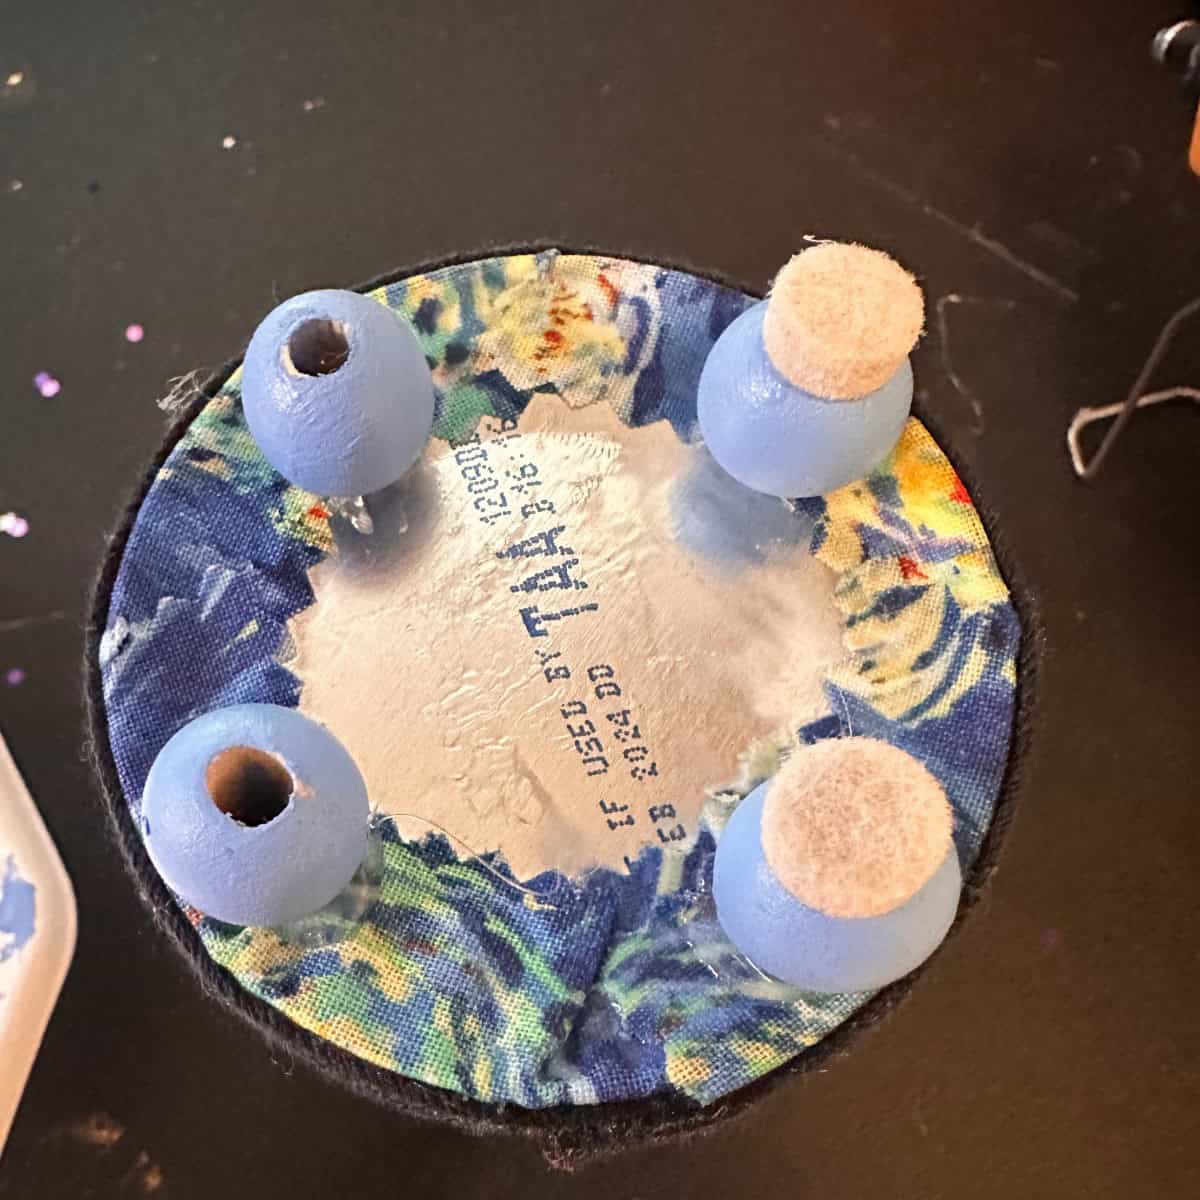
Add the wooden feet to the bottom of the can using a hot glue gun (affiliate). You only need a drop of it to hold these beads in place. Optional: place small felt pads on the bottom of each bead to protect your tabletop surfaces.
The Big Reveal
This lovely fabric soup can really makes me want to organize my small things. What do you think? Leave a comment below.
Ways to Organize with this soup can
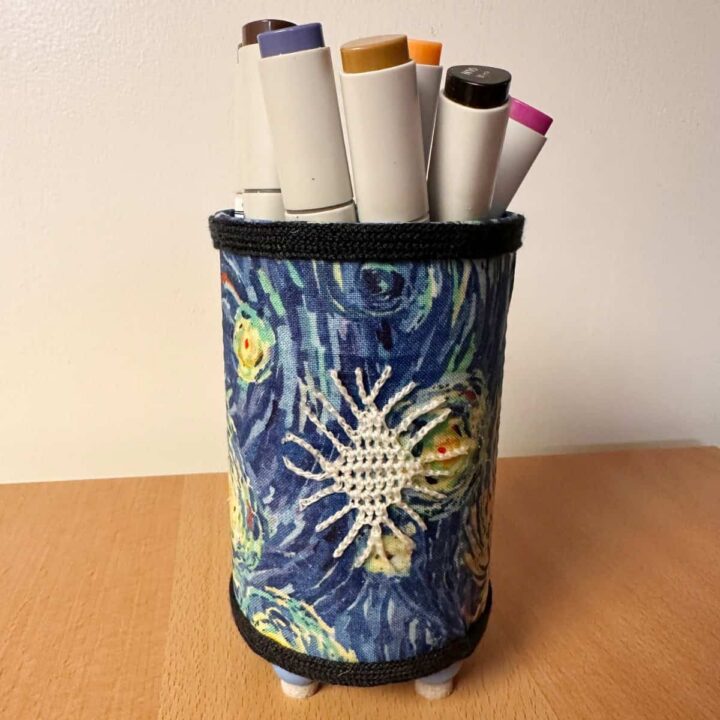
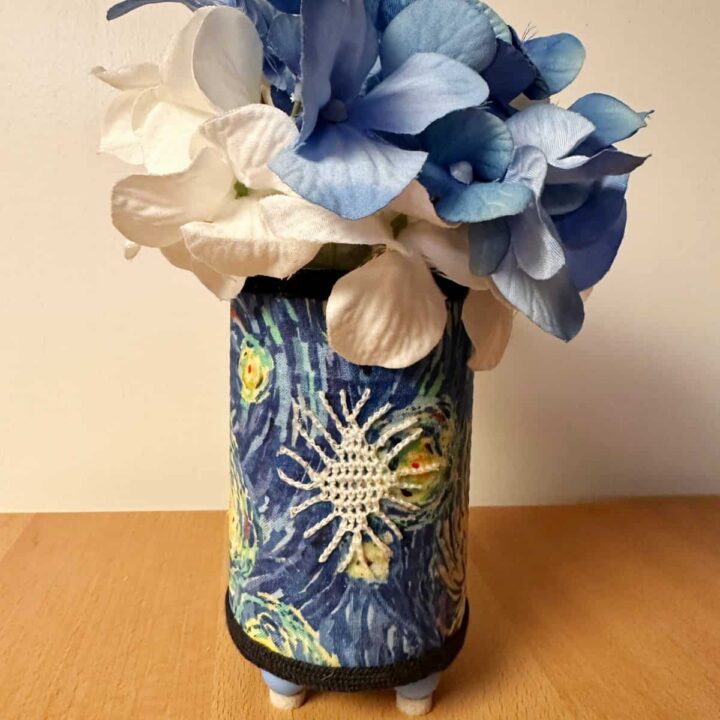
This site is all about organizing your home. After making this pretty DIY craft project, keeping this out and using it to organize your things will incentivize you to keep your stuff organized. Below is a list of things you can easily store in this soup can to keep your home organized.
- Desk supplies: pencils, pens, scissors (affiliate), markers
- Craft room organizer: small things like buttons, ribbons (affiliate), glitter, grommets
FAQs
Feel free to check out these additional questions for answers. If you have more questions, please leave a comment below, and I will get back to you as soon as possible.
Yes, regular Matte or Gloss Mod Podge works fine for paper or basic cotton. However, Fabric Mod Podge provides a stronger bond and smoother seal for fabric crafts without making the material feel overly stiff or brittle.
Use a smooth-edge safety can opener when opening your soup can initially. If any sharp inner-rim areas remain, smooth them down with light-grit sandpaper or cover them securely with a layer of hot glue and decorative ribbon trim.
Since tin cans are watertight, you can use them to hold fresh flowers! However, to protect your exterior fabric and Mod Podge sealant from spills or moisture damage, it is best used with faux flowers or as a dry station for office supplies.
Adding small felt furniture pads onto the painted wooden bead feet prevents the tin can from sliding, reduces noise, and protects wood desks or delicate counter surfaces from accidental scratches.
Let the fabric base dry for at least 30 to 45 minutes, until the Mod Podge is clear and completely dry to the touch, before applying hot glue and ribbon embellishments.
Closing
I hope this diy post inspires you to create something special to help you organize your small things.
Sharing is caring! If you enjoyed my post, please share it with your friends via email or social media and use the hashtag #sabrinasorganizingDIY. Thank you!
Print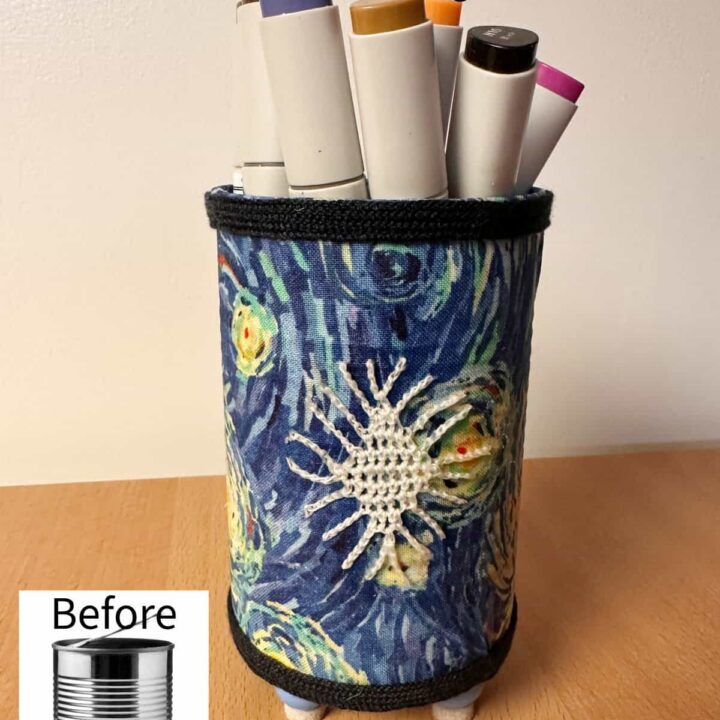
Fabric-Covered Soup Can Craft
- Total Time: 3 hours
- Yield: 1 can
Description
Upcycle clean tin cans into charming desk organizers or decorative vases with this simple, budget-friendly way to clear clutter and add personal flair to your space. Here is how to turn an everyday soup can into a lovely craft container in nine simple steps!
Materials
Empty, clean soup can
Patterned cotton fabric - I used Van Gogh Starry Night fabric I bought some time ago.
Fabric Mod Podge
Satin acrylic paint (light blue)
Foam paintbrush & wooden skewers - pick a size that fits in the hole of the wooden bead
Wooden beads for feet - ½ inch in diameter
Fabric shears & scissors (affiliate)
Crochet vintage doily piece
Dark blue or black shoelace ribbon for trim
Hot glue gun (affiliate) and glue stick (affiliate)
Felt surface pads (optional)
Instructions
Before turning your ordinary tin can into a decorative container, start with a thoroughly cleaned, empty soup can. Remove the original paper label (affiliate) and wash out any residue to get a clean slate ready for paint, fabric, and embellishments. If needed, sand down any raised edges from when you opened the can.
Then, slide wooden beads onto a wooden skewer to keep them steady. Use a foam brush to paint each bead with light blue satin acrylic paint. Set aside to dry.
Now, apply two full coats of acrylic paint to the inside of the clean soup can to give it a smooth, finished interior. Let it dry between coats.
Next, measure your fabric around the soup can. Cut the fabric so it extends about 1 inch beyond the top and bottom of the can.
Brush a layer of Fabric Mod Podge over the can's exterior. Smooth the fabric neatly around the container, folding (affiliate) the excess 1-inch fabric over into the top opening and onto the bottom base.
Pick a pattern you like on the vintage crochet. Using sharp scissors (affiliate), carefully trim a small decorative accent motif out of your crochet doily.
Apply a coat of Mod Podge onto the front face of your fabric-wrapped can. Press the crochet piece firmly into place, then coat it with more Mod Podge to seal it down. Separate the string pieces so they are evenly spaced.
Allow the Mod Podge to dry completely. Glue dark ribbon trim around the upper rim and bottom rim of the soup can to create clean, defined edges.
Add the wooden feet to the bottom of the can using a hot glue gun (affiliate). You only need a drop of it to hold these beads in place. Optional: place small felt pads on the bottom of each bead to protect your tabletop surfaces.
- Prep Time: 10 minutes
- Category: DIY, Tin can
- Method: Step-by-Step
DIY posts
Check out our other tin can and soup can project posts below.






Leave a Reply