
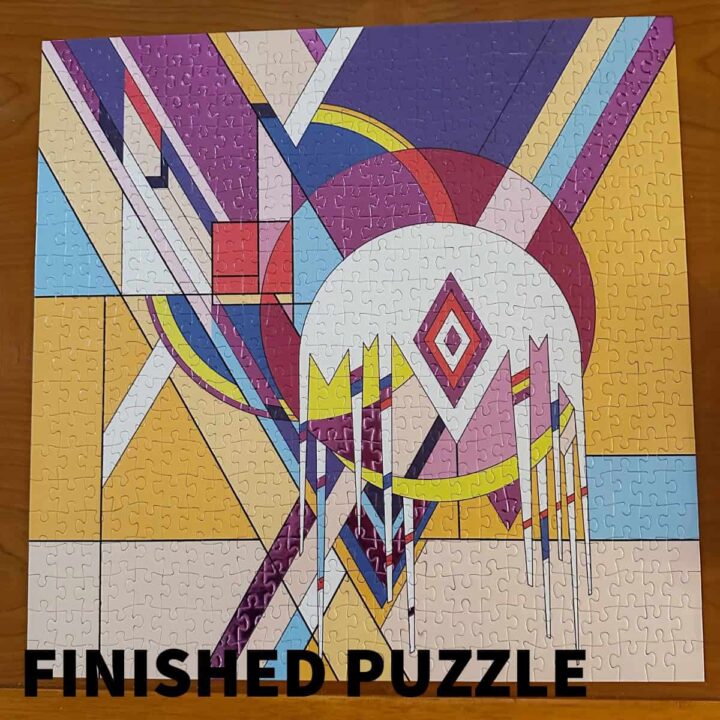
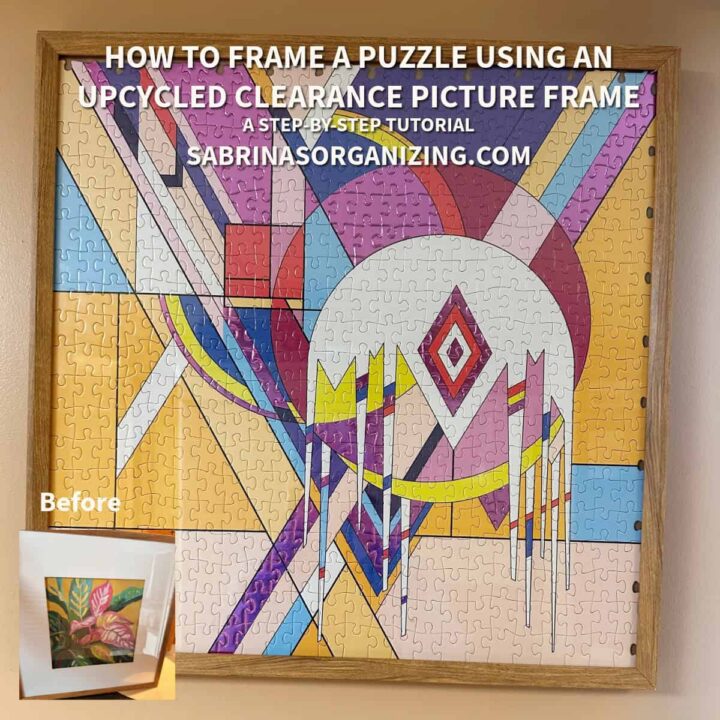
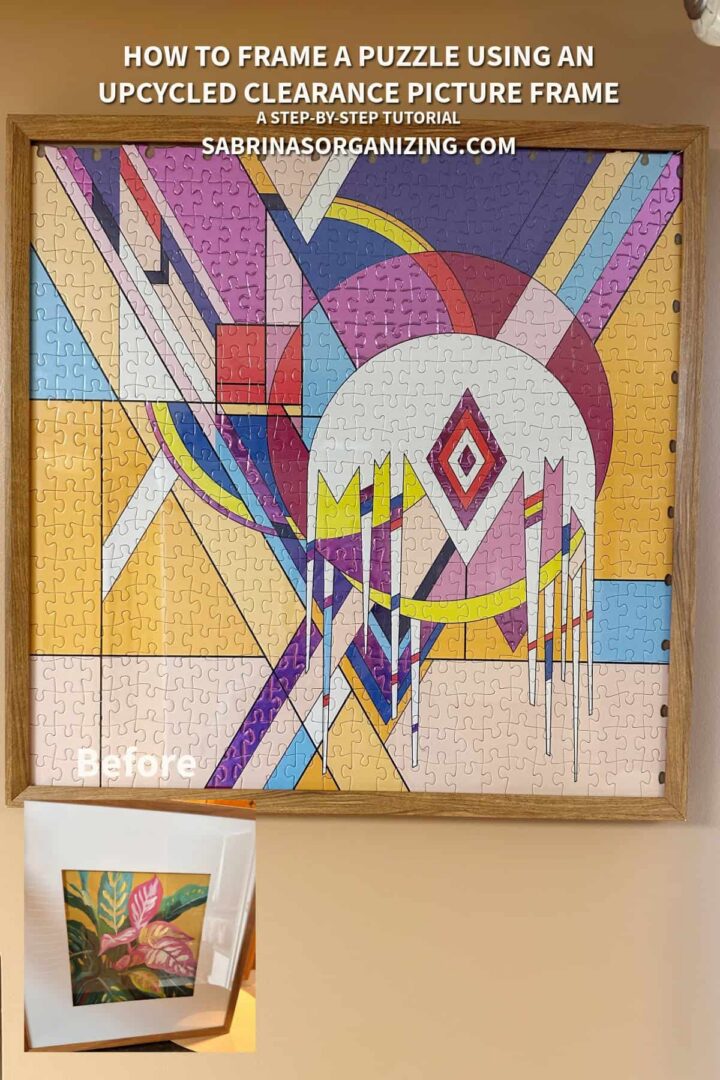
Have you ever finished a puzzle so stunning that you just couldn't bear to take it apart and put it back in the box? That's exactly how I felt when I completed this Frank Lloyd Wright "Frozen Spheres" puzzle (affiliate)!
Framing custom-sized or square puzzles can get expensive quickly if you buy custom frames. Today, I'm sharing a fun, budget-friendly upcycling project: how to refashion a clearance picture frame to fit a puzzle perfectly, complete with custom backing and a sweet memory keeper on the back!
Key Takeaways
- This article provides a budget-friendly method to frame a puzzle using an upcycled clearance picture frame.
- The project costs around $30 and takes about 2 hours to complete.
- Gather necessary supplies, including a finished puzzle, a clearance frame, and tools (affiliate) like scissors (affiliate) and a craft knife.
- The author shares safety tips and ways to achieve a unique look when framing puzzles.
- Overall, this process enhances the enjoyment of completed puzzles and preserves them beautifully.
Jump to:
- Key Takeaways
- Things to know before trying this project
- BEFOrE Frame
- Completed Puzzle
- How much did it cost to make this Project?
- How long did it take to make a puzzle frame using an upcycled clearance picture frame?
- Tips on making this into a puzzle frame using an upcycled clearance picture frame
- Steps
- How to frame a puzzle using an upcycled clearance picture frame
- The Big Reveal
- FAQs
- Closing:
Things to know before trying this project
Below are things you should know about this project.
What inspired me to do this: frame a puzzle using an upcycled clearance picture frame?
My husband and I visited Chicago this summer and went to see Frank Lloyd Wright's first home. While there, we bought a square puzzle to do since we love puzzles. When we finished the puzzle, I was inspired to figure out a way to frame it. However, I had trouble finding the right frame size to fit it perfectly. But I didn't want it to look too perfect, so I found a really affordable clearance frame, and you can see how I modified it.
Supplies Needed
Finished Jigsaw Puzzle (I framed the Frank Lloyd Wright Frozen Spheres 1927 Liberty Magazine design)
Upcycled / Clearance Frame (I found a beautiful $20 framed canvas art piece on clearance at Michaels) 20 x 20 size wood frame
Craft Knife / Hobby Saw (affiliate) / Utility Knife (affiliate) - I used a Ryoba Double Edge Saw 9.5" Assembly ver - Japanese Pullsaw Hand Saws
Decorative Contact Paper (affiliate) (I used a gold (affiliate) floral on a dark background)
Mod Podge (affiliate) & Sponge Brush (affiliate)
Tack puller / Pliers (for removing old frame staples)
Frame Points / Point Driver or Glazier Points - I used this kit: Glazier Point Driver with 100 Push Points Green
Wire to connect the hooks together for the picture frame
Scissors (affiliate)
Please note these are affiliate links through Amazon (affiliate), and at no additional cost to you, I will earn an affiliate commission if you decide to make a purchase.
BEFOrE Frame
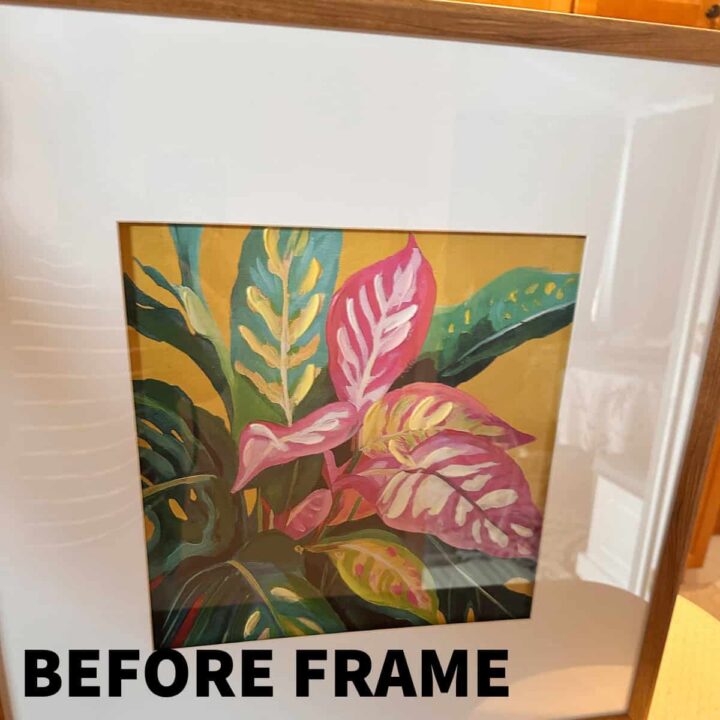
Here's what the frame looked like before I dismantled it and used it for my puzzle. The frame had a tropical picture inside and needed to be covered and sawed down because it had a lot of foam padding.
Completed Puzzle
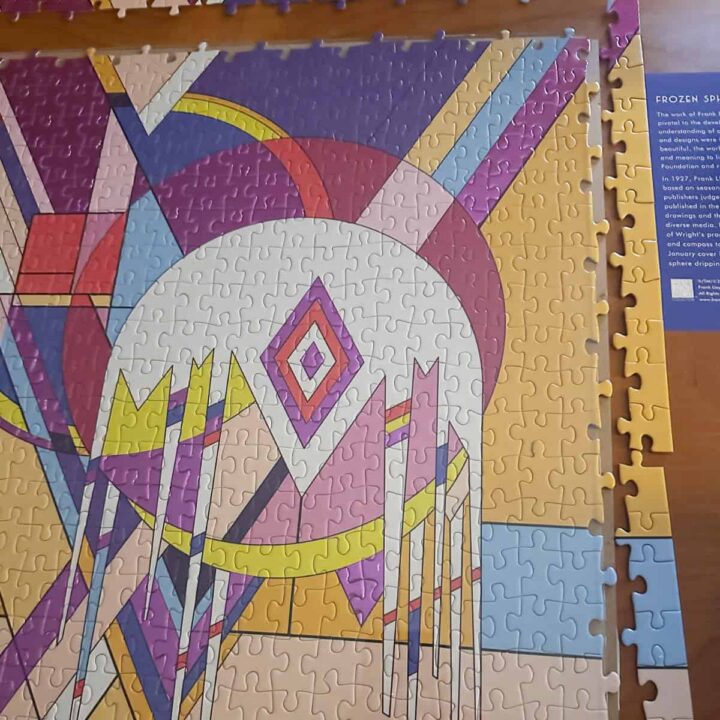
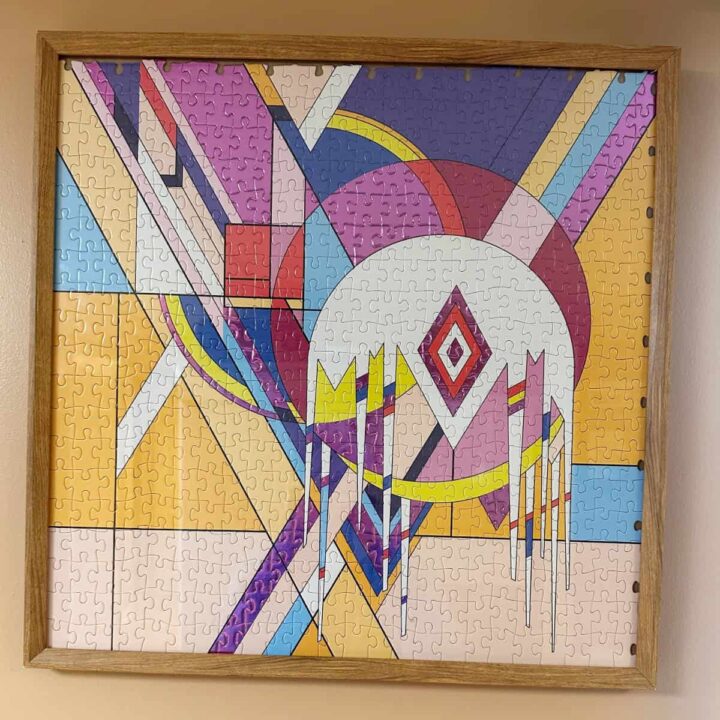
Below is the completed puzzle. It was exactly 20 x 20 inches, and the frame I bought was 20 x 20 inches from edge to edge of the frame. I needed to shorten the puzzle so that it would fit in the frame.
How much did it cost to make this Project?
It cost me about $30.00: $15.00 for the frame and $15.00 for the puzzle. This doesn't include the flight to and from Chicago. lol
How long did it take to make a puzzle frame using an upcycled clearance picture frame?
This project took me about 2 hours to complete.
Tips on making this into a puzzle frame using an upcycled clearance picture frame
Below are some tips for staying safe (affiliate) when taking apart an already assembled picture frame.
- Use gloves to protect your hands from the saw (affiliate). I used a flat-blade saw (affiliate) and almost cut myself a few times while removing the foam backing from behind the border frame.
- Pace yourself. No rushing. This made me think through the process before acting, which led to a better result.
- It's OK if it is not perfect. I was ok with the puzzle pieces showing on two sides. It gave the finished frame character and looks neat on the wall in my office.
Steps
Below are step-by-step instructions for making this cute puzzle frame. Feel free to check them out.
Print
How to frame a puzzle using an upcycled clearance picture frame
- Prep Time: 15 minutes
- Total Time: 3 hours
- Yield: 1 picture framed puzzle
- Category: DIY
- Method: Step-by-Step
Description
Framing custom-sized or square puzzles can get expensive quickly if you buy custom frames. I am sharing a fun, budget-friendly upcycling project to frame your special finished puzzles.
Materials
- Finished Jigsaw Puzzle
- Tools (affiliate): Craft Knife / Hobby Saw (affiliate) / Utility Knife (affiliate)
- Upcycled / Clearance Frame square
- Decorative Contact Paper (affiliate)
- Frame Points / Point Driver or Glazier Points - I used this kit: Glazier Point Driver with 100 Push Points Green
- Tack puller / Pliers
- Mod Podge (affiliate) and sponge brush (affiliate)
- Scissors (affiliate)
- Wire to connect the hooks together for the picture frame
Instructions
Prep the Clearance Frame
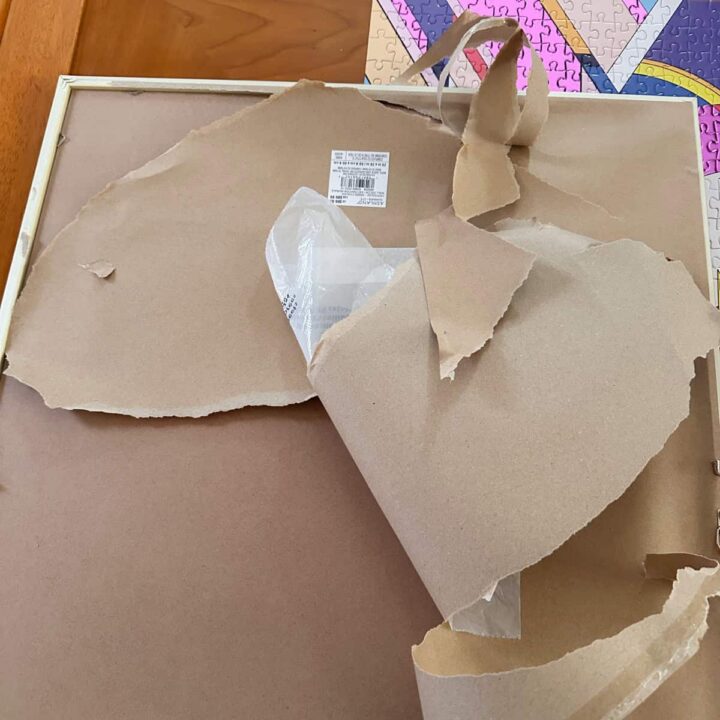
- Remove Backing Paper: Tear off the paper backing from the frame.
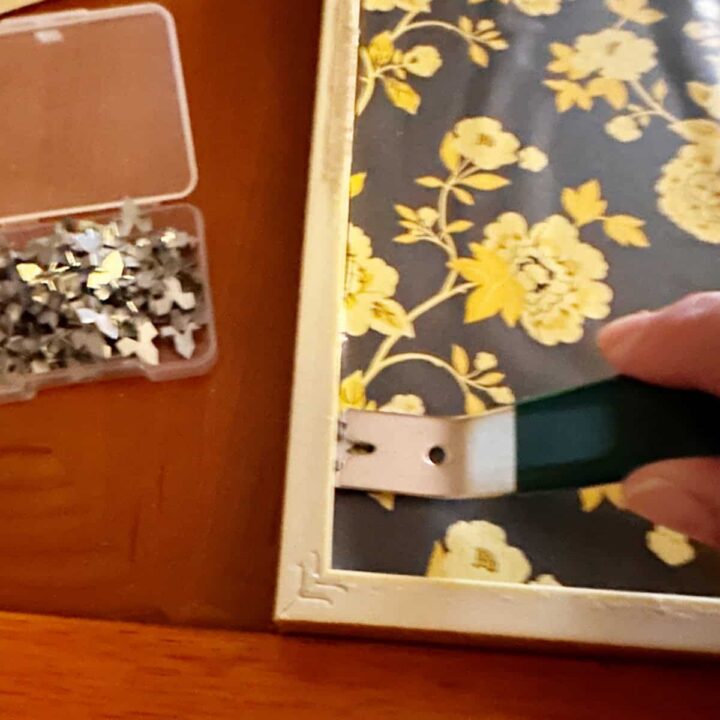
- Remove Old Hardware/Staples: Use a small tack puller or pliers to remove old staples and hanging hardware that could block your new artwork.

Step 2: Trim Down Frame Backing
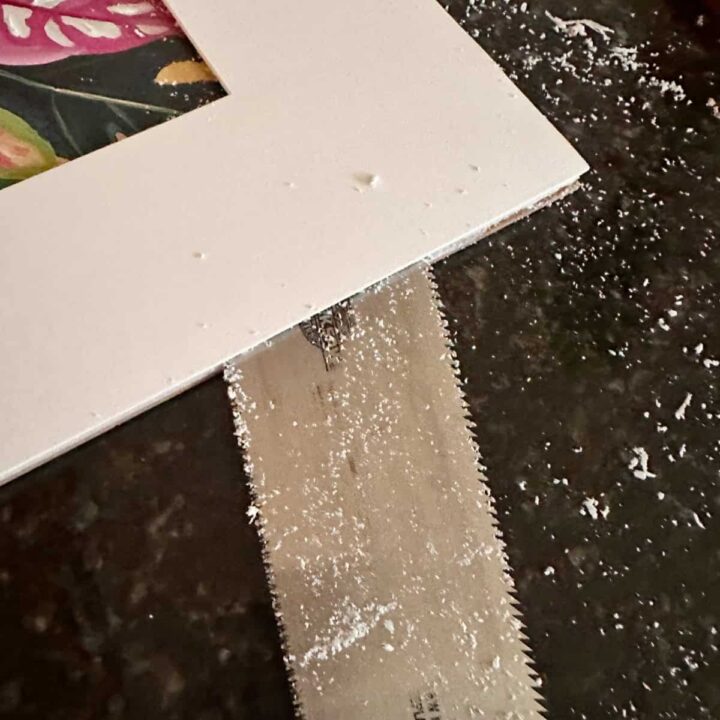
- Saw (affiliate) the Border Foam Core: Remove the border that was glued to the backing. Saw (affiliate) off the excess foam. This part is pretty messy. Have a vacuum (affiliate) nearby. The picture was not removable.
- So I left it on the backing and covered it with the puzzle because it was pretty flat.
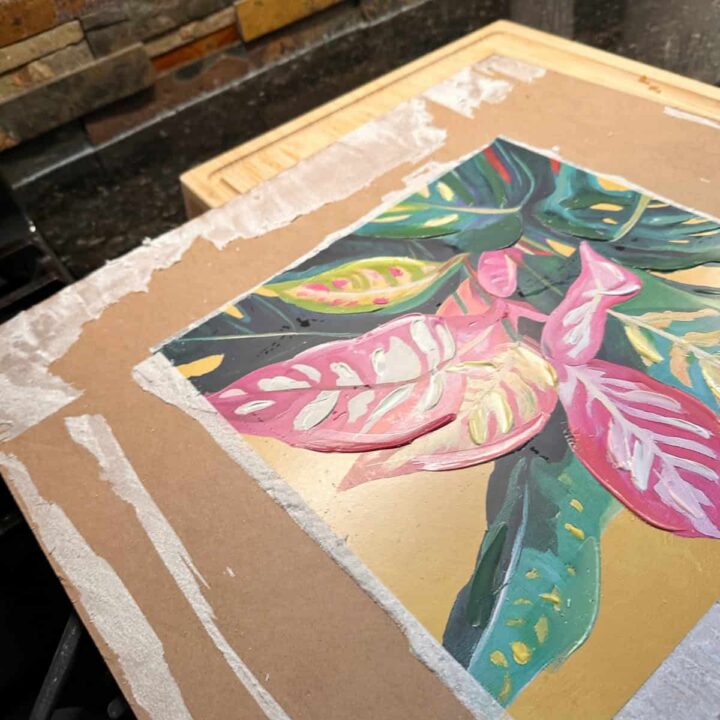
Step 3: Beautify the Backing with Contact Paper
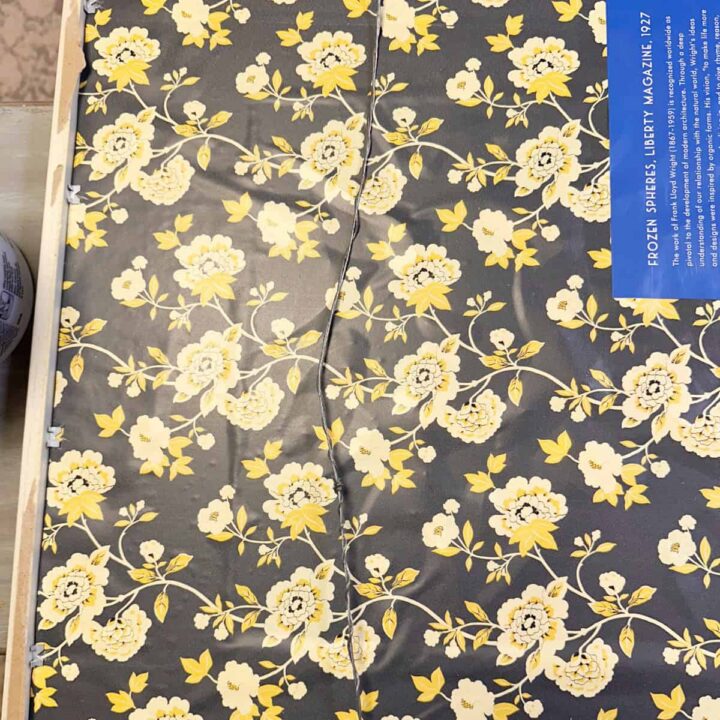
- Apply Contact Paper (affiliate): Cover the back foam core and artwork area with decorative floral contact paper (affiliate) to create a clean, finished base. Smooth out any air bubbles with your hand as you lay it down.
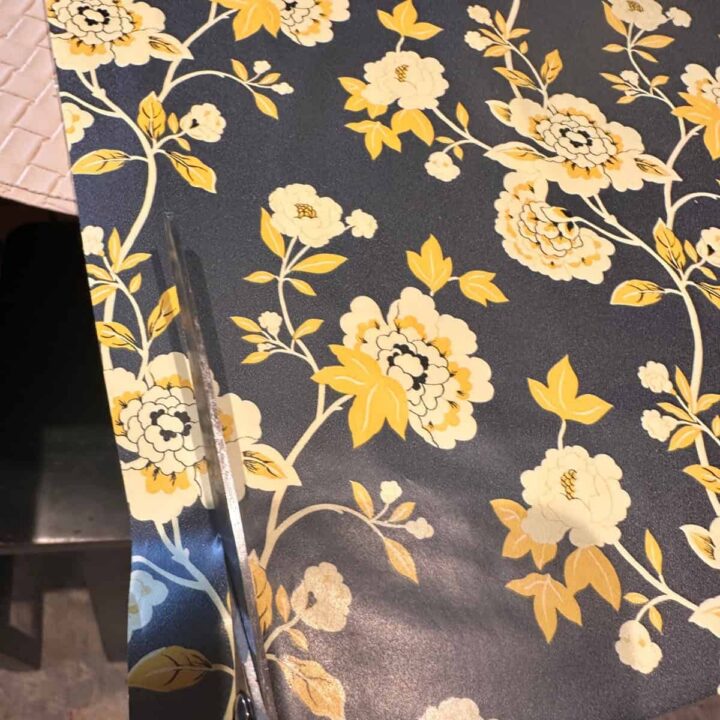
Step 4: Fit the Puzzle to the Frame
- Test Fit: Gently place your puzzle onto the backing board.
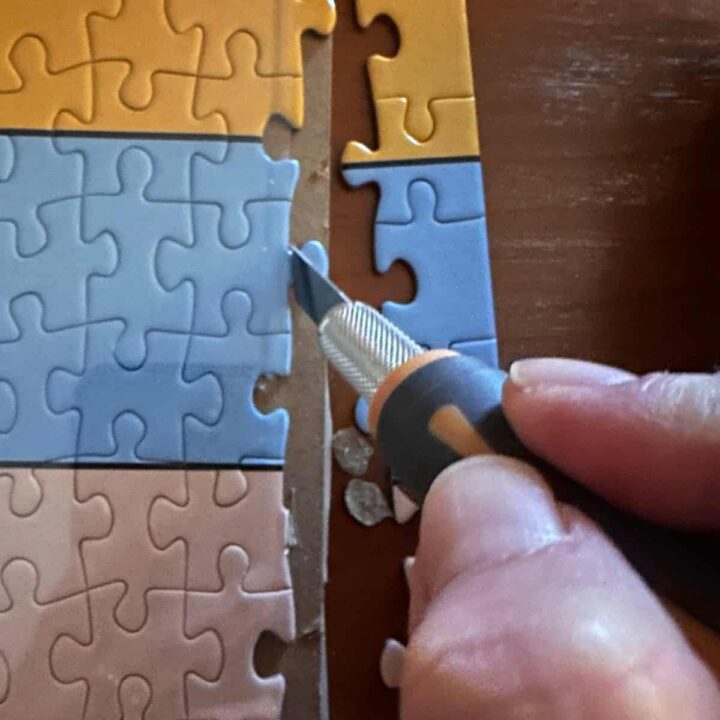
- Adjust Puzzle Edge: If the puzzle is slightly wider than the inner opening, take off one outer row of puzzle pieces on the top and right side.
- Trim Edge Nibs: Use a sharp craft knife to carefully slice off the connecting "nibs" on those edge pieces so the outer border fits flush against the frame edge.
Preserve the Story on the Back
- Cut Out Story (affiliate)/Description: Cut out the description panel from the puzzle box (or insert card).
- Mod Podge (affiliate) to the Back: Use Mod Podge (affiliate) to adhere the description write-up onto the contact paper (affiliate) back. This keeps the artwork history and details safely attached forever!
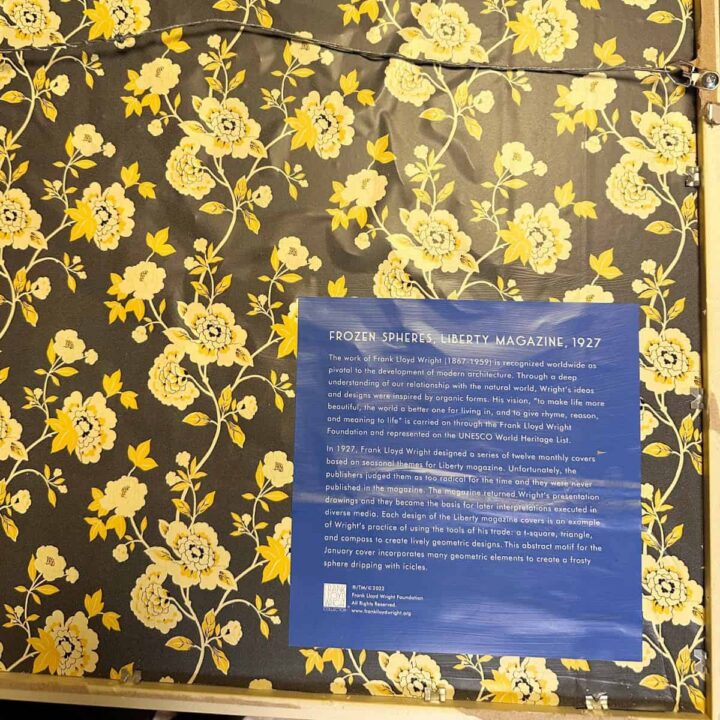
Step 6: Secure and Hang!
- Secure in Place: Place the puzzle and backing securely inside the frame lip and use frame points/tabs (affiliate) to hold everything tightly in place. If I hold the frame, it will be loose. I used the glazier point tool and pushed points into the sides of the frame.
- Then, I added the wire to both hooks on the frame to tighten the frame to each other and to the glass. I then twisted the excess wire around itself and made sure the sides were tight against the backing and puzzle.
- Hang & Enjoy: Mount it on your wall and admire your new framed masterpiece!

The Big Reveal
This frame-a-puzzle using an upcycled clearance picture frame project looks lovely. I am so happy with the results. It complements my wall nicely.
Visit my How to Make a Fabulous Photo Wall Collage for your options on how to make theme walls!
FAQs
Feel free to check out these additional questions for answers. If you have more questions, please leave a comment below, and I will get back to you as soon as possible.
For this method, no glue is needed on the front! By trimming the outer edge pieces just slightly to fit the inner frame dimensions, the pressure from the frame backing holds all the interlocking pieces firmly in place. This keeps the puzzle looking matte and textured, with no sticky adhesive residue on top.
Measure the inside opening of the frame's mat or rebate (where the glass or artwork sits). Standard puzzles come in specific dimensions (like 19x19 inches or 20x27 inches). When shopping the clearance aisle, look for frames that match your puzzle dimensions, or choose a slightly larger frame and use a custom mat or foam core backing to fill the gap.
A small hobby saw, a serrated utility knife, or even an X-Acto knife works great for cutting down foam core boards. Just make sure to do it on a protected surface (like a cutting mat or kitchen board) so you don't scratch your tables!
Yes! Because we didn't pour liquid puzzle glue all over the front surface, you can easily open the frame back, pull out the pieces, and disassemble the puzzle if you decide to tackle it again in the future.
Closing:
I hope this post inspires you to not let imperfection stop you from finishing and hanging something you love. Puzzles are great, but sometimes finding the right-size frame can be hard. Figuring out a way to frame it will not only preserve the puzzle; it will also help you see the finished result and enjoy it every single day. Have you framed a puzzle before? What method did you use? Please share in the comments below.
Sharing is caring! If you enjoyed my post, please share it with your friends via email or social media and use the hashtag #sabrinasorganizingDIY. Thank you!
DIY posts
Check out the posts below about wall art DIY projects.

Leave a Reply