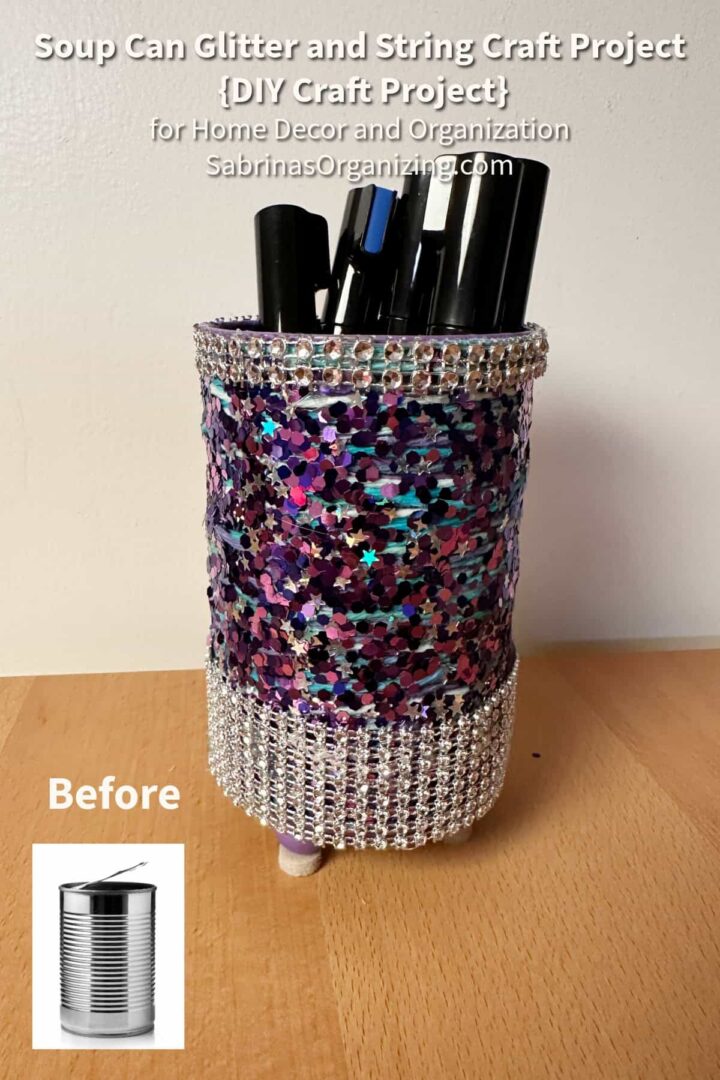
Upcycling clean tin cans into charming desk organizers or decorative vases is a simple, budget-friendly way to clear clutter and add personal flair to your space. With just a few simple craft supplies, you can transform an ordinary soup can into a gorgeous, glitter-covered storage container. Check out how I made this Soup Can with Glitter Craft Project and see how a little oops turned into something beautiful.
Before You Begin: Before transforming your ordinary soup can into a decorative container, start with a thoroughly cleaned, empty soup can. Remove the original paper label (affiliate) and wash out any residue for a clean slate ready for paint, yarn, and glitter!
Estimated reading time: 6 minutes
Jump to:
Key Takeaways
- Upcycling clean soup cans into decorative desk organizers or vases is budget-friendly and adds flair.
- Start with a thoroughly cleaned can; gather materials like acrylic paint, string, and glitter.
- This Soup Can Glitter and String Craft Project offers tips for crafting success, such as working over trays to catch glitter.
- The project takes about 4 hours and costs around $5, depending on your existing supplies.
- Enjoy flexibility in your design; unexpected changes can lead to beautiful outcomes.
Things to know before trying this project
Below are things you should know about this project.
What inspired me to do this Soup Can Glitter and String Craft Project?
I wanted to share this project because it didn't turn out the way I expected. I went from using string to using glitter. With a little heavy-handed glitter shaker, it went from being a little sparkle to a huge bling transformation. This craft project is perfect for kids or anyone who loves glitter, and it helps motivate them to stay organized. Check it out below.
Supplies Needed for this Craft Project
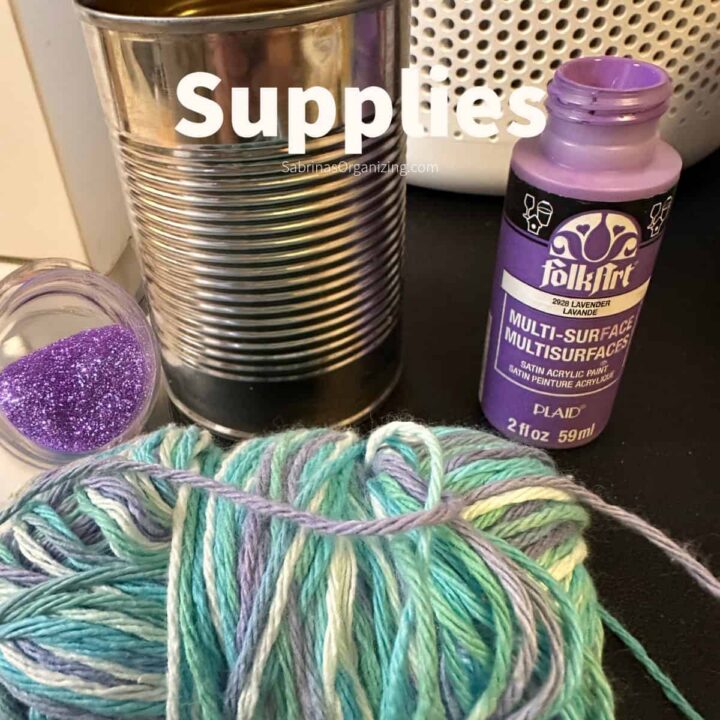
Empty, clean soup can
Multi-surface lavender acrylic paint (FolkArt)
Variegated string/yarn - something similar to this one from Amazon.
Mod Podge (affiliate) glue
Bling ribbon trims 1 inch and ½ inch
16MM Wooden beads & wooden skewer
Paintbrush (affiliate)
Hot glue gun (affiliate) and glue sticks
Please note these are affiliate links through Amazon (affiliate), and at no additional cost to you, I will earn an affiliate commission if you decide to make a purchase.
How much did it cost to make this glitter string and soup can project?
This Soup Can with Glitter Craft Project cost me $5.00 since I had most of the supplies in my craft area.
How long did it take to make the glitter string and soup can project?
It took me about 4 hours from start to finish.
Crafting Tips for DIY Success
Below are some additional tips for doing this DIY project.
Work Over a Tray or Parchment Paper (affiliate): Glitter gets everywhere! Catch excess chunky glitter on parchment paper (affiliate) or a shallow paper tray to easily funnel stray pieces back into your container.
Sand Inner Metal Edges First: Run sandpaper along the can's inner rim before painting to smooth down any rough burrs.
Maintain Steady Tension on String: Keep light, consistent pull on your string or yarn as you wrap so rows sit flush without gaps.
Use Skewers for Easy Bead Painting: Impaling wooden beads on a skewer keeps fingers clean while giving you a 360-degree angle for painting.
Don't Skip the Top Seal Coat: Coat cured glitter with a generous top coat of clear Mod Podge (affiliate) to prevent stray sparkle flakes from shedding across your workspace.
It's OK to pivot your craft project as you go. Sometimes, one little hiccup can make you not want to continue. Just step back, take another look, and modify it with other things you have in your craft arsenal. Adjusting the look is OK too.
Steps
Below are step-by-step instructions for this cute Soup Can with Glitter Craft Project. Feel free to check them out.
Print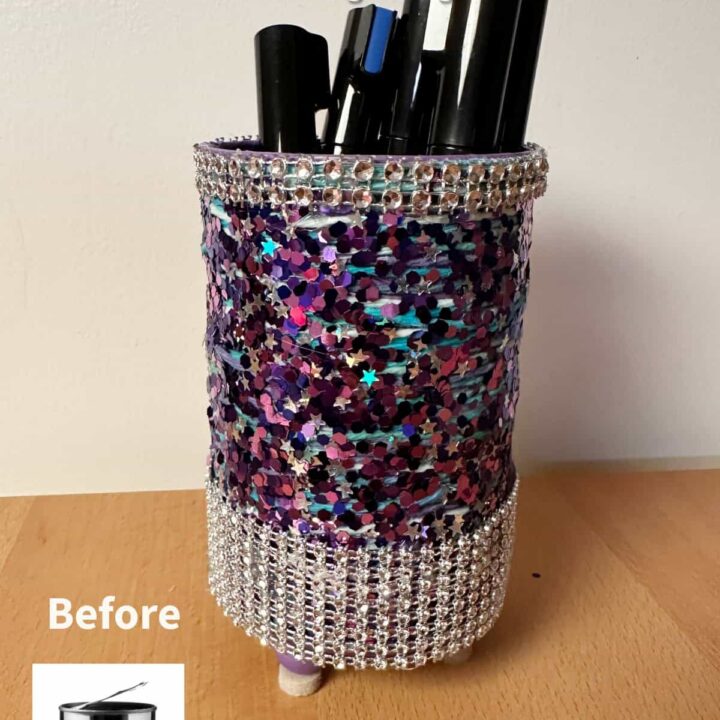
Soup Can Glitter and String Craft Project - Upcycling
- Prep Time: 15 minutes
- Total Time: 4 hours
- Yield: 1
- Category: DIY, soup can, Tin can
- Method: Step-by-Step
Description
I wanted to share this project because it didn't turn out the way I expected. I went from using string to using glitter. With a little heavy-handed glitter shaker, it went from being a little sparkle to a huge bling transformation. This craft project is perfect for kids or anyone who loves glitter, and it helps motivate them to stay organized. Check it out below.
Materials
- Empty, clean soup can
- Multi-surface lavender acrylic paint (FolkArt)
- Variegated string/yarn - something similar to this one from Amazon (affiliate).
- Mod Podge (affiliate) (affiliate) glue
- Chunky purple glitter
- Bling ribbon trims 1 inch and ½ inch
- 16MM Wooden beads & wooden skewer
- Paintbrush (affiliate) (affiliate)
- Hot glue gun (affiliate) (affiliate) and glue sticks
Instructions
Paint the beads for feet
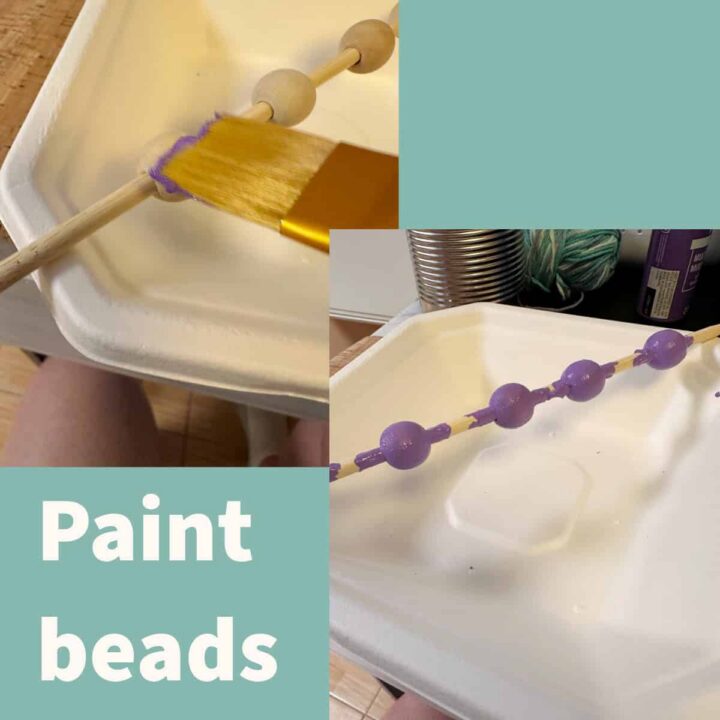
- First, slide wooden beads onto a wooden skewer to keep them steady. Paint the beads with lavender acrylic paint and let them dry. Lay them over a paper bowl to help them dry evenly.

Paint the inside and outside of the soup can and let it dry
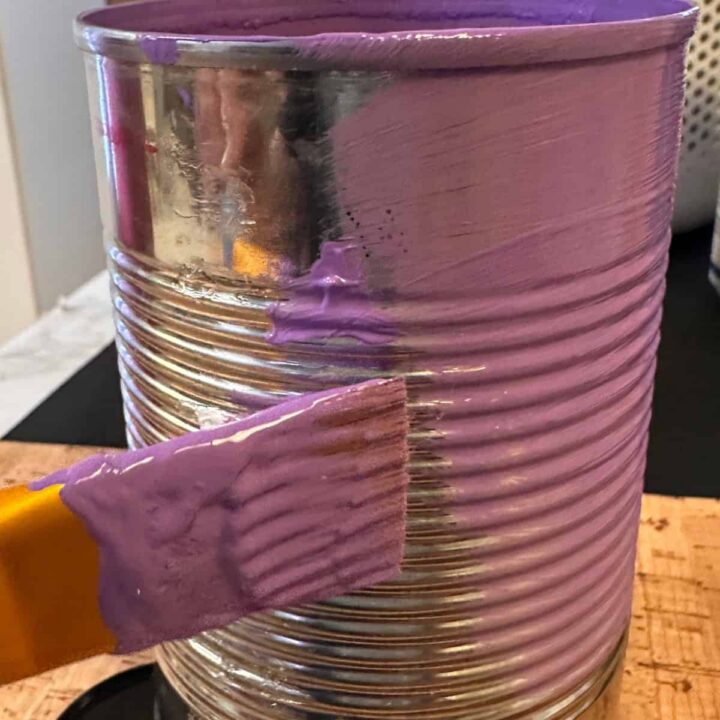
- Next, using the same acrylic paint, paint the inside of the soup can. Let dry. Then paint the outside of the soup can. And let it dry completely. This may take an hour to dry inside and an hour to dry outside.
Add string with Mod Podge (affiliate) Glue
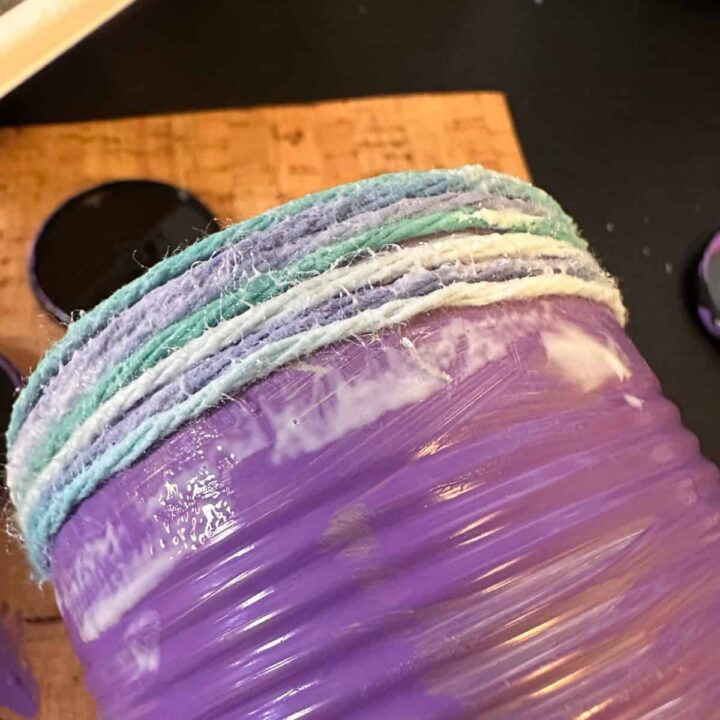
- Now, add the string starting from the bottom of the can and wrap it tightly around. Add Mod Podge (affiliate) (affiliate) all the way up the sides of the can. It's a little messy, but try to keep it as tight as possible. If it isn't tight, the purple may come through, and that is OK too. Then let it dry.
Add a little purple chunky glitter over the dried string.
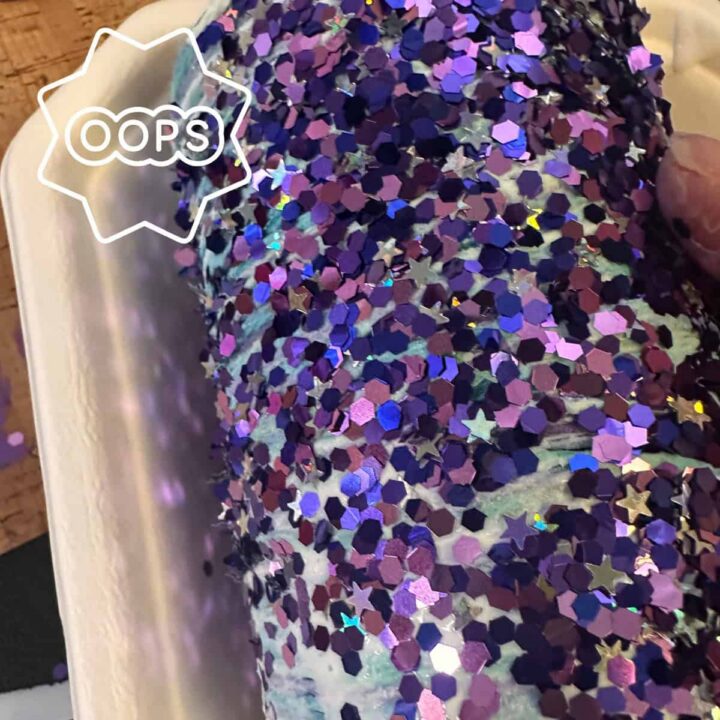
- Next, add Mod Podge (affiliate) (affiliate) to the top of the can. Sprinkle a little at a time. Add Mod Podge (affiliate) to different areas, then add glitter. This is where I had to pivot my vision for this soup can. The Glitter Mishap Pivot: If you meant to add a small sprinkle of glitter but the pouring got away from you, don't worry! Instead of starting over, pivot and cover the string-wrapped can with glitter for a full-glam look.
- Optional: add an extra layer of Mod Podge over the glitter to keep the glitter from falling off.
Now for the bling ribbons (affiliate)
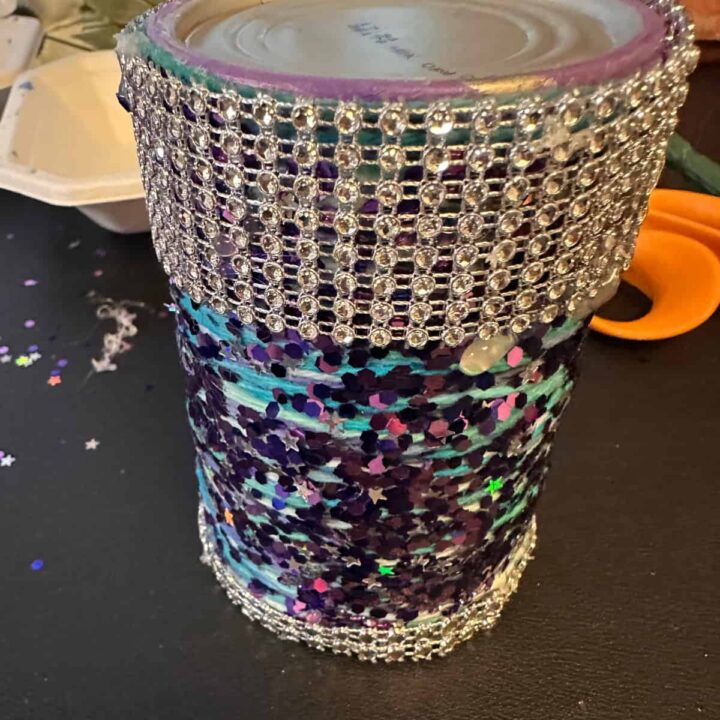
- Using a hot glue gun (affiliate) (affiliate), add decorative 1-inch bling ribbon to the bottom, and add the ½-inch bottom ribbon to the top edge of the can for an extra-sparkle finish.
Add the feet beads to the bottom of the can.
- Using a hot glue gun (affiliate) (affiliate), attach your painted wooden beads to the bottom of the can to create little pedestal feet.
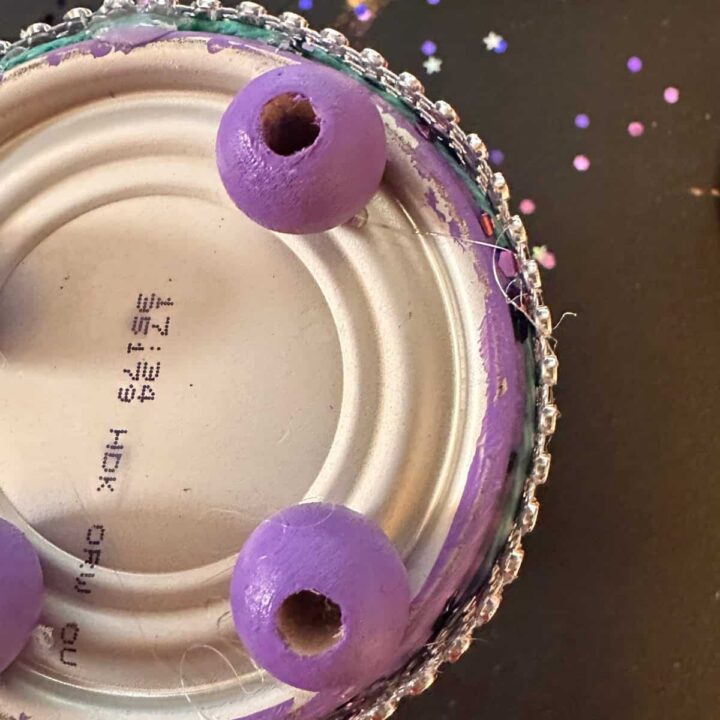
The Big Reveal
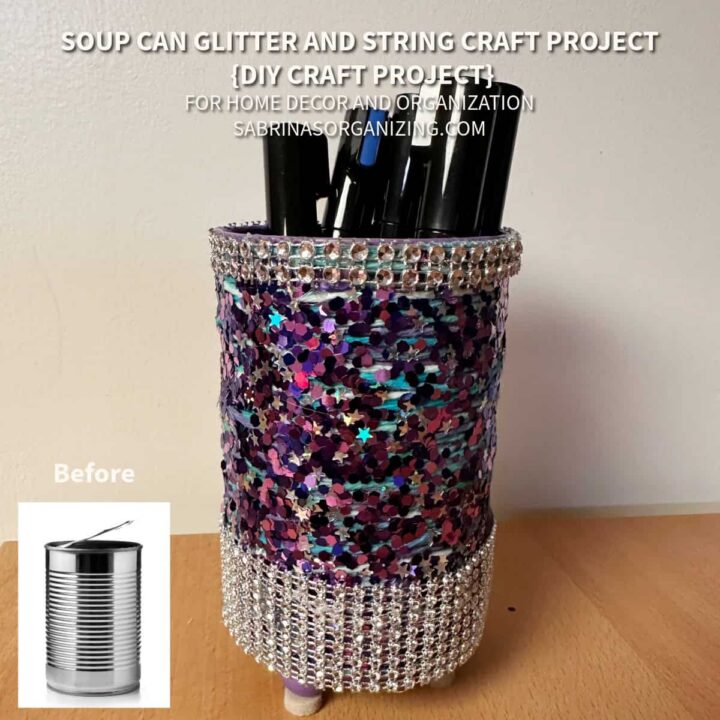
This glitter string soup can project looks lovely. I used a little too much glitter, and it changed my design, but it worked out in the end, and I love it.
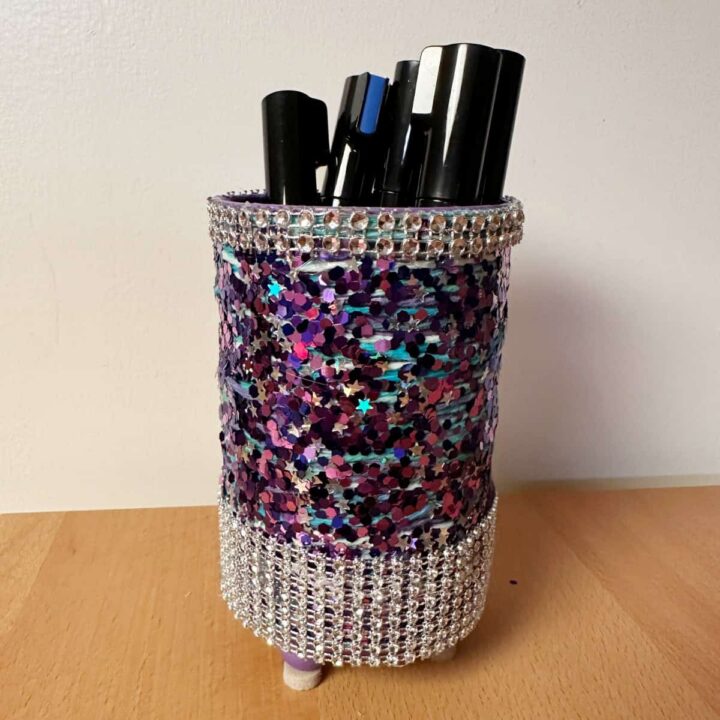
What to organize in this bling soup can?
This soup can looks so cute and is great for many different things in your home. If you have someone in your home who loves glitter, this is for them. Here are some areas you can place this bling soup can to help organize your home.
- Organize desk supplies to hold pencils, pens, etc...
- Place in a craft area to hold markers, paintbrushes (affiliate), etc...
- Use it in the kitchen where all the papers, mail, and other things land.
- Add to a playroom where the kids would draw or do craft projects to bring a little color and organize small things like stickers, crayons, etc...
FAQs
Feel free to check out these additional questions for answers. If you have more questions, please leave a comment below, and I will get back to you as soon as possible.
Apply a generous top layer of clear Mod Podge or a clear spray sealer over the glitter once it has fully dried to lock it in place.
Mod Podge or liquid craft glue is ideal because it gives you more time to wrap and adjust the string neatly before it sets. Hot glue dries too fast for smooth wrapping.
Wash it thoroughly with warm soapy water, dry it well, and run a piece of sandpaper along the inner rim to smooth down any remaining sharp edges before painting.
You can leave the bottom flat, or use alternate items like wooden game pieces, small cabinet knobs, or large plastic buttons glued with hot glue.
Closing
Well, there you have it. I hope this post shows you that sometimes things don't turn out the way you originally envisioned them. So, being flexible and modifying the design is as easy as a little extra Mod Podge (affiliate) and more glitter. Thanks for stopping by.
Sharing is caring! If you enjoyed my post, please share it with your friends via email or social media and use the hashtag #sabrinasorganizingDIY. Thank you!
For more soup can and tin can inspiration, check out my other projects!