Upcycling everyday household items is a wonderful way to declutter, reduce waste, and add functional autumn charm to your living space. This simple fall tin can craft project transforms a standard metal soup can into a rustic autumn container perfect for organizing small items.
Estimated reading time: 8 minutes
Key Takeaways
- The fall tin can craft project transforms a soup can into a charming autumn container for organizing items.
- Gather essential supplies like paint, glue, and decorative ribbons (affiliate) to create your project.
- It costs about $5 and takes around 4 hours to complete due to drying time.
- Follow safety tips when using a glue gun (affiliate) to avoid burns and damage while crafting.
- Once finished, use the can to organize small items in your kitchen, office, or craft room.
Jump to:
Things to know before trying fall tin can craft project
Below are things you should know about this project.
What inspired me to do this DIY project?
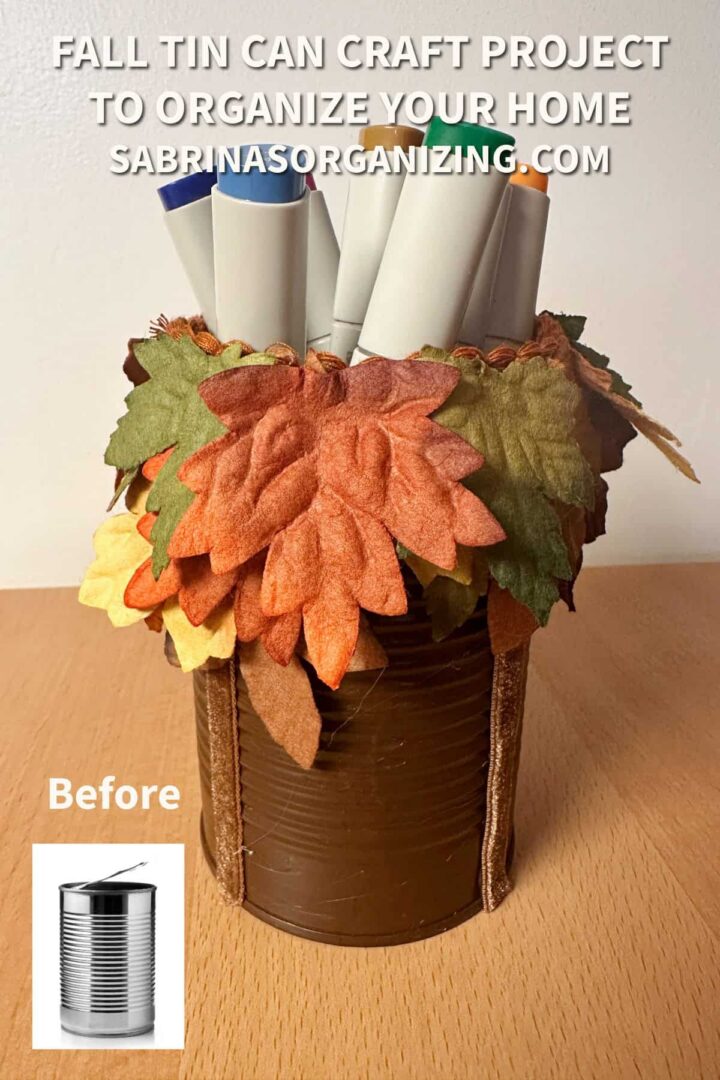
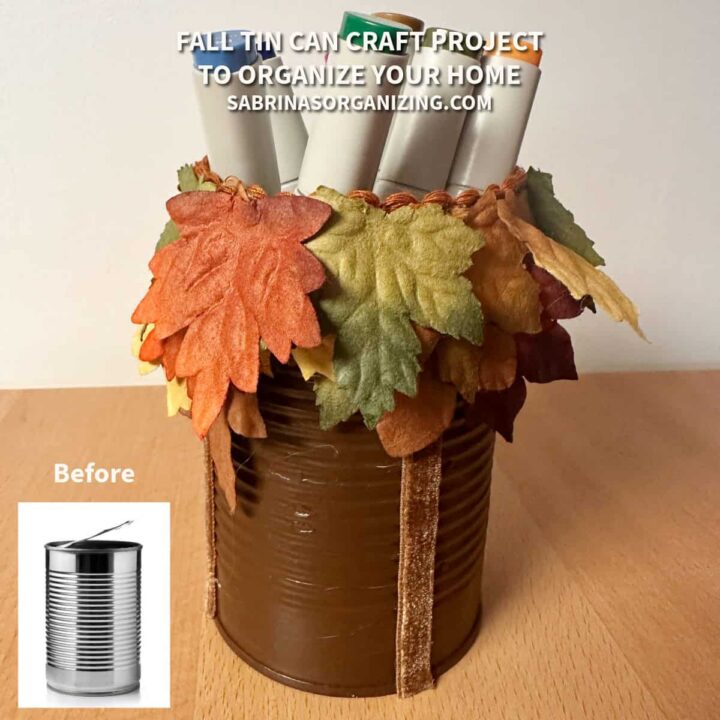
I love the fall decor, oranges and browns are my favorite colors and watching the leaves turn is amazing too. So, I wanted to updated this soup can into a usable tin can to help me organize small things. Right now, I am not sure what I will be using it for, but I really like it for the fall months due to the fact that I made it look like trees in their fall foliage state. My son gave me the idea to make them look like trees, I was originally thinking of added the leaves all around the sides of the jar.
Supplies needed for this project
Below is the list of supplies you will need to make this project!
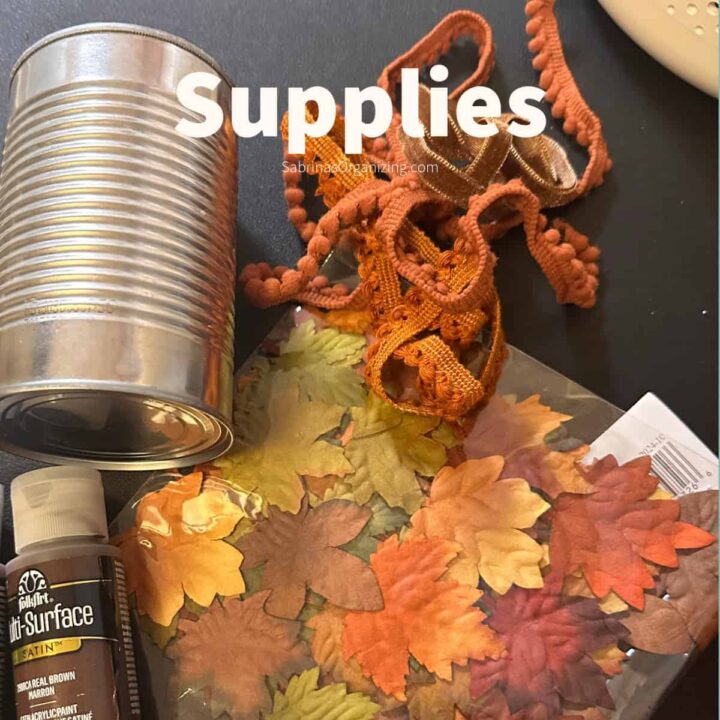
1 clean, dry soup can (label (affiliate) removed)
Brown multi-surface acrylic paint
Paintbrush (affiliate)
Hot glue gun (affiliate) and glue sticks
4 Brown felt ribbon ¼ to ⅝ths inch would work.
Decorative orange (affiliate) trim/scalloped ribbon that measures the circumference.
Bag of paper fall leaves (I bought it a few years ago and unfortunately they are not available at Michael's) - here is one I found on Amazon that is similar.
Please note these are affiliate links through Amazon (affiliate), and at no additional cost to you, I will earn an affiliate commission if you decide to make a purchase.
How much did it cost to make this DIY fall tin can project?
This project only cost me $5.00 since I had all the supplies in my craft area from other projects over the years.
How long did it take to make this DIY project?
This project took me about 4 hours since I had to wait for the paint to dry for the two coats.
Glue Gun Safety Tips
Working with hot glue requires a few basic safety precautions to prevent accidental burns or damage to work surfaces:
- Use a Designated Workspace: Always place a silicone craft mat, piece of cardboard, or scrap paper under your glue gun (affiliate) to catch hot drips.
- Keep a Stand Handy: Always rest the hot glue gun (affiliate) on its built-in wire stand when not actively applying glue, never lay it flat on a table.
- Avoid Direct Contact: Never touch the metal nozzle or fresh, hot adhesive directly. Keep a silicone spatula or craft stick nearby to press items into hot glue safely.
- Unplug When Finished: Turn off and unplug the glue gun (affiliate) as soon as you complete your project, allowing it to cool down fully before storing.
Tips on making this DIY Project
Hot glue is a quick drying product on metal so plan and cut everything you need before applying it. It's like doing a recipe and prepping all the food before cooking it. It goes that fast.
fall tin can craft project Steps
Below are the step-by-step instructions to make this cute fall DIY project. Feel free to check them out.
Print
Fall Tin Can Craft Project with Leaves and Ribbon
- Prep Time: 15 minutes
- Total Time: 4 hours
- Yield: 1 tin can
- Category: DIY, soup can, Tin can
- Method: Step-by-Step
Description
Upcycling everyday household items is a wonderful way to declutter, reduce waste, and add functional autumn charm to your living space. This simple DIY project transforms a standard metal soup can into a rustic autumn container perfect for organizing small items.
Materials
- 1 clean, dry soup can (label (affiliate) removed)
- Brown multi-surface acrylic paint
- Paintbrush (affiliate)
- Hot glue gun (affiliate) and glue sticks
- Brown felt ribbon
- Decorative orange (affiliate) trim/scalloped ribbon
- Paper fall leaves
Instructions
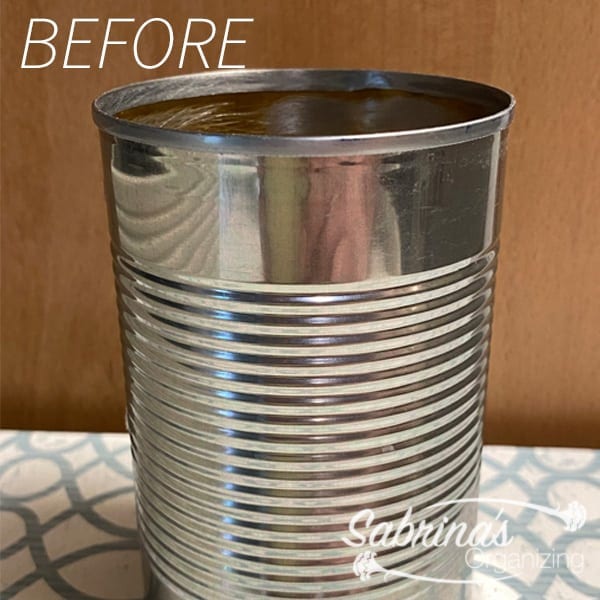
- Prep the Can: Completely remove the paper label (affiliate) from your soup can, wash it thoroughly, and make sure it is 100% dry.

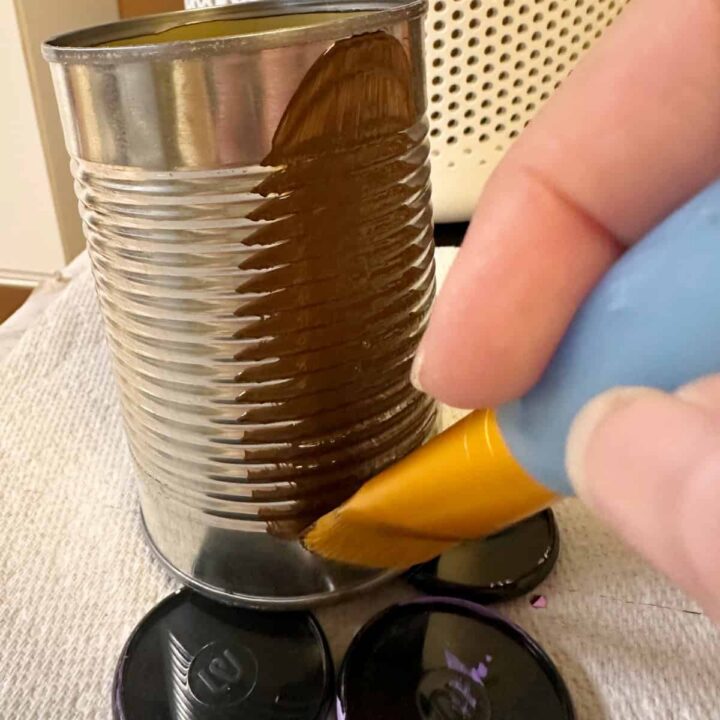
- Paint: Apply two coats of brown multi-surface acrylic paint to the soup can's exterior with a paintbrush (affiliate). Allow the paint to dry completely between coats and after the final layer.

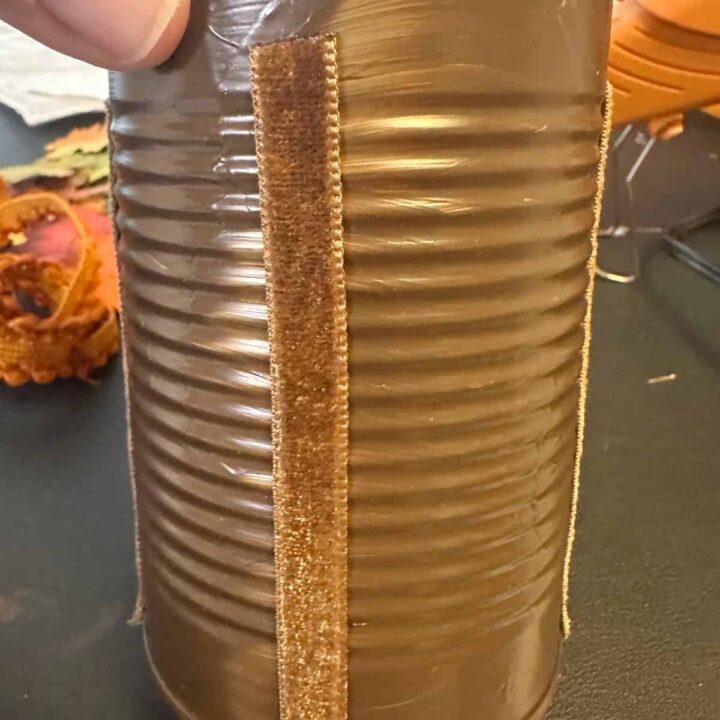
- Attach Vertical Ribbons (affiliate): Measure and cut four equal lengths of brown felt ribbon. Using hot glue, attach these velvet ribbons (affiliate) vertically along the sides of the soup can at equal intervals to create a wood-stem look.
- Add Fall Decor: Hot-glue paper fall leaves in overlapping layers around the can's upper rim. You only need a dab, and if you place it right in the center, it will stand up on both sides, making it look 3D. Cool, right?
- Finish the Rim: Line the upper inside rim with decorative scalloped ribbon, using hot glue to neatly cover any raw metal edges. It cleans up the edges of the inside so you do not see it on the outside behind the leaves.
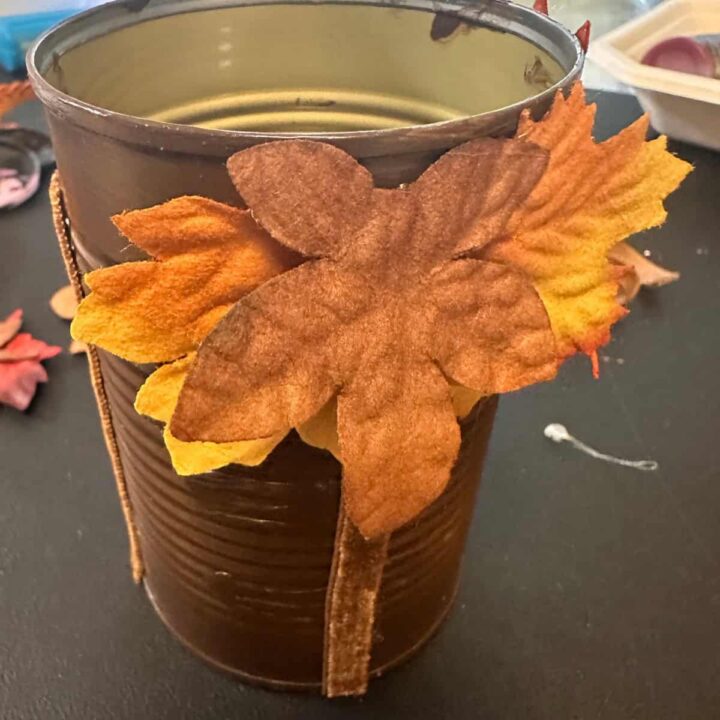
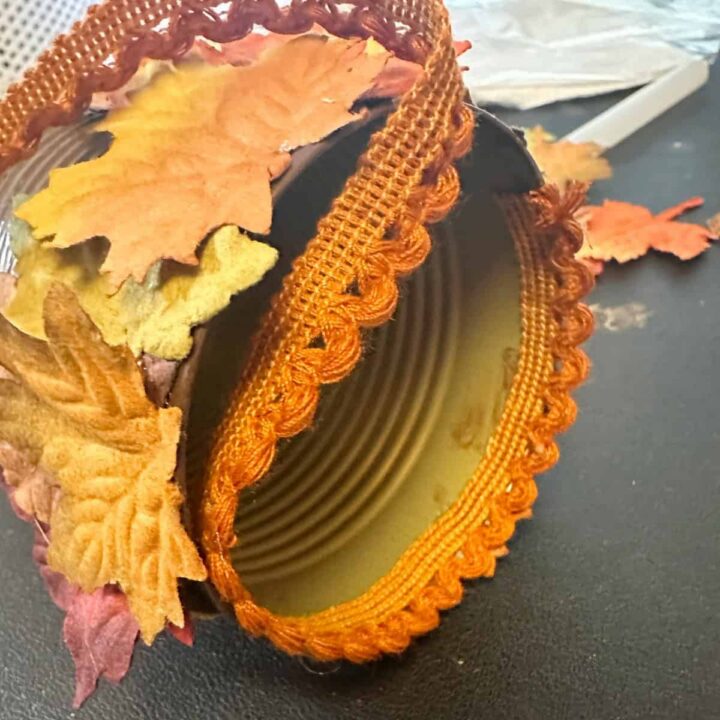
The Big Reveal
This adorable autumn inspired DIY tin can craft project looks lovely. I love the way the leaves elevate away from the can with just a dab of hot glue. It makes it look 3-D. What do you think? would you try this project. Please leave a comment below if you have an questions.
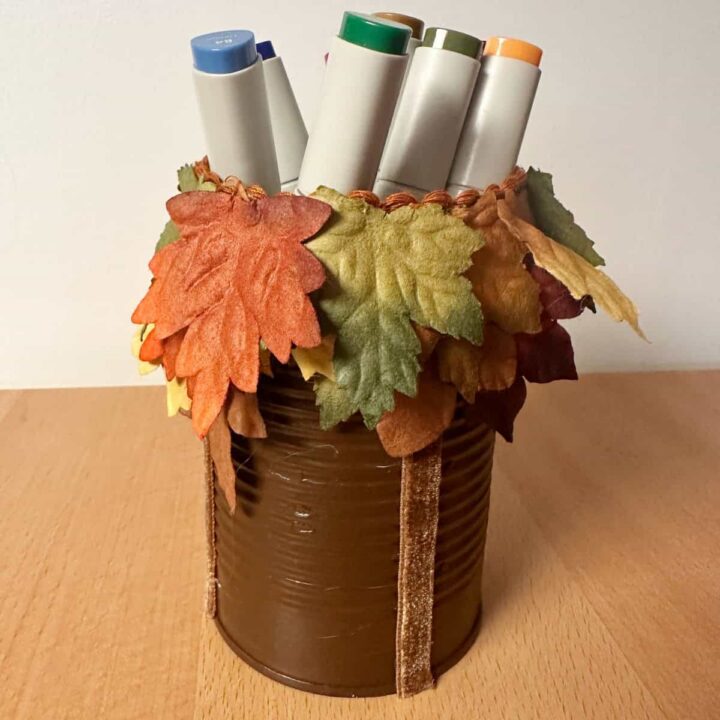
Ways to Use This Can to Organize the Home
Once finished, this autumn container can be placed throughout the home to clear clutter and organize small daily items:
- Desk & Office: Hold markers, pens, scissors (affiliate), or paintbrushes (affiliate) on your workspace.
- Kitchen Counter: Store reusable tasting spoons, corn cob holders, or tea bags near your beverage station.
- Entryway Console: Keep keys, lip balm (affiliate), or loose pocket items collected in one tidy spot.
- Craft Room: Group small tools (affiliate), ruler sets, or floral wire together for quick access.
FAQs
Feel free to check out these additional questions for answers. If you have more questions, please leave a comment below, and I will get back to you as soon as possible.
An empty soup can makes a great organizer for pens, makeup brushes, kitchen utensils, craft tools, or tea bags. With a little paint, ribbon, and paper leaves, you can turn it into a decorative fall container like this one. It's an easy way to reduce waste and clear clutter at the same time.
Peel off the paper label, then soak the can in warm, soapy water for about 10 minutes. Rub off any leftover glue with a little cooking oil or baking soda paste on a sponge. Wash it again and dry it completely before painting so the paint sticks well.
Use a smooth-edge can opener if you can, since it leaves a safer rim. You can also gently file the edge with a metal file or sandpaper. In this project, the scalloped ribbon glued along the inside rim covers the raw metal edge so it's safe for everyday use.
Multi-surface acrylic paint works well on metal and is easy to find at craft stores. Plan on two thin coats, letting each one dry fully. For an even stronger finish, you can spray the can with a metal primer first.
Yes, hot glue sticks to painted metal cans, but it sets very quickly on metal. Cut and lay out your ribbon and leaves before you start gluing. Work in small sections so everything lands exactly where you want it.
This project cost me about $5 because I already had most of the supplies in my craft area. If you're buying everything new, it will cost more up front, but you'll have plenty of paint, ribbon, and glue sticks left over for future projects.
It takes about 4 hours from start to finish. Most of that is paint drying time between the two coats. The hands-on gluing and decorating only takes about 15 to 30 minutes.
Yes! Kids can help paint the can and choose where the leaves go. An adult should handle the hot glue gun, or older kids can use a low-temp glue gun with supervision. My son actually gave me the idea to make the can look like fall trees.
Once the paint is dry, you can brush on a clear matte or satin sealer, like a clear acrylic spray, before adding the leaves. This helps protect the paint from scratches and fingerprints. Store the can in a box with tissue paper after fall so the leaves don't get crushed.
Faux silk leaves, felt leaves, pressed real leaves, or leaf shapes cut from scrapbook paper all work well. You can also switch the leaves out for snowflakes or flowers to make the can work for winter or spring. But you may want to add leaves so they still look like trees.
Closing
I hope this DIY project inspires you to take part in upcycling those used soup can and tin cans in your home to help you get organized. It is one of my favorite things to upcycling knowing that it doesn't need to be recycled and it can be easy used in a kids room, kitchen, playroom, or home office.
Sharing is caring! If you enjoyed my post, please share it with your friends via email or social media and use the hashtag #sabrinasorganizingDIY. Thank you!
DIY posts
Check out the posts below about upcycling tin can projects.