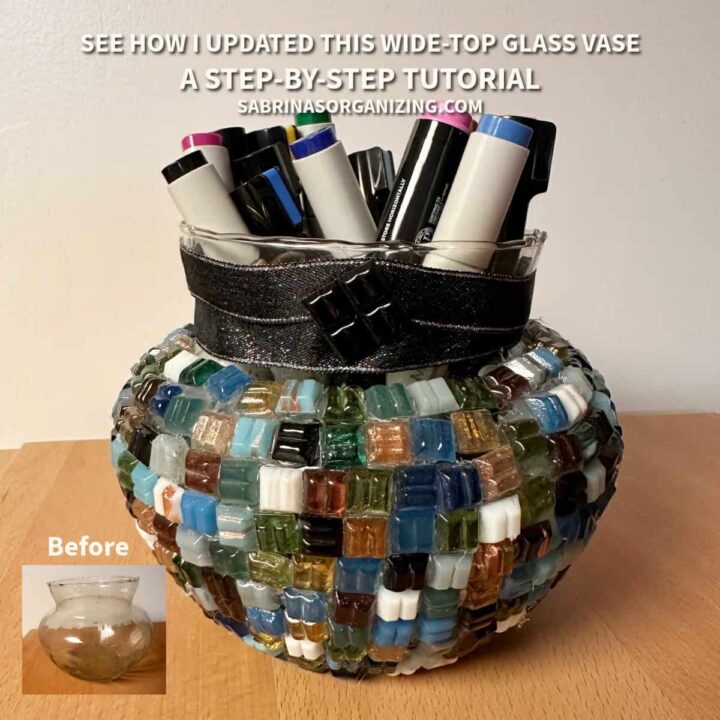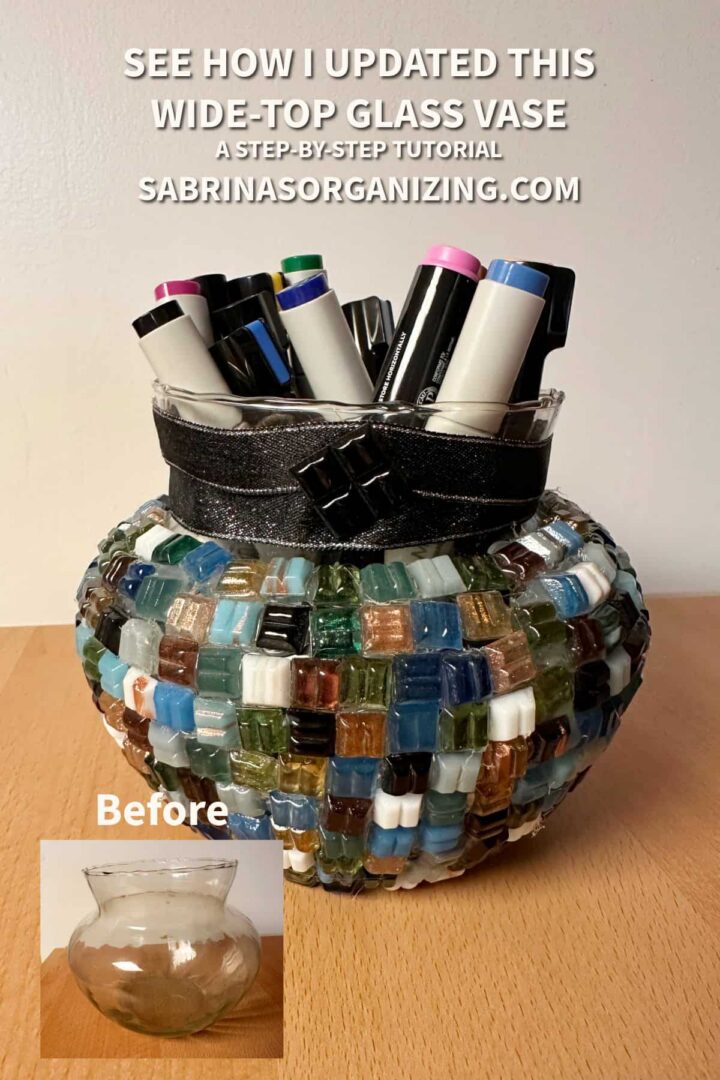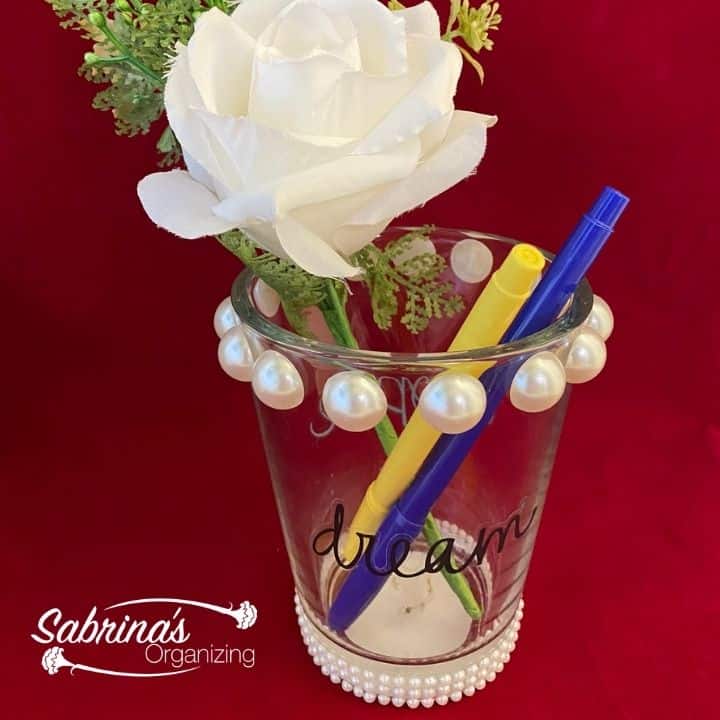
Transform a plain wide-top glass vase into a colorful, textured mosaic bowl with this easy project that adds character and practical storage to any room. Start at the base and build up to create straight, stable rows of tiles that wrap seamlessly around the vessel's curved body. This Upcycled Glass Mosaic vase has a wide opening and is great for organizing small things in one's home.
Estimated reading time: 6 minutes
Jump to:
- Key Takeaways
- What inspired me to do this Upcycled Glass Mosaic vase?
- Materials Needed
- How much did it cost to make this Upcycled Glass Mosaic vase?
- How long did it take to make an Upcycled Glass Mosaic vase?
- Tips on making this Upcycled Glass Mosaic vase
- Steps
- DIY Upcycled Glass Mosaic Vase tutorial
- The Big Reveal
- Practical Ways to Use This Mosaic Bowl to Organize
- Hot Glue Gun Safety & FAQs
- FAQS
- Closing
Key Takeaways
- Transform a wide-top glass vase into an Upcycled Glass Mosaic vase with colorful tiles for practical storage.
- Use a hot glue gun and prepare tiles for easy application, working from the bottom up to ensure stability.
- This DIY project takes about 2 hours and costs approximately $10 for mosaic tiles.
- The finished vase can organize items like office supplies, craft accessories, or bathroom essentials efficiently.
- Work on heat-safe (affiliate) surfaces and wear protective gloves when using the glue gun.
What inspired me to do this Upcycled Glass Mosaic vase?
While decluttering my daughter's room, I came across this cute wide-top glass vase and thought it could be used for something else. I've been looking at mosaic tiles for a while now to try on glass, so I decided this vase was the perfect test piece since it has a unique shape.
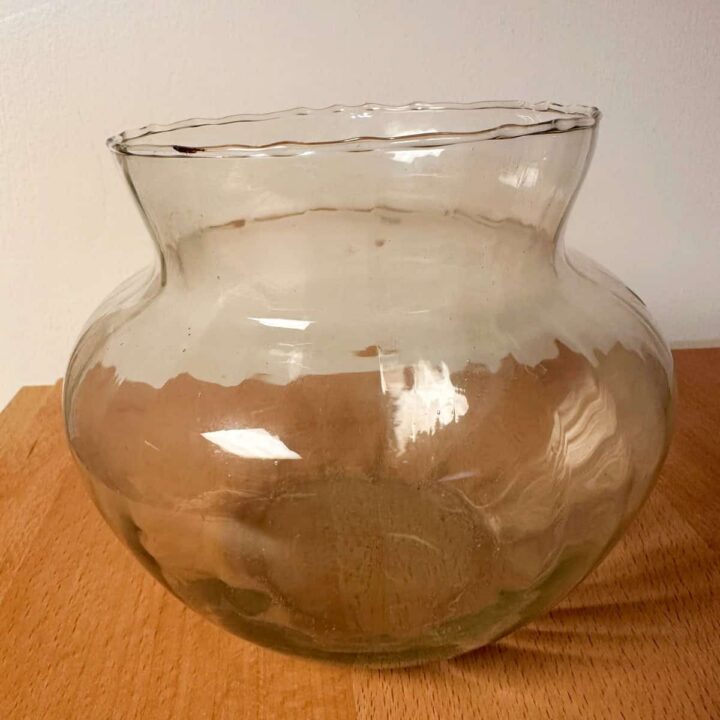
Here is the before picture of this treasured vase I found in my daughter's room. I love the ruffle at the top and its wide opening.
Materials Needed
Plain wide-top glass vase with ruffled lip, clear - Here is something close to the one I had on Amazon
Square glass mosaic tiles (mixed colors) 500pcs Glass Mosaic Tiles, 10mm Glittering Gold (affiliate) Mix Color Glass Pieces
Hot glue gun & glue sticks (affiliate)
½ inch Black (affiliate) with silver (affiliate) edges glitter satin decorative fabric ribbon - I found one similar on Amazon (affiliate): 2 Rolls ⅜ Inch Black Glitter Ribbon, Sparkling Shiny Ribbon for Gift Wrapping, Crafts,
Paper towels (affiliate) or a soft mat for surface protection
Rubbing alcohol (affiliate) and a lint-free cloth (affiliate)
Please note these are affiliate links through Amazon (affiliate), and at no additional cost to you, I will earn an affiliate commission if you decide to make a purchase.
How much did it cost to make this Upcycled Glass Mosaic vase?
The mosaic tiles cost $10.00, and I either recycled the other items or pulled them from my craft cabinet.
How long did it take to make an Upcycled Glass Mosaic vase?
This project took me 2 hours and 15 minutes to do from start to finish. Adding the tiles took the longest because I had to apply hot glue and place three tiles at a time.
Tips on making this Upcycled Glass Mosaic vase
Below are some additional tips you may want to know when doing this DIY project.
- Take your time. Since hot glue cools fast on glass, you can only add 3 tiles at a time before the glue dries.
- Work from the bottom up. If you make a mistake at the bottom, it will not be easy to see.
- Have a pile of tiles ready before you start. I like to make sure they are faced the right way before starting. This makes the process a little quicker.
- Protect your fingers. Take the time to put on protective gloves. This will help prevent you from getting burned by the hot glue gun.
Steps
Below are step-by-step instructions for making this cute Upcycled Glass Mosaic vase. Feel free to check them out.
Print
DIY Upcycled Glass Mosaic Vase tutorial
- Prep Time: 15 minutes
- Total Time: 2 hours 15 minutes
- Yield: 1 wide top glass vase
- Category: DIY, Glass bowl, Glass Vase
- Method: Step-by-Step
Description
Transforming a plain glass vase into a colorful, textured mosaic bowl is an easy project that adds character and practical storage to any room. Start at the base and build upward to create straight, stable rows of tiles that wrap seamlessly around the vessel's curved body.
Materials
- Plain wide-top glass vase with ruffled lip, clear - Here is something close to the one I had on Amazon
- Square glass mosaic tiles (mixed colors) 500pcs Glass Mosaic Tiles, 10mm Glittering Gold (affiliate) Mix Color Glass Pieces
- Hot glue gun & glue sticks (affiliate)
- ½ inch Black with silver edges decorative fabric ribbon (black or accent color) - I found one similar on Amazon: 2 Rolls ⅜ Inch Black Glitter Ribbon
- Paper towels (affiliate) or a soft mat for surface protection
- Rubbing alcohol (affiliate) and a lint-free cloth (affiliate)
Instructions
Step 1: Prep the Glass Surface
- Thoroughly clean the outside of the glass vessel using rubbing alcohol (affiliate).

- Removing grease, dust, or fingerprints ensures the hot glue adheres firmly. Place a paper towel (affiliate) or towel on your work area to protect your surface and catch loose tiles.
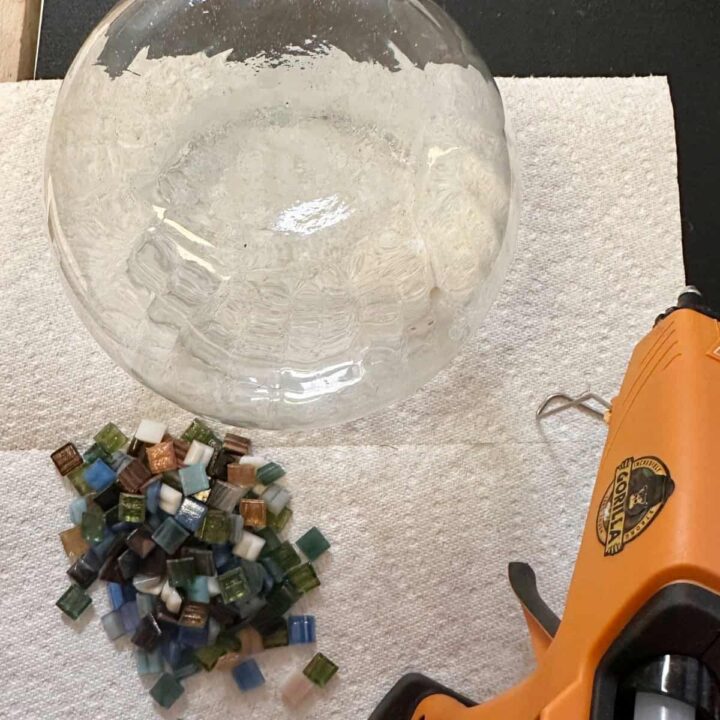
Flip upside down and lay the First Row
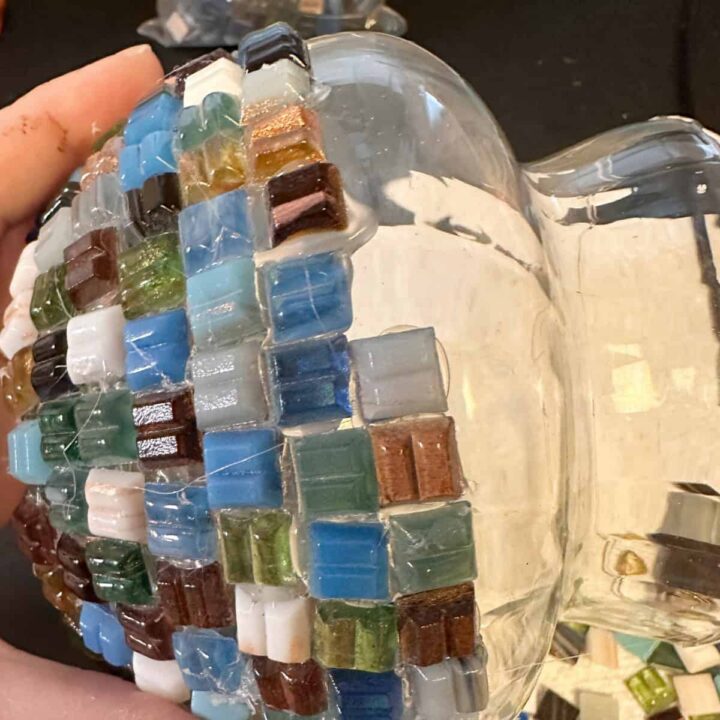
- Turn the glass bowl upside down so the flat bottom faces up. Apply a small drop of hot glue directly to the back of a mosaic tile. Place the first tile along the base perimeter where the flat bottom meets the curved side wall.
- Continue attaching tiles side by side around the entire bottom circumference to form a neat starter ring.
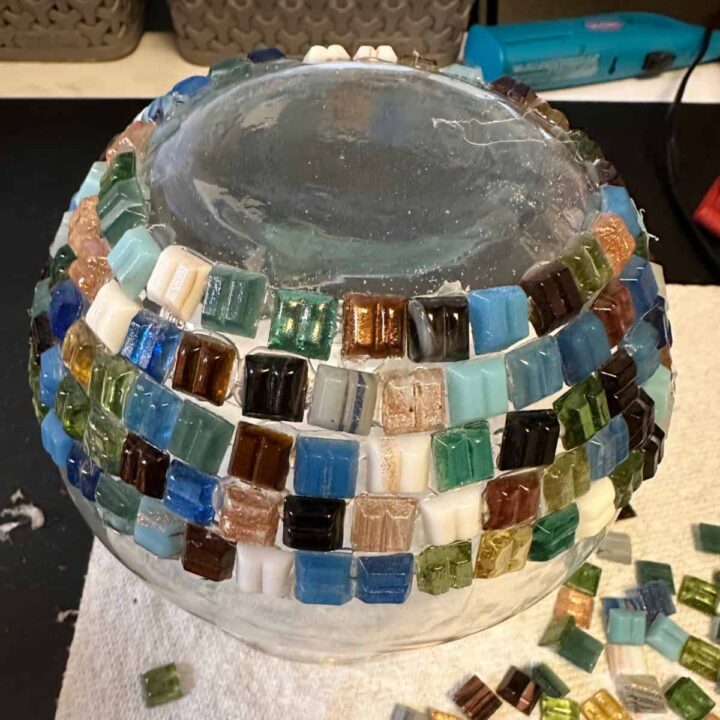
Step 3: Work Upward in Concentric Rings
- Working bottom-to-top while the bowl remains inverted gives you gravity support as you build. Add the second ring of tiles right above the first row, alternating colors or patterns as you go.
- Continue gluing row by row until you reach the bowl's narrow neck/collar.
Secure the Ribbon Collar
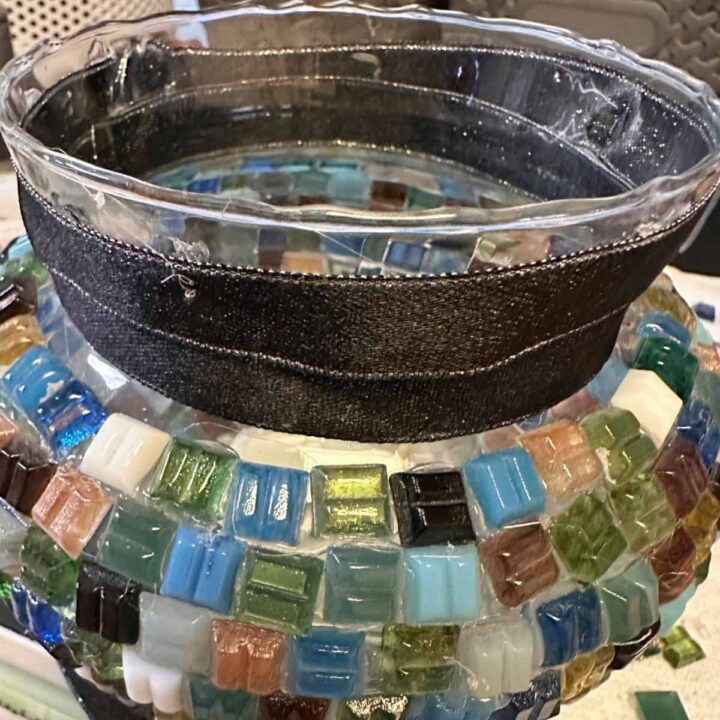
- Flip the bowl right-side up. Wrap a wide strip of accent ribbon, or, like I did, two smaller ribbons (affiliate) around the exposed glass neck near the top rim.
- Secure the end with a dab of hot glue, overlapping slightly for a clean finish.
Step 5: Add a Decorative Focal Accent
- Using hot glue, attach a single tile or small cluster of tiles to the center of the ribbon wrap to tie the top design together with the mosaic body. I didn't take a picture of this one, but it was a triangular piece that I had in the craft area.
- Carefully and gently peel away any remaining glue "spiderwebs" once the pieces cool.
The Big Reveal
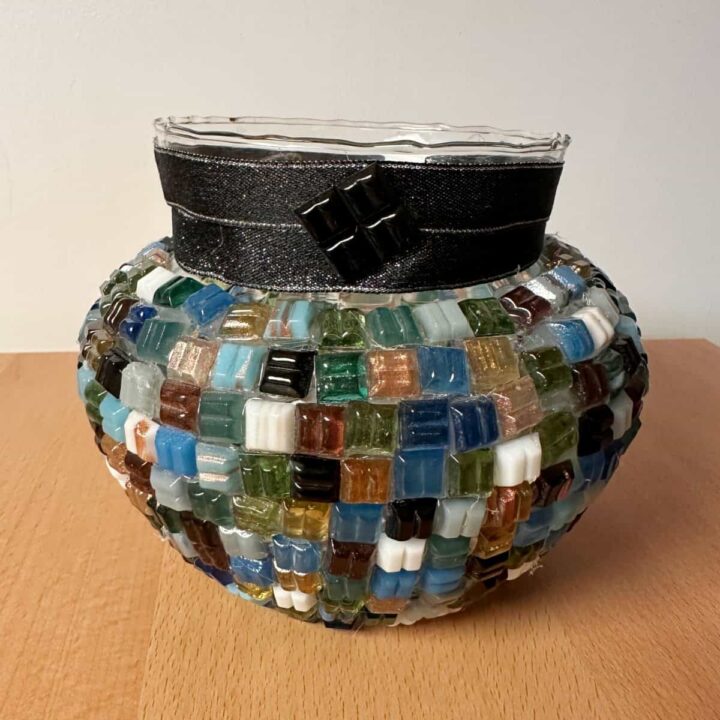
I love how this upcycled mosaic glass vase looks, and I can't wait to use it. You can also use it for beautiful flowers by placing a piece of floral foam securely inside the opening. Then add individual pruned carnations to create a beautiful bouquet.
Practical Ways to Use This Mosaic Bowl to Organize
Once completed, this vessel combines visual charm with practical storage for home or office organization:
- Desk & Office Supplies: Perfect for collecting sticky notes (affiliate), paper clips, binder (affiliate) clips, or flash drives to keep work surfaces clutter-free.
- Entryway Catch-All: Place near the front door to hold keys, mail, spare change, and sunglasses so daily items are easy to spot.
- Craft Room Organization: Use it to store small craft accessories, such as extra hot glue sticks (affiliate), spools of ribbon, or buttons.
- Vanity & Bathroom Storage: Store cotton balls, makeup sponges, hair ties, or wrapped soaps neatly on your bathroom counter.
Hot Glue Gun Safety & FAQs
Let's start with safety tips for using a glue gun.
- Work on a Heat-Safe (affiliate) Surface: Always set your glue gun on its fold-out stand over a silicone mat or heavy paper towel (affiliate) to protect furniture from drips.
- Avoid Direct Contact with Hot Nozzles: Never touch the metal tip or fresh hot glue. Keep a cup of ice water nearby to soothe skin quickly in case of accidental contact.
- Protect Your Workspace: Keep glue sticks (affiliate), cords, and heated tips clear of loose sleeves or papers. Unplug the glue gun immediately when finished or leaving the workstation unattended.
Feel free to check out these additional questions for answers. If you have more questions, please leave a comment below, and I will get back to you as soon as possible.
FAQS
Starting from the bottom gives your tiles a solid foundation to rest against as you work upward. Gluing from top-down often leads to uneven spacing or slipped tiles due to the curve of the glass bowl.
Hot glue works well for light-duty decorative indoor organizers. For a dish intended for heavy handling or frequent cleaning, silicone sealant or glass-specific adhesives (such as E6000) offer stronger long-term durability.
Let the glue cool completely, then gently pull the fine strings away with your fingers. You can also pass a warm hairdryer over the bowl for a few seconds to instantly melt away fine glue strings.
Closing
I hope this post inspires you to try updating your unused glass vase.
Sharing is caring! If you enjoyed seeing my transformation, please share it with your friends by email or on social media and use this hashtag: #sabrinasorganizingDIY. Thank you!
DIY posts
Check out the posts below about DIY Glass bowls.