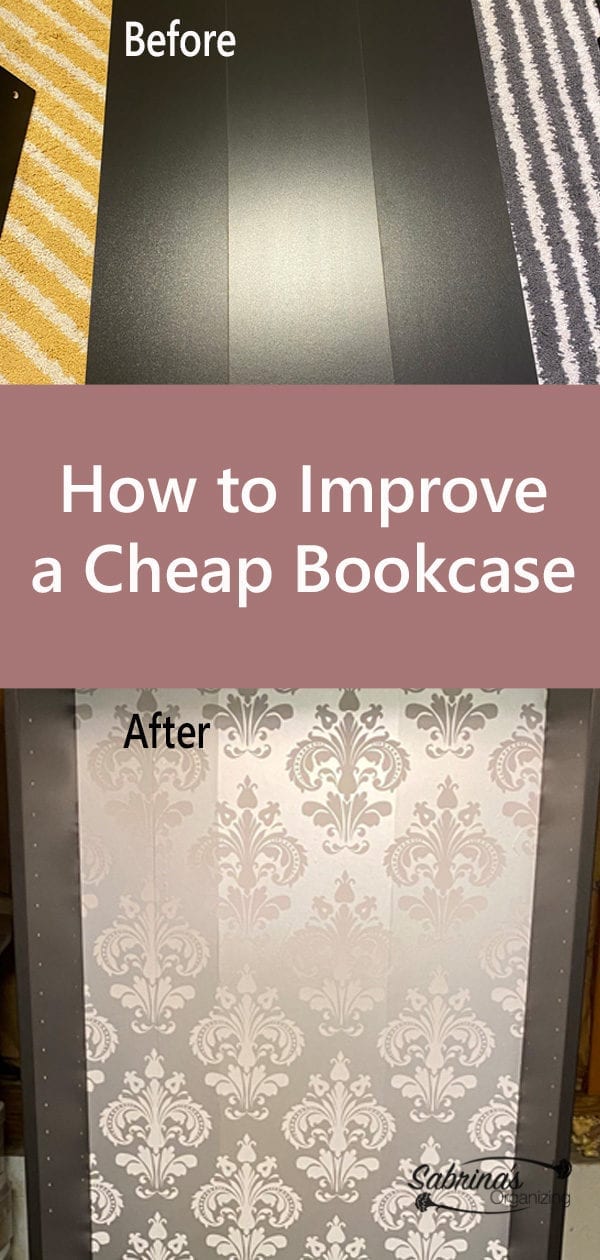
Bookcases are great for storing items vertically in small spaces. It's awesome for small bedrooms and living spaces to keep the floor clear and safe (affiliate) for people to walk. This week, we are sharing an easy way to improve a cheap bookcase (affiliate).
Jump to:
Key Takeaways
- Bookcases help save space by storing items vertically, making them ideal for small rooms.
- The author replaced an old bookcase (affiliate) with a cheap bookcase (affiliate) purchased from Target for $35.
- To personalize the cheap bookcase (affiliate), the author applied peel-and-stick wallpaper (affiliate) for a decorative touch.
- Essential tools (affiliate) for this project include an Exacto knife (affiliate), scissors (affiliate), and a credit card to smooth out air bubbles.
- The finished bookcase (affiliate) looks stylish and provides ample storage, showcasing an affordable DIY upgrade.
The bookcase (affiliate) was one I purchased for my son after we finished the cork flooring DIY project. It looked like we just needed one bookcase, not two, in his room. So, I decided to replace a very old and worn-out bookcase in my office closet. It was the same height but narrower, which worked better in the closet.
Where I bought the cheap bookcase?
This black (affiliate) bookcase was bought at Target. To find affordable bookcases, you can pick them up at Walmart or Target.
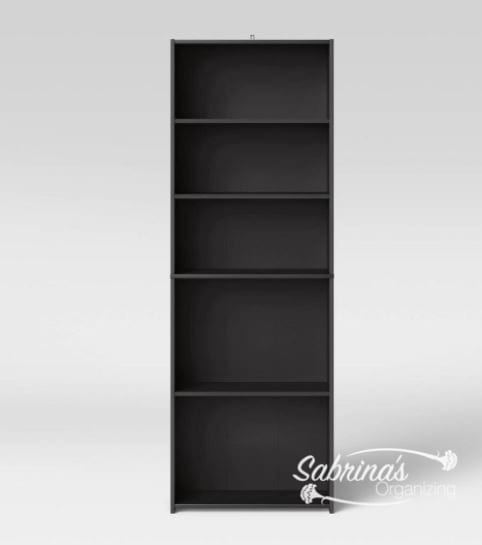
Cost: $35.00 + peel and stick wallpaper ½ of a roll: This item was purchased a long time ago, and I used the roll for many of my projects, so there wasn't much cost for this.
Tools you need to personalize a cheap bookcase:
Exacto Knife (affiliate)
Scissors (affiliate)
Credit card or scraper to remove bubbles
How I personalized my cheap bookcase?
Before assembling it, I decided to give it some bling with the peel-and-stick wallpaper (affiliate). Below is one I found on Amazon (affiliate) (affiliate). Note: If you click through and make a purchase, I will receive a small referral fee at no cost to you! Happy shopping!
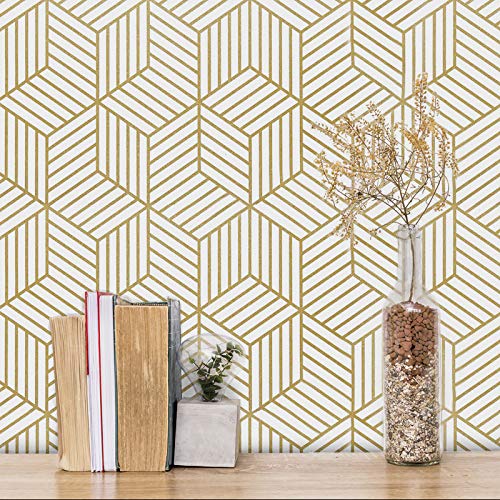
Peel and Stick Gold and White Geometric Wallpaper
Buy Now →(affiliate)
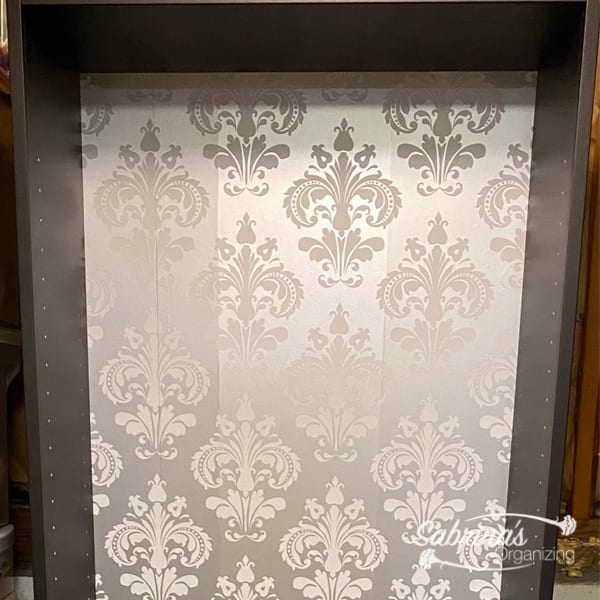
Before Picture of the Bookcase Backing
Below is the before picture of the backing. I had to cover two of them. They came separately.
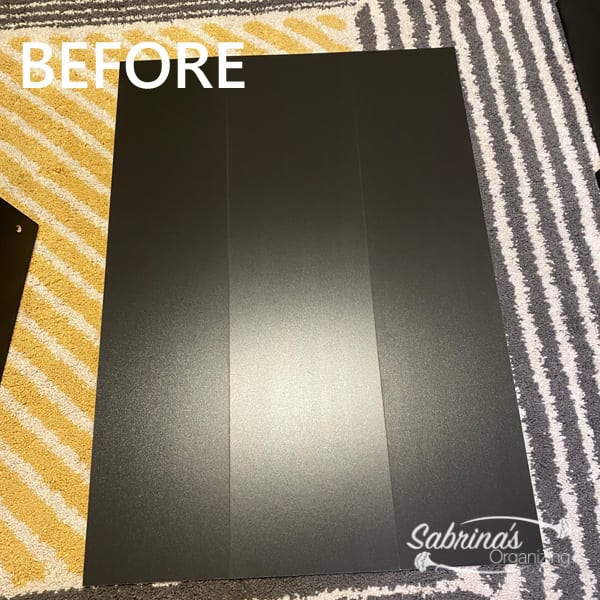
I laid them on the floor so I could attach the wallpaper easily.
Cut to Size and Apply the Peel and Stick Wallpaper
First, I cut it to size and allow about 1 inch of excess wallpaper. I will clean up the edges later.
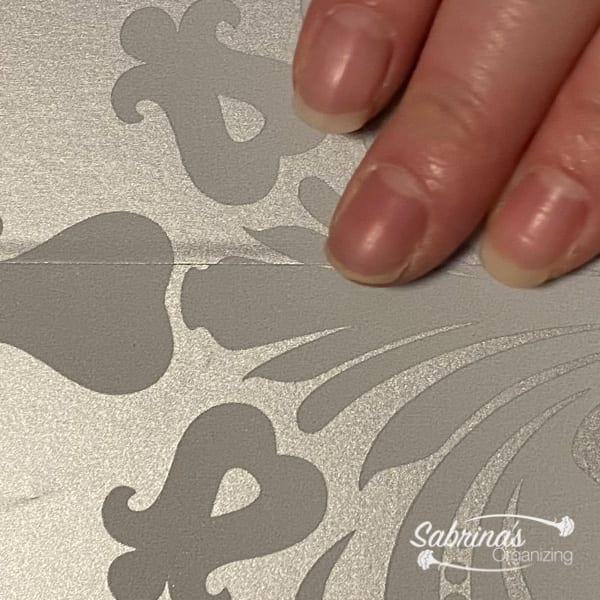
I then applied the peel-and-stick wallpaper (affiliate). And then cut a small strip of wallpaper. Again, allow about 1 inch or more on the outside to cut later. I made sure the wallpaper pattern was lined up so to create a seamless look. See the image below.

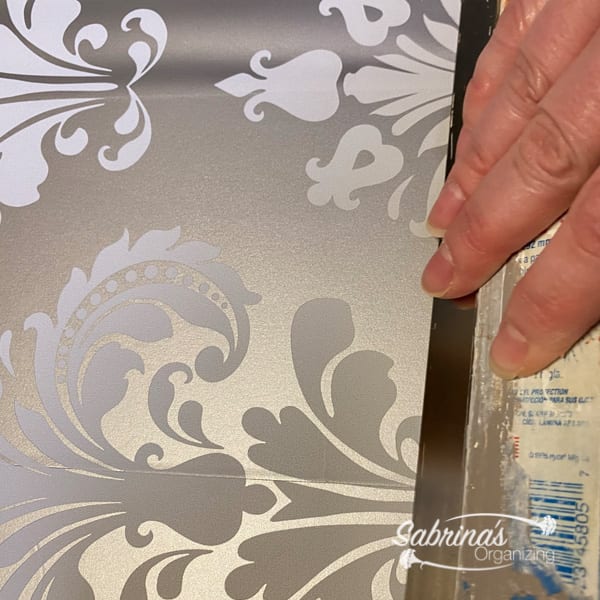
Press out the air bubbles
As I was adding the wallpaper, I pressed out all the air bubbles on both strips of paper. Some wallpaper patterns need to be overlapped to match up properly. If yours is like that, you can easily do that too. I used an edger for painting to remove the air bubbles, but you can use a plastic credit card. Be careful not to poke the wallpaper or create creases.
As you can see, I got as close as possible to this pattern. I found that no one can see it because there's stuff in front of it. So, it did not bother me. The top image shows a more aligned pattern.
Cut off the Excess Wallpaper
After I applied both strips of wallpaper, I used an Exacto Knife (affiliate) to cut off the excess. I stood up the panel and cut around the edges to avoid cutting the carpet.
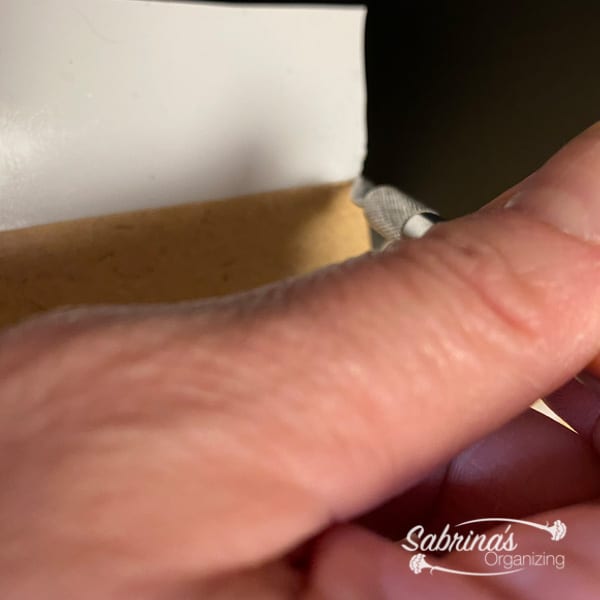
Then, I did the same to the other panel. Here is one of the panels. Looks pretty good, right?
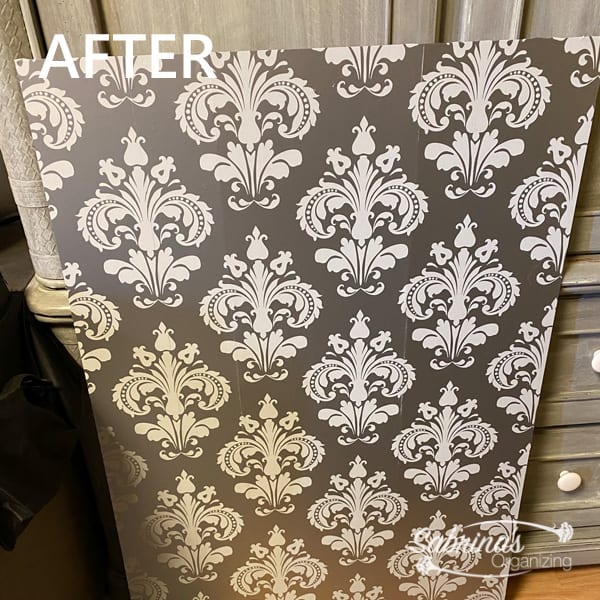
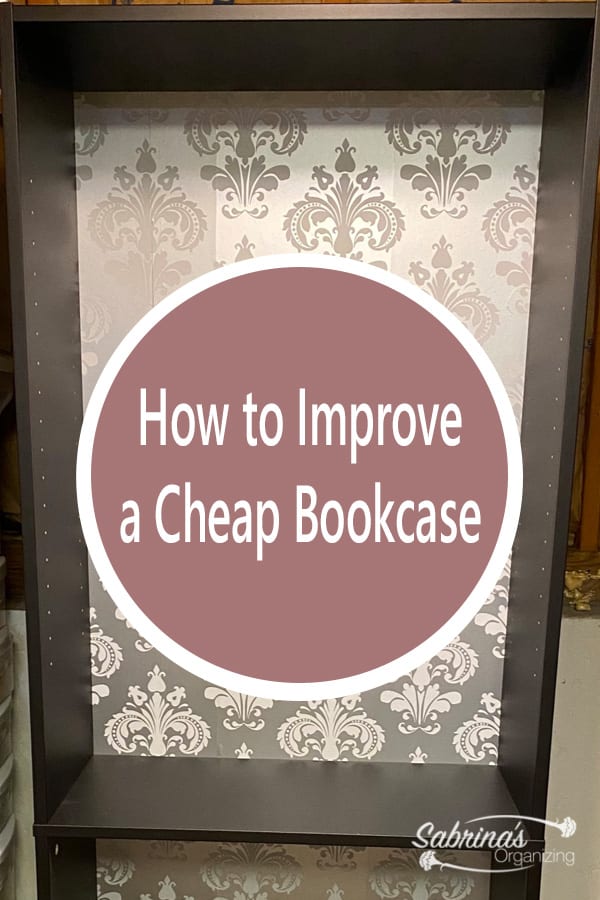
Below is what the top half looked like after I assembled the bookcase. I did not add the shelves (affiliate) yet. I love it! It really dresses it up. The bottom half looks the same as the top.
Well, there you have it! The decorative bookcase on a budget! I love it and am so happy with the storage space.
Now it is your turn, would you do this project? Have you done this before? Please leave your tips in the comment section below. I would love to hear from you.
Below are some posts I found online about upgrading bookshelves. Feel free to check them out.
Transform Plain Shelves with These Before-and-After Bookcase Makeover Ideas


Leave a Reply